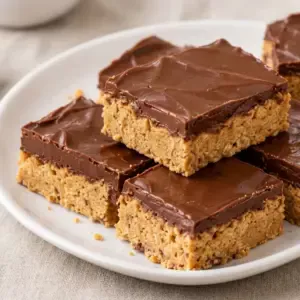
Introduction to Scotcharoos
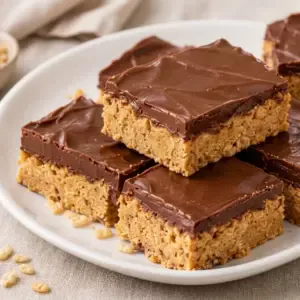
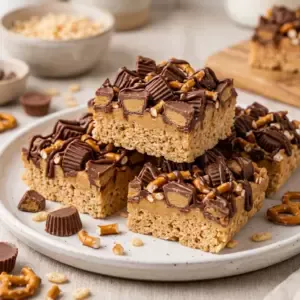
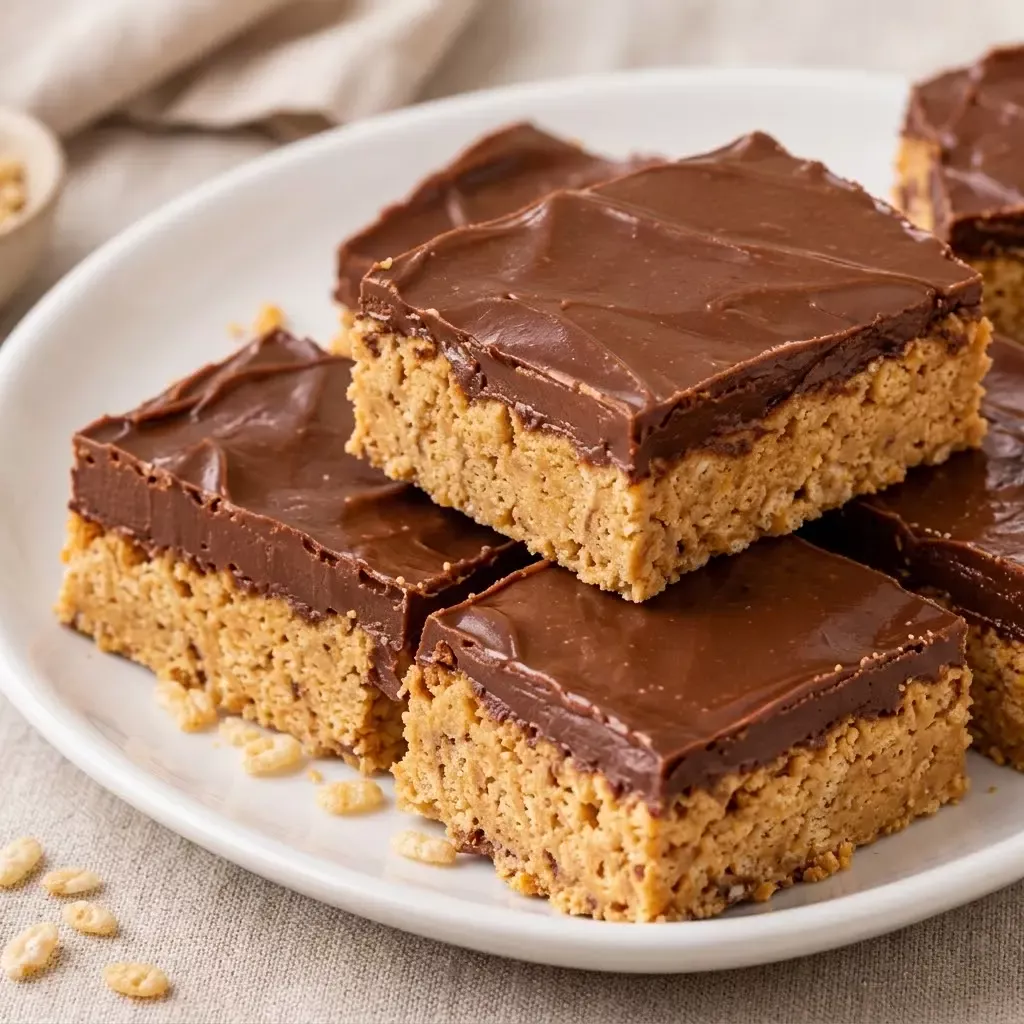
Scotcharoos are a classic no-bake bar made for the days when you want a homemade treat without turning on the oven. This streamlined version uses Peanut Butter, Chocolate Morsels, Rice Krispies Cereal, and Butter to make crisp, chewy bars with a soft peanut butter base and a firm chocolate top.
The method is simple, but a few small details make a difference. Work with low heat, stir the cereal in gently, and give the bars enough time to chill before slicing. Since the recipe has no added syrup or granulated sugar to hold the cereal together, the warm peanut butter and butter mixture should be spread firmly and chilled completely for the cleanest pieces.
Why You'll Love This Scotcharoos
- These bars need no oven, so they are useful when the kitchen is busy or you want a quick dessert.
- Four familiar ingredients create a crisp cereal texture, creamy peanut butter base, and chocolate topping.
- The recipe comes together in about 20 minutes before chilling.
- The chocolate topping sets neatly in the refrigerator and makes the bars easy to portion.
- You can prepare the bars ahead of time and keep them chilled until serving.
Ingredients for Scotcharoos
- Peanut Butter
- Chocolate Morsels
- Rice Krispies Cereal
- Butter
Use a creamy Peanut Butter that is well stirred before measuring. Natural peanut butter can work, but separate oil may make the base softer, so stir it thoroughly and chill the bars until fully firm.
How to Make Scotcharoos
Step 1: Prepare the Pan
Line an 8-inch square pan with parchment paper, leaving enough paper hanging over two sides to act as handles. Lightly grease the parchment with a little of the Butter if needed. Set the pan aside so the mixture can be transferred as soon as it is ready.
Step 2: Melt the Peanut Butter Mixture
Place the Peanut Butter and Butter in a medium saucepan over low heat. Warm for 3 to 5 minutes, stirring often, until the Butter is melted and the mixture is smooth. Do not let it boil or become hot enough to scorch. Remove the pan from the heat as soon as the mixture is evenly combined.
Step 3: Add the Cereal
Pour the Rice Krispies Cereal into the saucepan. Fold with a silicone spatula until the cereal is evenly coated, taking care not to crush it. The mixture will be thick and slightly loose because this version relies on chilling to set the bars rather than a cooked sugar syrup.
Step 4: Press the Base
Transfer the cereal mixture to the prepared pan. Press it into an even layer with the flat bottom of a measuring cup or a piece of parchment paper. Press firmly enough to compact the bars, especially around the corners, but avoid crushing all of the cereal.
Step 5: Add the Chocolate
Melt the Chocolate Morsels in a clean microwave-safe bowl in 20-second intervals, stirring thoroughly after each interval. Continue until mostly smooth, then stir until the remaining pieces melt from the residual heat. You can also melt them in a heatproof bowl over a saucepan of barely simmering water. Spread the melted Chocolate Morsels over the cereal layer.
Step 6: Chill and Slice
Refrigerate the pan for at least 2 hours, or until the base and chocolate are firm. Lift the slab out using the parchment handles and place it on a cutting board. Let it stand at room temperature for 5 to 10 minutes, then cut into 8 bars with a sharp knife. Store leftovers covered in the refrigerator.
Tips for Success
- Keep the saucepan over low heat because overheated Peanut Butter can become oily and the Butter can separate.
- Press the cereal mixture firmly into the pan so the bars hold together when lifted and sliced.
- If the Chocolate Morsels seem thick after melting, keep stirring before adding anything else. The residual heat often finishes the job.
- For cleaner cuts, use a sharp knife and wipe the blade between slices. Letting the chilled slab sit briefly keeps the chocolate from cracking.
- Chill the bars for the full 2 hours before serving. A shorter chill may leave the center too soft to cut neatly.
Equipment Needed
- 8-inch square baking pan
- Medium saucepan
- Microwave-safe bowl
Variations
- Use dark Chocolate Morsels for a deeper chocolate flavor while keeping the same method.
- Use milk Chocolate Morsels for a softer, sweeter topping that is especially appealing to children.
- Press the mixture into a parchment-lined loaf pan for thicker, narrower bars and add a little extra chilling time.
- Make small squares instead of 8 large bars when serving these on a dessert tray.
- For a two-tone finish, spread half the melted Chocolate Morsels over the base, chill for 10 minutes, then spread the remaining chocolate over the top.
Serving Suggestions
Serve the bars cold or let them stand at room temperature for a few minutes before eating. They are rich enough to cut into small pieces, and the crisp cereal is most noticeable during the first few days. Keep the bars in an airtight container in the refrigerator for up to 5 days. Do not leave them at room temperature for more than 2 hours, or 1 hour if the room is above 90°F, because the Peanut Butter and Butter mixture will soften and the bars may become difficult to handle.
FAQs about Scotcharoos
Why are my Scotcharoos not holding together? The base may not have been pressed firmly enough, or it may not have chilled long enough. Compact the mixture firmly in the pan and refrigerate it for at least 2 hours before slicing. Natural Peanut Butter with a separated oil layer can also make the bars softer.
Can I melt the Chocolate Morsels on the stovetop? Yes. Place them in a dry heatproof bowl over a saucepan containing a small amount of barely simmering water. Stir until smooth, making sure no water gets into the bowl, since even a little water can make melted chocolate seize.
Can I freeze Scotcharoos? Yes. Wrap the chilled bars individually or place them in a freezer-safe container with parchment between layers. Freeze for up to 2 months, then thaw them in the refrigerator before serving. The cereal may be slightly less crisp after freezing.
How should I cut the bars without cracking the chocolate? Chill the bars until firm, then let them rest at room temperature for 5 to 10 minutes. Use a sharp knife and press straight down rather than sawing through the slab. Warming the knife in hot water and drying it well can also help.
Can I double this recipe? Yes, but use two 8-inch pans for bars with the same thickness. A larger pan can make the layer too thin and harder to press evenly. Melt the ingredients in batches if your saucepan is not large enough to hold the cereal comfortably.
Final Thoughts
These Scotcharoos are a practical four-ingredient treat with plenty of crunch and a smooth chocolate finish. The key is to keep the heat gentle, compact the cereal mixture well, and wait until the bars are fully chilled before cutting. Once set, they are easy to store, portion, and share.
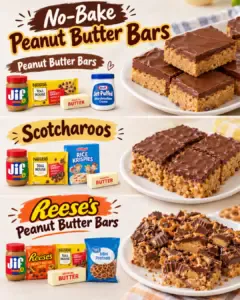
Looking for more? This recipe is part of our roundup of 3 No-Bake Peanut Butter Bars That Make Easy Party Desserts.
Scotcharoos
Ingredients
Equipment
Method
- Melt Peanut Butter and Butter in a saucepan over low heat until smooth, then remove from the heat.
- Fold in Rice Krispies Cereal, press the mixture into a parchment-lined 8-inch pan, spread with melted Chocolate Morsels, and refrigerate for at least 2 hours before slicing.
Nutrition
Notes
- Keep the heat low and do not boil the Peanut Butter mixture.
- Press the cereal mixture firmly into the pan for bars that hold together.
- Store covered in the refrigerator for up to 5 days.