Introduction to Peanut Butter Bars
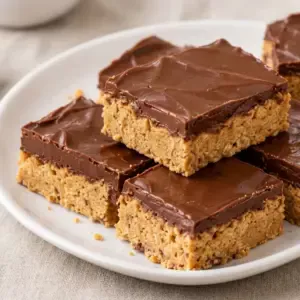
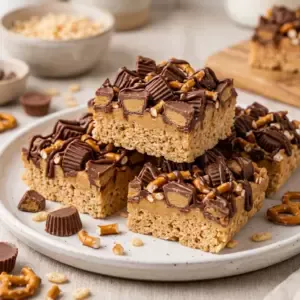
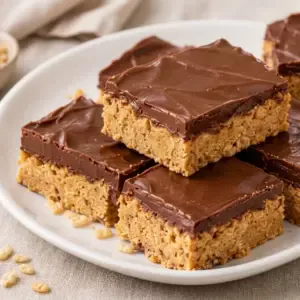
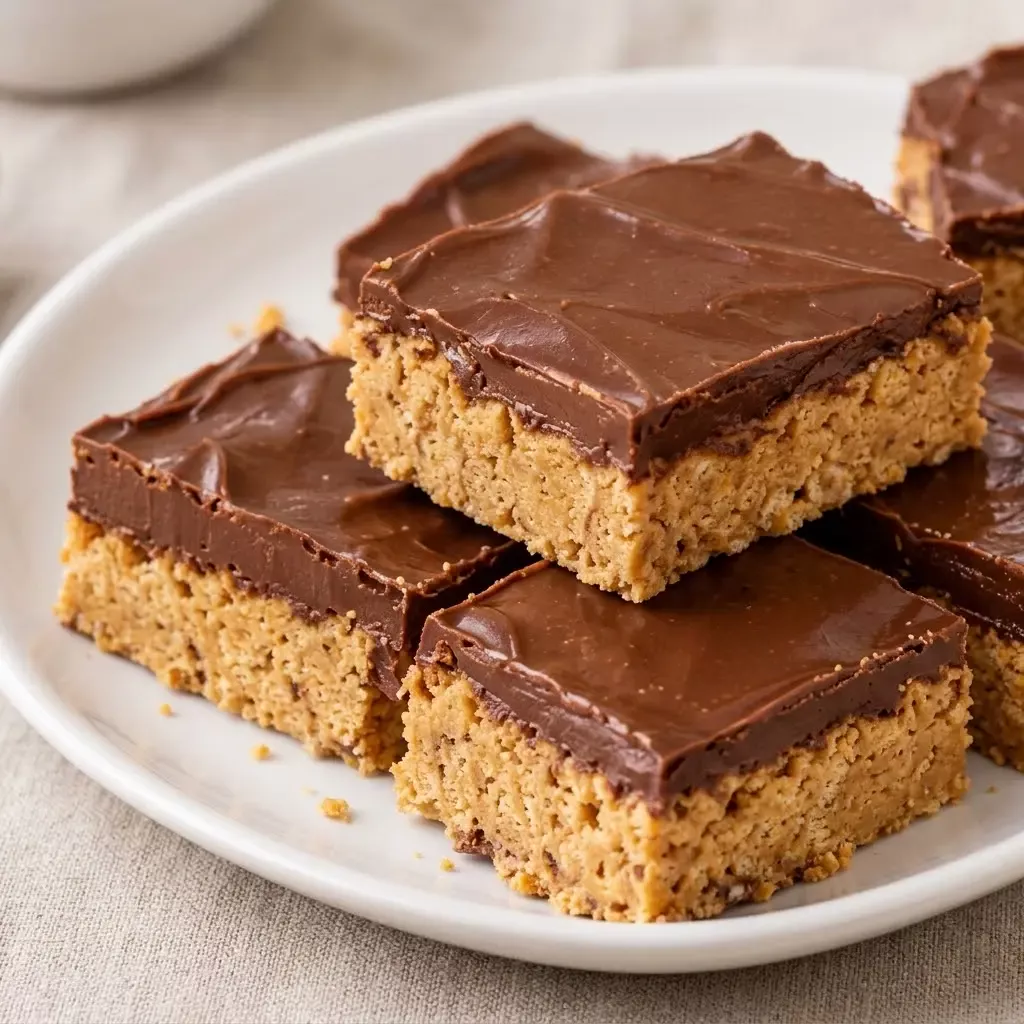
These no-bake peanut butter bars come together in one saucepan and a lined baking pan. The mixture sets in the refrigerator, so there is no oven to preheat and no complicated candy thermometer work. The finished bars are soft, rich, and easy to slice once thoroughly chilled.
The recipe makes eight generous servings in an 8-inch square pan. Melt the chocolate and butter gently, then stir in the peanut butter before folding in the marshmallow creme. A short chill gives the bars enough structure to cut while keeping the center pleasantly tender.
Why You'll Love This Peanut Butter Bars
- You can make the bars without turning on the oven.
- The recipe uses only four ingredients and one saucepan.
- Chocolate and peanut butter give the bars a familiar, satisfying flavor.
- Marshmallow creme adds a soft texture and helps the mixture set.
- The bars can be made ahead and kept chilled until serving.
Ingredients for Peanut Butter Bars
- Peanut Butter
- Semi-Sweet Chocolate Morsels
- Butter
- Marshmallow Creme
Use smooth, shelf-stable Peanut Butter for the most even mixture. Natural peanut butter that separates can make the bars oily or loose unless it is stirred very thoroughly before measuring.
How to Make Peanut Butter Bars
Step 1: Prepare the Pan
Line an 8-inch square baking pan with parchment paper, leaving some paper hanging over two opposite sides. The overhang will act as handles when you lift out the chilled bars. Lightly coat the exposed sides of the pan with butter or nonstick spray if needed. Set the prepared pan aside while you make the mixture.
Step 2: Melt the Chocolate and Butter
Place the Semi-Sweet Chocolate Morsels and Butter in a medium, heavy-bottomed saucepan. Warm them over low heat, stirring often with a heatproof spatula. Continue until the chocolate is almost completely smooth, then remove the pan from the heat and keep stirring until the remaining pieces melt. Do not let the mixture boil or become hot enough to scorch.
Step 3: Stir in the Peanut Butter
Add the Peanut Butter to the warm chocolate mixture. Stir slowly until the peanut butter is fully blended and the mixture looks glossy and uniform. If a few chocolate pieces remain, the residual heat should melt them. Let the mixture stand for about 3 minutes so it is warm rather than piping hot before adding the marshmallow creme.
Step 4: Fold in the Marshmallow Creme
Add the Marshmallow Creme and fold it in with the spatula. Work steadily, scraping the bottom and sides of the saucepan, until no large white streaks remain. The mixture will thicken as the creme blends in. Avoid beating it vigorously, which can make it harder to spread smoothly in the pan.
Step 5: Spread and Chill
Scrape the mixture into the prepared pan and spread it into an even layer. Press it gently into the corners with the back of the spatula. Refrigerate the pan uncovered for at least 2 hours, or until the bars feel firm in the center. Once chilled, cover the pan if you are holding the bars longer.
Step 6: Cut and Serve
Use the parchment handles to lift the slab from the pan and place it on a cutting board. For clean edges, use a sharp knife warmed under hot water and dried well between cuts. Cut into eight bars, wiping the knife as needed. Serve cold or let the bars stand at room temperature for 10 to 15 minutes for a softer bite.
Tips for Success
- Keep the saucepan over low heat because chocolate can scorch quickly even when it does not look very hot.
- Stir the Peanut Butter well before measuring, especially if it has separated in the jar.
- If the mixture starts to firm up before it reaches the pan, return the saucepan to very low heat for a few seconds and stir gently.
- Line the pan with parchment rather than foil so the chilled bars lift out more easily and do not pick up a metallic taste.
- Store the bars in an airtight container in the refrigerator and separate layers with parchment paper.
Equipment Needed
- 8-inch square baking pan
- Medium heavy-bottomed saucepan
- Heatproof spatula
Variations
- For thinner snack-size pieces, press the mixture into a 9-inch square pan and begin checking the texture after 90 minutes of chilling.
- For a more pronounced peanut flavor, use a little extra care when spreading the mixture so the peanut butter stays evenly distributed throughout each bar.
- For neat party portions, chill the slab overnight, then cut it into 16 small squares instead of eight large bars.
- For a softer serving texture, let the refrigerated bars stand at room temperature for 10 to 15 minutes before eating.
- For make-ahead storage, wrap the chilled slab tightly, place it in a freezer-safe container, and freeze it for up to 1 month. Thaw it in the refrigerator before cutting.
Serving Suggestions
Serve these bars straight from the refrigerator for the firmest texture, or let them rest briefly at room temperature so the chocolate and peanut butter soften. They fit well on a dessert tray with coffee, tea, or a glass of cold milk. Because the bars are rich, eight larger pieces or 16 small squares are both practical serving options. Keep any uneaten portions refrigerated in a covered container, and do not leave them at room temperature for more than 2 hours.
FAQs about Peanut Butter Bars
Do peanut butter bars need to be refrigerated? Yes. Refrigeration helps the bars stay firm and keeps the chocolate mixture in good condition. Store them in an airtight container in the refrigerator for up to 1 week.
Can I use crunchy Peanut Butter? Yes. Crunchy Peanut Butter will add small peanut pieces and a slightly more textured bite. Stir the jar well before measuring so the bars do not become oily or uneven.
Why did my bars not set firmly? The mixture may not have been chilled long enough, or the ingredients may have been measured loosely. Refrigerate the pan for at least 2 hours, and measure the Semi-Sweet Chocolate Morsels, Butter, and Marshmallow Creme carefully.
Can I make these bars ahead of time? Yes. You can make them up to 1 week ahead and keep them covered in the refrigerator. For longer storage, freeze the chilled slab or cut bars for up to 1 month and thaw them in the refrigerator.
How should I cut clean bars? Lift the chilled slab out with the parchment overhang and use a sharp knife. Warm the blade briefly under hot water, dry it completely, and wipe it between cuts. Cutting while the bars are cold helps prevent sticking.
Final Thoughts
These no-bake peanut butter bars are a useful recipe when you want a simple dessert with a short ingredient list and little cleanup. Gentle melting, thorough mixing, and enough chilling time are the keys to bars that hold their shape while staying soft and chewy. Keep them cold until serving for the cleanest slices.
Looking for more? This recipe is part of our roundup of 3 No-Bake Peanut Butter Bars That Make Easy Party Desserts.
Peanut Butter Bars
Ingredients
Equipment
Method
- Line an 8-inch square pan with parchment paper, leaving an overhang on two sides.
- Melt the Semi-Sweet Chocolate Morsels and Butter in a saucepan over low heat, stirring until smooth.
- Remove the saucepan from the heat and stir in the Peanut Butter until fully combined.
- Let the mixture cool for about 3 minutes, then fold in the Marshmallow Creme until evenly blended.
- Spread the mixture in the prepared pan and refrigerate for at least 2 hours, until firm.
- Lift out the chilled slab, cut it into eight bars, and serve cold or slightly softened.
Nutrition
Notes
- Store the bars in an airtight container in the refrigerator for up to 1 week.
- Use smooth, well-stirred Peanut Butter for the most even texture.
- For clean cuts, warm and dry the knife between slices.