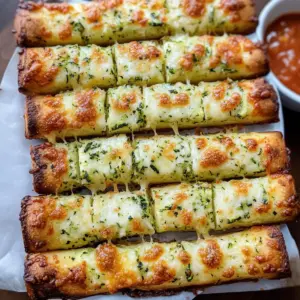
As I grabbed the zucchini from my garden, I had a mini crisis—what do I do with all this green goodness? Then it hit me! I could transform these vibrant veggies into Cheesy Zucchini Breadsticks! This kid-friendly snack is perfect for sneaking in some nutrition without skimping on taste. Not only are they quick to whip up, but their cheesy, soft texture makes them ideal for dipping into marinara or ranch. Plus, with easy substitutions like using grated carrots or yellow squash, you can personalize this recipe to suit your pantry. If you’re on the lookout for fun and healthy snacks or ways to please picky eaters, these breadsticks are calling your name! Curious how to create this tasty treat? Let’s get started!
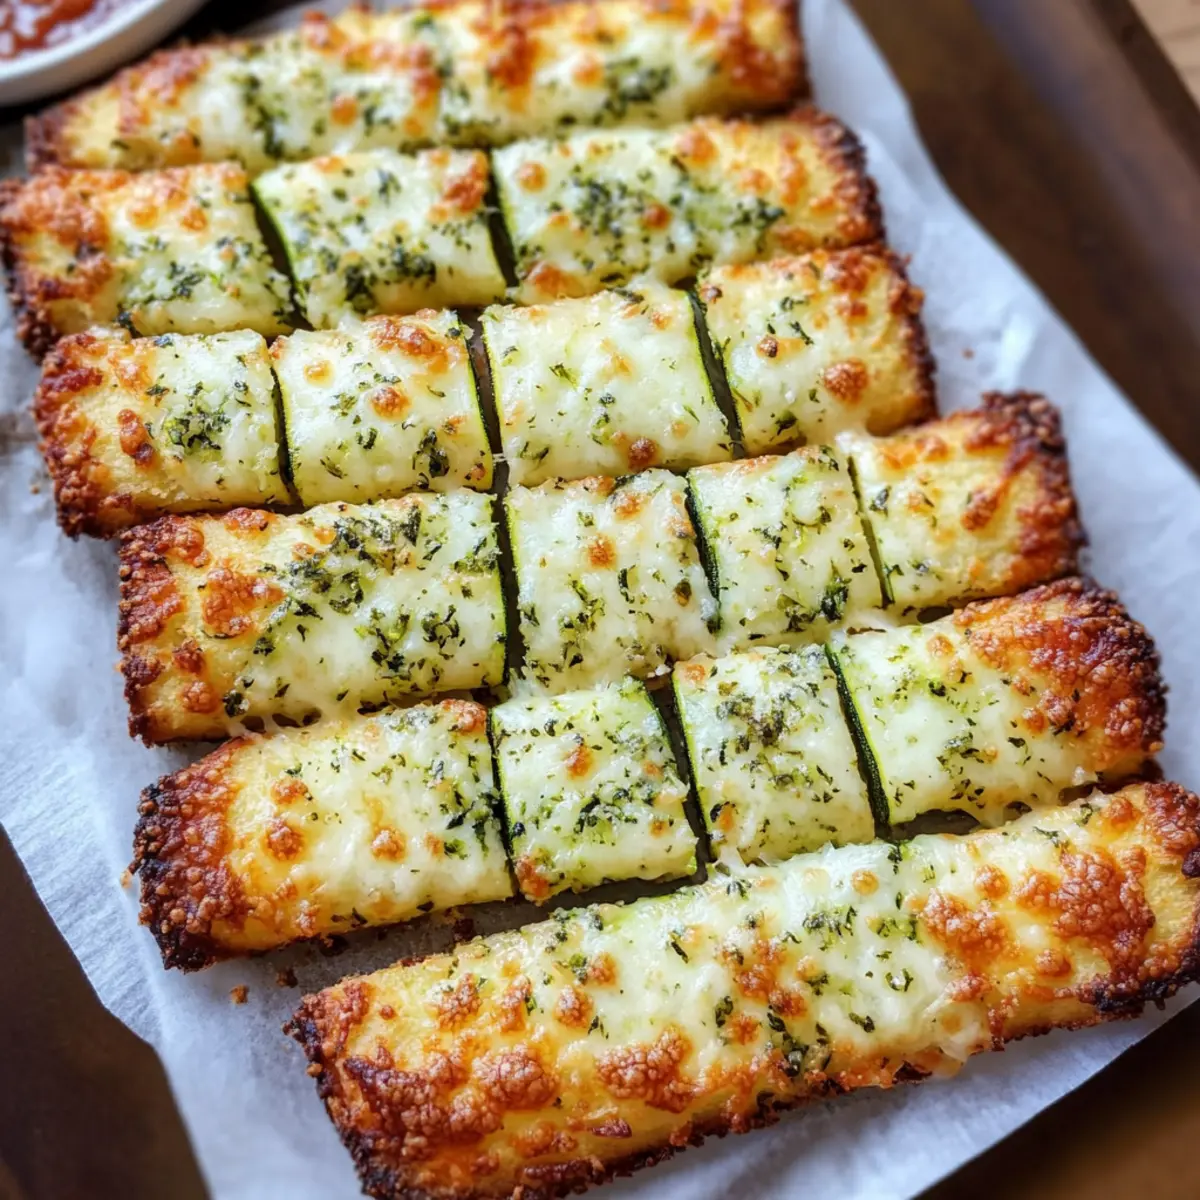
Why Will Kids Love These Breadsticks?
Kid-Friendly Fun: These breadsticks are a hit with children, making snack time exciting and nutritious. Versatile Ingredients: Swap zucchini for grated carrots or yellow squash based on what you have handy. Quick & Easy: Ready in just 30 minutes, they’re perfect for busy evenings. Dippable Delight: Pair them with marinara or ranch for an extra tasty twist. Healthy Sneak: Packed with veggies, they’re an effortless way to boost nutrition. If you’re curious for more, check out our guide on healthy snacks for picky eaters to keep things fresh and fun!
Cheesy Zucchini Breadsticks Ingredients
-
For the Dough
• Zucchini – Adds moisture and a veggie boost; if zucchini isn’t on hand, try grated carrots or yellow squash for a flavorful swap.
• All-Purpose Flour – This main ingredient provides structure; for a gluten-free option, use a gluten-free all-purpose blend that contains xanthan gum.
• Mozzarella Cheese – Offers that gooey stretch that kids love; can be substituted with cheddar or Monterey Jack for a different taste.
• Parmesan Cheese – Adds a punch of flavor that enhances the overall taste.
• Eggs – These bind everything together nicely; for an egg-free alternative, mix 1 tablespoon flaxseed meal with 2.5 tablespoons water.
• Olive Oil – Contributes moisture and a richer flavor to the breadsticks.
• Baking Powder – Essential for making the breadsticks rise perfectly.
• Salt – It’s key for enhancing overall flavor. -
For Flavor Enhancement (Optional)
• Garlic Powder – Adds a savory depth that takes the taste to a whole new level.
• Dried Italian Seasoning – Enhances the taste profile; feel free to sprinkle in your favorite herbs for more personalization.
With these Cheesy Zucchini Breadsticks Ingredients, you’re well on your way to creating a delectable, veggie-packed snack that pleases every palate!
Step‑by‑Step Instructions for Cheesy Zucchini Breadsticks
Step 1: Preheat and Prepare
Begin by preheating your oven to 400°F (200°C). While the oven heats, line a baking sheet with parchment paper, ensuring it’s ready to prevent sticking. This simple step will make transferring your Cheesy Zucchini Breadsticks effortless and keep your clean-up a breeze.
Step 2: Grate and Drain Zucchini
Grate the zucchini using a box grater or food processor until you have a generous amount. Next, transfer the grated zucchini into a kitchen towel or cheesecloth and squeeze out excess moisture. This is crucial to avoid soggy breadsticks, ensuring that your snacks are perfectly soft and chewy once baked.
Step 3: Mix Dry Ingredients
In a large mixing bowl, combine the all-purpose flour, baking powder, salt, and garlic powder if you’re using it. Whisk these dry ingredients together to ensure they’re well-blended, which will help your Cheesy Zucchini Breadsticks rise evenly and have a delightful texture throughout.
Step 4: Combine Wet Ingredients
Add the drained, grated zucchini to the dry mixture, followed by mozzarella cheese, Parmesan, eggs, olive oil, and any dried Italian seasoning you’ve chosen. Stir everything together gently until combined. The mixture should be thick and sticky, filled with cheesy goodness and veggie texture, ready to form into breadsticks.
Step 5: Knead the Dough
Lightly flour your work surface to prevent sticking, then turn out the Cheesy Zucchini Breadsticks dough. Knead it gently for about 1-2 minutes until it becomes cohesive. You want a dough that holds together nicely without being overly sticky, making it simple to shape.
Step 6: Shape the Breadsticks
Using your hands, pat or roll the dough into a rectangle about ½ inch thick. Once it’s shaped, take a sharp knife or pizza cutter to cut the dough into strips, approximately ½ to ¾ inch wide. Carefully transfer these strips to your prepared baking sheet, leaving space between each stick for even baking.
Step 7: Bake Until Golden
Place the baking sheet in the preheated oven and bake the breadsticks for 15-18 minutes or until they are golden brown and firm to the touch. You’ll know they’re done when they are lightly browned around the edges, giving them that perfect inviting look and texture.
Step 8: Cool and Serve
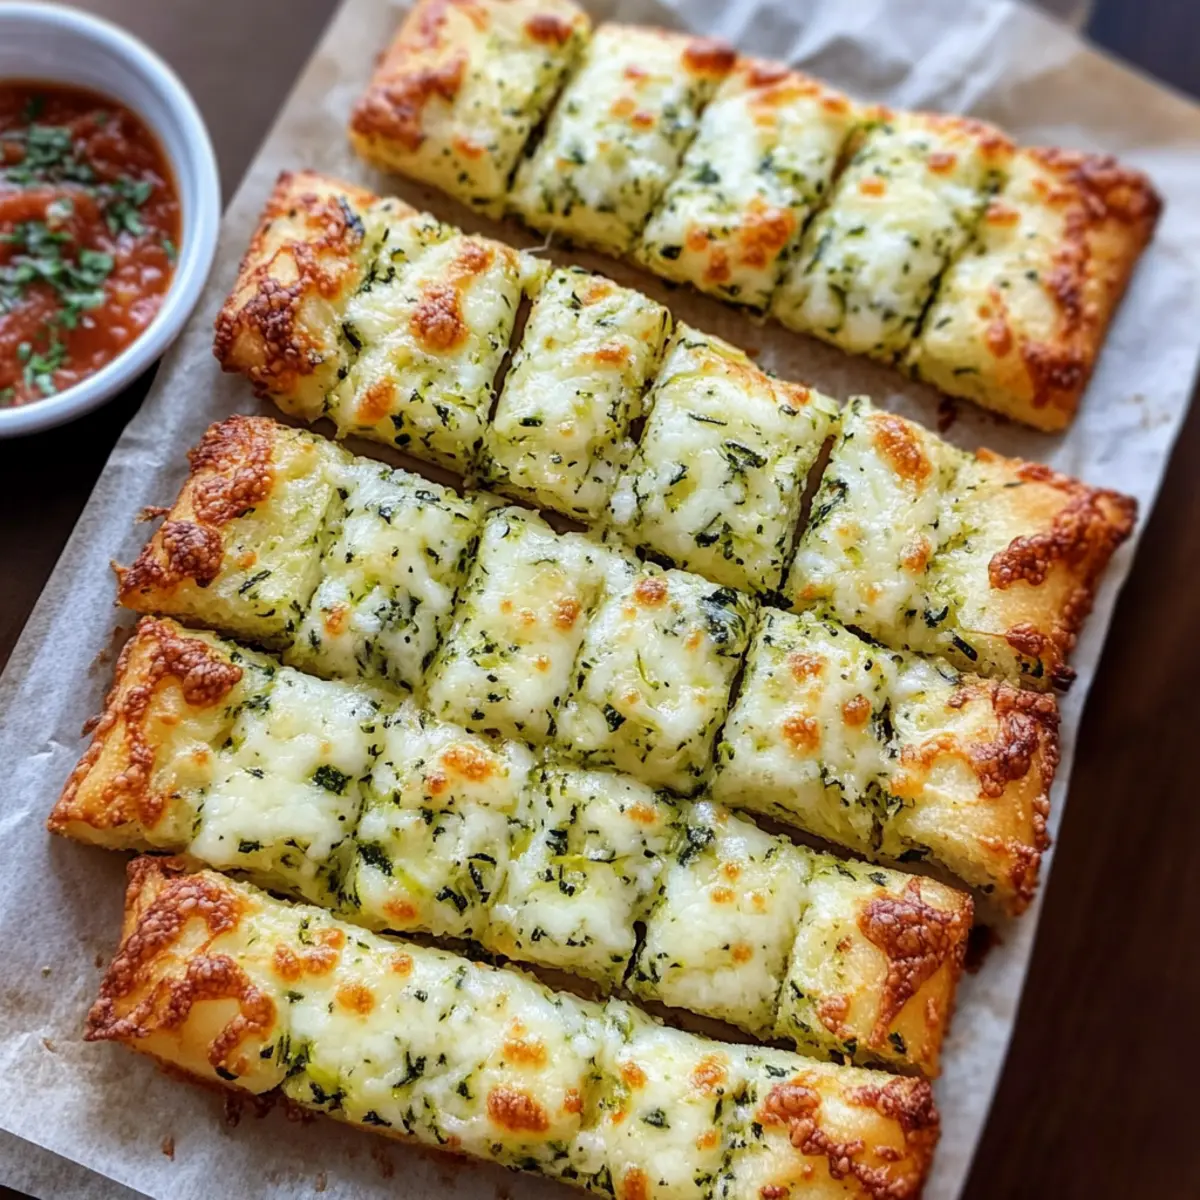
After removing the Cheesy Zucchini Breadsticks from the oven, allow them to cool for a few minutes on the baking sheet. This brief cooling time enhances their flavor and makes them easier to handle. Serve warm with marinara sauce or your child’s favorite dipping sauce for a delightful snack experience.
Make Ahead Options
These Cheesy Zucchini Breadsticks are fantastic for meal prep, making your busy weeknights a breeze! You can prepare and cut the dough strips ahead of time, storing them in the refrigerator, covered, for up to 24 hours. To maintain their quality, ensure you squeeze out as much moisture from the grated zucchini as possible, which helps prevent sogginess. When you’re ready to bake, simply transfer the chilled strips to a parchment-lined baking sheet and pop them in the preheated oven. You’ll have delicious, cheesy breadsticks ready to enjoy with minimal effort, ensuring the flavors remain just as vibrant and enjoyable as day one!
What to Serve with Cheesy Zucchini Breadsticks?
These delightful breadsticks deserve a charming ensemble of flavors and textures to elevate your snacking experience.
-
Marinara Sauce: A classic pairing that provides a rich, tangy dip, perfectly complementing the cheesy flavor of the breadsticks. The warm sauce also balances the mildness of the zucchini.
-
Ranch Dressing: Creamy and herby, ranch adds a delightful cooling element, making each bite of breadstick an extra treat. It’s a hit with kids, ensuring they’ll keep coming back for more.
-
Garlic Butter Dip: Melted garlic butter creates a luxurious dip that enhances the savory notes of the breadsticks, bringing an irresistible aroma and flavor. It’s perfect for butter lovers!
-
Fresh Garden Salad: A crisp salad with greens, cherry tomatoes, and a light vinaigrette offers a refreshing contrast, adding healthy crunch and vibrant colors to the table.
-
Grilled Vegetables: Warm, smoky veggies like bell peppers and zucchini complement the flavors while boosting the nutritional profile, creating a wholesome meal.
-
Cheesy Potatoes: Creamy, cheesy mashed potatoes or crispy potato wedges make for a comforting side dish that pairs beautifully with the cheesy breadsticks, creating an indulgent experience.
-
Sparkling Lemonade: This bubbly beverage adds a zesty, refreshing twist, cutting through the richness of the breadsticks and making your snack time feel even more special.
-
Milkshakes: For a fun treat, serve chocolate or vanilla milkshakes alongside the breadsticks. The creamy sweetness turns snack time into a playful experience for kids and adults alike!
By embracing these pairings, your Cheesy Zucchini Breadsticks will shine and steal the spotlight during snack time!
Tips for the Best Breadsticks
- Drain Zucchini Well: Ensure your zucchini is fully drained to avoid sogginess, which can make the breadsticks heavy and unappetizing.
- Fresh Herbs Boost Flavor: Try adding fresh herbs like basil or rosemary for a punch of flavor that elevates the Cheesy Zucchini Breadsticks even more.
- Perfect Baking Time: Keep a close eye on your breadsticks during baking; removing them once golden ensures they’re crispy on the outside and soft on the inside.
- Even Strips for Even Cooking: Cut your dough strips into uniform sizes to ensure that all breadsticks bake evenly, preventing some from being undercooked while others are overdone.
- Experiment with Cheese: Don’t hesitate to swap out mozzarella for cheddar or Monterey Jack; it adds a unique twist to your Cheesy Zucchini Breadsticks while offering a different flavor profile!
Variations & Substitutions for Cheesy Zucchini Breadsticks
Enhance your Cheesy Zucchini Breadsticks with a few delightful twists—your creativity is the secret ingredient to happiness in the kitchen!
-
Vegetable Swap: Substitute grated zucchini with grated carrots or yellow squash for a colorful and equally delicious twist.
-
Gluten-Free Option: Use a gluten-free all-purpose flour blend that includes xanthan gum to enjoy this recipe without gluten.
-
Cheese Variations: Replace mozzarella with cheddar or Monterey Jack for a rich flavor profile that kids will adore.
-
Egg-Free Choice: For an egg-free version, combine 1 tablespoon flaxseed meal with 2.5 tablespoons water to bind everything together beautifully.
-
Herb Infusion: Spice things up by adding fresh herbs such as basil or oregano, giving your breadsticks an aromatic twist.
-
Adjusting Heat Levels: Sprinkle in some red pepper flakes for a gentle kick of heat that will tantalize older kids’ taste buds, making snack time exciting!
-
Shape Creativity: Roll the dough into twists or fun shapes to engage your children even more during prep time. It’s all about making the experience enjoyable!
-
Extra Crunch: Mix in some seasoned breadcrumbs for an added crispy texture, giving a delightful contrast to the soft inside of the breadsticks.
Feeling inspired? For more creative ideas, check out our tips on recipe customization in healthy snacks for picky eaters and keep fun mealtime experiences frequent and fabulous!
Storage Tips for Cheesy Zucchini Breadsticks
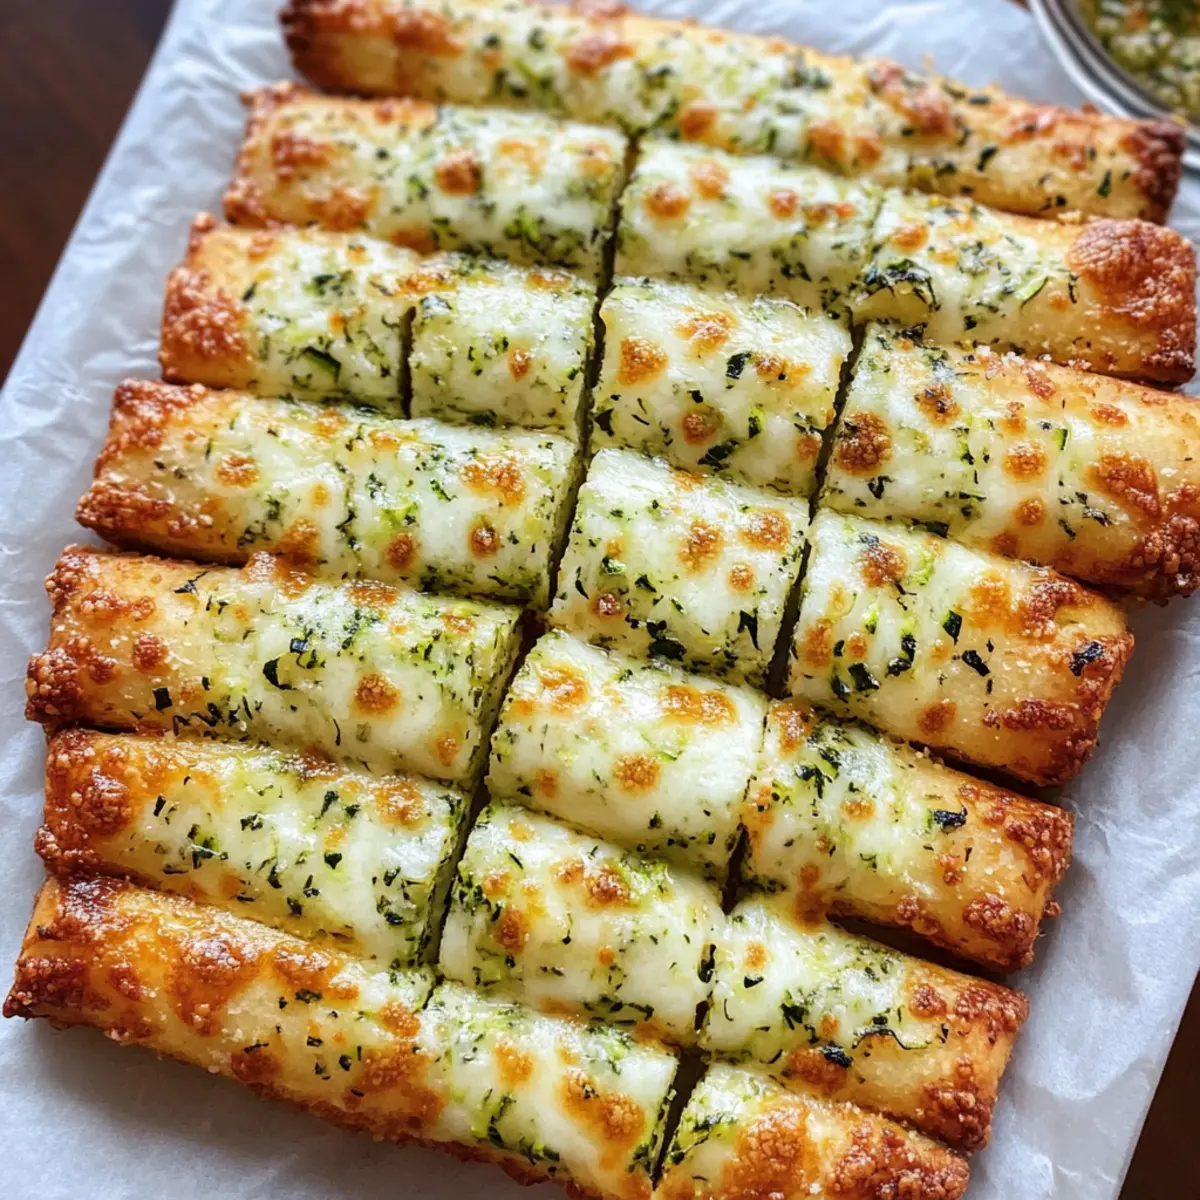
Fridge: Store leftover Cheesy Zucchini Breadsticks in an airtight container in the fridge for up to 3 days to maintain their freshness and flavor.
Freezer: If you want to freeze them, allow the breadsticks to cool completely, then wrap them tightly in plastic wrap and place them in a freezer-safe bag for up to 2 months.
Reheating: To bring back their delicious texture, reheat thawed breadsticks in the oven at 350°F (175°C) for 5-10 minutes until heated through and crispy again.
Make-Ahead Tips: Prepare and cut the dough strips, then store them in the fridge covered for up to 24 hours before baking for a quick snack option!
Cheesy Zucchini Breadsticks Recipe FAQs
How do I choose the right zucchini for my breadsticks?
Selecting fresh zucchini is key! Look for zucchinis that are firm and free from dark spots or blemishes. Smaller zucchinis often have a sweeter flavor and better texture, making them ideal for this recipe. If you can’t find zucchini, grated carrots or yellow squash can be wonderful alternatives.
What’s the best way to store leftover breadsticks?
Absolutely! To keep your Cheesy Zucchini Breadsticks fresh, store them in an airtight container in the fridge for up to 3 days. If you want to enjoy them later, they can also be frozen; just ensure they are completely cooled before wrapping tightly in plastic wrap and placing in a freezer-safe bag for up to 2 months.
Can I freeze Cheesy Zucchini Breadsticks?
Yes, freezing is a great option! After baking, let the breadsticks cool completely. Then, wrap them individually in plastic wrap and place them in a freezer bag. When you’re ready to enjoy, simply thaw them in the fridge overnight and reheat in the oven at 350°F (175°C) for 5-10 minutes to restore their delightful crispiness.
What should I do if my breadsticks come out soggy?
If your Cheesy Zucchini Breadsticks end up soggy, the most likely culprit is excess moisture from the zucchini. To avoid this, make sure to squeeze out as much liquid as possible after grating. Using a kitchen towel or cheesecloth can help! If they still turn out soggy, you can crisp them up in the oven for a few extra minutes before serving.
Are these breadsticks suitable for kids with food allergies?
Great question! This recipe can be adapted for various dietary needs. For gluten-free breadsticks, swap all-purpose flour for a gluten-free blend that contains xanthan gum. Additionally, for an egg-free option, mix 1 tablespoon of flaxseed meal with 2.5 tablespoons of water as a substitute for each egg. Always check that your substitutes fit your child’s dietary needs!
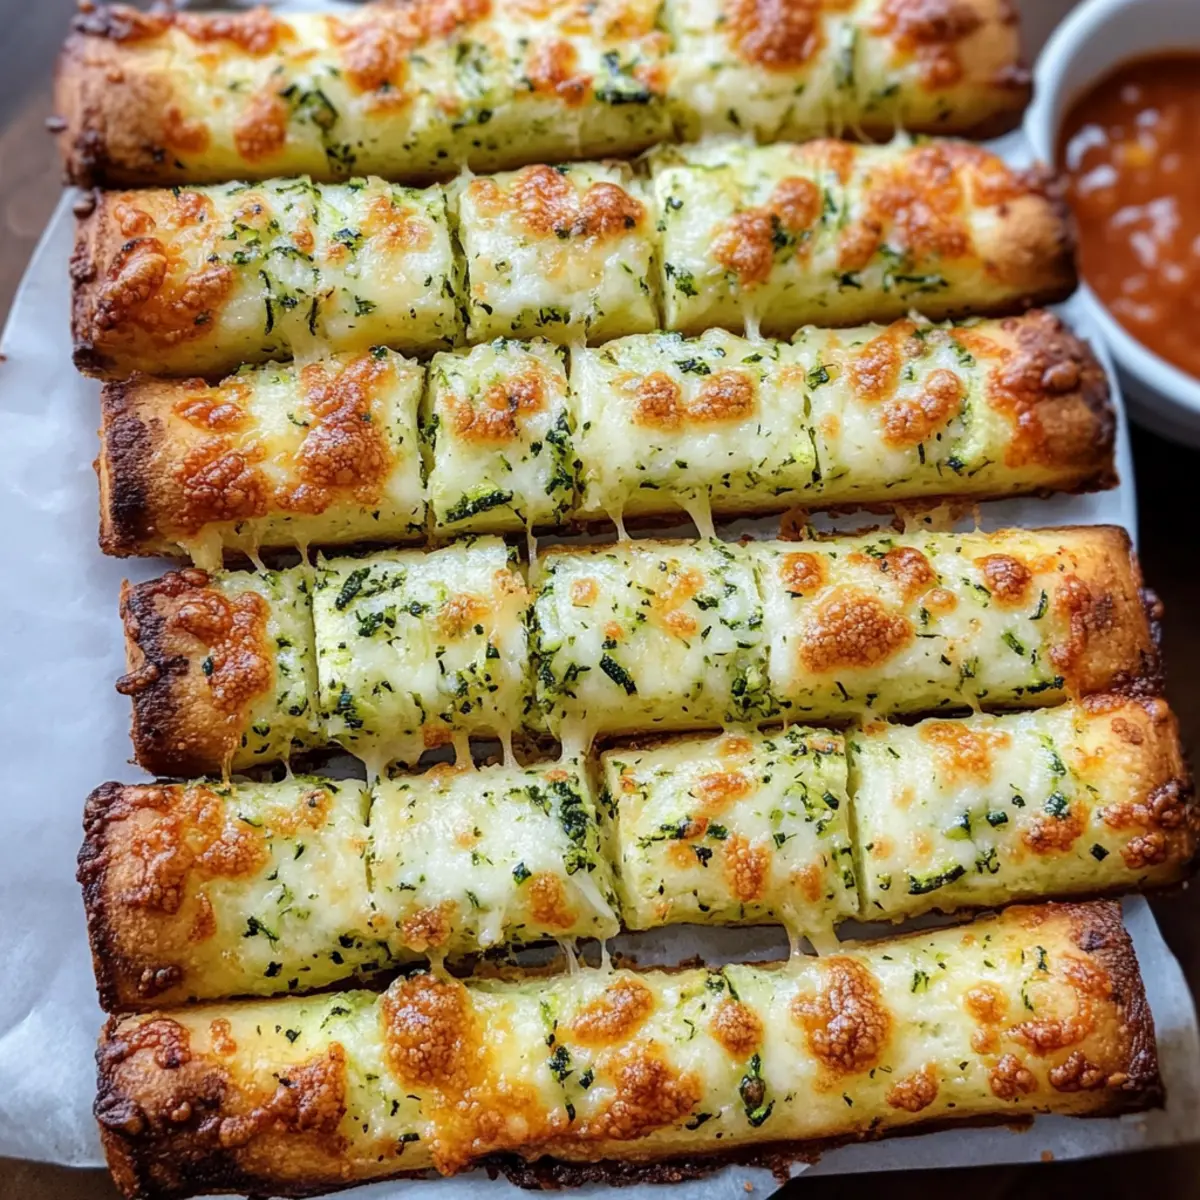
Cheesy Zucchini Breadsticks Kids Can't Resist
Ingredients
Equipment
Method
- Preheat your oven to 400°F (200°C) and line a baking sheet with parchment paper.
- Grate the zucchini and squeeze out excess moisture using a kitchen towel.
- In a bowl, combine the flour, baking powder, salt, and garlic powder.
- Add the drained zucchini, mozzarella, Parmesan, eggs, olive oil, and Italian seasoning. Mix gently until combined.
- Knead the dough lightly for about 1-2 minutes until cohesive.
- Shape the dough into a rectangle about ½ inch thick and cut into strips.
- Transfer to the baking sheet and bake for 15-18 minutes until golden brown.
- Allow to cool for a few minutes before serving with marinara or ranch.