Introduction to Buckeye Pie
Buckeye Pie brings the classic pairing of peanut butter and chocolate to a cool, creamy pie. It starts with a simple chocolate cookie crust, followed by a lightly sweet peanut butter and cream cheese filling. A thin chocolate topping finishes each slice.
This is a useful make-ahead dessert for Thanksgiving because it needs time in the refrigerator rather than space in the oven. Prepare it earlier in the day, let it chill until firm, and slice it just before serving. The texture is rich but soft, with enough contrast from the crumb crust to keep each bite interesting.
Why You'll Love This Buckeye Pie
- The pie does not require baking, so it leaves your oven available for holiday dishes.
- The filling uses familiar ingredients and comes together in one mixing bowl.
- The chocolate cookie crust adds a firm, crunchy layer beneath the soft filling.
- The chocolate topping can be spread smoothly or left with a few natural swirls.
- You can make the pie several hours ahead and keep it chilled until dessert time.
Ingredients for Buckeye Pie
- 1 1/2 cups chocolate cookie crumbs
- 1/4 cup melted butter
- 1 cup creamy peanut butter
- 1 (8 oz) cream cheese, softened
- 1 cup powdered sugar
- 1 (8 oz) whipped topping
- 1 1/2 cups chocolate chips
- 2 tbsp peanut butter
Use creamy peanut butter rather than natural peanut butter for the smoothest filling and topping. Natural peanut butter can separate, which may make the filling oily or loose. Let the cream cheese soften at room temperature for about 30 minutes, but do not leave it out for more than two hours.
How to Make Buckeye Pie
Step 1: Prepare the Crust
Add 1 1/2 cups chocolate cookie crumbs and 1/4 cup melted butter to a medium bowl. Stir until every crumb is moistened and the mixture resembles damp sand. Press it firmly and evenly into the bottom and slightly up the sides of a 9-inch pie plate. Use the flat bottom of a measuring cup to compact the crumbs. Refrigerate the crust for at least 30 minutes while you prepare the filling.
Step 2: Make the Peanut Butter Filling
Place 1 cup creamy peanut butter, 1 (8 oz) cream cheese, softened, and 1 cup powdered sugar in a large mixing bowl. Beat with an electric mixer on medium speed until smooth and well blended, scraping the sides and bottom of the bowl as needed. The mixture should be thick, creamy, and free of visible cream cheese streaks.
Step 3: Fold in the Topping
Add 1 (8 oz) whipped topping to the peanut butter mixture. Fold it in with a rubber spatula using broad strokes until no white streaks remain. Folding instead of beating helps keep the filling light and prevents the whipped topping from losing too much volume.
Step 4: Fill the Chilled Crust
Spoon the peanut butter filling into the chilled crust. Spread it to the edges with an offset spatula or the back of a spoon, keeping the surface as level as possible. Set the filled pie in the refrigerator while you prepare the chocolate topping so the filling can begin to firm.
Step 5: Make the Chocolate Topping
Place 1 1/2 cups chocolate chips and 2 tbsp peanut butter in a microwave-safe bowl. Microwave at 50 percent power for 30 seconds, then stir well. Continue heating in 15- to 20-second intervals, stirring after each one, until the chips are nearly melted. Stir until the remaining pieces dissolve from the residual heat. Do not overheat the mixture, since scorched chocolate will become thick and difficult to spread. Let the topping cool for several minutes until it is warm but not hot.
Step 6: Finish and Chill the Pie
Spoon the slightly cooled chocolate mixture over the peanut butter filling and spread it gently into an even layer. Refrigerate the pie for at least 2 hours, or until the center is firm enough to slice cleanly. Keep the finished pie refrigerated until serving. For neater slices, dip a sharp knife in hot water, wipe it dry, and cut the pie, repeating between slices.
Tips for Success
- Press the crust firmly into the pie plate, especially where the bottom meets the sides, so it holds together when sliced.
- If the chocolate topping seems too thick to spread, let it stand at room temperature for a few minutes rather than adding extra liquid.
- Cool the melted chocolate before spreading it over the filling. Hot chocolate can soften or partially melt the whipped topping layer.
- For clean slices, chill the pie fully and use a warm, dry knife. Wipe the knife after each cut.
- Keep leftovers covered in the refrigerator and use them within three to four days for the best texture and quality.
Equipment Needed
- 9-inch pie plate
- Electric mixer
- Microwave-safe bowl
Variations
- Use chocolate sandwich cookie crumbs for a sweeter crust, or use plain chocolate wafer crumbs for a more cocoa-forward base.
- Add a small pinch of salt to the peanut butter filling if your peanut butter is unsalted and you prefer more contrast with the chocolate.
- Make individual desserts by pressing the crust mixture into eight small dessert cups and dividing the filling and topping among them.
- Swirl a little softened peanut butter across the chocolate topping before it sets for a simple marbled finish.
- For a firmer, more frozen dessert, freeze the covered pie for up to one month and thaw it in the refrigerator before slicing.
Serving Suggestions
Serve Buckeye Pie cold in modest wedges with a cup of coffee, tea, or a glass of milk. Because the filling is rich, a small slice is usually satisfying. If you freeze the pie, move it to the refrigerator several hours before serving so the crust softens slightly and the filling becomes creamy again. Do not leave the pie at room temperature for more than two hours, or more than one hour if the room is above 90°F.
FAQs about Buckeye Pie
Can I make Buckeye Pie ahead of time? Yes. Make it up to one day ahead, cover it, and keep it refrigerated. The crust and filling will firm as the pie rests, making it easier to slice.
Does Buckeye Pie need to be baked? No. The crust is pressed together with melted butter, and the filling and topping are assembled without baking. You only need to melt the chocolate chips gently in the microwave.
How long should Buckeye Pie chill? Chill the crust for at least 30 minutes before filling, then chill the completed pie for at least 2 hours. For the cleanest slices, an overnight chill works well.
Can I freeze this pie? Yes. Cover the pie tightly and freeze it for up to one month. Thaw it in the refrigerator rather than on the counter, and slice it while it is still well chilled.
How should I store leftover pie? Cover leftover pie and refrigerate it within two hours of serving. Use it within three to four days, and keep it cold until you are ready to eat it.
Final Thoughts
Buckeye Pie is a practical Thanksgiving dessert when you want a dependable chocolate and peanut butter combination without another baked item in the oven. The make-ahead timing gives the filling plenty of time to set, while the simple crumb crust and chocolate topping make the finished pie feel complete. Keep it chilled, slice it with a warm knife, and serve it in small wedges.
Looking for more? This recipe is part of our roundup of 6 Delicious Thanksgiving Pie Recipes For An Easy Holiday Dessert.
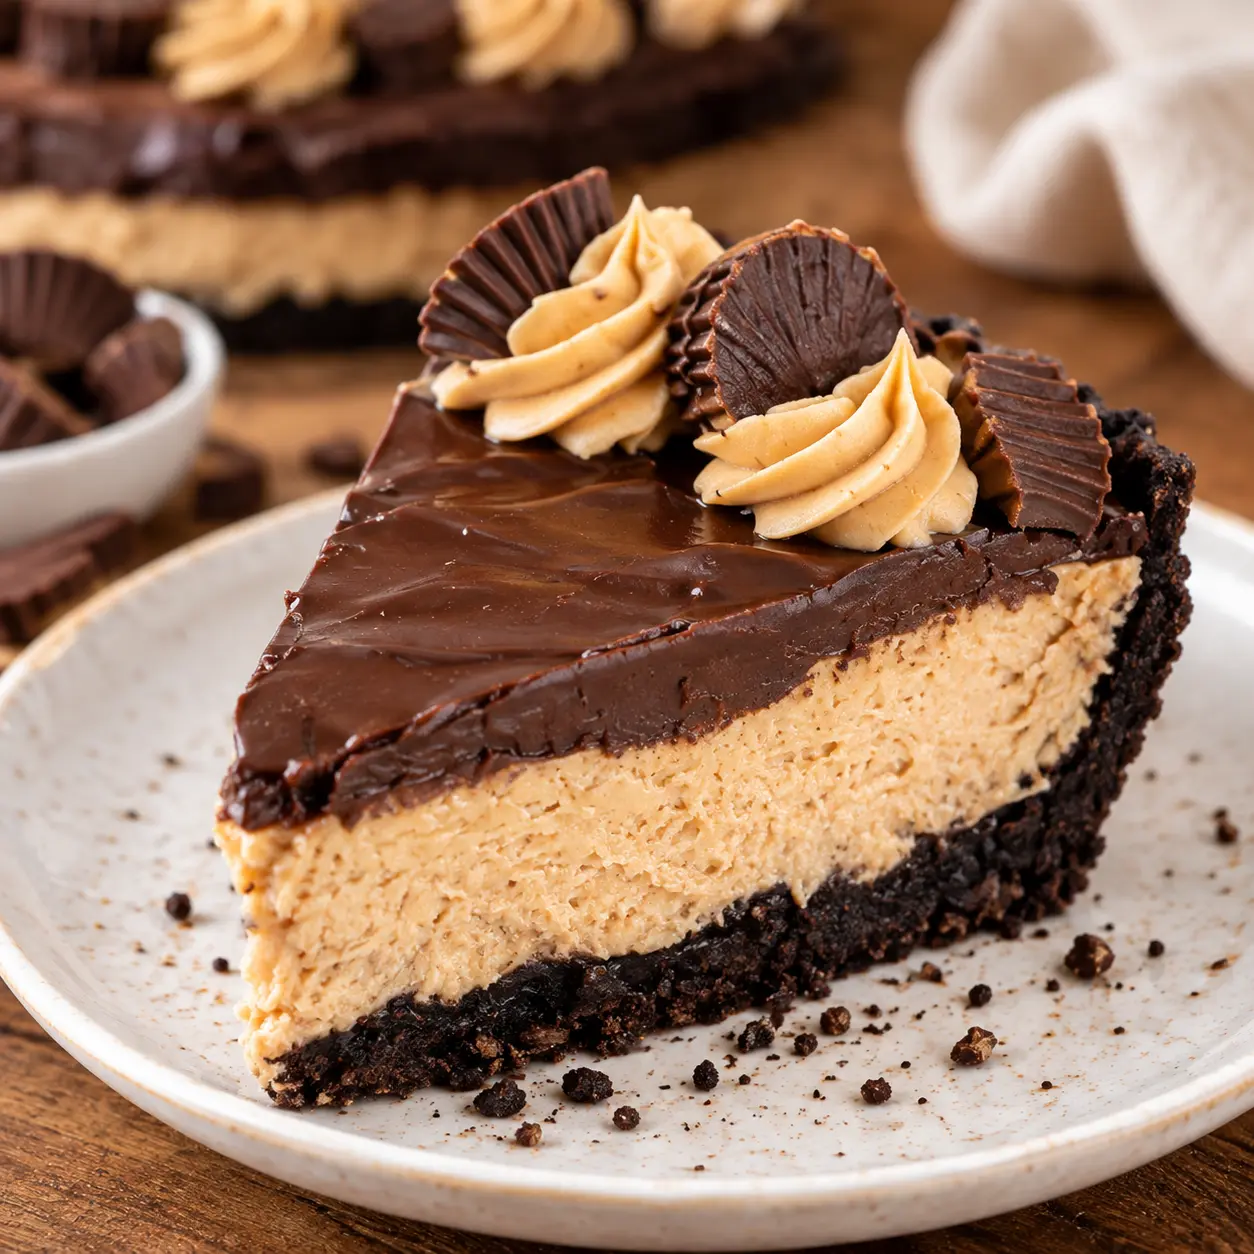
Buckeye Pie
Ingredients
Equipment
Method
- Stir the chocolate cookie crumbs and melted butter together, press the mixture into a 9-inch pie plate, and refrigerate for at least 30 minutes.
- Beat the creamy peanut butter, softened cream cheese, and powdered sugar until smooth.
- Fold in the whipped topping until no white streaks remain, then spread the filling into the chilled crust.
- Microwave the chocolate chips and peanut butter at 50 percent power in short intervals, stirring until smooth.
- Cool the chocolate mixture briefly, spread it over the filling, and refrigerate the pie for at least 2 hours.
- Slice the chilled pie with a warm, dry knife and keep leftovers refrigerated.
Nutrition
Notes
- Use creamy peanut butter for the smoothest filling and topping.
- Keep the completed pie refrigerated until serving and do not leave it at room temperature for more than two hours.
- For the cleanest slices, chill the pie overnight and warm the knife between cuts.