Ingredients
Equipment
Method
Step-by-Step Instructions
- Begin by cooking the rotini pasta according to package instructions, usually around 8-10 minutes until al dente. Once cooked, drain and rinse the pasta under cold water to stop the cooking process and prevent sticking. Allow the pasta to cool completely before layering it into the mason jars for your Grilled Chicken Caesar Pasta Salad.
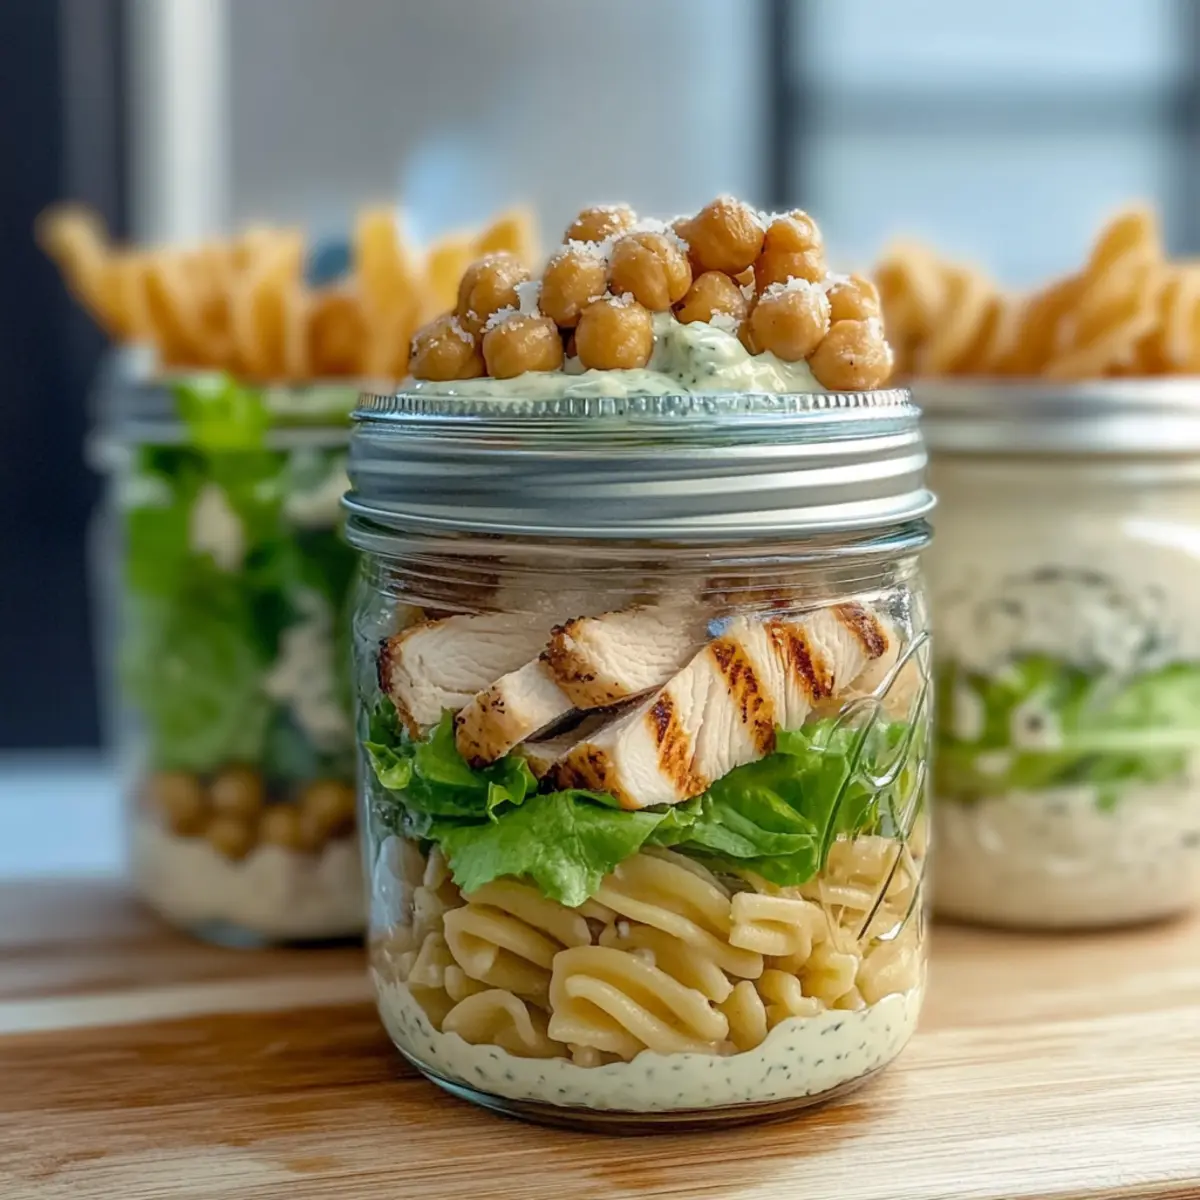
- In a pint-sized mason jar, start layering your ingredients by adding a generous portion of the cooled rotini at the bottom. Aim for about a quarter of the jar filled with pasta to set a solid foundation.
- Next, gently pack in chopped romaine lettuce on top of the rotini. Fill the jar with a handful of greens, leaving some space for visual appeal.
- Slice your grilled chicken and layer it generously over the romaine lettuce. This adds richness to your Grilled Chicken Caesar Pasta Salad.
- Sprinkle crispy roasted chickpeas and shredded Parmesan cheese on top of the chicken layer.
- Just before serving, drizzle your creamy Caesar dressing over the top layer of the salad.
- Cap each mason jar tightly with its lid to keep your salad fresh. Store the jars upright in the refrigerator, where they can last up to five days.
Notes
These Grilled Chicken Caesar Pasta Salad Jars are perfect for meal prep—prepare them over the weekend for grab-and-go lunches throughout your busy work week.