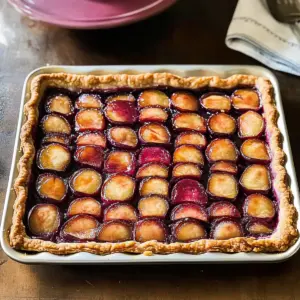
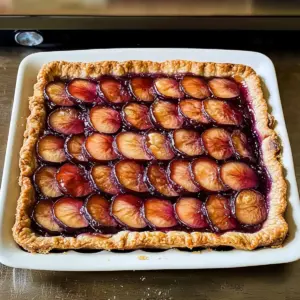
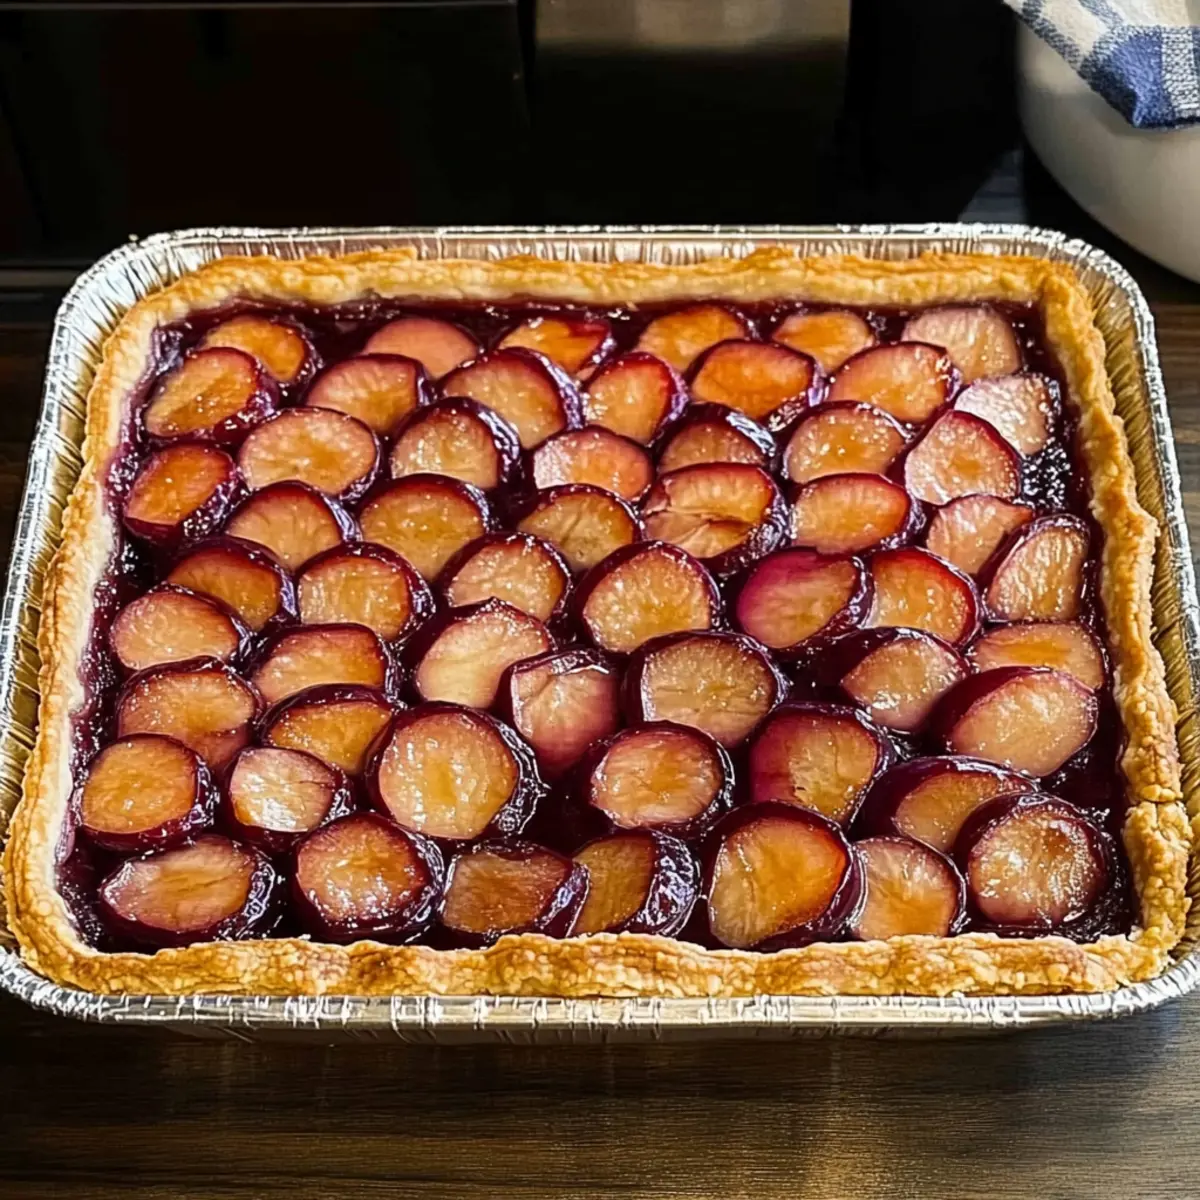
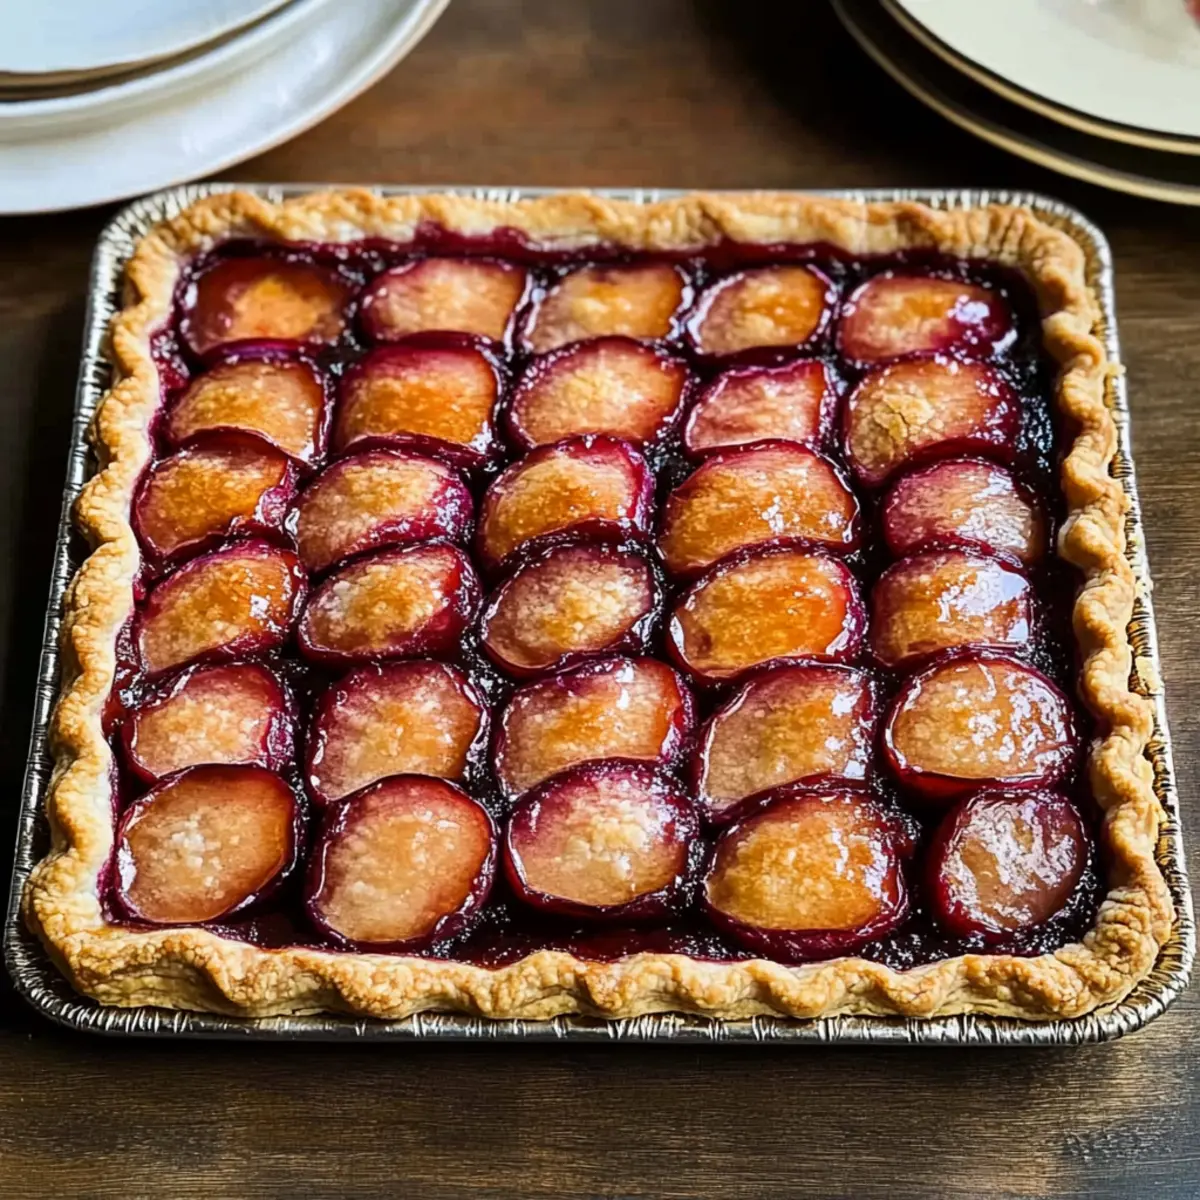
As summer begins to fade, a delightful treasure emerges from the orchard: ripe plums, bursting with flavor and sunshine! I’ve turned these gems into a Rustic Plum Slab Pie that’s not just delicious but perfect for those gatherings where you want to impress without breaking a sweat. This pie serves a crowd of 24, making it ideal for barbecues or family reunions, and it’s completely adaptable—feel free to swap in peaches or blueberries for a fruity twist! With a perfectly flaky crust and a sweet-tart filling, it offers both comfort and celebration, connecting us to cherished moments around the table. Curious about how to make this delectable treat? Let’s dive into the simplicity of this crowd-pleasing dessert!
Why is Plum Slab Pie Impressive?
Crowd-Pleaser: This Rustic Plum Slab Pie serves 24, making it an excellent choice for gatherings, parties, or potlucks, ensuring everyone can indulge.
Adaptable Filling: Easily switch up the fruit! Whether you prefer juicy peaches or blueberries, this recipe is versatile and just as delicious.
Simplicity: The steps are straightforward, so even beginner bakers can create this stunning dessert with confidence.
Perfect Texture: With a flaky crust and sweet-tart filling, each slice offers a delightful crunch alongside the juicy fruit, leaving everyone wanting more.
Make-Ahead Friendly: Prepare your dough in advance, making hosting a breeze and allowing you to savor those special moments with guests.
Delicious Pairing: Don’t forget to serve it warm with vanilla ice cream or whipped cream—pure comfort in every bite! Enjoy a beautiful dessert while creating lasting memories around the table.
Plum Slab Pie Ingredients
• For the Crust
- All-Purpose Flour – 2 1/2 cups; base for a flaky crust; for gluten-free, use a 1:1 gluten-free flour blend.
- Butter – 2 sticks; ensures richness and flakiness; use dairy-free butter for a vegan option.
- Salt – 1/2 tsp; balances flavors across the crust.
- Ice Water – 1/2 cup; helps bring the dough together without overworking it.
• For the Filling
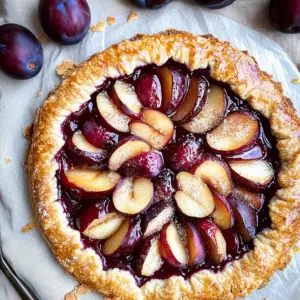
- Ripe Plums – 6 cups sliced; provides natural sweetness and vibrant flavor; substitute with peaches or blueberries for variation.
- Sugar – 2 tbsp + 4 tbsp for cinnamon sugar; enhances sweetness of the plums; use brown sugar for a deeper flavor.
- Cherry Preserves – 1/2 cup; adds moisture and sweetness; any fruit preserves can substitute.
- Cinnamon – 1/2 tsp; gives a warm spice note; explore nutmeg or allspice for variety.
This Rustic Plum Slab Pie ingredients list reflects a delightful balance of flavor and texture, perfect for a crowd-pleasing dessert everyone will love!
Step‑by‑Step Instructions for Rustic Plum Slab Pie
Step 1: Prepare Crust
In a food processor, combine 2 ½ cups of all-purpose flour, ½ teaspoon of salt, and 2 tablespoons of sugar. Pulse together until mixed. Cut 2 sticks of cold butter into cubes and add to the mixture, pulsing about 10 times, until the texture resembles coarse crumbs. Gradually pour in ½ cup of ice water, pulsing until the dough just begins to come together into a ball.
Step 2: Chill Dough
Once the dough is formed, divide it in half and flatten each portion into a disk. Wrap the disks tightly in plastic wrap and refrigerate them for 1 hour. This chilling step is crucial for achieving a flaky crust in your Rustic Plum Slab Pie, as it solidifies the butter and helps the dough to relax.
Step 3: Mix Filling
While the dough chills, wash and slice enough ripe plums to measure about six cups. In a large mixing bowl, gently toss the plum slices with 2 tablespoons of sugar and ½ teaspoon of cinnamon. Allow the mixture to sit for about 10–15 minutes, letting the juices mingle and create a flavorful filling for the pie.
Step 4: Assemble Pie
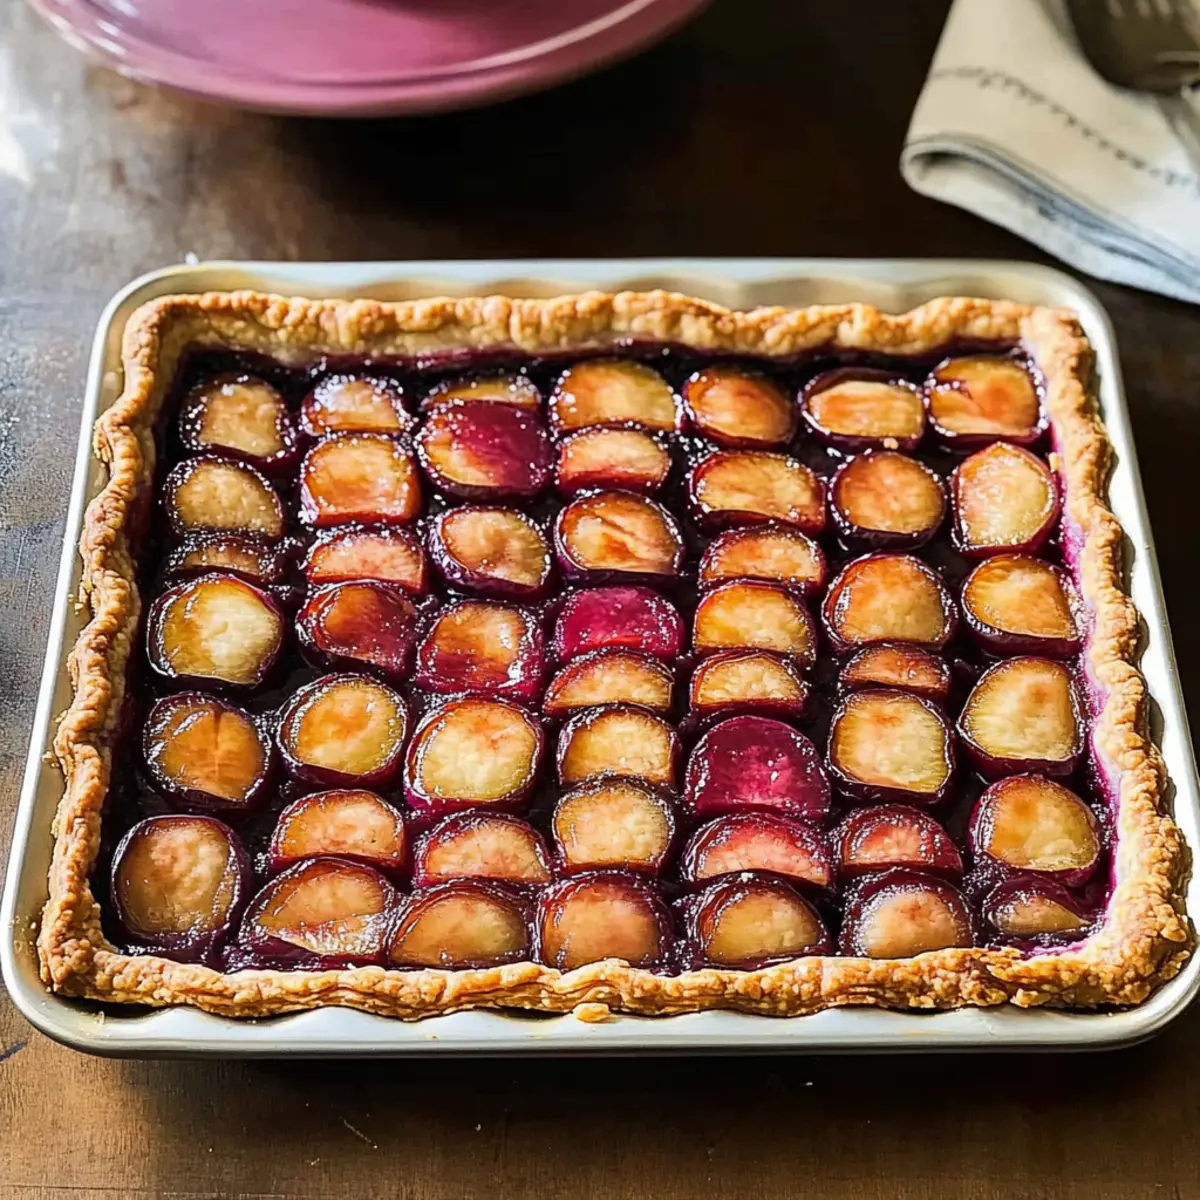
Preheat your oven to 375°F. Roll out one disk of chilled dough on a lightly floured surface into a rectangle large enough to fit a 15×10 inch jelly roll pan. Carefully transfer the dough into the prepared pan and poke holes in the bottom with a fork. Spread ½ cup of cherry preserves evenly over the crust, then layer the plum filling on top, finishing with a sprinkle of the remaining sugar mixture.
Step 5: Bake
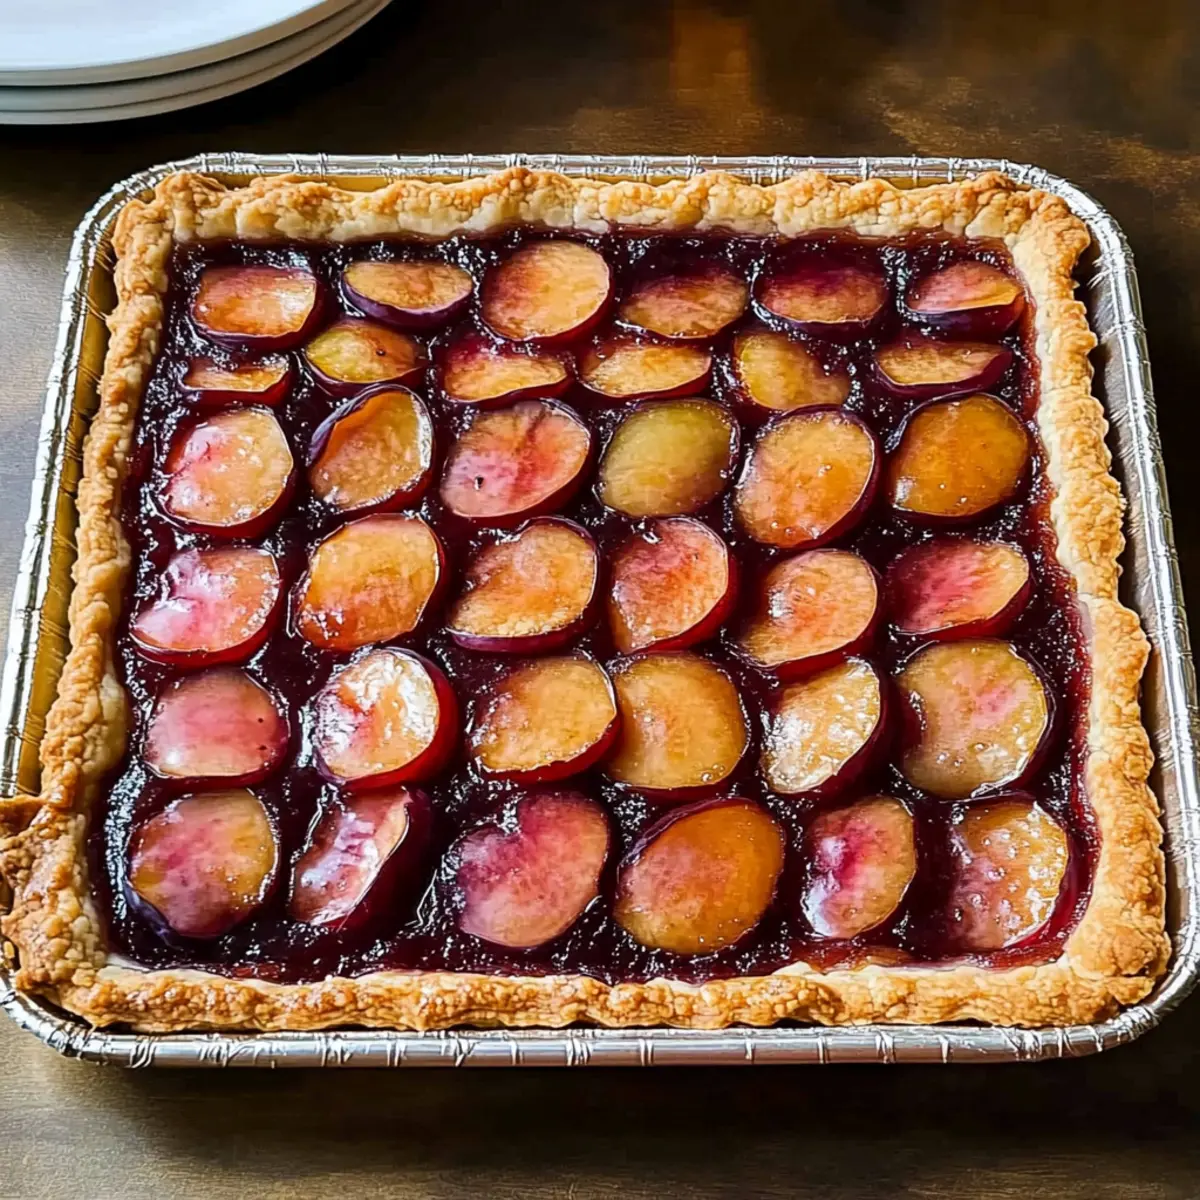
Melt a bit of butter and brush it over the crust’s edges to enhance golden color and flavor. Place your assembled Rustic Plum Slab Pie in the preheated oven and bake for 50–60 minutes. Look for a golden crust and bubbling filling, signaling that the pie is perfectly cooked and ready to come out.
Step 6: Cool & Serve
Once baked, remove the pie from the oven and allow it to cool completely in the pan for at least 30 minutes. This cooling time will help set the filling for clean slicing. Serve the pie warm or at room temperature, either on its own or with a delicious scoop of vanilla ice cream or a dollop of whipped cream for an extra treat!
Make Ahead Options
These Rustic Plum Slab Pie preparations are perfect for meal prep enthusiasts! You can prepare the pie crust up to 24 hours in advance by following the initial steps of the recipe: combine the flour, salt, and sugar, then pulse in the cold butter until crumbly. Wrap the formed dough disks tightly in plastic wrap and refrigerate. In addition, you can slice your ripe plums and toss them with sugar and cinnamon in advance, refrigerating the mixture for up to 3 days to enhance the flavors. When you’re ready to serve, simply roll out the dough, assemble your pie with the filling, and bake as instructed. This way, you’ll enjoy that freshly baked, delicious flavor with minimal last-minute effort!
Expert Tips for the Best Plum Slab Pie
Cold Butter: Ensure your butter is very cold; this is essential for achieving that flaky crust everyone loves in a Rustic Plum Slab Pie.
Don’t Overmix: When combining the dough, be careful not to overmix. Stop when the dough just comes together to keep it tender.
Cool Completely: Allow the pie to cool completely before slicing to prevent the filling from spilling out, ensuring perfect presentation.
Add a Glaze: For extra shine, brush the crust with an egg wash before baking. This will give your Rustic Plum Slab Pie a beautiful golden finish.
Experiment: Feel free to mix and match fruits! Don’t hesitate to swap in peaches or blueberries as a delightful twist on the filling.
How to Store and Freeze Plum Slab Pie
Fridge: Store leftover Plum Slab Pie covered in the refrigerator for up to 3 days. This helps maintain the pie’s texture while keeping it fresh for immediate enjoyment.
Freezer: For longer storage, wrap slices tightly in plastic wrap and place in an airtight container. The pie can be frozen for up to 3 months without losing its delightful flavor.
Reheating: To reheat, place the frozen slice in the oven at 350°F for about 15-20 minutes, or until warmed through. Serve warm for a comforting treat!
Serving Tip: Consider adding a scoop of vanilla ice cream when serving the pie after storage to elevate its deliciousness!
Variations & Substitutions for Plum Slab Pie
Feel empowered to make this Rustic Plum Slab Pie your own by exploring these delightful variations that will tantalize your taste buds!
- Berry Bliss: Substitute ripe plums with an assortment of blueberries and raspberries for a vibrant, tangy filling.
- Peachy Keen: Mix half ripe plums with fresh peaches to create a sweet and juicy summer dessert, perfect for those warm days.
- Nutty Crunch: Sprinkle chopped pecans or walnuts over the plum filling before baking for added texture and a delightful crunch.
- Spiced Elegance: Enhance the flavor by adding a pinch of ginger or cardamom along with cinnamon for a warm, aromatic twist.
- Dairy-Free Delight: Use a dairy-free butter alternative in the crust and coconut cream instead of whipped cream for a vegan-friendly option.
- Gluten-Free Goodness: Opt for a 1:1 gluten-free flour blend to make this dish gluten-free without sacrificing taste or texture.
- Zesty Citrus: Grate some lemon or orange zest into the filling for a fresh citrus zing that beautifully complements the sweet plums.
- Jammy Swirl: Instead of cherry preserves, use apricot or raspberry jam to swap flavors and create a different fruit experience.
Feel free to get creative! Each variation adds its own charm to this pie, inviting everyone to delight in the sweet taste of home. If you’re interested in exploring more fruity recipes, you might enjoy our classic Blueberry Crumble or the refreshing Peach Cobbler. Happy baking!
What to Serve with Rustic Plum Slab Pie
Next time you whip up this delightful dessert, think about how to craft a truly memorable experience with your meal.
-
Vanilla Ice Cream: This classic pairing adds a rich creaminess that beautifully balances the sweet-tart flavors of the pie. There’s something so nostalgic about warm pie and cold ice cream—a combination that never disappoints!
-
Whipped Cream: A fluffy dollop of freshly whipped cream adds lightness to each slice. Its airy texture complements the rustic crust, creating a harmonious bite that melts in your mouth.
-
Fresh Berries: A side of juicy raspberries or blueberries provides a refreshing contrast and a burst of additional fruit flavor, enhancing the overall experience of your dessert.
-
Coffee or Tea: Sipping on a warm cup of coffee or herbal tea brings out the warm spices in the plum filling. It’s the perfect way to unwind after indulging in a satisfying slice.
-
Cheese Plate: Try serving with a selection of sharp cheeses like aged cheddar or creamy brie. The savory notes of the cheese elevate the pie, creating a wonderful blend of flavors.
-
Nutty Granola: Sprinkle some crunchy granola on top of your slice for added texture. The nuts’ earthy flavor adds depth, making every bite irresistibly satisfying.
You can also mix and match these suggestions to create a fun dessert bar for your guests! Enjoy the warmth of family and friends gathered around the table, sharing sweet moments together.
Rustic Plum Slab Pie Recipe FAQs
What kind of plums should I use for the pie?
Absolutely! Choose ripe, juicy plums that are slightly soft to the touch but free of any large dark spots or blemishes. Look for varieties like Black Plums or Red Plums, which offer a nice balance of sweetness and tartness. If you can’t find plums, peaches or blueberries can be fantastic substitutes!
How should I store leftover Plum Slab Pie?
Very! Leftover Plum Slab Pie can be covered and stored in the refrigerator for up to 3 days. This will keep the crust somewhat crisp while the fruit remains flavorful. Just be sure to place it in an airtight container to avoid it picking up any fridge odors.
Can I freeze Plum Slab Pie?
Absolutely! To freeze, wrap individual slices tightly in plastic wrap, then place them in an airtight container. The pie can be stored in the freezer for up to 3 months. When you’re ready to enjoy, simply preheat your oven to 350°F and warm the frozen slice for about 15-20 minutes until heated through.
How do I ensure my Plum Slab Pie doesn’t overflow when baking?
To prevent potential overflow, it’s important to allow the plum filling to rest mixed with sugar and cinnamon for about 10–15 minutes before assembling. This helps to release excess juice, which can otherwise make the pie too watery. Additionally, be sure to cool the pie completely before slicing to keep the filling intact!
Are there any dietary considerations for this recipe?
Yes! If you have allergies, be mindful of the butter used in the crust—substituting with dairy-free butter can make this pie suitable for vegans. Also, for gluten-free options, you can use a 1:1 gluten-free flour blend. As always, check specific brands of preserves and sugar for any allergens.
How can I make my crust even flakier?
For a flakier crust, use very cold butter and avoid overworking the dough. When adding ice water, do so gradually and mix just until it comes together. Another great tip? After rolling out the dough, chill it a little longer before adding the filling to help it retain its flaky texture during baking.
Delicious Rustic Plum Slab Pie Perfect for Gatherings
Ingredients
Equipment
Method
- In a food processor, combine the flour, salt, and sugar. Pulse together until mixed. Cut butter into cubes and add to the mixture, pulsing until the texture resembles coarse crumbs.
- Divide the dough in half, flatten each portion into a disk, wrap tightly in plastic wrap, and refrigerate for 1 hour.
- Wash and slice the plums, toss with sugar and cinnamon, and let sit for about 10–15 minutes to create a flavorful filling.
- Preheat the oven to 375°F. Roll out one disk of chilled dough, fit it into the jelly roll pan, poke holes in the bottom, spread preserves, and add the plum filling.
- Brush the crust's edges with melted butter, bake for 50–60 minutes until golden and bubbling.
- Allow the pie to cool completely for at least 30 minutes, then serve warm or at room temperature, optionally with ice cream or whipped cream.