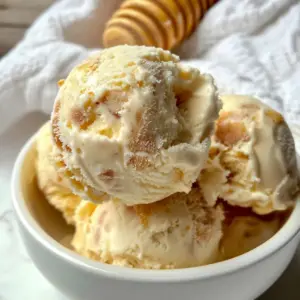
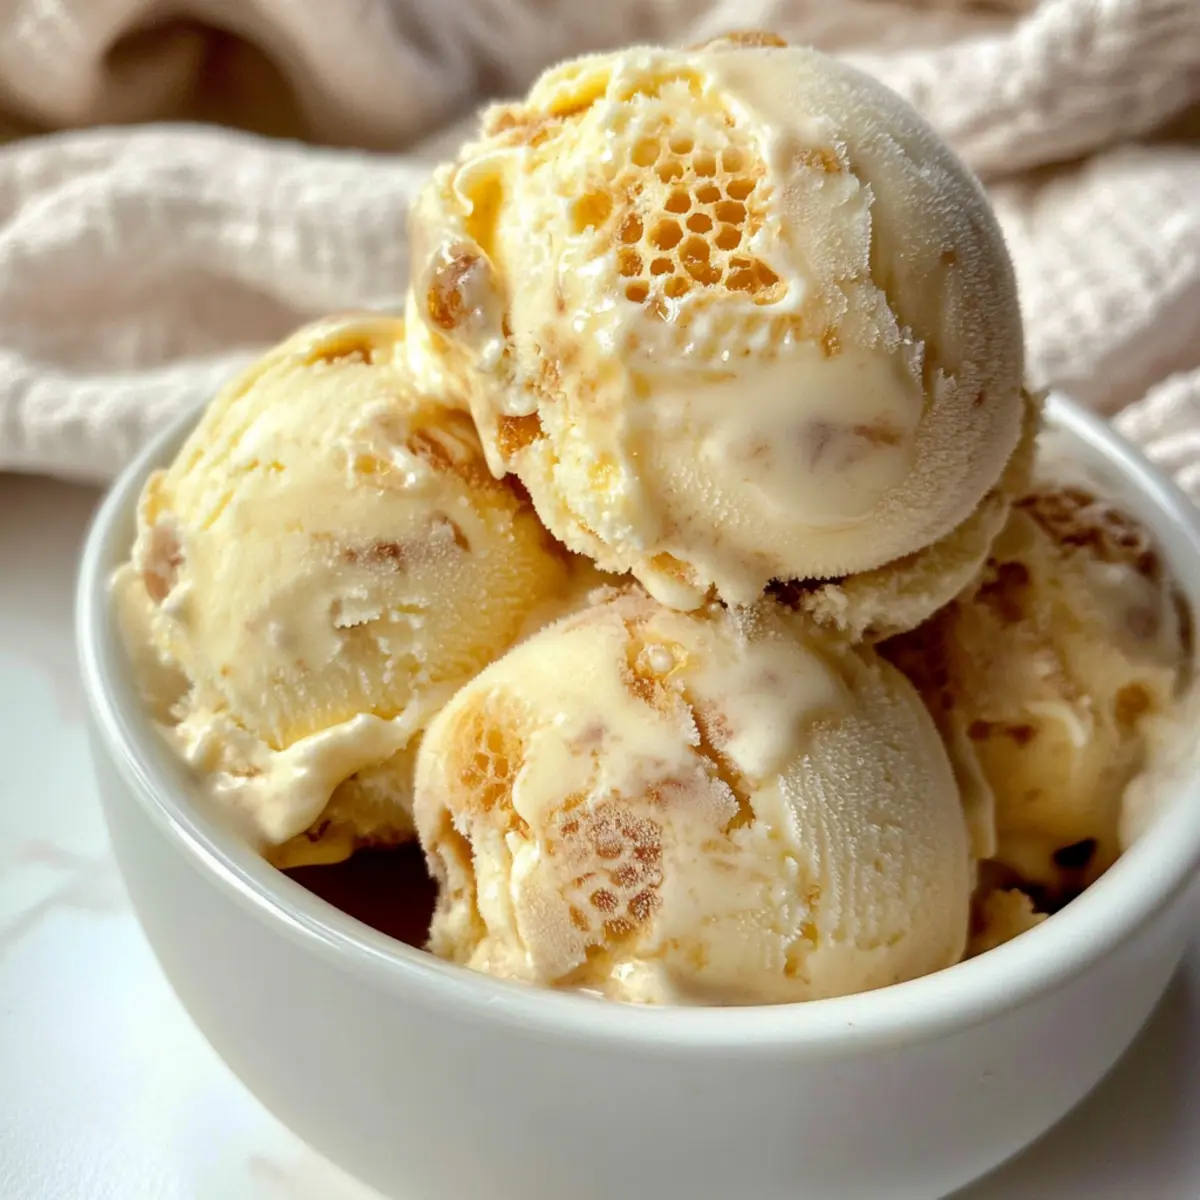
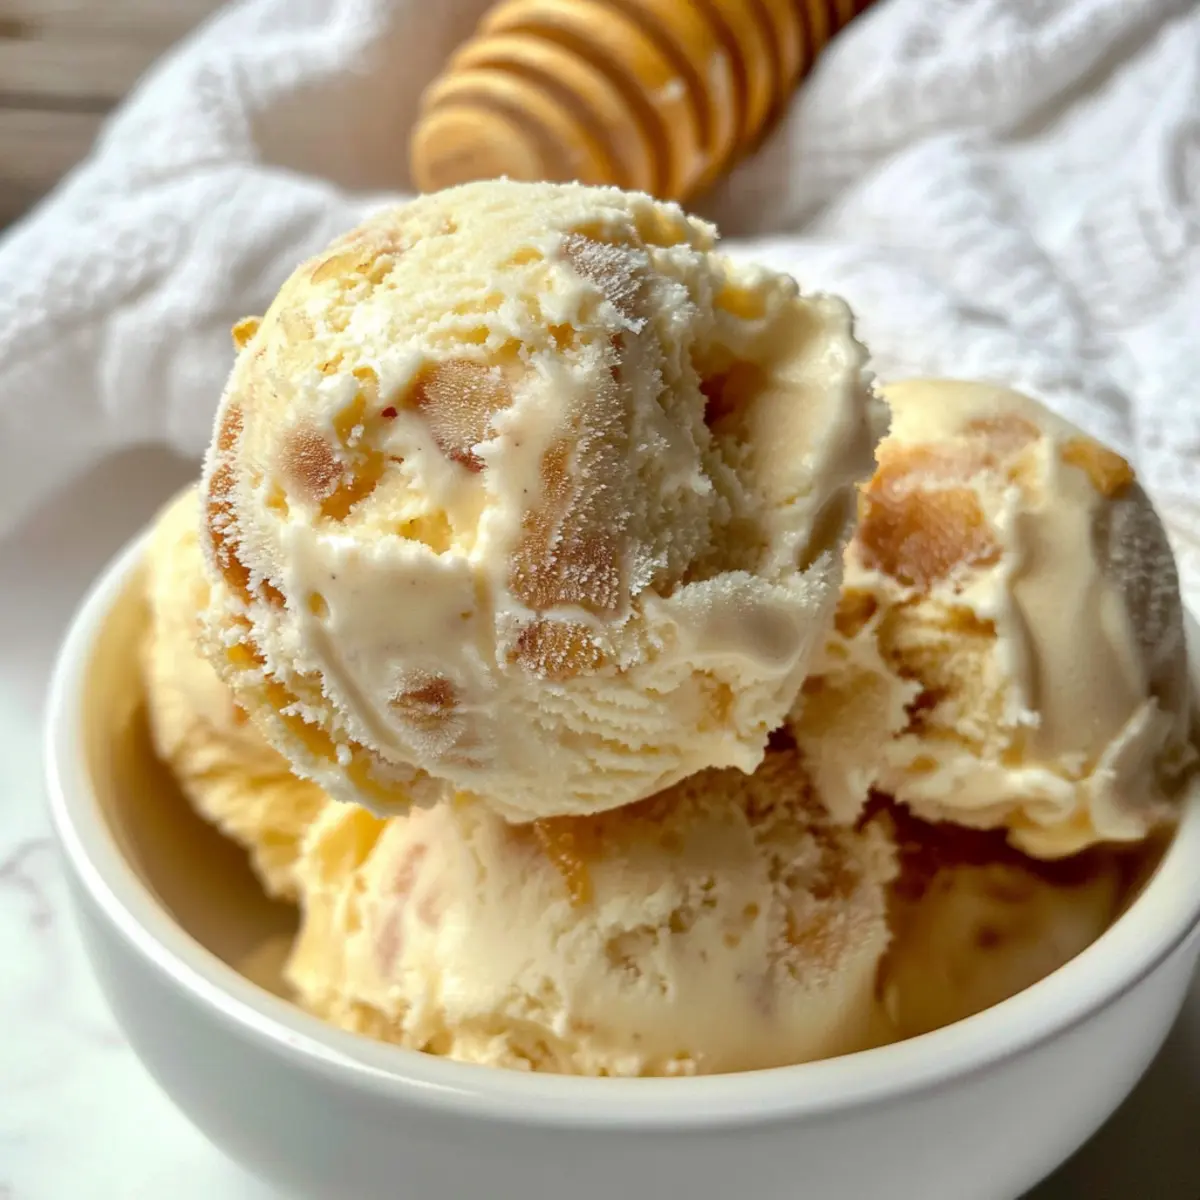
As I stood in my kitchen, the delightful aroma of sweet golden syrup warming on the stove transported me back to my childhood. This Easy No-Churn Homemade Honeycomb Ice Cream is not just another dessert; it’s a comforting embrace in a bowl, ideal for both sweltering summer afternoons and cozy evenings at home. With just five simple ingredients, this recipe offers you a quick and satisfying way to indulge your sweet tooth without the fuss of ice cream machines. Plus, it provides the unique thrill of crunchy honeycomb pieces that create a perfect contrast to the creamy ice cream. Whether you choose to make the honeycomb from scratch or use your favorite candy bar, you’ll love how effortlessly this dessert comes together. Are you ready to scoop up some blissful memories?
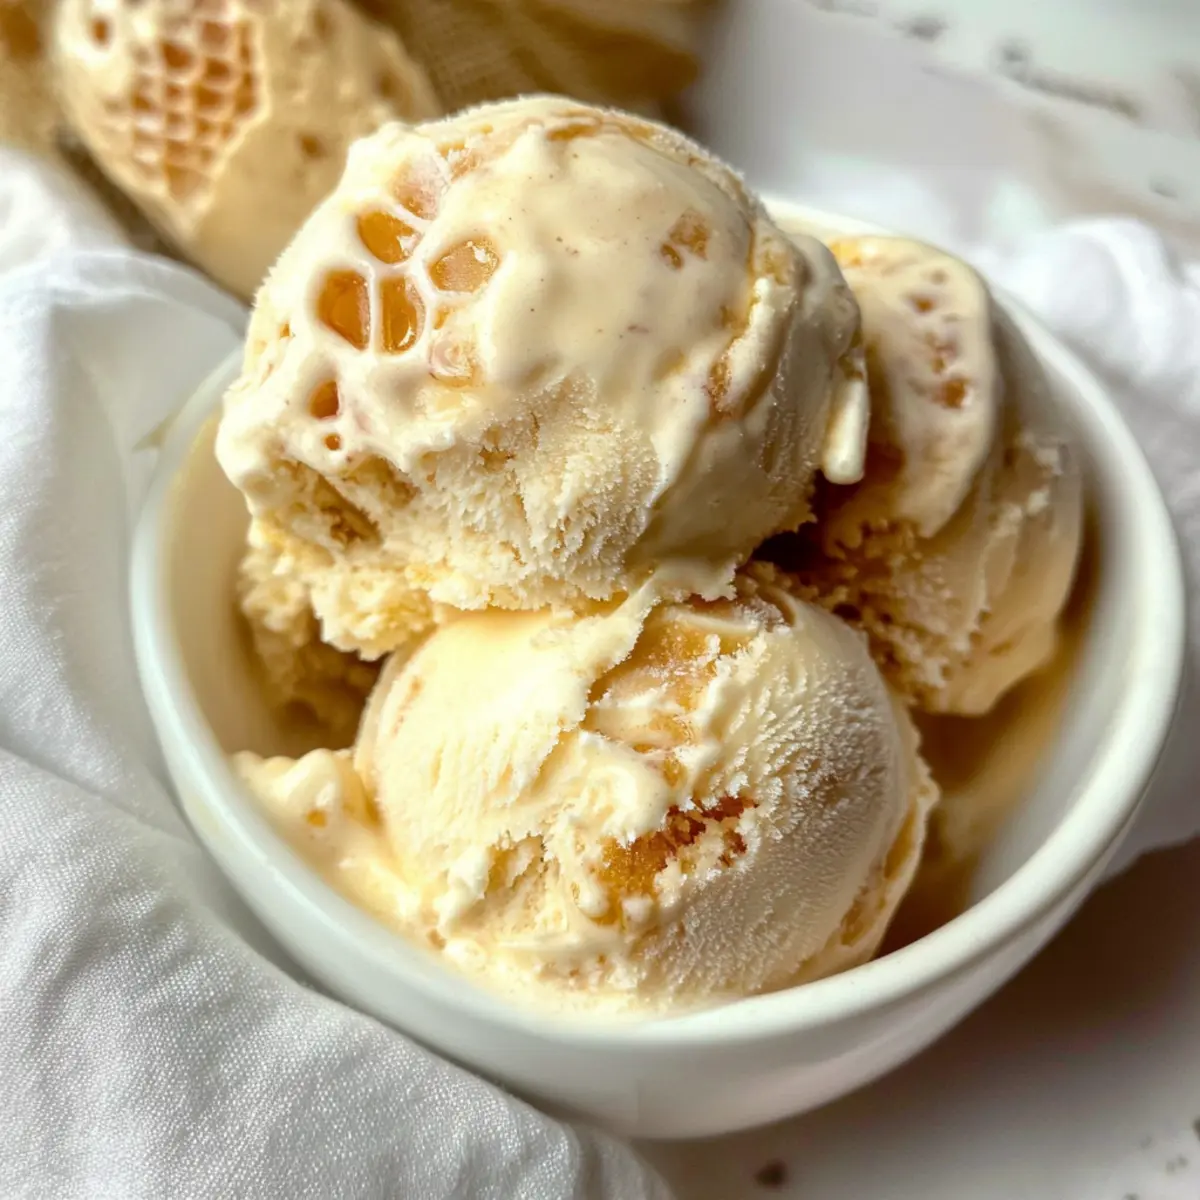
Why is Honeycomb Ice Cream So Irresistible?
Simplicity: This easy no-churn recipe requires only five ingredients, making it accessible for bakers of all skill levels.
Decadent Flavor: The flavor combination of sweet honeycomb and rich cream creates an indulgent dessert that satisfies any sweet tooth.
Versatile Variations: Feel free to experiment! Swap the homemade honeycomb for store-bought Crunchie bars or add some chocolate chunks for an exciting twist.
Impressive Presentation: Serve this ice cream in elegant bowls for a special occasion or as a simple yet delightful treat to impress your family and friends.
Quick Prep: With minimal active time, you can easily whip up this dessert, leaving you with more time to relax and enjoy. Perfect for those busy weekdays or last-minute gatherings!
Ready to elevate your dessert game? Pair it with some delightful chocolate brownies for a truly delightful experience!
Homemade Honeycomb Ice Cream Ingredients
For the Honeycomb
- Golden syrup – Provides a deliciously sweet and buttery flavor essential for making honeycomb; can substitute with runny honey or maple syrup for different floral notes.
- Caster sugar – Key for the honeycomb structure; do not swap with brown sugar as it alters moisture levels and texture.
- Bicarbonate of soda – Reacts with sugar to create the honeycomb’s iconic light, bubbly texture.
For the Ice Cream Base
- Double cream (heavy cream) – Crucial for creating a rich ice cream base; do not use single cream as it won’t whip properly.
- Condensed milk – Forms the sweet, creamy component of the ice cream; ensure to use sweetened condensed milk for the right sweetness.
Dive into this delightful homemade honeycomb ice cream creation and enjoy a creamy treat that bursts with flavor and texture!
Step‑by‑Step Instructions for Easy No-Churn Homemade Honeycomb Ice Cream
Step 1: Prepare the Honeycomb
In a large pan, gently heat 150g of golden syrup over medium heat until it becomes runny, stirring to prevent sticking. Once liquefied, add 200g of caster sugar and bring the mixture to a vigorous boil for exactly 3 minutes, swirling the pan occasionally. You’ll know it’s ready when it bubbles up and turns a lovely golden color.
Step 2: Incorporate Bicarbonate Soda
Remove the pan from heat and quickly stir in 1 teaspoon of bicarbonate of soda until completely dissolved. The mixture will react and expand, creating a light, airy texture. Carefully pour the bubbly honeycomb mixture into a lined tin and let it set undisturbed for about 1 hour at room temperature.
Step 3: Make the Ice Cream Base
While the honeycomb is setting, whip 500ml of double cream in a mixing bowl using an electric mixer until soft peaks form, which takes about 3-4 minutes. Once you reach that classic soft peak stage, gently fold in one 397g tin of sweetened condensed milk, ensuring the mixture becomes thick and well combined.
Step 4: Combine Honeycomb and Ice Cream
Once the honeycomb is fully set, break it into bite-sized pieces. Carefully fold the chopped honeycomb into the whipped cream and condensed milk mixture, allowing the delightful crunchy bits to be evenly distributed throughout. This adds a wonderful texture to your Easy No-Churn Homemade Honeycomb Ice Cream.
Step 5: Freeze the Ice Cream
Pour the creamy mixture into a lined loaf tin, smoothing the top with a spatula. Cover the tin with plastic wrap or a lid and place it in the freezer. For best results, freeze for at least 6 hours, or until the ice cream is firm and ready to scoop.
Step 6: Serve and Enjoy
A few minutes before serving, remove the ice cream from the freezer to soften slightly, which makes scooping easier. Use an ice cream scoop dipped in hot water for clean, beautiful servings. Now you can enjoy the creamy, crunchy goodness of your homemade honeycomb ice cream!
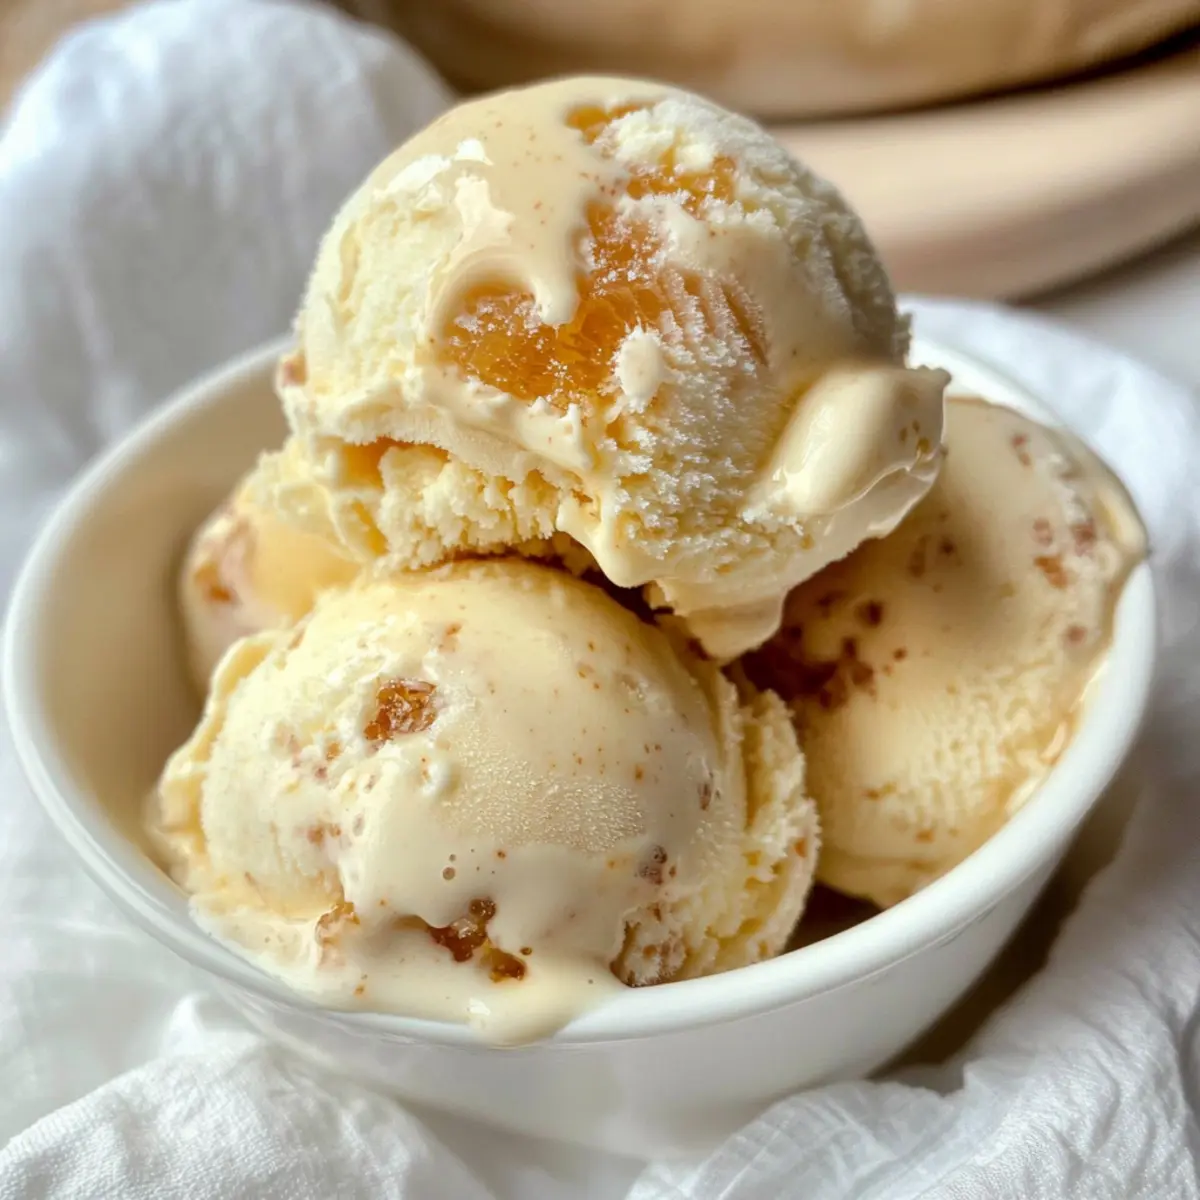
What to Serve with Easy No-Churn Homemade Honeycomb Ice Cream
Indulging in this creamy delight is sure to please your palate, but why stop there? Let’s craft a stunning dessert experience!
-
Chocolate Brownies: The rich, fudgy contrast of brownies adds depth to the creamy texture of the ice cream, making each bite a delightful journey of flavors.
-
Fresh Berries: Juicy raspberries or strawberries provide a refreshing tang that cuts through the sweetness, balancing each scoop of honeycomb ice cream perfectly.
-
Crumbled Biscotti: The crunchy, nutty texture of biscotti adds an extra layer of crunch, making it an enticing accompaniment to the smooth ice cream.
-
Caramel Sauce: Drizzling warm caramel over each serving creates a luscious, decadent treat that enhances the honeycomb’s sweetness and adds a gourmet touch.
-
Toasted Nuts: Almonds or pecans bring an added crunch and nutty flavor that beautifully complements the honeycomb’s sweetness and the creaminess of the ice cream.
-
Mint Tea: A soothing cup of mint tea acts as a refreshing palate cleanser, ensuring your dessert experience is balanced and invigorating.
-
Chocolate Chip Cookies: Soft, chewy chocolate chip cookies are a nostalgic pairing that wraps the classic flavors of childhood into your indulgent ice cream experience.
-
Mousse au Chocolat: The airy, rich texture of chocolate mousse serves as a decadent foundation for spooning your honeycomb ice cream, elevating a simple dessert into an intimate celebration.
Elevate your dessert evenings by pairing your homemade honeycomb ice cream with these delightful companions!
Homemade Honeycomb Ice Cream Variations
Feel free to play around with this delightful recipe and create your own unique twist on flavors!
-
Crunchy Alternative: Swap homemade honeycomb for chopped Crunchie bars for a delightful shortcut.
-
Chocolate Infusion: Stir in dark chocolate chunks for a rich, decadent flavor that takes your ice cream to the next level. The combination of chocolate and honeycomb is simply irresistible!
-
Nutty Boost: Add chopped toasted nuts such as almonds or hazelnuts to introduce an extra crunch and nutty flavor. This will not only enhance texture but also add a lovely roasted note.
-
Fruity Surprise: Incorporate fresh berries, like raspberries or strawberries, into the ice cream base for a refreshing fruity twist. Their tartness pairs beautifully with the sweetness of honeycomb.
-
Sweet & Spicy: Add a pinch of cinnamon or nutmeg to the cream mixture for a warm, aromatic flavor that complements the honeycomb perfectly.
-
Vegan Version: For a dairy-free option, replace double cream with coconut cream and use coconut milk instead of condensed milk. Enjoy a tropical flair with a hint of coconut!
-
Coffee Lovers: Mix in some instant coffee granules when whipping the cream for a coffee-flavored ice cream that delights with each scoop. Pairing coffee with honeycomb adds a surprising depth!
-
Minty Freshness: Add a few drops of mint extract to the ice cream base for a refreshing minty twist that’s perfect for summer evenings. Garnish with fresh mint leaves for an elegant touch.
Each variation opens the door to a world of flavor, inviting you to create your own signature ice cream treat. Enjoy experimenting, and consider serving alongside a refreshing drink like my favorite peach iced tea for a delightful summer duo!
Make Ahead Options
These Easy No-Churn Homemade Honeycomb Ice Cream treats are perfect for busy home cooks looking to save time! You can prepare the honeycomb up to 24 hours in advance by following the standard method and storing it in an airtight container at room temperature, preventing it from becoming sticky. The ice cream base can also be prepped ahead; simply whip the double cream and fold in the condensed milk, then refrigerate it for up to 3 days. When you’re ready to finish, fold in the chopped honeycomb and freeze the mixture as instructed. With these make-ahead options, you’ll savor delicious homemade ice cream without the last-minute rush!
Storage Tips for Homemade Honeycomb Ice Cream
-
Freezer: Store your homemade honeycomb ice cream in an airtight container in the freezer for up to 2 months. This helps maintain its creamy texture and delightful flavor.
-
Pre-Serving: Before serving, remove the ice cream from the freezer and let it sit at room temperature for about 5-10 minutes. This softens the ice cream, making it easier to scoop.
-
Wrapping: If you’re not planning to finish the ice cream in one go, cover the surface with plastic wrap before sealing the container. This added layer can help prevent ice crystals from forming.
-
Reheating: There’s no reheating for ice cream, but for precise scooping, dip your ice cream scoop in hot water after it has softened a bit. Enjoy every delightful bite!
Expert Tips for Homemade Honeycomb Ice Cream
• Boil Time Precision: Ensure to boil the honeycomb mixture for exactly 3 minutes. This duration is critical for achieving the desired texture of your homemade honeycomb ice cream.
• Honeycomb Substitutes: For a quicker version, substitute homemade honeycomb with chopped Crunchie bars. This saves time while still delivering delicious flavor.
• Cream Consistency: Whip the double cream to soft peaks only. Over-whipping can lead to a grainy texture in your ice cream, so keep an eye on it!
• Serving Tip: To scoop effortlessly, dip your ice cream scoop in hot water before each scoop. This trick keeps your servings looking beautiful and appealing.
• Storage Solution: Store your ice cream in an airtight container to prevent freezer burn. Removing it from the freezer a few minutes before serving makes for easier scooping!
Homemade Honeycomb Ice Cream Recipe FAQs
How do I select ripe ingredients for my Homemade Honeycomb Ice Cream?
Absolutely! For the best results, make sure your golden syrup is fresh and free of any dark spots or impurities. The caster sugar should be fine and dry, while the double cream should be thick and cold to ensure proper whipping. Always check the expiry dates, especially on your condensed milk, to guarantee a sweet and smooth flavor.
What’s the best way to store leftover Homemade Honeycomb Ice Cream?
You can store your ice cream in an airtight container in the freezer for up to 2 months for optimal freshness. Before serving, let it sit at room temperature for about 5-10 minutes to soften slightly, which makes scooping much easier.
Can I freeze Homemade Honeycomb Ice Cream for longer?
It’s best consumed within 2 months, but if you want to keep it longer, you can freeze it for up to 3 months. Just make sure to properly seal it in an airtight container to prevent freezer burn. For best texture, enjoy it before the 2-month mark.
What should I do if my honeycomb doesn’t set properly?
If your honeycomb is too sticky, it likely needed more boiling time, ideally 3 minutes. Try reheating the mixture gently and adding another 1/2 teaspoon of bicarbonate of soda, which can help lighten it up. If it’s too hard, you may have overcooked it. Always watch the mixture and use a thermometer to aim for about 150°C; precision is key!
Are there any dietary considerations for Homemade Honeycomb Ice Cream?
It’s great to be mindful! This recipe contains dairy, which may be unsuitable for those with lactose intolerance or dairy allergies. For a dairy-free version, substitute the double cream with a coconut whipping cream and use a dairy-free condensed milk alternative. Just keep in mind that the flavor and texture may vary slightly. Always check labels if serving to guests—particularly regarding allergies!
Can I use different types of sweeteners in my Homemade Honeycomb Ice Cream?
Yes, you can! While golden syrup is traditional, you could try using runny honey or maple syrup in your honeycomb. However, keep in mind that this may alter the flavor. For the casting sugar, stick to caster sugar to maintain the right texture in your honeycomb, as swapping for brown sugar can affect the final outcome.
Homemade Honeycomb Ice Cream: Easy No-Churn Delight
Ingredients
Equipment
Method
- In a large pan, gently heat the golden syrup over medium heat until runny. Add the caster sugar and boil for 3 minutes.
- Remove from heat, stir in bicarbonate of soda until dissolved. Pour into a lined tin and let it set for 1 hour.
- While the honeycomb is setting, whip the double cream until soft peaks form. Fold in condensed milk until thick and combined.
- Once the honeycomb is set, break it into pieces and fold into the cream mixture.
- Pour the mixture into a lined loaf tin, smooth the top, cover, and freeze for at least 6 hours.
- Before serving, soften the ice cream slightly and scoop using an ice cream scoop dipped in hot water.