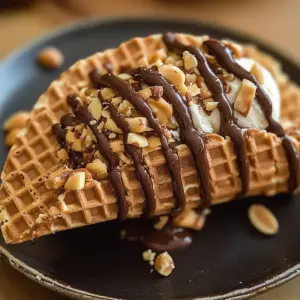
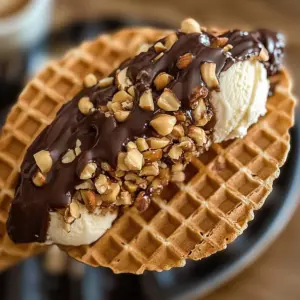
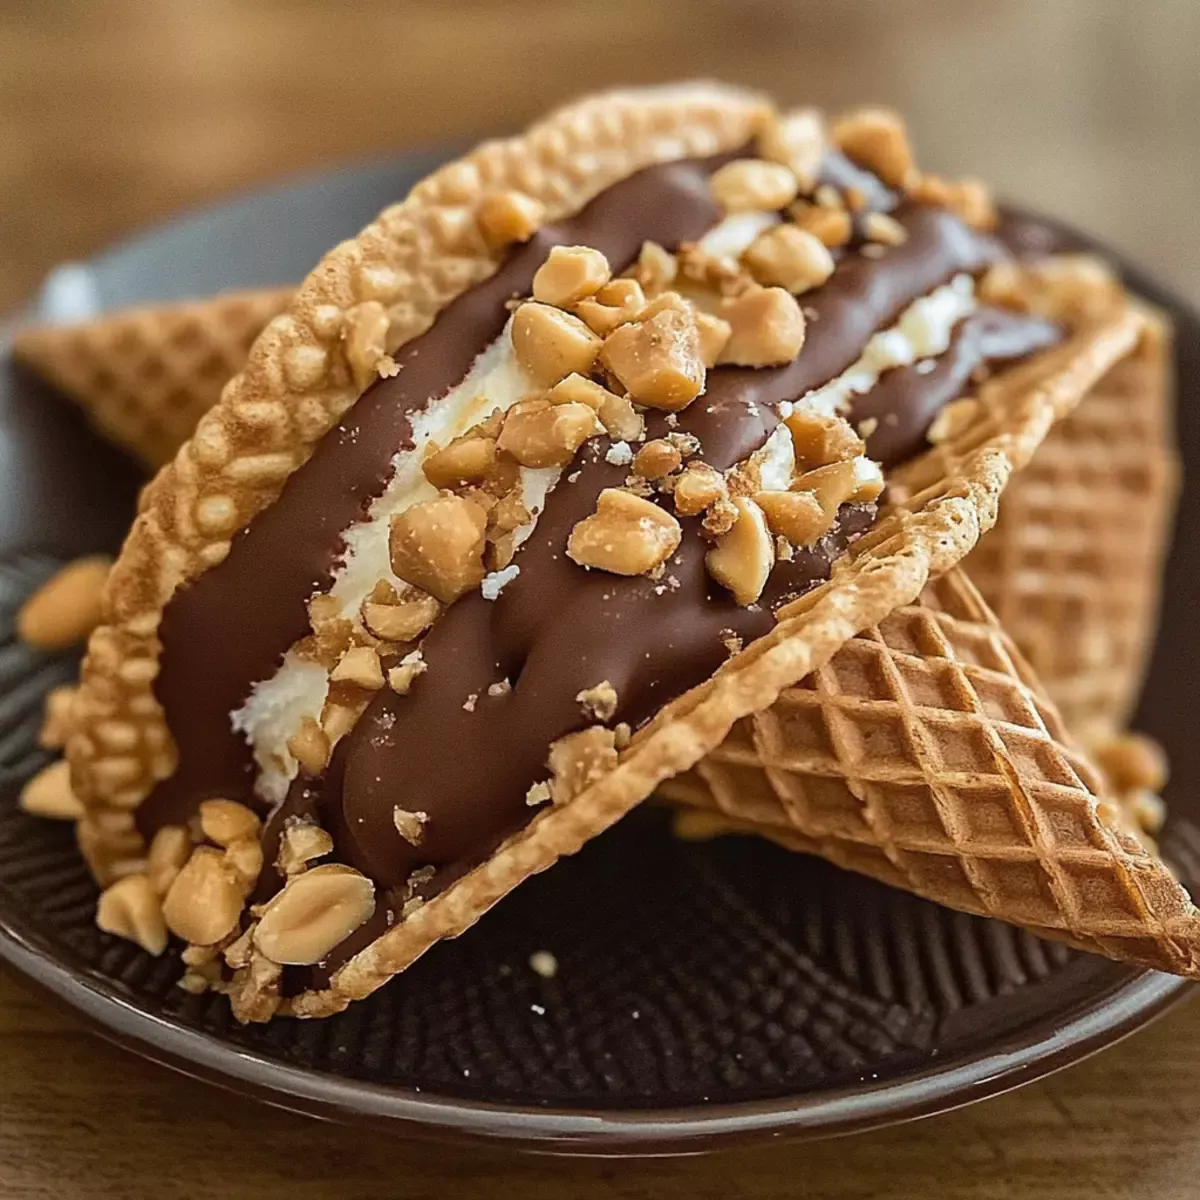
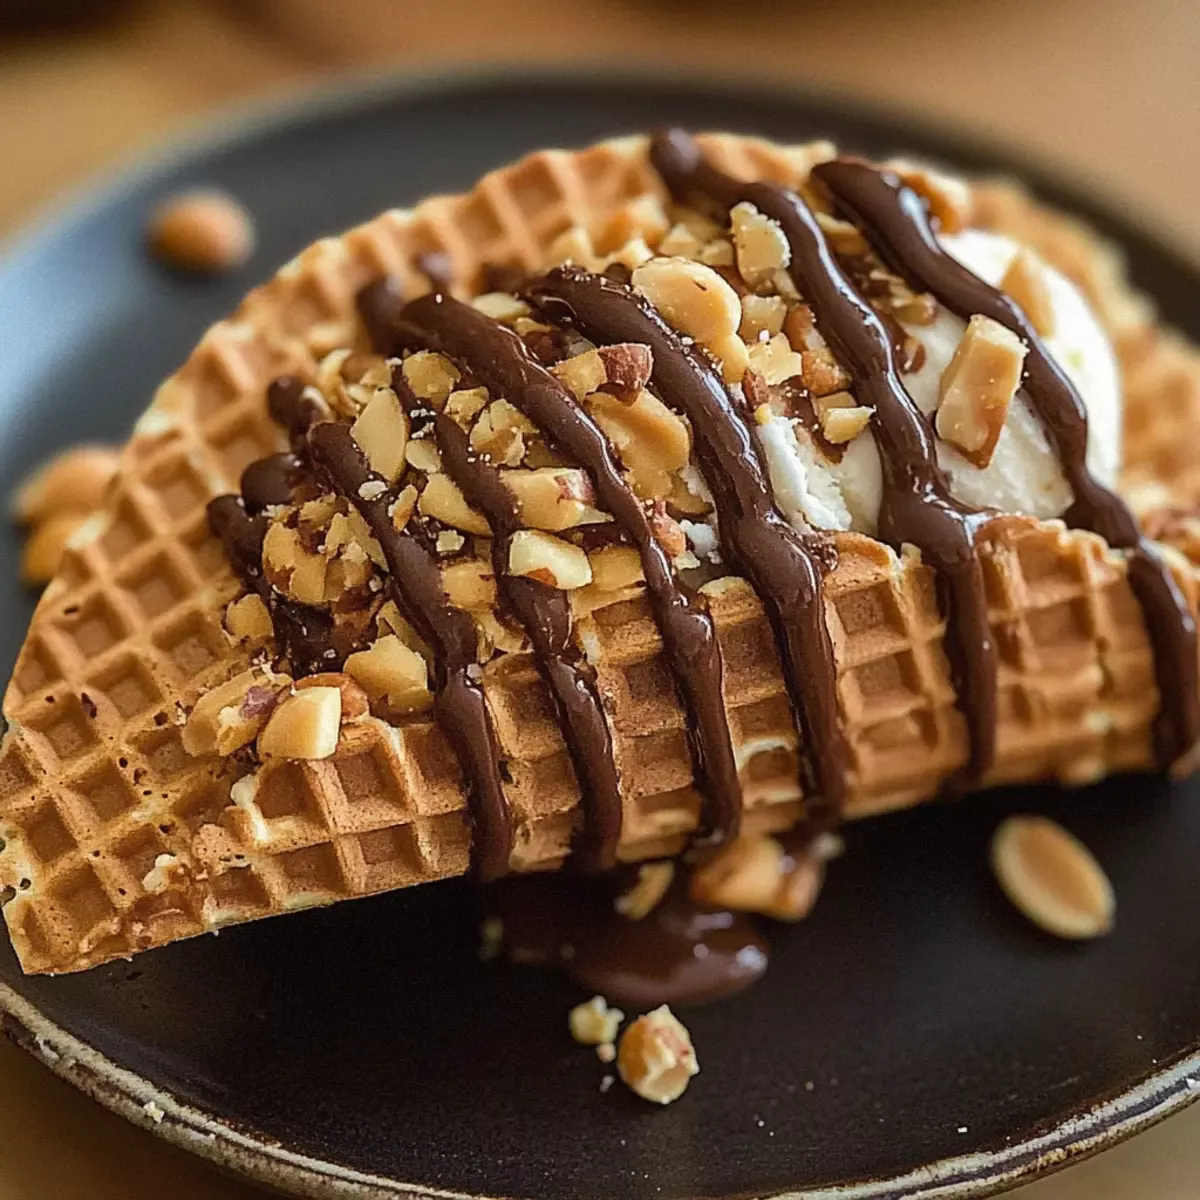
As I sat on the porch, the warm summer breeze whispered memories of ice cream trucks rolling down the street, with the sounds of children laughing and the sweet scent of waffle cones filling the air. These homemade Choco Tacos, a nostalgic ice cream dessert, bring back those carefree days while adding a delightful twist to your dessert repertoire. With a crunchy cone shell enveloping creamy vanilla ice cream, all drizzled in rich chocolate and sprinkled with peanuts, these treats are not only quick to whip up but also a guaranteed crowd-pleaser. Perfect for warm evenings or family gatherings, you’ll love how easily they come together. Are you ready to journey back to summers of yesteryear and indulge in this fun treat?

Why are Choco Tacos so irresistible?
Nostalgic Delight: These homemade Choco Tacos are a trip down memory lane, bringing back the joy of summer ice cream trucks with their delightful crunch and creamy filling.
Quick and Easy: With just a few simple steps, you can create these tasty treats in no time, perfect for those last-minute gatherings or family movie nights.
Customizable Toppings: Feel free to get creative! Whether you prefer chocolate chips, sprinkles, or crushed nuts, the choice is yours, making each taco a unique creation.
Crowd-Pleasing Treat: Everyone loves ice cream, and combining it with the fun of tacos makes for a show-stopping dessert that will impress friends and family alike!
Versatile Flavors: Want to switch it up? Consider using mint ice cream or seasonal flavors for a fresh twist. For more delicious ideas, check out our ice cream dessert collection.
Homemade Choco Taco Ingredients
For the Taco Shell
• Waffle Cones – Essential for forming the taco shell; ensure they’re slightly damp for pliability.
For the Ice Cream Filling
• Vanilla Ice Cream – Rich, creamy texture is key; choose high-quality ice cream for the best flavor.
For the Chocolate Coating
• Chocolate Chips – Melt for a smooth coating; can substitute with dark chocolate for a richer flavor.
For the Toppings
• Peanuts (or sprinkles) – Adds crunch and flavor; toppings can be customized to personal preference.
Step-by-Step Instructions for Homemade Choco Tacos
Step 1: Prepare Waffle Cones
Start by lightly dampening the waffle cones with a bit of water to make them pliable. With gentle hands, reshape each cone into a taco shell, aiming for a slight curve. Ensure they are not soaked, just enough to allow for molding without breaking. Set the shaped cones aside to prepare for filling.
Step 2: Fill with Ice Cream
Scoop generous portions of creamy vanilla ice cream into each taco shell, packing it to the brim for that delightful burst of flavor. Use a small spatula or the back of a spoon to smooth the top of the ice cream for an even finish. Work swiftly to prevent the ice cream from melting, then place the filled tacos in the freezer for about 10 minutes to firm up.
Step 3: Melt Chocolate Chips
In a microwave-safe bowl or a small saucepan, add chocolate chips and heat them until melted, stirring every 30 seconds in the microwave or constantly over low heat on the stove. You’re aiming for a smooth and creamy consistency that will coat your tacos beautifully. Once melted, remove from heat and allow it to cool slightly while you prep for dipping.
Step 4: Coat the Tacos
Take each frozen taco from the freezer and carefully dip the top edge into the melted chocolate, allowing any excess chocolate to drip back into the bowl. Aim for a generous coat to create that irresistible crunch when the chocolate sets. If desired, you can also use a spoon to drizzle more chocolate over the ice cream.
Step 5: Sprinkle Toppings
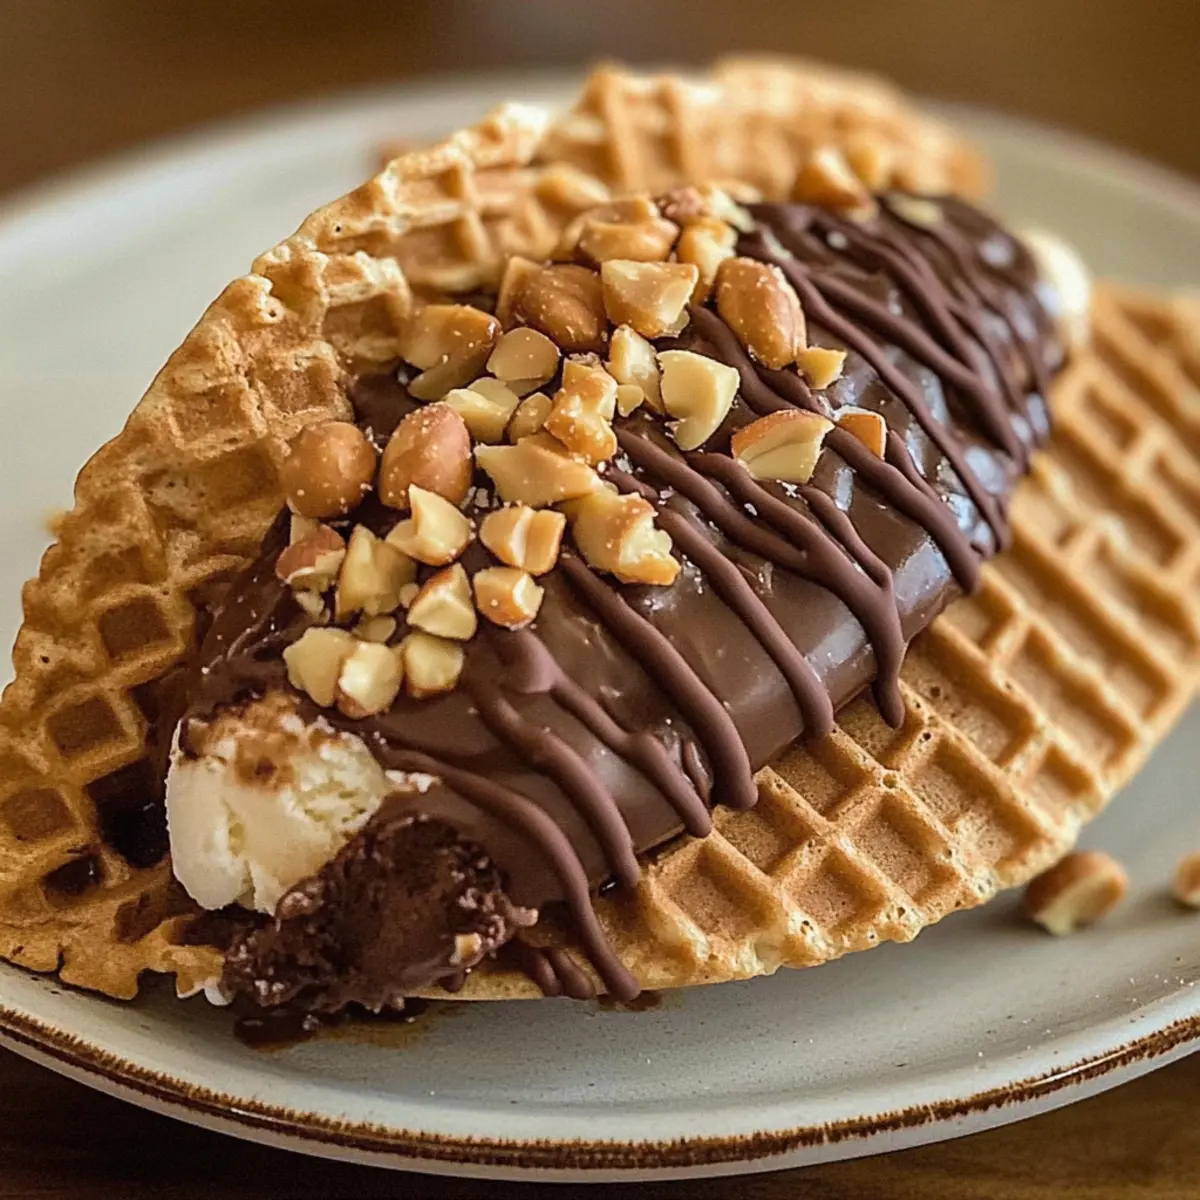
Immediately after coating the tacos in chocolate, sprinkle chopped peanuts (or your choice of toppings) over the chocolate layer while it’s still warm and wet. This ensures the toppings adhere perfectly. Feel free to get creative here—sprinkles, crushed cookies, or even sea salt could elevate your homemade Choco Tacos!
Step 6: Freeze
Place the completed tacos back into the freezer for about 30 minutes, allowing the chocolate coating to set properly. During this time, the outer layer will harden, providing that satisfying crunch. Once set, your homemade Choco Tacos will be ready to serve, bringing joy and nostalgia to your next dessert occasion!
How to Store and Freeze Homemade Choco Tacos
-
Room Temperature: Homemade Choco Tacos are best enjoyed fresh. If left out, consume them within a couple of hours to maintain their texture.
-
Fridge: Storing in the fridge is not recommended, as it can cause the taco shells to become soggy and the ice cream to melt.
-
Freezer: For longer storage, wrap each taco individually in plastic wrap and place them in an airtight container. They’ll stay delicious for up to one week in the freezer.
-
Reheating: There’s no need to reheat; simply take them out of the freezer and enjoy your delightful Choco Tacos straight from the freezer for the perfect icy treat.
Homemade Choco Tacos Variations
Feel free to sprinkle your creativity over these delightful Choco Tacos—they’re as customizable as they are delicious!
-
Flavor Swaps: Substituting the vanilla ice cream with chocolate or mint can give a fun twist. Experiment with seasonal flavors like strawberry for a fruity freshness!
-
Dairy-Free Delight: Use almond or coconut-based ice cream for a dairy-free version. This option still offers a creamy texture while catering to dietary preferences.
-
Gourmet Chocolate: Opt for dark or even white chocolate instead of regular chocolate chips. Dark chocolate enhances the richness, creating a sophisticated treat.
-
Crunchy Layers: Add a layer of crushed cookies or granola between the ice cream and chocolate coat. This gives a delicious crunch and an exciting texture contrast.
-
Heat It Up: Feeling adventurous? Add a sprinkle of cayenne pepper or chili powder to the chocolate coating for a delightful touch of heat that dances on your palate.
-
Fruit Explosion: Incorporate fresh fruit pieces like strawberries or banana slices within the tacos before freezing. They add a juicy surprise and burst of flavor!
-
Nutty Goodness: Swap traditional peanuts for your favorite nuts—consider almonds or pecans for a different taste and texture that complements the chocolate perfectly.
-
Sprinkle Station: Create a “sprinkle bar” where everyone can top their tacos with an assortment of goodies, from colorful sprinkles to crushed candy bars, turning dessert into a fun activity!
These variations ensure that your homemade Choco Tacos are endless in flavor and fun. For more transformative dessert ideas, don’t miss our ice cream dessert collection or explore rich alternatives like our frozen treat recipes for more excitement in your kitchen!
Expert Tips for Homemade Choco Tacos
-
Cone Care: Keep waffle cones slightly damp: Ensuring your cones aren’t too dry will prevent them from breaking during shaping. A little moisture helps maintain their structure.
-
Ice Cream Management: Scoop and shape quickly: Ice cream can melt rapidly, especially in warm weather. Work swiftly when filling the cone to ensure a perfect shape and texture.
-
Chocolate Technique: Dip at the right moment: After filling with ice cream, dip the taco soon after taking it out of the freezer. This allows the warm chocolate to adhere properly without melting the ice cream.
-
Topping Choices: Customize creatively: Feel free to replace peanuts with favorite toppings like crushed cookies or sprinkles—the more options, the more fun your homemade Choco Tacos will be!
-
Freezing Time: Don’t rush the freeze: Allow tacos to freeze long enough for the chocolate to set properly; about 30 minutes ensures the perfect crunchy coating.
What to Serve with Homemade Choco Tacos?
Imagine gathering around the table with laughter as you savor the sweetness of childhood—these delightful Choco Tacos are just the beginning of a fantastic dessert experience.
- Fruity Strawberry Shortcake: A light, fruity companion that balances the richness of the tacos with fresh, juicy flavors.
- Crunchy Fruit Salad: A mixture of seasonal fruits adds a refreshing crunch and vibrant colors to your dessert spread. Consider a mint garnish for an aromatic touch.
- Creamy Vanilla Milkshake: The perfect sip to accompany your Choco Tacos; the thick, creamy texture complements the crunchy taco shell beautifully.
- Chocolate Fudge Brownies: Their dense, fudgy nature pairs wonderfully, creating a chocolate lover’s dream dessert duo. Each bite enhances the chocolatey goodness!
- Classic Root Beer Float: This nostalgic drink brings a fizzy twist to the table, elevating the sweet ice cream experience with a touch of effervescence.
- Peanut Butter Cookie Bars: These chewy, nutty cookies bring a satisfying texture that harmonizes with the crunchy taco while echoing the peanut topping.
- Mint Chocolate Chip Ice Cream: For mint lovers, this refreshing twist brings a new flavor experience that still delights with its creamy texture.
- Espresso or Cold Brew Coffee: A rich cup of coffee serves as a robust contrast, enhancing the sweetness of your dessert while adding an adult flavor note.
- Chocolate Dipped Strawberries: An elegant touch that can liven up the table, offering a fresh, juicy alternative to pair alongside your beloved Choco Tacos.
Make Ahead Options
These homemade Choco Tacos are perfect for meal prep enthusiasts! You can prepare the taco shells up to 24 hours in advance; simply shape the dampened waffle cones and store them in an airtight container in the fridge. The ice cream can also be scooped into the shells and frozen for up to 3 days before serving. To maintain quality, ensure the tacos are tightly sealed in the freezer to prevent freezer burn. When you’re ready to enjoy, simply melt the chocolate and coat the frozen tacos, sprinkle with your favorite toppings, and freeze again for about 30 minutes to set the chocolate. This way, you’ll save time without sacrificing taste, delivering a delightful treat whenever cravings strike!
Homemade Choco Tacos Recipe FAQs
How do I know if my waffle cones are fresh?
Absolutely! Look for waffle cones that are crisp and unbroken. If you see any dark spots all over or cracks, it may indicate they’re stale, which can affect the structure and flavor of your homemade Choco Tacos.
What’s the best way to store leftover Choco Tacos?
Very! For optimal freshness, wrap each taco individually in plastic wrap and place them in an airtight container. They’ll stay delicious stored in the freezer for up to one week. Just remember, they are best enjoyed fresh for that perfect crunch!
Can I freeze homemade Choco Tacos?
Definitely! To freeze them, ensure they are completely assembled, then wrap each taco individually in plastic wrap. Place them in an airtight container and they’ll remain tasty for up to three months. When you’re ready to enjoy, simply take them from the freezer and enjoy straight away—no need to thaw!
What should I do if the chocolate coating isn’t sticking?
Don’t worry, this can happen! If the chocolate isn’t adhering well, make sure you’re dipping the tacos immediately after filling them with ice cream while they’re still cold. You might also consider slightly reheating the melted chocolate to maintain its smooth consistency.
Are there any allergy considerations for homemade Choco Tacos?
Absolutely! If you’re serving to guests with allergies, you might want to opt for nut-free topping alternatives like sprinkles or crushed cookies. Additionally, confirm that your chocolate chips are dairy-free if you’re making these treats suitable for lactose-intolerant individuals.
Can I customize the ice cream flavors for my Choco Tacos?
Very much so! You can swap out vanilla ice cream for flavors like chocolate, mint, or even seasonal varieties like pumpkin or strawberry. The more, the merrier! This allows you to get creative with your homemade Choco Tacos and cater to diverse taste preferences.
Homemade Choco Tacos: Your New Favorite Summer Indulgence
Ingredients
Equipment
Method
- Lightly dampen the waffle cones with a bit of water to make them pliable. Reshape each cone into a taco shell and set aside.
- Scoop generous portions of vanilla ice cream into each taco shell, packing it to the brim. Smooth the top and freeze for 10 minutes.
- Melt chocolate chips in a bowl or saucepan until smooth. Allow to cool slightly.
- Dip the top edge of each frozen taco into the melted chocolate and allow excess to drip off.
- Sprinkle chopped peanuts or chosen toppings over the warm chocolate layer immediately after coating.
- Place the tacos back in the freezer for about 30 minutes to set the chocolate coating.