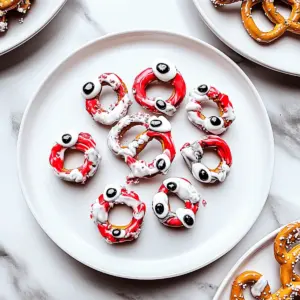
The air tingles with excitement as Halloween approaches, and what better way to embrace the festive spirit than with these delightful Easy No-Bake Halloween Pretzels? There’s something so enchanting about how sweet meets salty in these treats, making them perfect for school parties or cozy family gatherings. With minimal effort and ready in just 20 minutes, they’re a cinch to whip up—trust me, even the littles can help decorate! Customizable with endless sprinkles and toppings, these Halloween Pretzels are not only a fun way to get creative, but they also cater to various dietary preferences, offering gluten-free options as well. So, are you ready to get spookily crafty in the kitchen?
Why Are Halloween Pretzels a Must-Make?
Kid-Friendly Fun: These Halloween Pretzels are a perfect starter treat for little hands eager to help in the kitchen. Decorating is a joyous family activity that inspires creativity.
No-Bake Simplicity: With zero baking required, you can have these delicious snacks ready in just 20 minutes—perfect for last-minute gatherings!
Customizable Creations: Want to create spooky monsters or whimsical pumpkins? The options are endless with different themes, colors, and toppings, making each batch unique.
Diet-Friendly Options: Worried about allergens? No problem! Gluten-free pretzels can easily be substituted, ensuring everyone enjoys this festive treat.
Crowd Pleaser: Whether for a Halloween party or cozy family movie night, these Halloween Pretzels will be a hit—everyone won’t be able to resist that perfect combo of sweet and salty!
Halloween Pretzel Ingredients
• Prepare to make spooky treats!
For the Base
- Mini Pretzels – These provide the essential crunch and salty base; opt for gluten-free pretzels if needed.
For the Coating
- Candy Melts (white, orange, black) – These add a sweet and colorful coating; alternatively, use melted chocolate chips mixed with coconut oil for a shiny finish.
For Decorating
- Halloween Sprinkles – A fun, festive element that brings your pretzels to life; feel free to swap with other themed sprinkles for variety.
- Candy Eyes – Unique decorations that give your pretzels a spooky twist; they’re optional but make your treats extra fun.
- Crushed Oreos (optional) – Sprinkle some on for added flavor and texture; can be skipped if not available.
These Halloween Pretzels combine simplicity with creativity, ensuring that both kids and adults will have a blast making and munching on them!
Step‑by‑Step Instructions for Halloween Pretzels
Step 1: Prepare Your Workspace
Begin by lining a baking sheet with parchment paper to prevent sticking and make cleanup easy. This will be where your Halloween Pretzels will set once decorated. Make sure your counter is clear and ready for a little festive mess, as you’ll soon be melting candy and sprinkling toppings!
Step 2: Melt the Candy Melts
In a microwave-safe bowl, add your choice of candy melts—white, orange, or black. Heat them in the microwave in 30-second intervals, stirring in between each, until smooth and fully melted, which should take about 1-2 minutes total. The melted candy should have a glossy finish, perfect for dipping!
Step 3: Dip the Pretzels
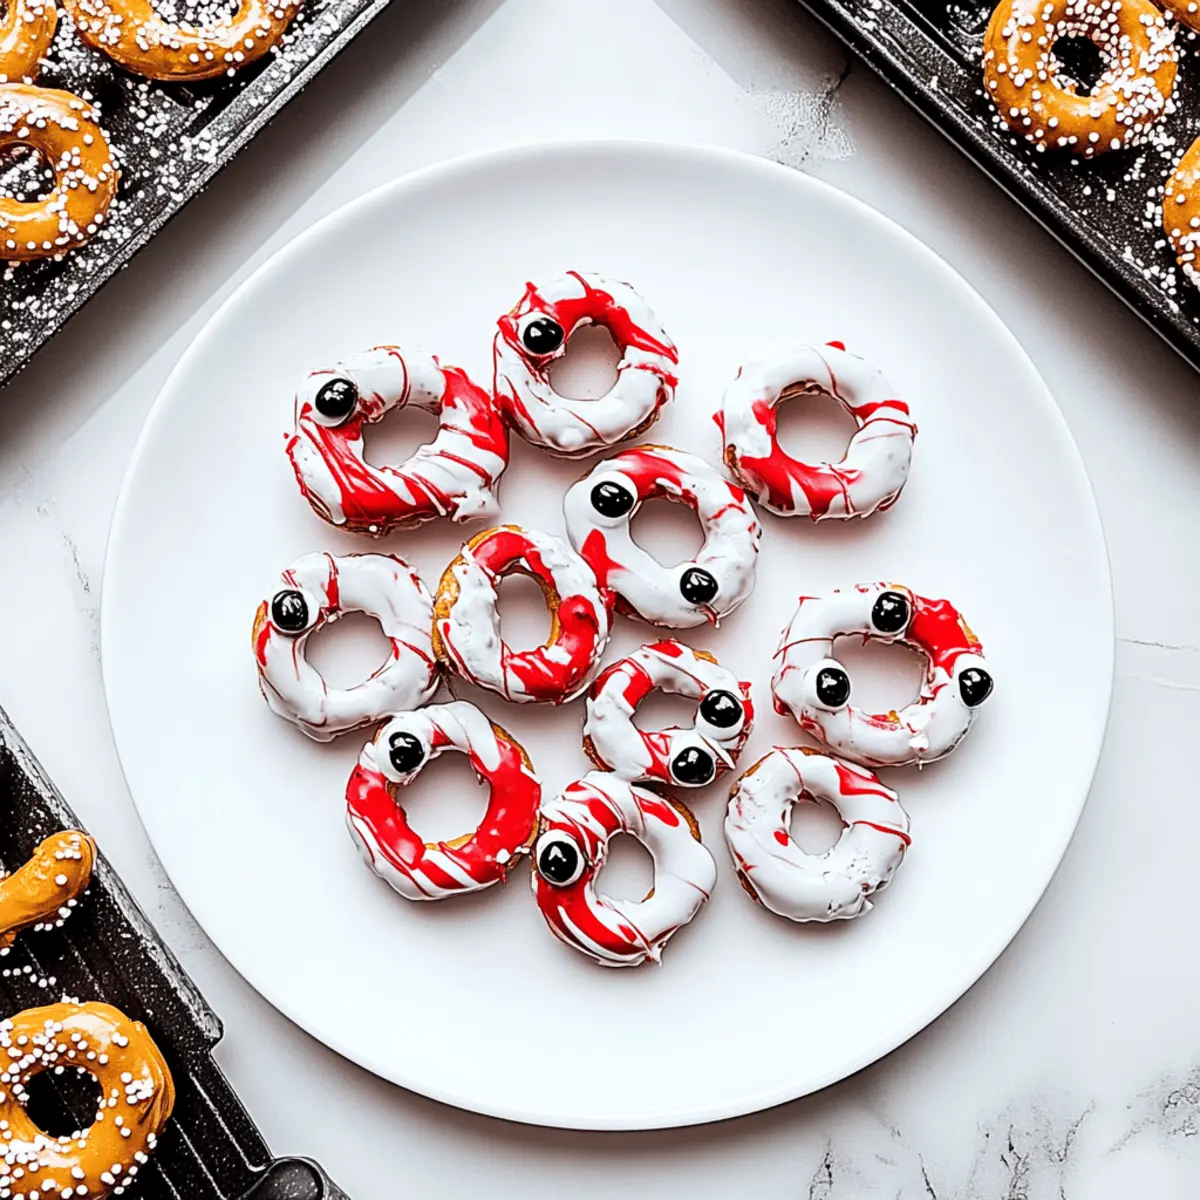
Using a fork, dip each mini pretzel into the melted candy, ensuring it’s fully coated. Lift the pretzel out and gently tap the fork against the bowl’s edge to remove excess candy. Arrange the coated pretzels on your lined baking sheet, making sure they don’t touch so the candy can set properly.
Step 4: Add Decorations
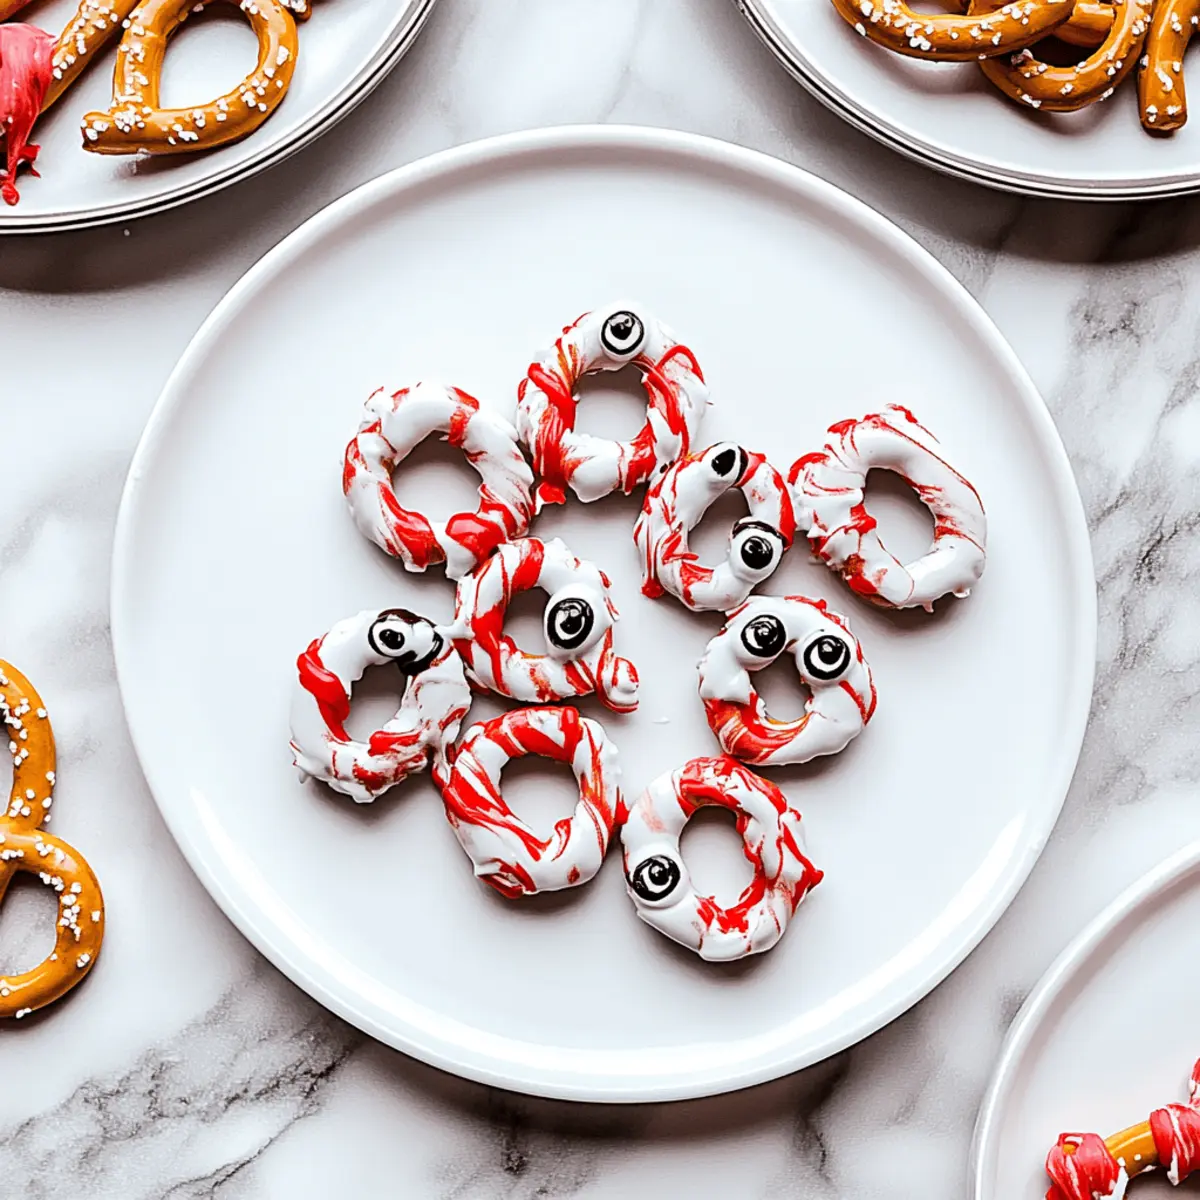
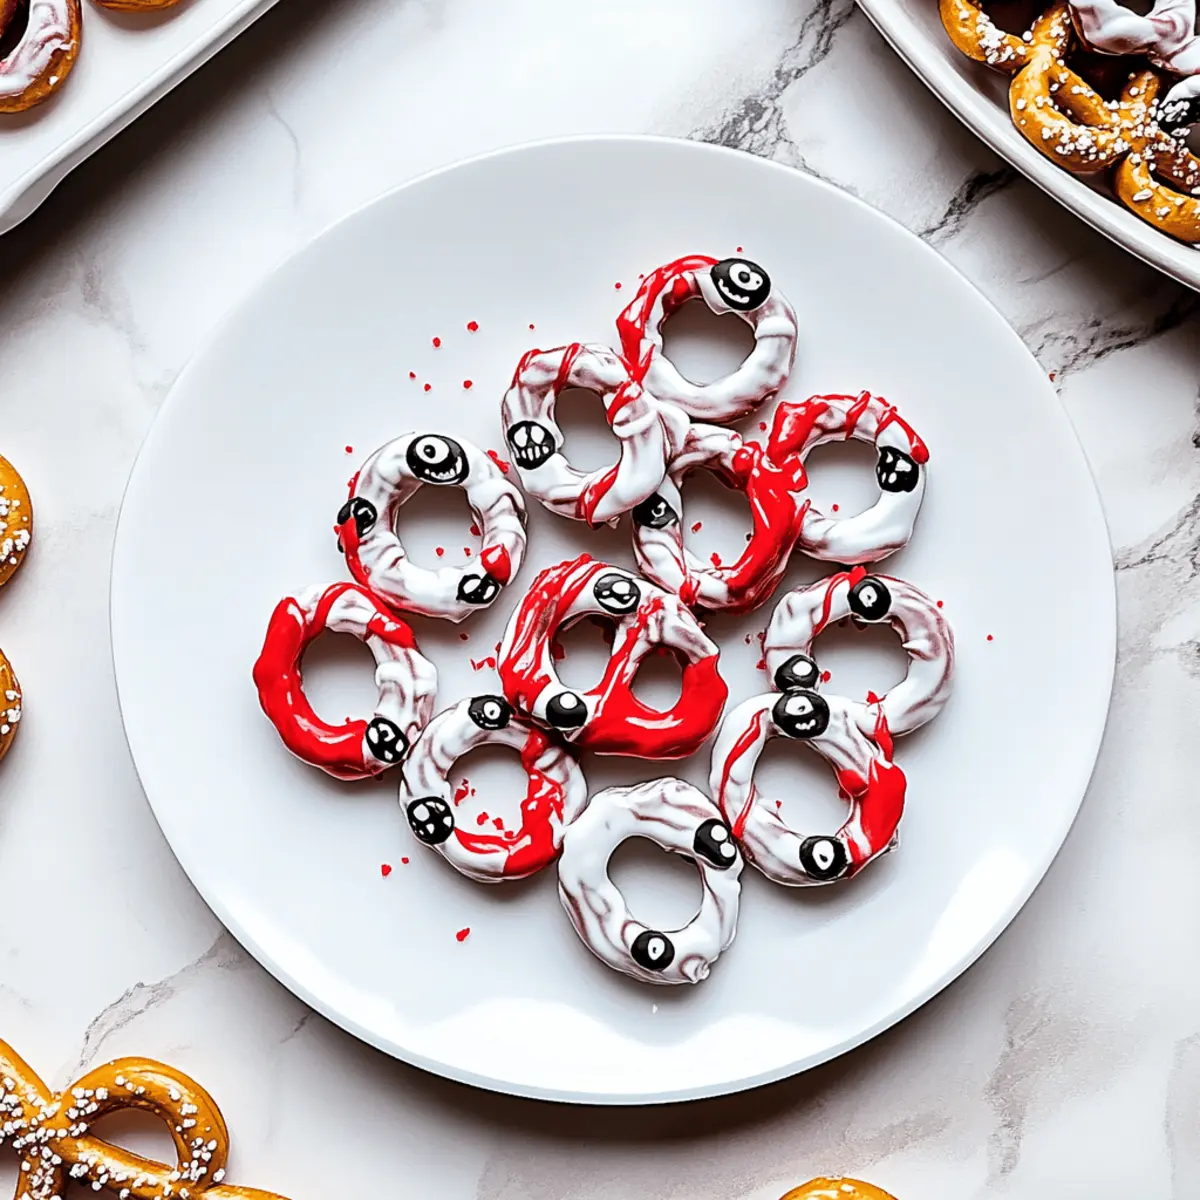
Before the candy coating begins to harden, sprinkle your Halloween sprinkles or add candy eyes on top of the pretzels. Get creative with different designs and colors! This is the fun part—your Halloween Pretzels will truly come to life with these spooky decorations, making them irresistible.
Step 5: Allow to Set
Let the decorated pretzels sit at room temperature for about 15 minutes, or until the candy coating is completely hardened. You can also speed up this process by placing the baking sheet in the refrigerator for just a few minutes, but keep an eye on them to avoid moisture.
Step 6: Store Your Treats
Once your Halloween Pretzels are fully set, transfer them to an airtight container. They can be stored at room temperature for up to 7 days. Keep them protected from humidity to maintain their crunchy texture, and enjoy them as a delightful treat for Halloween festivities!
Make Ahead Options
These Halloween Pretzels are a fantastic choice for meal prep, making your Halloween celebrations even easier! You can prepare the decorated pretzels up to 3 days in advance by following the full preparation steps, then store them in an airtight container at room temperature. To maintain their delightful crunchiness, make sure the container is sealed tightly to prevent moisture. When you’re ready to serve, there’s no need to do anything extra! Just set them out, and they’ll be just as delicious as the day you made them. This way, you save time during the busy holiday, allowing you to enjoy the festivities with family and friends!
Halloween Pretzels Variations & Substitutions
Feel free to unleash your creativity and customize these Halloween Pretzels with delightful twists and fun ingredients!
-
Gluten-Free: Substitute mini pretzels with gluten-free versions to accommodate dietary needs, ensuring everyone can enjoy this spooky treat.
-
Choco-Melt Delight: Swap candy melts for melted chocolate chips mixed with a bit of coconut oil, offering a rich and glossy finish that’s deeply satisfying.
-
Nutty Crunch: Add crushed nuts, such as almonds or pecans, to your pretzels for an exciting texture contrast that pairs wonderfully with the sweet coating.
-
Fruit Fiesta: Top your pretzels with dried fruits like cranberries or raisins for a delightful burst of natural sweetness and chewy texture.
-
Spicy Kick: Drizzle a touch of melted dark chocolate mixed with cayenne or chili powder for an unexpected heat that balances the sweetness perfectly.
-
Colorful Themes: Play with different color combinations of candy melts for unique celebrations, such as pastels for Easter or school colors for spirit days!
-
Creative Shapes: Use Halloween-themed cookie cutters to shape your pretzels and drizzle with candy melts for a fun visual treat that’s perfect for parties.
-
Pumpkin Spice Twist: Add a sprinkle of pumpkin spice to the melted coating for a seasonal flavor that’s equally warming and delicious, capturing the essence of fall.
With these amazing variations, your Halloween Pretzels will not only stand out but will also cater to diverse tastes and preferences. Enjoy the fun of creating and indulging in these treats!
How to Store and Freeze Halloween Pretzels
Room Temperature: Keep your Halloween Pretzels in an airtight container at room temperature for up to 7 days. This helps maintain their crunchy texture and sweet coatings.
Fridge: If you prefer a cooler treat, you can store them in the fridge for up to 10 days. Just be mindful that cold air may slightly soften the crunchy pretzels.
Freezer: For longer storage, freeze your Halloween Pretzels in a single layer, then transfer to an airtight container for up to 2 months. Thaw at room temperature when ready to enjoy.
Reheating: These treats are best enjoyed cold or at room temperature, so no reheating is necessary. Just pop them out of their container and dive into the deliciousness!
What to Serve with Halloween Pretzels?
Delight your friends and family with a full spread that perfectly complements these sweet and salty Halloween Pretzels.
-
Crisp Apple Slices: The refreshing crunch of apples cuts through the sweetness, enhancing the overall flavor experience and providing a delightful contrast.
-
Spooky Cheese Board: Create a festive cheese platter with assorted cheese, crackers, and fruits to satisfy both sweet and savory cravings.
-
Ghoulish Grapes: Offer a bowl of green grapes; they provide a juicy and nutritious bite that balances the sweetness of the pretzels.
-
Pumpkin Spice Hot Chocolate: Serve this cozy drink alongside your treats for a fun, festive pairing that wraps everyone in warmth and seasonal flavors.
-
Candy Corn Trail Mix: Mix candy corn with nuts and chocolate for a rustic snack that complements that candy-coated sweetness of Halloween Pretzels.
-
Cheerio Treat Bites: Whip up some crunchy Cheerio snacks as a fun alternative; their crispy texture pairs wonderfully with the soft, melted candy coating on the pretzels.
-
Cider Mimosa: For an adult twist, mix hard cider with a splash of champagne for a refreshing drink that brings festive cheer to your celebration.
-
Ghostly Cupcakes: Pair your Halloween Pretzels with some spooky cupcakes; the sweet frosting will perfectly align with the treat’s mix of textures and flavors.
Expert Tips for Halloween Pretzels
-
Melt Uniformly: Ensure candy melts are heated evenly, stirring frequently to avoid burning. This guarantees a smooth coating for your Halloween Pretzels.
-
Sprinkle Quickly: Add decorations while the candy is still warm to ensure they stick. Waiting too long can lead to sprinkles sliding off when picking up the pretzels!
-
Experiment with Colors: Don’t hesitate to mix different colors of candy melts for a fun tie-dye effect on your pretzels. This adds a delightful twist to the classic look!
-
Kids Involvement: Let children help with the decorating process. It’s a great way to bond and make memorable moments while creating their favorite Halloween treats.
-
Storing Tips: Store Halloween Pretzels in an airtight container to maintain freshness. Proper storage is essential for keeping that delightful crunch!
-
Avoid Overheating: When melting candy, do it in short bursts to prevent overheating and separation. If the candy becomes too thick, mix in a little coconut oil to regain smoothness.
Halloween Pretzels Recipe FAQs
How do I select the right pretzels?
Absolutely! When choosing mini pretzels, look for ones that are perfectly shaped without broken pieces. This will ensure you have a delightful crunchy base. Opt for gluten-free pretzels if you have dietary restrictions, and check the packaging for any signs of freshness.
What’s the best way to store Halloween Pretzels?
Very! Store your Halloween Pretzels in an airtight container at room temperature for up to 7 days. For even longer storage, consider refrigerating them for up to 10 days. If humidity is a concern, keeping them in a cool, dry place will help preserve their crunchiness.
Can I freeze Halloween Pretzels?
Certainly! To freeze, place the Halloween Pretzels in a single layer on a baking sheet lined with parchment paper. Once they are frozen solid, transfer them to an airtight container or freezer bag for up to 2 months. When you’re ready to enjoy them, let them thaw at room temperature without any need for reheating.
What should I do if my candy melts become too thick?
No worries! If your candy melts begin to thicken and become hard to work with, simply add a teaspoon of coconut oil or vegetable shortening. Gently mix until the candy is smooth and melted again. This method keeps your candy melts glossy and easier to dip, ensuring your Halloween Pretzels look fabulous!
Can I make these Halloween Pretzels nut-free?
Absolutely! To ensure your Halloween Pretzels are nut-free, always check the labels on your candy melts and sprinkles for any hidden allergens. There are plenty of nut-free options available in stores. Customize the toppings with seeds or crispy rice for delightful crunch additions that are safe for everyone!

Halloween Pretzels: Fun, No-Bake Treats for Spooky Snacking
Ingredients
Equipment
Method
- Prepare Your Workspace: Line a baking sheet with parchment paper to prevent sticking.
- Melt the Candy Melts: Heat the candy melts in a microwave-safe bowl in 30-second intervals until smooth.
- Dip the Pretzels: Use a fork to dip each pretzel into the melted candy, coating fully. Tap excess candy off.
- Add Decorations: Before the candy hardens, sprinkle Halloween sprinkles or add candy eyes to the pretzels.
- Allow to Set: Let the pretzels sit at room temperature for about 15 minutes until the coating hardens.
- Store Your Treats: Transfer fully set pretzels to an airtight container and store at room temperature for up to 7 days.