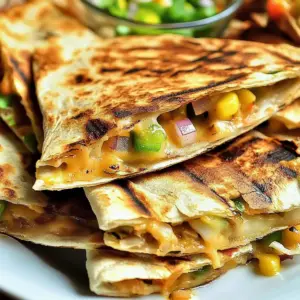
As the sun begins to set on a warm summer evening, the smell of grilled quesadillas fills the air, making my mouth water in anticipation. There’s something undeniably joyous about this dish, with its crisp exterior hiding a treasure trove of gooey cheese and vibrant fillings; it’s hard not to be excited! These Cheesy Grilled Quesadillas are not only a quick and easy kid-friendly snack but also a versatile canvas for your culinary creativity. Whether you’re using leftovers or fresh ingredients, the possibilities are endless—and trust me, they’ll be a crowd-pleaser at your next gathering. So, are you ready to turn up the heat and create something your family will love? Let’s dive into this cheesy goodness!
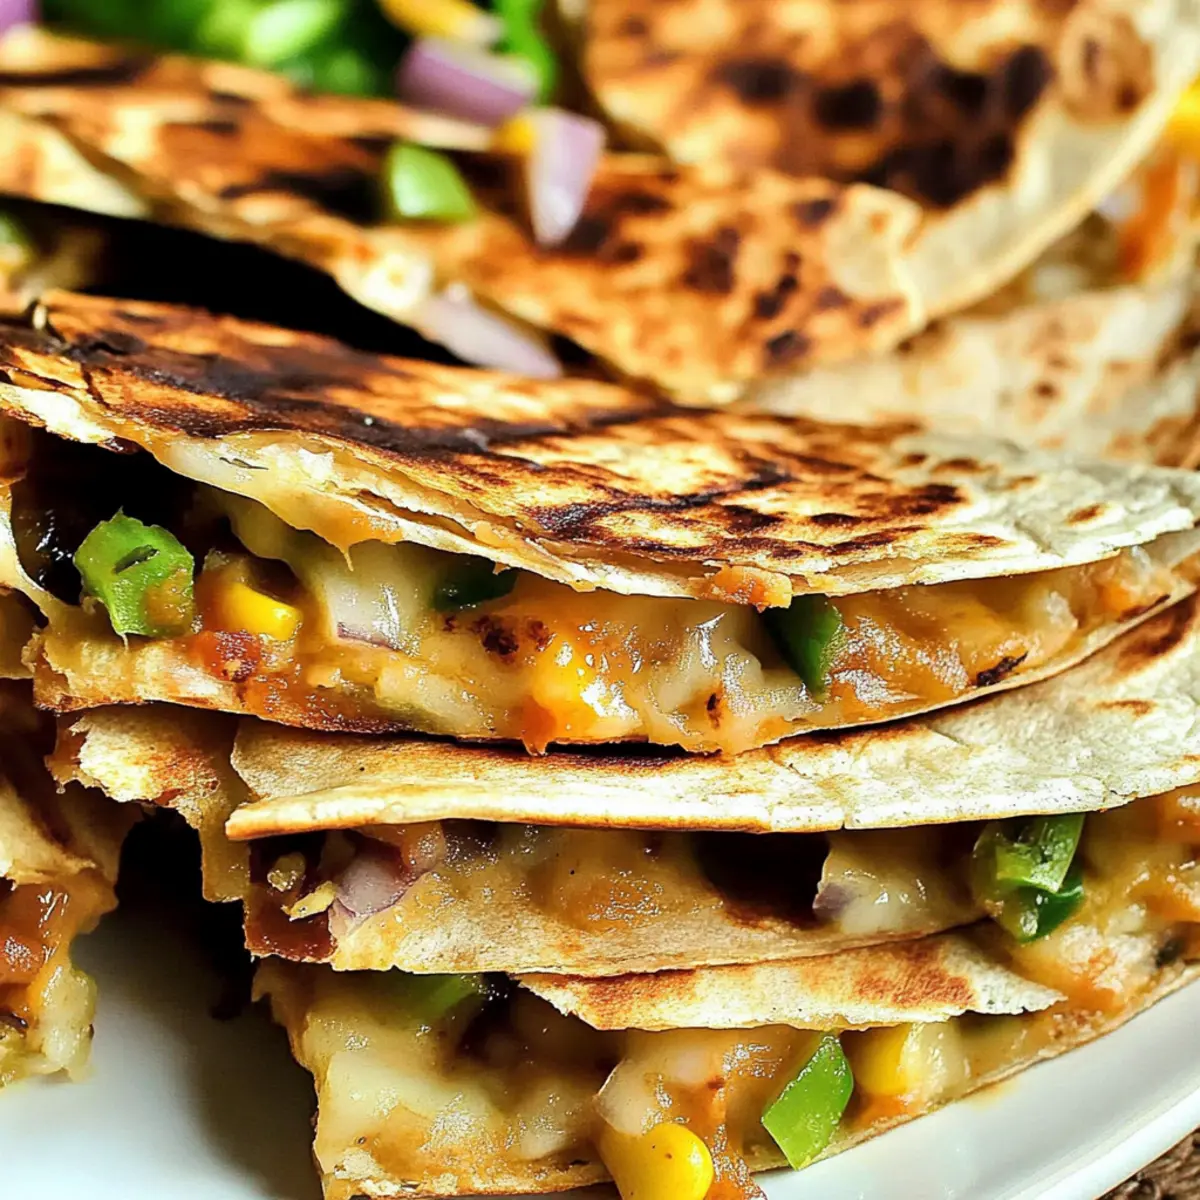
Why Are Grilled Quesadillas So Great?
Kid-friendly and absolutely delicious, these quesadillas are perfect for everyone in the family. Quick to prepare, they make a fantastic last-minute meal or snack when time is tight. Endless combinations allow you to get creative by adding your favorite fillings; from veggies and meats to sweet fruits, the options are limitless! Crisp, golden goodness on the outside gives way to a melty, cheesy center that will have everyone reaching for seconds. For a fun twist, consider setting up a quesadilla bar at your next gathering—it’s sure to be a hit!
Grilled Quesadilla Ingredients
For the Quesadilla Base
• Flour Tortillas or Corn Tortillas – Your choice of tortillas forms the delicious foundation of the quesadilla.
For Grilling
• Butter – 1-2 teaspoons per tortilla provides a golden-brown crispy finish that everyone loves.
• Salt – A sprinkle of coarse salt enhances the flavors beautifully.
For the Flavor Base
• Salsa or Pesto – 1-2 tablespoons per tortilla add a burst of flavor; just avoid over-saturating to keep them from getting soggy.
For the Fillings
• Veggies – Onions, roasted peppers, and mushrooms provide varied textures and nutrition.
• Chilies – Add roasted poblanos, Anaheims, or jalapenos for that perfect touch of heat and flavor.
• Fruit – Consider sweet options like mangoes or peaches for a delightful twist.
• Meats – Incorporate choicest options like chorizo or chicken to boost protein content.
• Cheese – ¼ to ⅓ cup per quesadilla; try cheddar, jalapeno cheese, or goat cheese for maximum creaminess.
For Extra Crunch
• Crushed Tortilla Chips – About 1 tablespoon per tortilla creates an enjoyable crunch inside each bite.
These grilled quesadilla ingredients allow you to mix and match according to your taste preferences, making every bite an unforgettable experience!
Step‑by‑Step Instructions for Cheesy Grilled Quesadillas
Step 1: Preheat the Grill
Begin by preheating your grill to medium heat, around 350°F to 400°F. This step is crucial for achieving that perfect crispy exterior on your grilled quesadillas. While the grill heats up, gather all your ingredients and lay them out for easy access. A well-prepared cooking space makes the process smoother and more enjoyable!
Step 2: Prepare the Tortillas
Take your flour or corn tortillas and spread a thin layer of salsa or pesto on one side of each tortilla. This flavorful base will enhance the deliciousness of your Cheesy Grilled Quesadillas. Make sure to apply it evenly but avoid overdoing it; we want to keep the tortillas sturdy and not soggy.
Step 3: Layer Your Fillings
On one half of each tortilla, layer your chosen fillings, like veggies, meats, and cheese, being careful not to overload. The key is balance! Your half-moon quesadilla should be filled enough for flavor, but leave some room along the edges to ensure that they seal nicely while grilling.
Step 4: Add Crunch with Tortilla Chips
If you like extra crunch, sprinkle about a tablespoon of crushed tortilla chips on top of the fillings before adding the cheese. Follow this with your cheese choice, ensuring an even distribution to create that gooey, melted goodness. This layer will also help hold your fillings in place as you fold.
Step 5: Fold the Tortilla
Carefully fold the tortilla over the fillings to create a half-moon shape. Gently press down to hold everything together. This step is essential as it ensures the fillings stay inside while grilling, leading to beautifully formed Cheesy Grilled Quesadillas that are easy to manage on the grill.
Step 6: Grill the Quesadilla
Place the folded quesadilla on the preheated grill, making sure to place it seam-side down. Cover the grill and cook for about 1 minute, watching closely for the tortilla to become golden brown. This step will seal in the flavors while creating a delightful crust that everyone will love.
Step 7: Flip and Finish Cooking
After 1 minute, carefully flip the quesadilla using a spatula. Grill the other side for an additional 1–2 minutes until it becomes golden brown and the cheese melts beautifully inside. The perfect quesadilla should have a crispy exterior while remaining soft and cheesy within.
Step 8: Slice and Serve
Once grilled to perfection, remove the quesadilla from the grill and allow it to cool slightly on a cutting board. Use a sharp knife to slice the quesadilla into wedges for easy serving. Pair with guacamole or extra salsa for dipping, inviting everyone to dive into this delicious Cheesy Grilled Quesadilla experience!
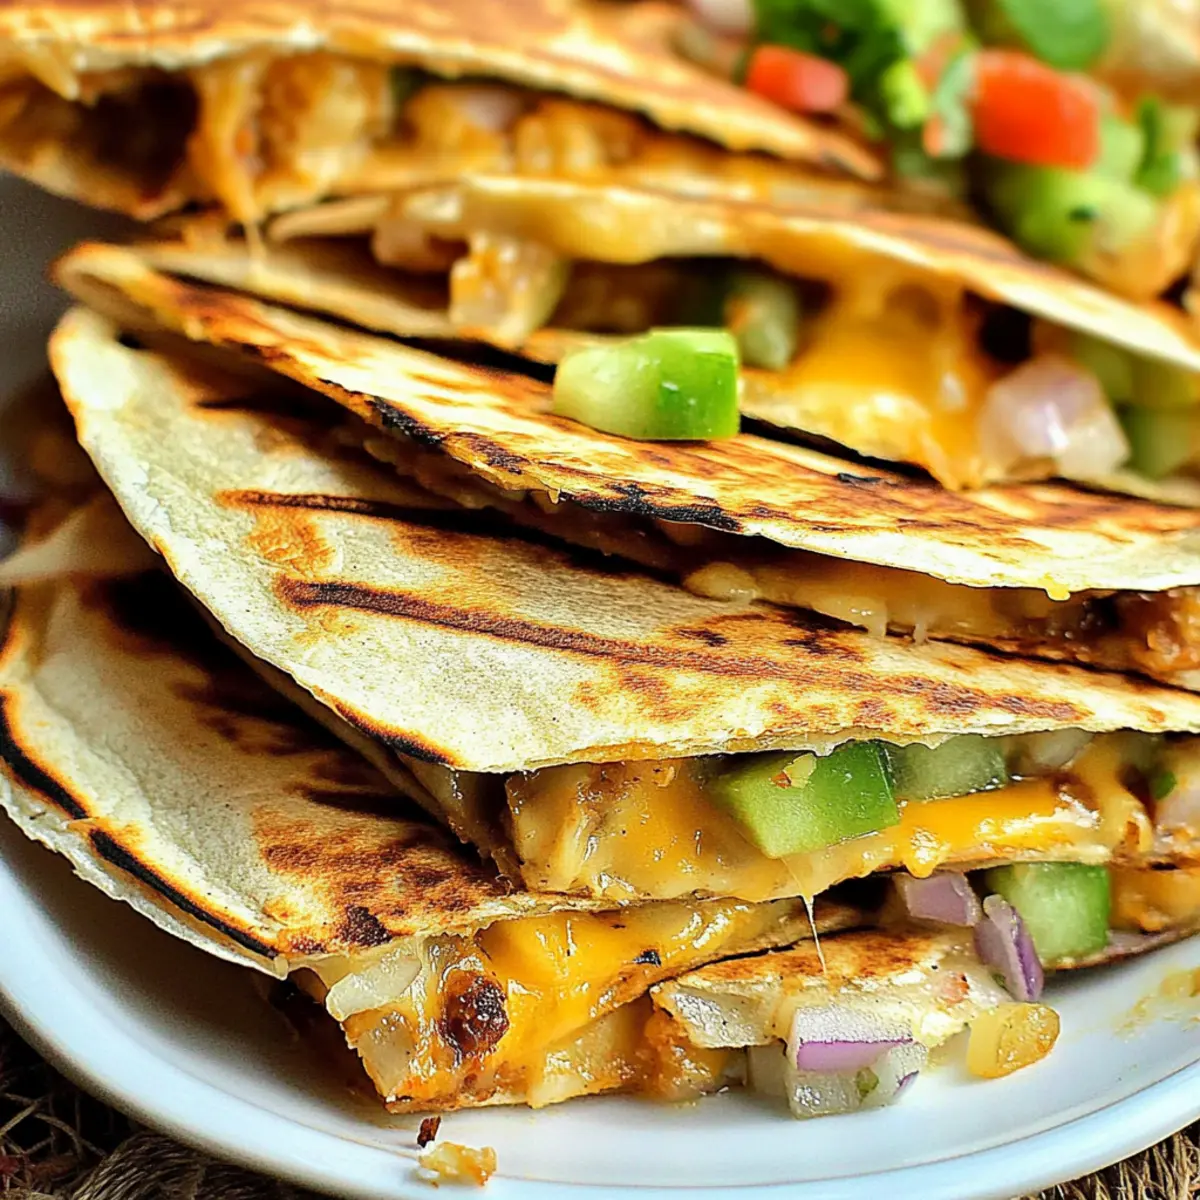
What to Serve with Cheesy Grilled Quesadillas?
There’s nothing quite like complementing your quesadillas with sides that enhance their flavors and textures!
-
Creamy Guacamole: This rich, velvety dip adds a smooth and fresh avocado flavor that pairs beautifully with cheesy, crispy quesadillas.
-
Zesty Salsa: A vibrant, tangy salsa provides a fresh contrast, bursting with flavors that brighten each bite of your grilled creation.
-
Sweet Corn Salad: This refreshing mix of sweet corn and herbs introduces a delightful crunch and sweetness, balancing the savory quesadilla perfectly.
-
Crisp Side Salad: A light, crunchy salad with mixed greens, tomatoes, and a citrus vinaigrette offers a refreshing counterpart to the warm, cheesy goodness.
-
Frijoles Negros: Hearty black beans served warm make for a protein-packed side that enhances the meal, adding depth and traditional flair.
-
Mango Salsa: Combine diced mango with jalapeños and red onion for a unique sweet and spicy dip that will elevate your quesadilla experience.
-
Tropical Fruit Skewers: Juicy pieces of pineapple, watermelon, and kiwi create a fun and colorful addition, complementing the savory quesadilla with their refreshing sweetness.
-
Chilled Beer or Agua Fresca: A cold beer or a fruity agua fresca is the perfect way to unwind and cool off while enjoying these delicious snacks on a summer day.
Make Ahead Options
These Cheesy Grilled Quesadillas are a fantastic option for meal prep, making your busy weeknights so much easier! You can prepare and assemble the quesadillas up to 24 hours in advance. To do this, layer your fillings and cheese in the tortillas as per the recipe steps, but avoid grilling them. Instead, place the assembled quesadillas in an airtight container, separating them with parchment paper to prevent sticking, and refrigerate. When you’re ready to serve, simply preheat your grill and cook the quesadillas for 2-3 minutes on each side until they’re golden brown and the cheese is melted—just as delicious as if made fresh! This way, you’ll save time while still enjoying a flavorful and satisfying meal.
How to Store and Freeze Grilled Quesadillas
Fridge: Store grilled quesadillas in an airtight container for up to 3 days. Place parchment paper between layers to prevent sticking.
Freezer: For longer storage, wrap each quesadilla in plastic wrap and then aluminum foil before freezing. They can last up to 2 months in the freezer.
Reheating: Thaw frozen quesadillas in the fridge overnight. Reheat in a skillet over medium heat for about 4–5 minutes per side, until heated through and crispy.
Leftover Enjoyment: Enjoy grilled quesadillas in a variety of ways; they can be transformed into tasty breakfast options by adding eggs or served with different sides for easy lunches.
Grilled Quesadillas: Customization Awaits
Feel free to unleash your culinary creativity and tweak these tasty quesadillas to suit your palate!
-
Dairy-Free: Substitute traditional cheese with your favorite vegan cheese for a delicious alternative without dairy.
-
Vegetarian Delight: Use refried beans or roasted veggies like zucchini or spinach to make a hearty vegetarian quesadilla that’s satisfying and nutritious.
-
Sweet Twist: Add slices of fresh mango or peach along with your savory ingredients for a delightful contrast of flavors; the sweetness elevates the overall taste.
-
Spicy Kick: For those who like heat, incorporate chopped jalapeños or a dash of hot sauce, turning up the flavor and making every bite exciting!
-
Gluten-Free: Swap regular tortillas for gluten-free varieties made from almond or coconut flour, ensuring everyone can enjoy these delicious quesadillas.
-
Caramelized Onions: Take a moment to caramelize some onions for a sweet, rich flavor addition that enhances your quesadilla experience beautifully.
-
Herb Infusion: Add a sprinkle of fresh herbs, like cilantro or basil, right before grilling to infuse your quesadilla with vibrant, fresh flavors that will surprise and delight.
-
Crunchy Add-Ins: Toss in some crushed tortilla chips or corn for an extra layer of crunch that complements the creamy cheese filling. Try pairing this with a fresh avocado salsa for a perfect balance!
With so many delightful options, your quesadilla night is bound to be filled with fun and flavor! If you’re ever stuck for pairing ideas or want to explore different tastes, don’t forget about how delightful these can be with a side of homemade guacamole or even some fresh salsa to dip!
Expert Tips for Grilled Quesadillas
-
Butter Magic: Always butter at least one side of the tortilla to enhance flavor and achieve the golden-brown finish that makes grilled quesadillas so irresistible.
-
Grill with Care: Keep an eye on your quesadillas while grilling. A few scorch marks are okay, but avoid burning to retain that perfect texture.
-
Don’t Overfill: Be mindful when adding fillings. Overloading can cause your grilled quesadillas to burst open, making a mess on the grill.
-
Try Different Cheeses: Experiment with various cheeses to find your ideal flavor profile. From sharp cheddar to creamy goat cheese, the choice can elevate your grilled quesadilla game.
-
Set Up a Quesadilla Bar: Enhance your gatherings by setting up a quesadilla bar, allowing guests to mix and match their favorite ingredients and make their perfect grilled quesadillas!
-
Reheating Tips: Leftover grilled quesadillas can be easily reheated in a skillet over medium heat to restore crispiness. However, try to consume them within a couple of days to enjoy their best flavor.
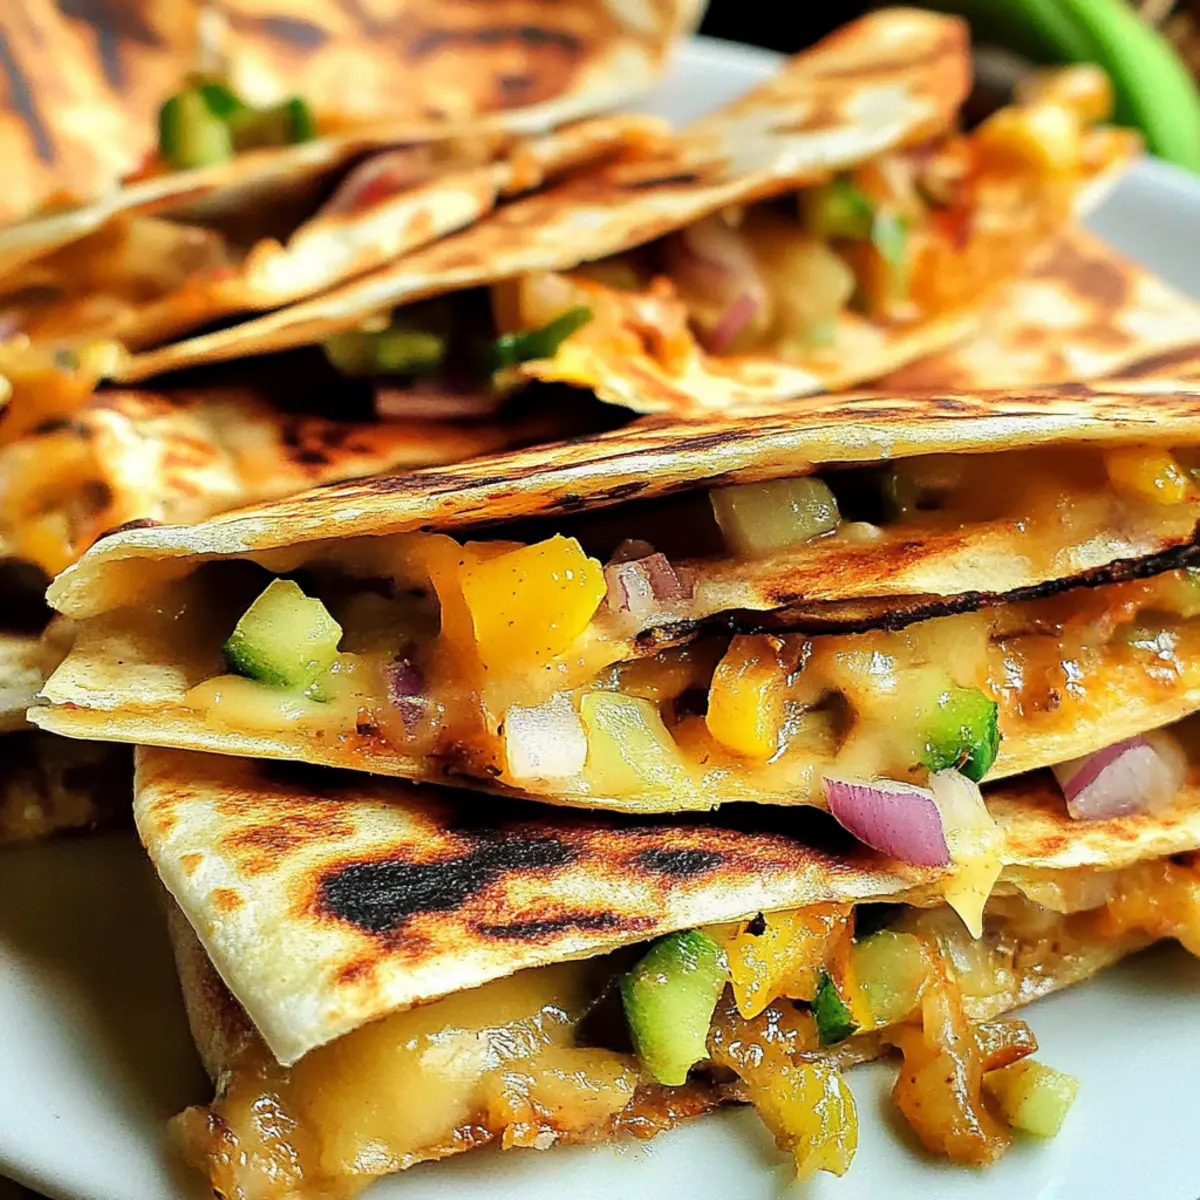
Grilled Quesadillas Recipe FAQs
How do I select the best tortillas for quesadillas?
Absolutely! Choose high-quality flour or corn tortillas that are flexible and fresh. Look for tortillas without dark spots or tears, as these can lead to filling leaks during grilling. If possible, a medium-size tortilla is ideal for balanced filling distribution.
How should I store leftover quesadillas?
Very simple! Store grilled quesadillas in an airtight container in the refrigerator for up to 3 days. To prevent them from sticking together, place a piece of parchment paper between layers. Just pop them in the microwave or reheat in a skillet when you’re ready to enjoy them again!
Can grilled quesadillas be frozen?
Yes, they can! To freeze, wrap each quesadilla tightly in plastic wrap followed by aluminum foil. This double wrap protects them from freezer burn and keeps them fresh for up to 2 months. When you’re ready to enjoy them, thaw in the refrigerator overnight and reheat in a skillet over medium heat for about 4–5 minutes on each side.
What if my quesadillas are soggy after grilling?
Oh no! If your quesadillas turn out soggy, it’s usually due to too much moisture from the fillings. To prevent this, ensure you’re not overloading with juicy ingredients like salsa or roasted veggies. Keep the salsa on the thinner side, or use it as a dip instead of a filling. Also, make sure to preheat your grill adequately for that crisp exterior!
Are there any dietary considerations when making quesadillas?
Definitely! If you’re cooking for someone with dietary restrictions, you can easily adjust the recipe. Opt for gluten-free tortillas for those with gluten sensitivities, or use a dairy-free cheese option for lactose intolerance. It’s very possible to create delicious quesadillas that accommodate everyone’s preferences, so don’t hesitate to get creative!
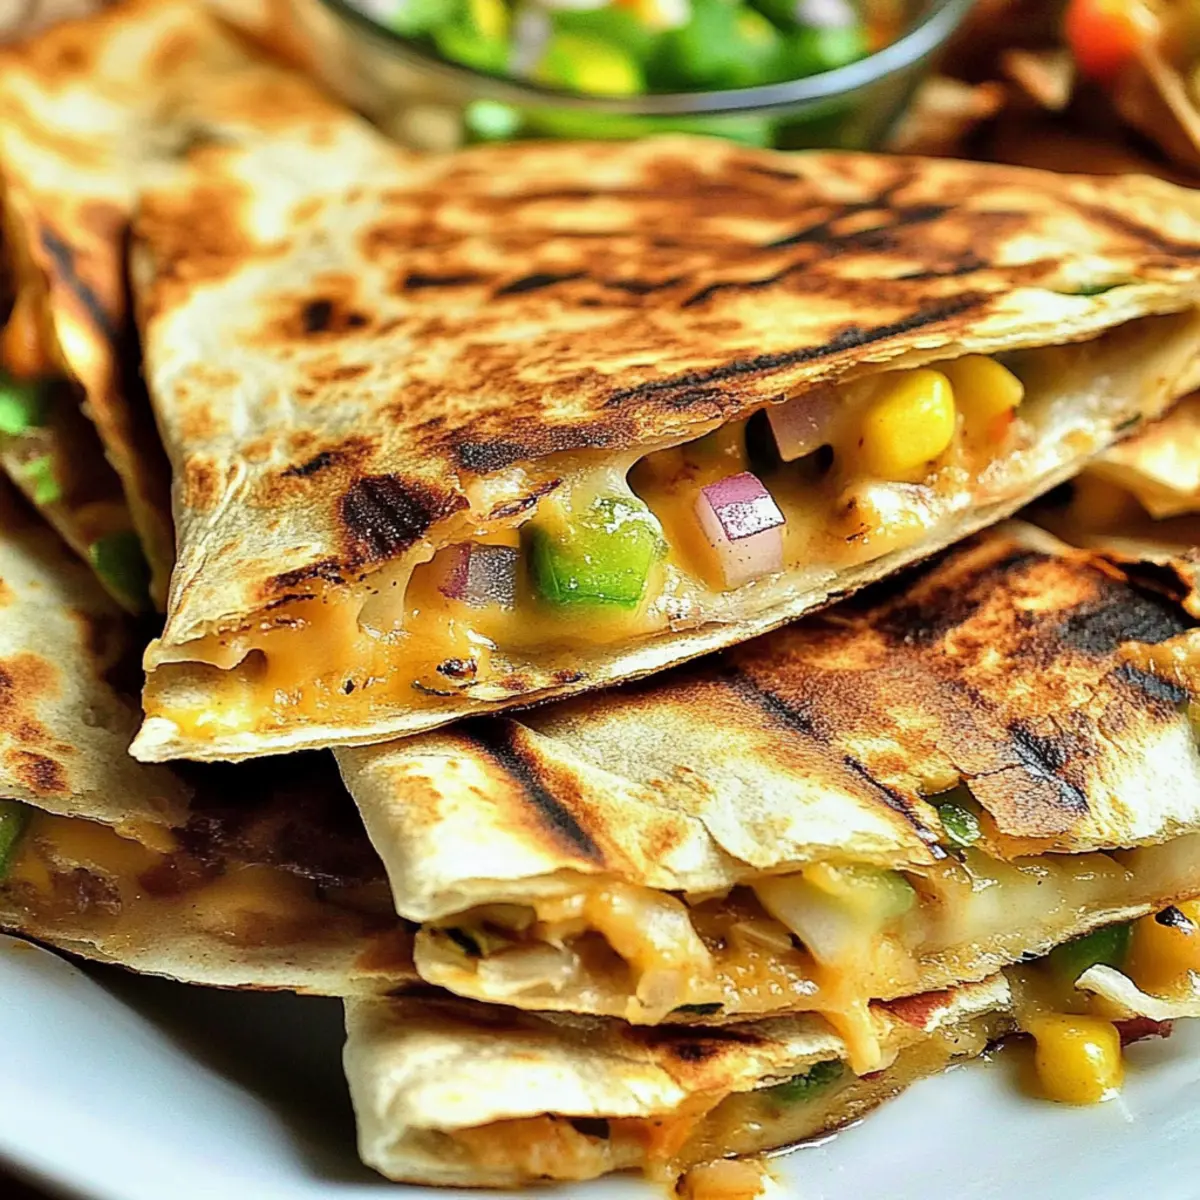
Grilled Quesadillas: Flavor-Packed Fun for Everyone
Ingredients
Equipment
Method
- Preheat your grill to medium heat, around 350°F to 400°F.
- Spread a thin layer of salsa or pesto on one side of each tortilla.
- Layer your chosen fillings on one half of each tortilla.
- Sprinkle about a tablespoon of crushed tortilla chips on top of the fillings.
- Fold the tortilla over the fillings to create a half-moon shape.
- Place the folded quesadilla on the preheated grill, seam-side down and cover the grill.
- After 1 minute, carefully flip the quesadilla and grill the other side for an additional 1–2 minutes.
- Allow it to cool slightly, then slice into wedges for serving.