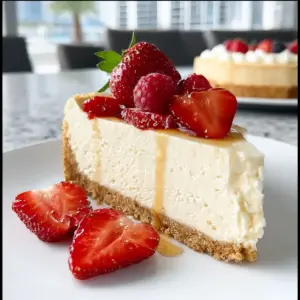
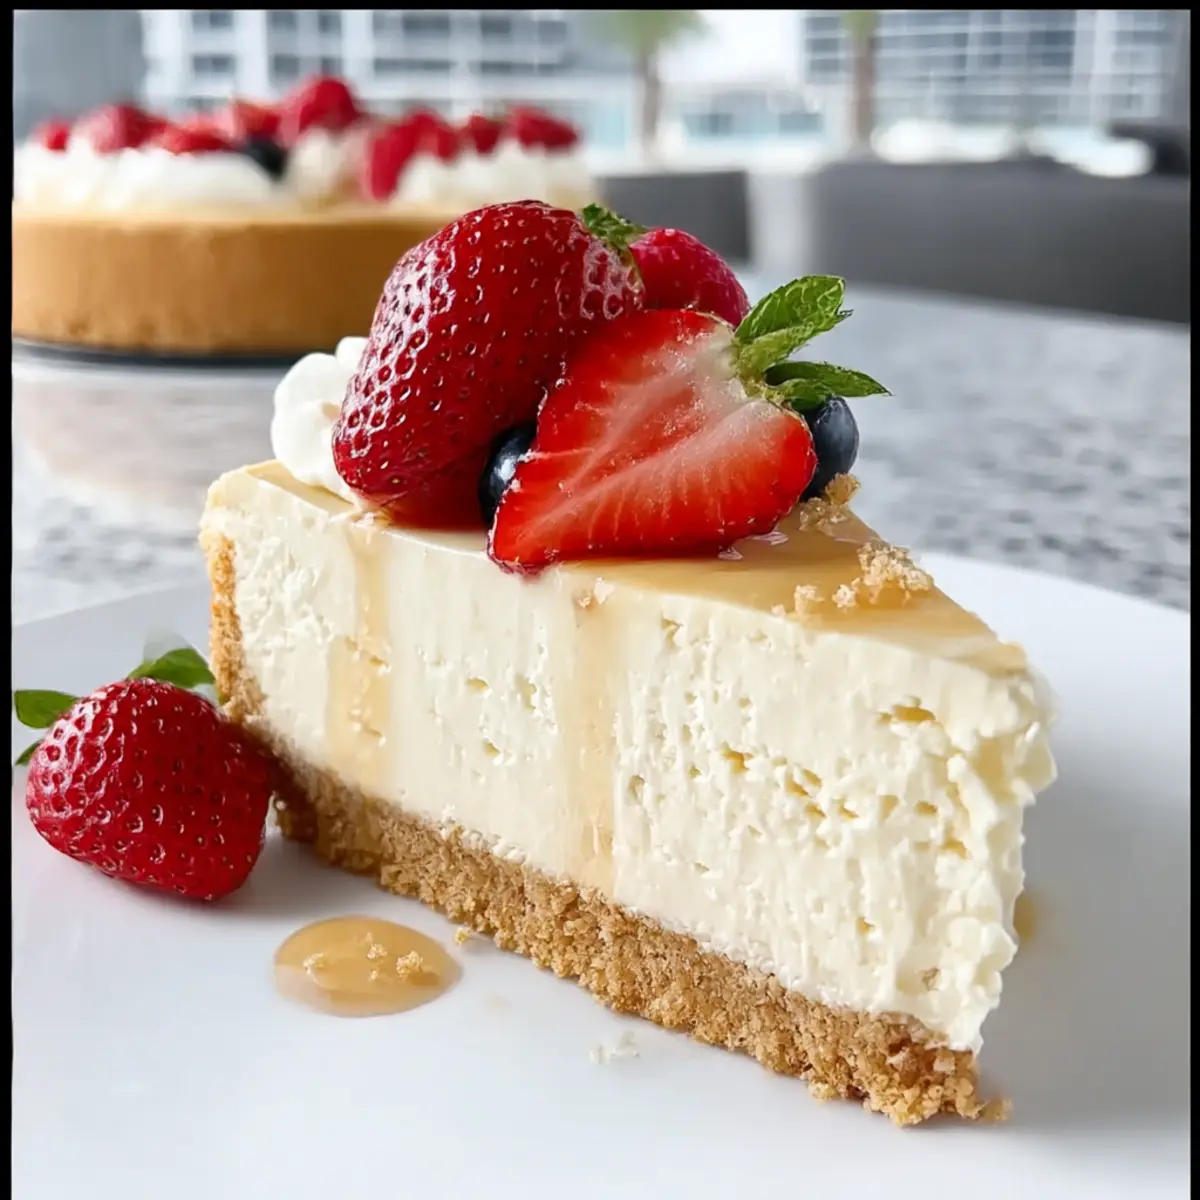
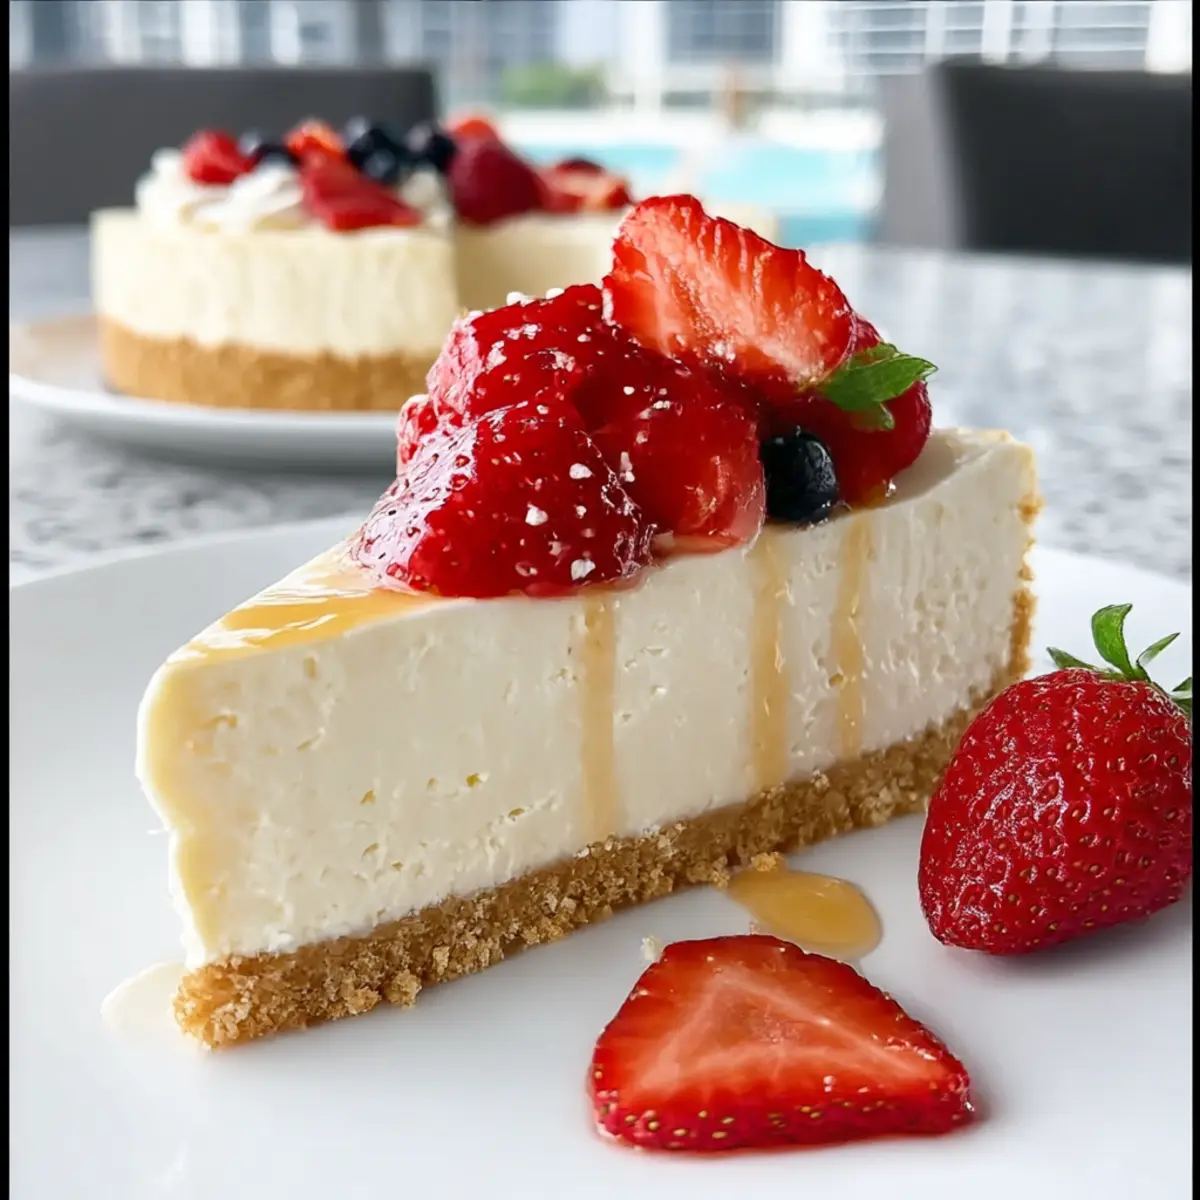
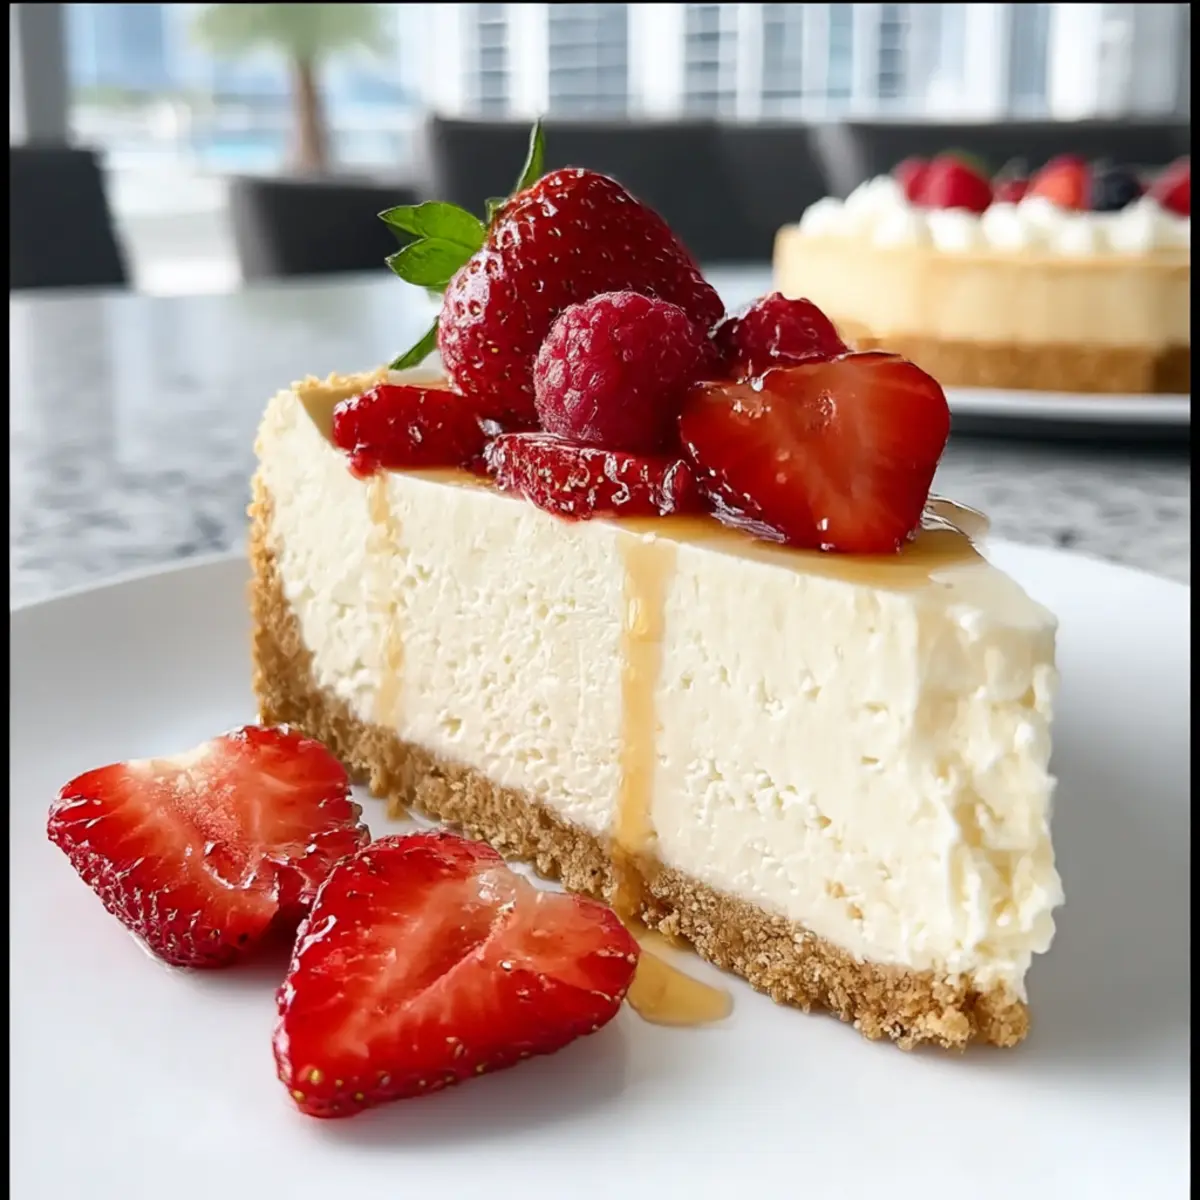
On a lazy summer afternoon, I found myself staring blankly into my fridge, dreaming of a cool, creamy dessert that wouldn’t require turning on the oven. That’s when I decided to whip up my Easy No Bake Cheesecake, a delightful treat that ticked all the boxes for indulgence without the fuss. This dessert is not only a crowd-pleaser but also make-ahead friendly, making it perfect for parties or casual gatherings. The buttery graham cracker crust holds a luscious filling of cream cheese and whipped cream, creating a light yet rich experience in every slice. Just imagine it paired with fresh berries or a drizzle of caramel—what’s not to love? Let’s dive into creating this delicious masterpiece that your taste buds will thank you for!
Why Is This Cheesecake So Irresistible?
Creamy Texture: The combination of whipped cream and cream cheese yields a texture that is both light and indulgent, making every bite a delight.
Make-Ahead Magic: Perfect for busy schedules, this recipe is great for preparing a day in advance. Just let it chill, and you’re ready to impress guests!
No-Bake Convenience: Say goodbye to complicated baking processes. This cheesecake is quick to assemble, requiring minimal effort and no oven time.
Endless Customization: From fruity purees to chocolate swirls, you can personalize this dessert to suit any taste. Whether you prefer classic or adventurous flavors, the options are endless!
Crowd Pleaser: It’s a guaranteed hit at any gathering—birthdays, holidays, or casual dinners. Pair it with a homemade topping bar for extra fun!
No Bake Cheesecake Ingredients
For the Crust
• Graham Cracker Crumbs – Provides a classic, honey-like flavor and texture for the crust. Alternative: Digestive biscuit crumbs can also be used.
• Unsalted Butter – Binds the crust ingredients together, ensuring it holds shape when sliced. Note: Regular butter can be substituted, but may add saltiness.
• Granulated Sugar – Sweetens the crust and enhances flavor. No substitutions necessary for best results.
For the Filling
• Full-Fat Cream Cheese – The main component of the filling, contributing a rich, creamy, and indulgent texture. Alternative: Low-fat cream cheese may be used, but may affect firmness.
• Powdered Sugar – Adds sweetness and smoothness to the filling while blending easily. Substitutions: Avoid using granulated sugar as it won’t dissolve properly.
• Vanilla Extract – Enhances the overall flavor of the cheesecake, adding warmth. Homemade vanilla extract or vanilla paste can work as alternatives.
• Lemon Juice – Brightens the filling and balances richness while preventing heaviness. Substitution: Lime juice can be used for a different flavor profile.
• Sour Cream – Contributes tanginess and a soft texture, mimicking traditional cheesecake flavors. Alternative: Greek yogurt can be used for a similar effect.
• Heavy Whipping Cream – Provides lightness and volume to the filling, crucial for achieving a fluffy texture. Note: All-purpose cream will not whip properly; must be heavy cream.
For Topping
• Fresh Berries/Topping of Choice – Adds a refreshing finish to the cheesecake. Variations: Other toppings like chocolate, caramel, or nuts can be used.
This Easy No Bake Cheesecake is the ultimate treat to satisfy your sweet tooth without turning on the oven!
Step‑by‑Step Instructions for Easy No Bake Cheesecake
Step 1: Prepare the Crust
In a medium mixing bowl, combine graham cracker crumbs, melted unsalted butter, and granulated sugar until the mixture resembles wet sand. Press this mixture evenly into the bottom of a 9-inch springform pan, using the back of a measuring cup for a firm base. Chill the crust in the refrigerator for at least 30 minutes to set.
Step 2: Prepare the Filling
In a large mixing bowl, beat the softened full-fat cream cheese with an electric mixer on medium speed until creamy and smooth, about 2-3 minutes. Gradually add in the powdered sugar, vanilla extract, lemon juice, and sour cream, mixing until well combined and fluffy. Ensure there are no lumps for a beautifully creamy filling.
Step 3: Whip the Cream
In a separate chilled bowl, pour the heavy whipping cream and whip it with an electric mixer on high speed until stiff peaks form, which should take around 3-5 minutes. Be careful not to overwhip; you want a light, airy texture that complements the cream cheese. This whipped cream will add the lightness needed for your easy no bake cheesecake.
Step 4: Combine Mixtures
Gently fold the whipped cream into the cream cheese mixture using a spatula, taking care not to deflate the whipped cream. Continue folding until just combined and fluffy, ensuring you maintain the airiness. This will give the cheesecake its dreamy, creamy texture, making it irresistibly delicious.
Step 5: Spread
Spoon the creamy filling onto the chilled graham cracker crust, smoothing the top with a spatula for an even layer. Tap the springform pan gently on the countertop to remove any air pockets, which helps achieve a smooth and beautiful cheesecake.
Step 6: Chill
Cover the cheesecake with plastic wrap or aluminum foil and refrigerate it for at least 6 hours, preferably overnight. This resting period allows the flavors to meld beautifully and the filling to set properly, resulting in a slice that holds its shape when cut.
Step 7: Serve
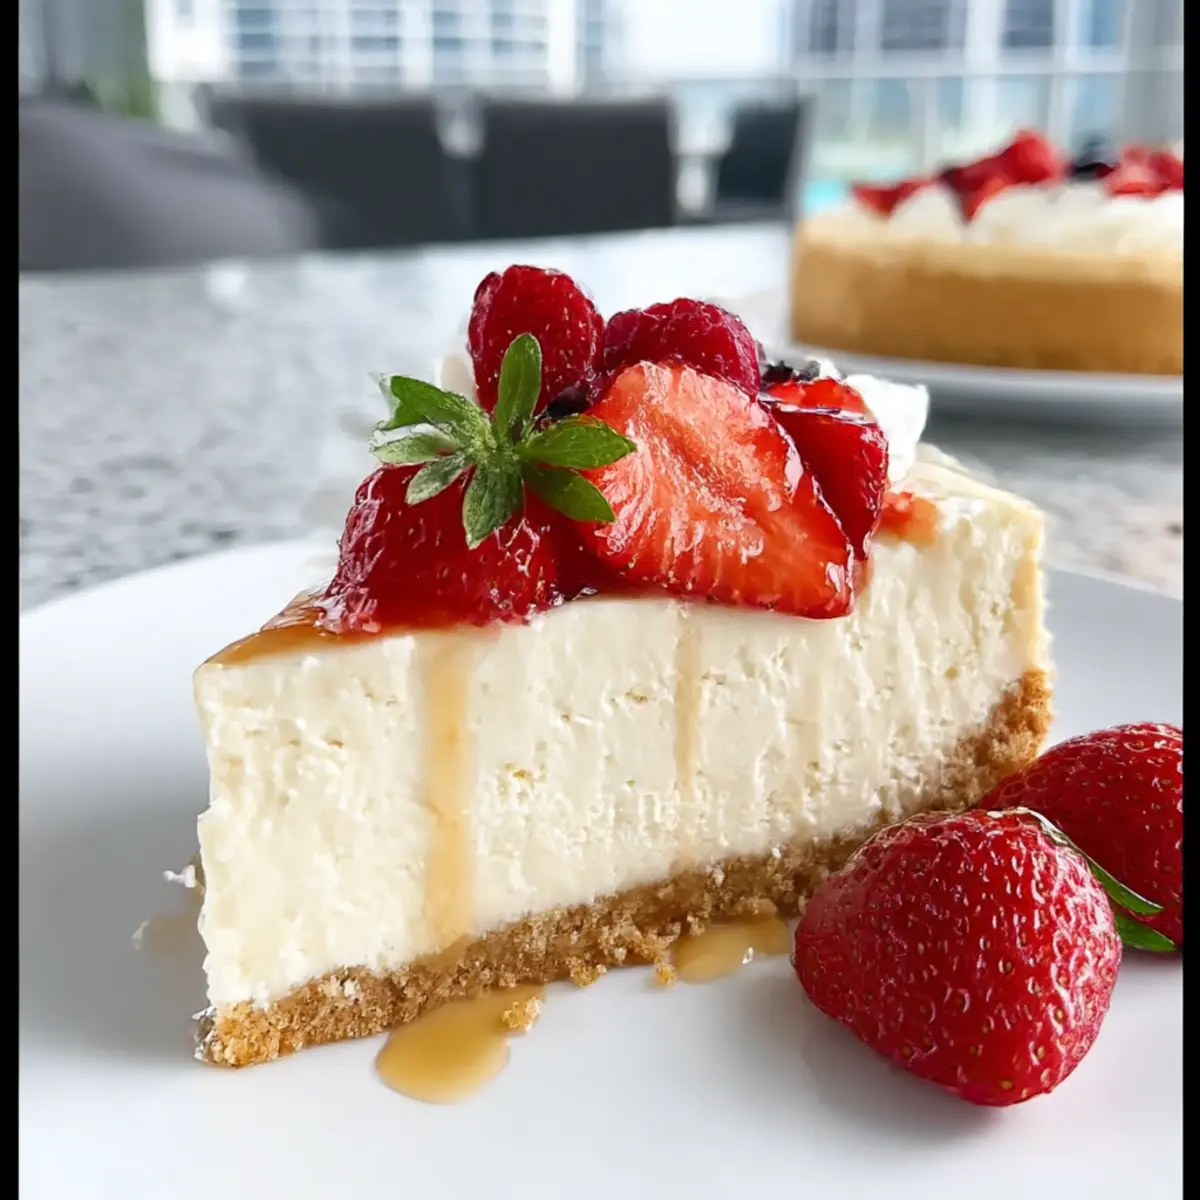
Once chilled, carefully run a knife around the edge of the springform pan to loosen the cheesecake. Release the sides and remove the pan. Top your easy no bake cheesecake with fresh berries or your favorite toppings just before slicing, and serve chilled for the best experience.
Tips for the Best No Bake Cheesecake
-
Chill Thoroughly: Make sure to chill the cheesecake for a minimum of 6 hours, preferably overnight, to achieve the ideal texture and firmness.
-
Use Heavy Cream: Always opt for heavy whipping cream instead of all-purpose cream to ensure the filling gains the necessary lightness and volume for your no bake cheesecake.
-
Be Gentle When Folding: Gently fold the whipped cream into the cream cheese mixture to retain air; this step creates the dreamy, fluffy texture that makes this cheesecake so appealing.
-
Perfect Slicing: For clean, beautiful slices, keep the cheesecake cold until serving and run a knife under hot water before cutting to make slicing easy and smooth.
-
Fresh Toppings: Add toppings like fresh berries right before serving to ensure they stay vibrant and don’t release moisture into the cheesecake.
Make Ahead Options
This Easy No Bake Cheesecake is a fantastic choice for busy home cooks looking to save time! You can prepare the entire cheesecake up to 24 hours ahead of serving, allowing the flavors to develop beautifully as it chills. Simply make the crust and filling as instructed, and then refrigerate the cheesecake. To maintain its creamy texture, cover it tightly with plastic wrap to prevent any drying or absorption of flavors from the fridge. When it’s time to serve, simply add your favorite toppings, slice, and enjoy a dessert that’s just as delightful as if it were freshly made! Remember, preparing ahead not only saves time but also enhances the cheesecake’s taste!
Variations & Substitutions for No Bake Cheesecake
Feel free to get creative with this Easy No Bake Cheesecake, allowing your taste buds to explore delightful twists and turns!
-
Dairy-Free: Substitute regular cream cheese and heavy whipping cream with vegan alternatives made from cashews or coconut cream for a dairy-free delight. Your friends will love this fresh take!
-
Sugar-Free: Swap out granulated sugar for your favorite sugar substitute to create a guilt-free option. This variation is perfect for those watching their sugar intake without sacrificing flavor!
-
Chocolate Lovers: Mix in melted chocolate or cocoa powder into the filling for a rich chocolate cheesecake experience. This variation is great for anyone looking to indulge in a luscious dessert.
-
Fruit Swirl: Fold in swirls of pureed fruit, like raspberries or blueberries, into the cream cheese mixture for a refreshing twist. Not only does this add flavor, but it also creates a beautiful marbled effect.
-
Nutty Crunch: Mix crushed nuts or granola into the crust instead of graham cracker crumbs for added texture and flavor. This nutty base will take the cheesecake to the next level!
-
Citrus Zing: Elevate the flavor with a hint of orange or lime zest in the filling, which adds a delightful brightness that balances the creaminess. It’s like a refreshing burst of flavor in every bite.
-
Spiced Delight: Add a sprinkle of cinnamon or nutmeg into the filling for a warm, spiced flavor profile. This subtle hint of spice elevates it into a cozy dessert perfect for colder months.
-
Topping Bar: Set up a DIY topping bar with options such as caramel, chocolate sauce, and a variety of nuts and fruits to let guests personalize their slice. This interactive approach makes serving even more special!
By experimenting with these variations and swaps, you can create a personalized Easy No Bake Cheesecake that reflects your unique taste—or try other delicious desserts like a Chocolate Eclair Cake or Lemon Tart for a refreshing change!
What to Serve with Easy No Bake Cheesecake?
Imagine a vibrant summer gathering transformed by a creamy dessert that perfectly complements every bite.
-
Fresh Berries: Juicy strawberries, blueberries, or raspberries add a burst of freshness, enhancing the cheesecake’s creamy sweetness beautifully. Their natural tartness balances the richness, making each forkful invigorating.
-
Chocolate Drizzle: A glossy, melted chocolate topping brings an indulgent twist to this cheesecake. Just a sweet drizzle elevates the dessert, creating a decadent experience that chocolate lovers will adore.
-
Whipped Cream: Fluffy whipped cream is a classic pairing that adds lightness. It accentuates the creamy texture and makes this dessert even more dreamy and delightful on the palate.
-
Fruit Compote: A warm or chilled fruit compote, like mixed berries or peaches, adds a lovely contrast of textures. The sweet flavors pull together with the creaminess, providing extra layers of delish that makes your plate irresistible.
-
Coffee or Espresso: A cup of robust coffee or a shot of espresso harmonizes with the cheesecake’s sweetness. This pairing creates a sophisticated finish to a meal, perfect for conversations that linger.
-
Homemade Ice Cream: Pairing this cheesecake with a scoop of vanilla or berry ice cream adds an extra chill factor. The creamy textures meld beautifully, ensuring a refreshingly scrumptious treat.
-
Mint Leaves: Fresh mint leaves garnish not only add color but also introduce a refreshing aroma. This herb brightens the flavor profile, elevating the indulgence with a hint of sophistication.
Storage Tips for Easy No Bake Cheesecake
Fridge: Store the cheesecake covered in the refrigerator for up to 4 days. Make sure it’s airtight to prevent it from absorbing any unwanted flavors.
Freezer: For longer storage, freeze the cheesecake without any toppings for up to 2 months. Wrap it tightly in plastic wrap and then foil to prevent freezer burn.
Thawing: To enjoy your frozen cheesecake, simply transfer it to the fridge the night before serving to thaw slowly and maintain its creamy texture.
Reheating: This no bake cheesecake is best served chilled and doesn’t require reheating. Just slice and serve with your favorite toppings for a refreshing dessert.
Easy No Bake Cheesecake Recipe FAQs
What type of graham crackers should I use for the crust?
Absolutely! For the crust, regular graham cracker crumbs are ideal as they provide that classic honey-like flavor and texture. If you’re feeling adventurous, you can use digestive biscuit crumbs as a delightful alternative. Just ensure they are finely crushed for a smooth base.
How long can I store the cheesecake in the fridge?
You can store your Easy No Bake Cheesecake covered in the refrigerator for up to 4 days! Just make sure it’s in an airtight container to keep it fresh and free from other odors.
Can I freeze the cheesecake, and how should I do it?
Yes, you can freeze the no bake cheesecake without toppings for up to 2 months! To freeze, wrap it tightly in plastic wrap, then wrap it again with aluminum foil for extra protection against freezer burn. When you’re ready to enjoy it again, simply thaw it in the refrigerator overnight.
What should I do if my filling is too runny?
If your filling turns out runny, don’t panic! This could happen if the cream cheese wasn’t softened enough or if you didn’t whip the cream to stiff peaks. For a quick fix, you can whip the heavy cream more to achieve those stiff peaks, then gently fold it into the mixture. If this doesn’t work, try adding more powdered sugar to thicken the filling slightly.
Is this cheesecake safe for people with gluten allergies?
Not directly! Since the crust contains graham crackers, it isn’t suitable for those with gluten allergies. However, to make it gluten-free, you can substitute the graham cracker crumbs with gluten-free cookie crumbs or even crushed nuts to create a different but equally delicious crust!
Can I add fruit or other flavors to the cheesecake?
Very much so! You can mix in pureed fruit, such as strawberries or blueberries, into the filling for a fruity twist. Alternatively, melted chocolate or cocoa powder can be stirred into the cream cheese mixture for a chocolate version. The more the merrier, so feel free to be creative with your add-ins!
Creamy No Bake Cheesecake Made Easy for Your Next Treat
Ingredients
Equipment
Method
- In a medium mixing bowl, combine graham cracker crumbs, melted unsalted butter, and granulated sugar until the mixture resembles wet sand. Press evenly into the bottom of a 9-inch springform pan. Chill for at least 30 minutes to set.
- In a large mixing bowl, beat the softened cream cheese until creamy and smooth, about 2-3 minutes. Gradually add powdered sugar, vanilla extract, lemon juice, and sour cream, mixing until well combined and fluffy.
- In a separate chilled bowl, whip the heavy whipping cream until stiff peaks form, about 3-5 minutes. Be careful not to overwhip.
- Gently fold the whipped cream into the cream cheese mixture using a spatula until just combined and fluffy.
- Spoon the creamy filling onto the chilled graham cracker crust, smoothing the top with a spatula. Tap the springform pan gently to remove air pockets.
- Cover the cheesecake with plastic wrap or aluminum foil and refrigerate for at least 6 hours, preferably overnight.
- Once chilled, run a knife around the edge of the springform pan to loosen the cheesecake. Remove the pan and top with fresh berries or toppings before serving.