You know that feeling when you bite into something crispy and it takes you straight to a happy place? That’s exactly the experience you’ll get with my Easy & Perfectly Crispy Chicken Tempura. This delightful Japanese dish transforms simple boneless chicken breasts into light, crunchy pieces that are just begging to be dipped in tangy ponzu sauce. It’s not just about the incredible crunch; this recipe is quick to whip up, making it a fun weeknight dinner choice that’ll impress your family and friends. Plus, you’ll love how it elevates your home-cooking game! Are you ready to bring the authentic taste of Japan into your kitchen? Let’s dive into this delicious adventure together!
Why is Chicken Tempura So Irresistible?
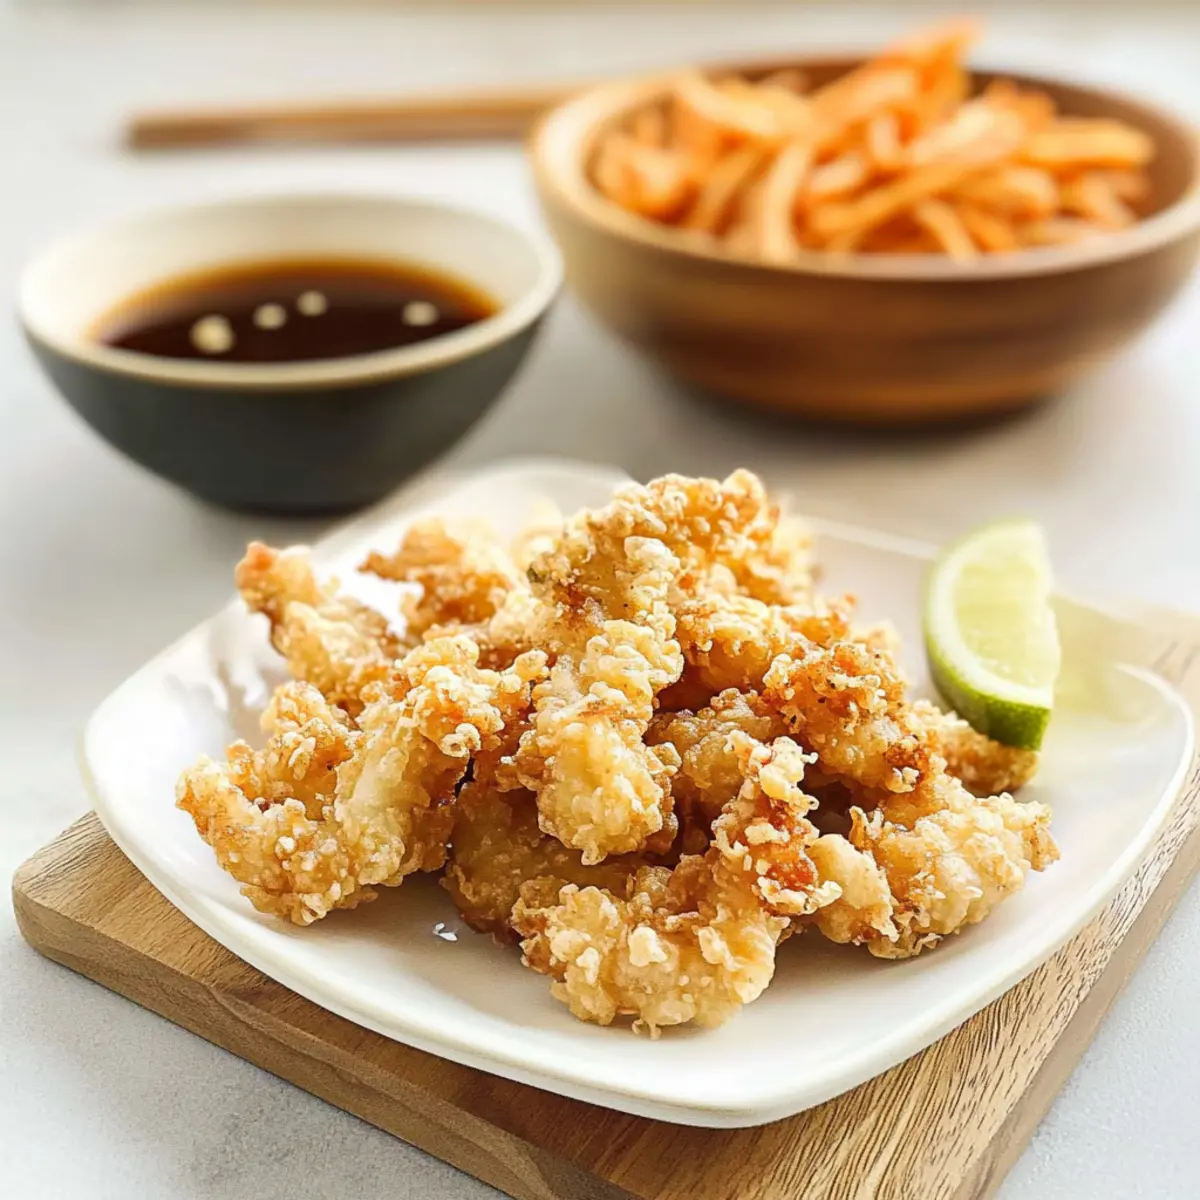
Crispy Perfection: The secret to this dish lies in its incredibly light batter that creates a crunch you won’t forget. Each bite delivers a delightful contrast between the crispy exterior and juicy chicken inside.
Quick and Easy: This recipe is designed for busy cooks, taking only about 30 minutes from start to finish. Say goodbye to fast food and hello to a dish that feels indulgent yet is simple to master!
Versatile Dish: While chicken is the star, you can easily experiment by swapping the protein for shrimp or veggies, making it a crowd-pleaser for all dietary preferences.
Authentic Flavor: The use of traditional ingredients like ginger and ponzu sauce ensures that you’re not just cooking; you’re creating a genuine Japanese experience right at home.
Perfect for Sharing: Impress your guests with a fun, interactive meal! Serve your tempura alongside sushi rice and a fresh salad for a delightful dining experience.
Crispy Chicken Tempura Ingredients
• Get ready to create something amazing with these simple ingredients!
For the Chicken
- Boneless skinless chicken breasts – The main star; cut into strips for even cooking.
- Ginger – Adds a warm aroma; ground ginger can be a quick substitute.
- Garlic – Fresh is best for depth of flavor; crushed garlic elevates the dish.
- Soy sauce – Provides essential umami; low-sodium options are great for a healthier choice.
- Sake or water – Acts as a tenderizer; cooking wine can be used if needed.
- White/black pepper – Adds spice without overpowering the flavors.
For the Batter
- All-purpose flour – Helps create a crispy texture; gluten-free flour works too!
- Cornstarch – Contributes to that extra crunch; it’s also gluten-free.
- Egg – Binds the batter together; room temperature gives the best consistency.
- Sparkling water – Adds lightness to the batter for that crunchy tempura; chilled still water can also work.
For Frying and Dipping
- Neutral oil (sunflower/vegetable) – Essential for frying; choose oil with a high smoke point.
- Ponzu sauce – A traditional dip with a tangy twist; mix soy sauce with lemon juice if you can’t find it.
Dive into this crispy chicken tempura recipe and relive the taste of authentic Japanese cuisine right in your own kitchen!
Step‑by‑Step Instructions for Easy & Perfectly Crispy Chicken Tempura
Step 1: Prepare Chicken
Start by preparing boneless skinless chicken breasts. Pound them to an even thickness of ¼ to ⅓ inch, which helps them cook evenly. Cut the chicken into strips roughly 1×3 inches. This will ensure that each piece is tender and perfectly suited for dipping in your batter, setting the stage for an authentic Chicken Tempura experience.
Step 2: Marinate Chicken
In a bowl, mix crushed garlic, freshly grated ginger, soy sauce, sake, and a sprinkle of white or black pepper. Add the chicken strips and ensure they are well-coated. Let the chicken marinate at room temperature for 15-20 minutes, allowing the flavors to infuse and tenderize the meat, paving the way for a deliciously flavorful Chicken Tempura.
Step 3: Make Batter
Prepare the batter while the chicken is marinating. In a large bowl, sift together all-purpose flour and cornstarch. In a separate bowl, whisk an egg until smooth, then gradually add chilled sparkling water until you achieve a lump-free consistency. This batter, when kept cold, will create the light, crispy exterior that characterizes your Chicken Tempura.
Step 4: Heat Oil
In a deep-frying pan or pot, pour enough neutral oil (sunflower or vegetable) to cover the chicken pieces while frying. Heat the oil to a temperature of 350°F (180°C). You can test if the oil is ready by dipping the end of a wooden spoon into it; bubbles should form around the spoon, indicating that it’s hot enough to fry your crispy Chicken Tempura.
Step 5: Fry Chicken
Remove excess marinade from the chicken strips and coat them lightly in the prepared batter. Carefully lower a few pieces into the hot oil, ensuring not to overcrowd the pan. Fry for 3-4 minutes, or until they turn a beautiful golden brown and crispy. Use a slotted spoon to transfer the hot Chicken Tempura to a wire rack, allowing excess oil to drain.
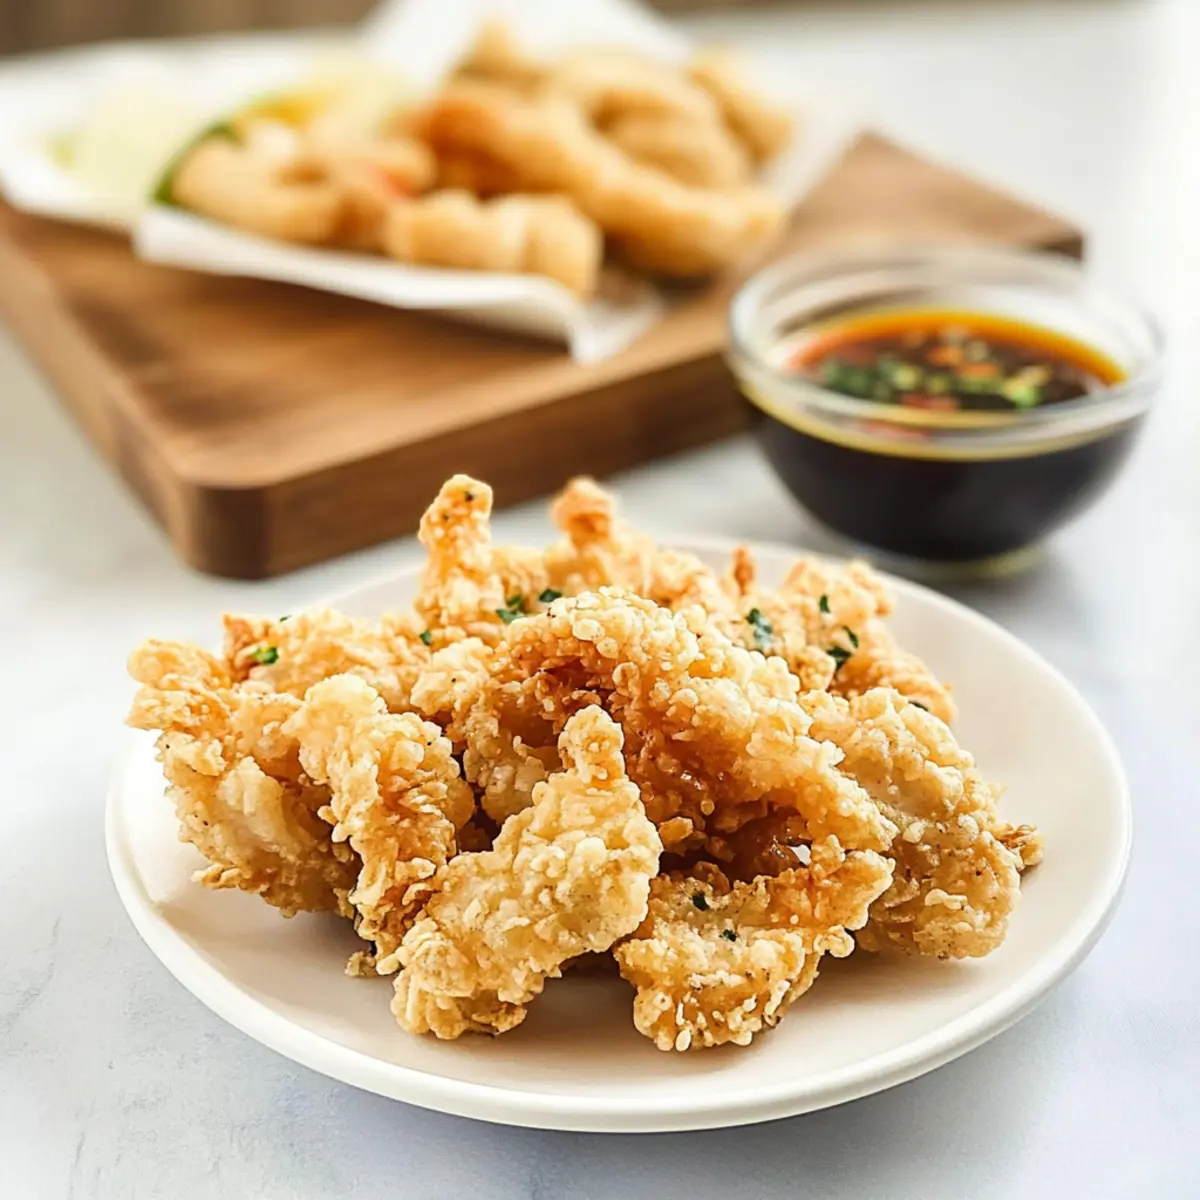
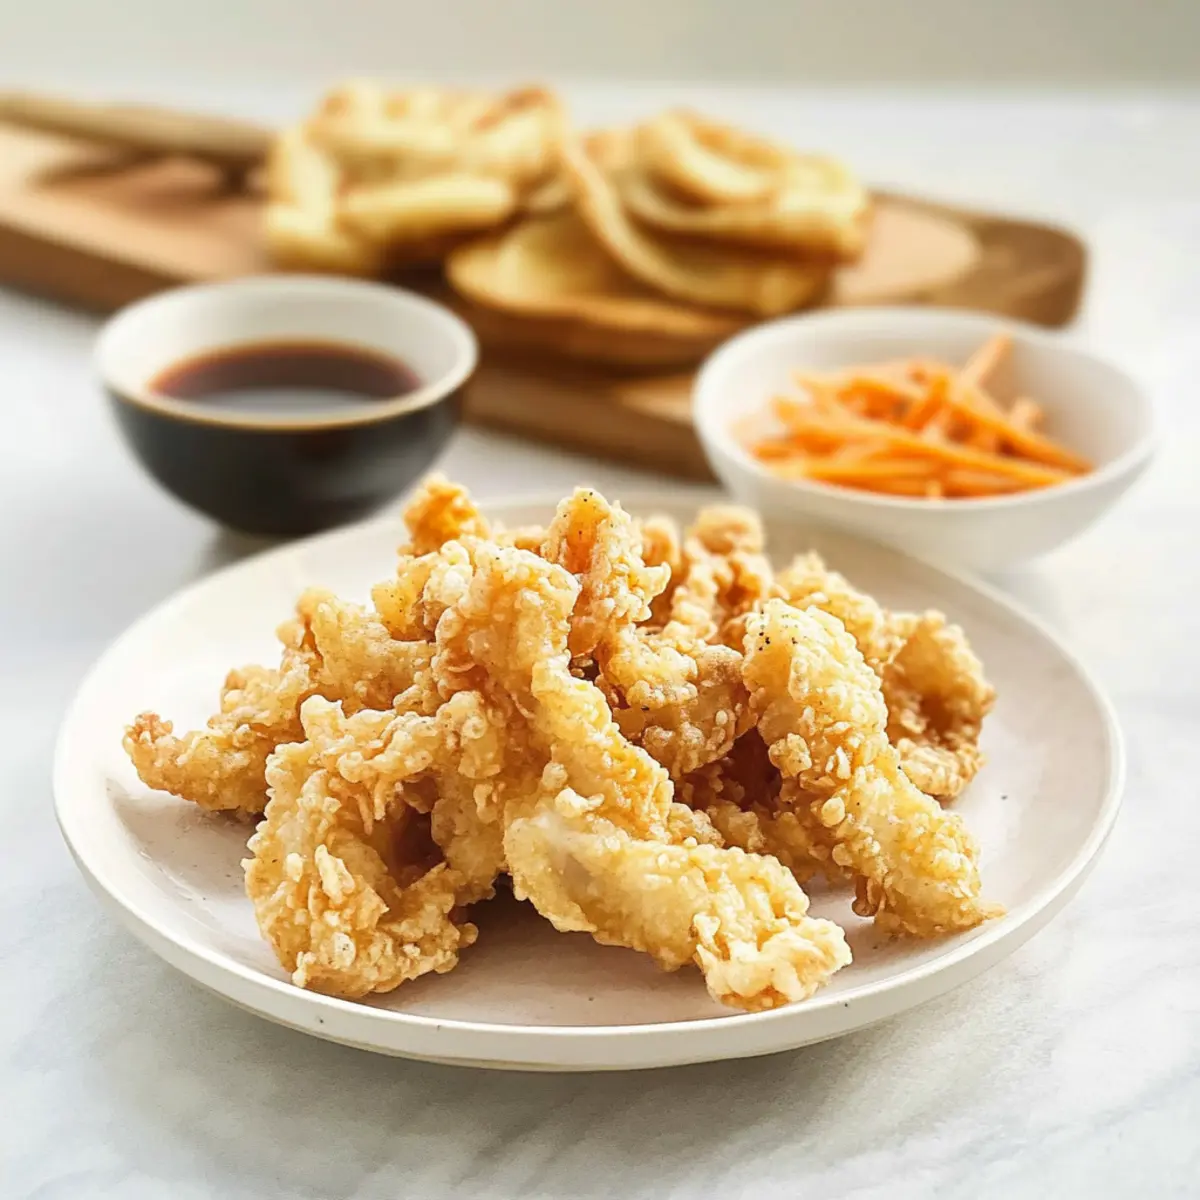
Step 6: Serve
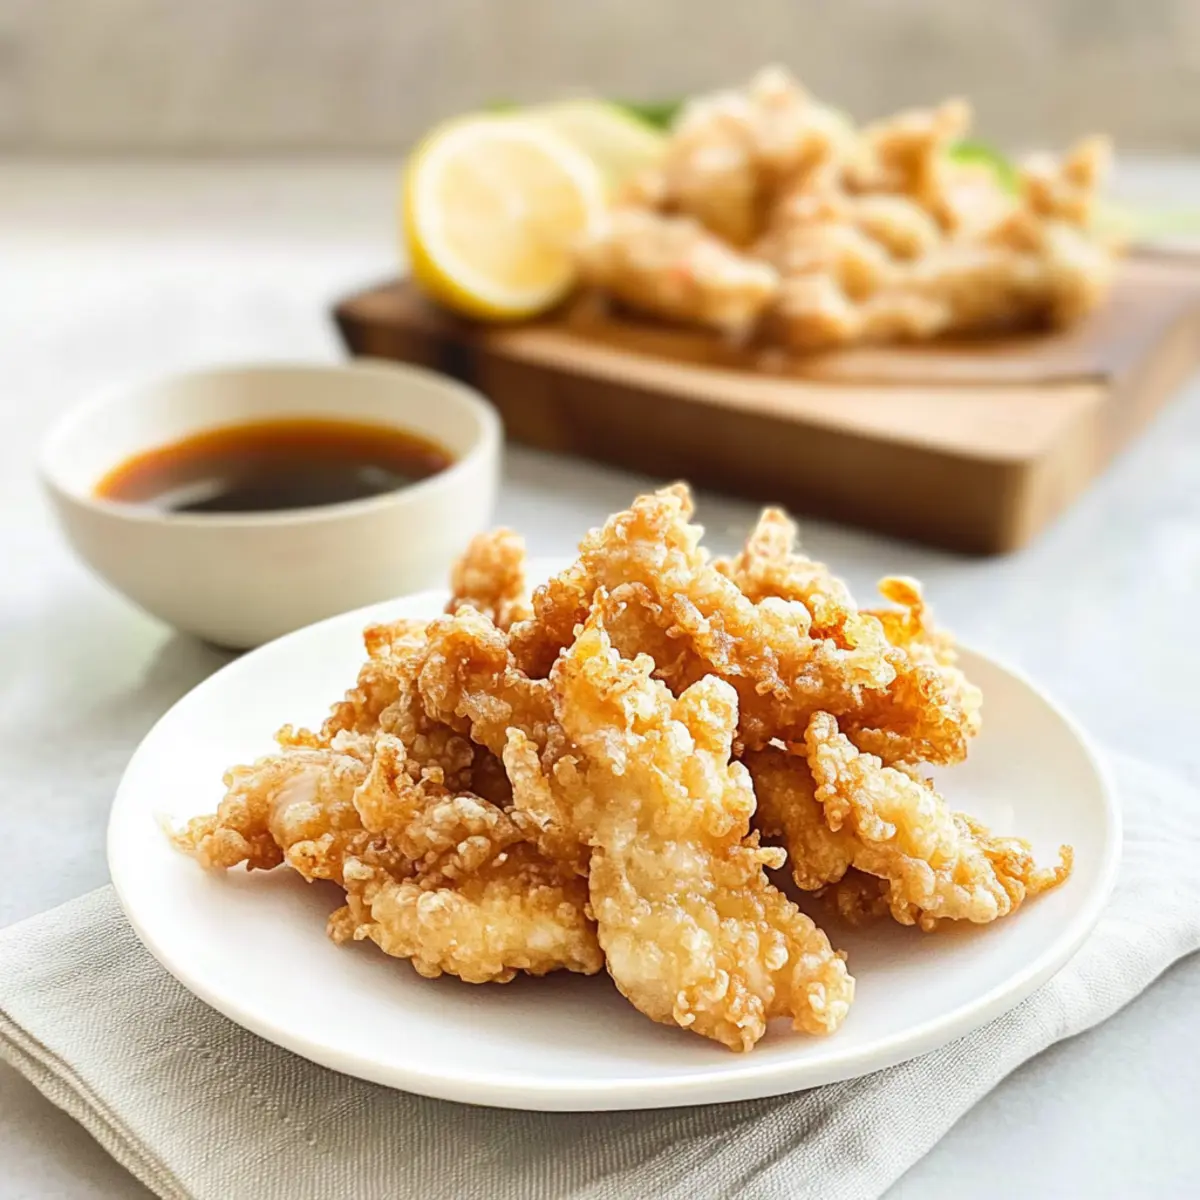
Once all your Chicken Tempura is fried and drained, it’s time to serve! Arrange the crispy chicken on a plate and pair it with tangy ponzu sauce for dipping. The combination of the golden crust and succulent chicken is sure to delight, making your homemade Chicken Tempura a true standout dish perfect for any occasion.
Make Ahead Options
These Easy & Perfectly Crispy Chicken Tempura are fantastic for busy home cooks looking to save time! You can marinate the chicken strips in the garlic, ginger, soy sauce mixture up to 24 hours in advance, which not only infuses deeper flavors but also tenderizes the meat. To maintain that coveted crispiness, prepare the batter and refrigerate it for an hour before frying. When you’re ready to serve, just bring the batter back to a cold temperature and fry the marinated chicken strips in batches as directed. This way, you’ll enjoy perfectly crispy Chicken Tempura with minimal effort on a busy weeknight!
Expert Tips for the Best Chicken Tempura
-
Keep It Cold: Ensure your batter and sparkling water are ice-cold. This is key for achieving that light and crispy texture you crave.
-
Fry in Batches: To maintain the oil temperature, fry small batches of chicken at a time. Overcrowding can disrupt cooking and make your tempura soggy.
-
Control the Oil Temperature: Use a thermometer to keep your oil at a steady 350°F (180°C). Too hot and your batter will burn; too cool and you’ll lose that signature crunch.
-
Drain Properly: After frying, drain the chicken on a wire rack instead of paper towels. This helps keep the crispy coating intact rather than steaming it.
-
Serve Immediately: For the best experience, serve your Chicken Tempura right away. The sooner you enjoy it, the better the crispiness you’ll have.
-
Avoid Pre-made Mixes: Use your homemade batter instead of ready-made tempura flour for full control over the flavor and texture, ensuring a truly authentic Chicken Tempura.
How to Store and Freeze Chicken Tempura
Airtight Storage: Store your leftover Chicken Tempura in an airtight container to maintain its crispiness for up to 2-3 days.
Refrigeration: Keep the container in the fridge if you plan to eat the tempura soon. This will ensure it stays fresh and flavorful.
Freezing: For longer storage, freeze the chicken tempura in a single layer on a baking sheet, then transfer to a freezer-safe bag for up to 1 month.
Reheating: To bring back the crunch, reheat in an air fryer or oven at 375°F (190°C) until crispy—about 8-10 minutes. Avoid microwaving, as it will make the tempura soggy.
What to Serve with Easy & Perfectly Crispy Chicken Tempura
Imagine the delight of surrounding your crispy chicken tempura with flavors that harmonize beautifully, enhancing each crunchy bite.
- Sushi Rice: The sticky, slightly sweet texture complements the crunchiness of tempura while balancing flavors perfectly.
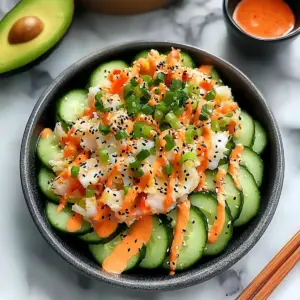
- Fresh Garden Salad: Crisp greens tossed in a light sesame or citrus vinaigrette add colorful brightness to your plate.
- Miso Soup: A warm bowl of this traditional soup brings comforting umami and pairs wonderfully with the savory notes of tempura.
- Steamed Edamame: These tender soybeans offer a nutty flavor and a satisfying bite, making for an easy yet healthy side.
- Japanese Pickles (Tsukemono): Their tanginess cuts through the richness of the tempura, offering refreshing contrast and palate-cleansing qualities.
- Tempura Vegetables: For a complete tempura experience, mix in some seasonal vegetables like sweet potatoes or bell peppers for added variety.
- Hot Green Tea: This classic drink complements the flavors while providing a soothing, aromatic experience with every sip.
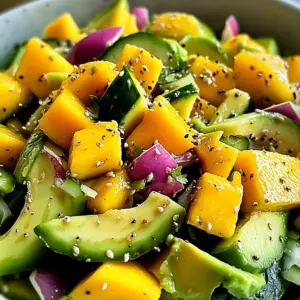
- Mango Sorbet: A light and fruity dessert that refreshes your palate after the savory delights of the main meal, bringing a cheerful finish.
Variations & Substitutions
Feel free to switch things up with these fun tweaks and additions for your chicken tempura, inviting a world of flavors into your kitchen!
- Shrimp Tempura: Swap chicken for shrimp for a seafood twist; proceed with the same marinating and cooking method.
- Veggie Delight: Veggies like sweet potatoes, zucchini, or bell peppers make for a colorful and crispy tempura option that’s vegetarian-friendly. Prepare them similarly, cutting into strips for even cooking.
- Herbed Batter: Add herbs like basil or cilantro to your batter for an aromatic punch; this twist infuses delightful flavors. Each bite becomes a fragrant surprise!
- Spicy Kick: Mix a bit of chili powder or cayenne into the batter to elevate heat levels; for an even bolder option, serve with a spicy dipping sauce.
- Coconut Flour: For a gluten-free twist, substitute all-purpose flour with coconut flour; it provides a unique, sweet flavor profile to your tempura.
- Air Fryer Version: Craving a lighter option? Try frying the tempura in an air fryer to achieve crispy results with less oil, making this a healthier delight.
- Crispy Panko Coating: Enhance the crunch by mixing panko breadcrumbs into your batter for an extra-crispy texture that elevates every bite.
- Lemon Zest: Add lemon zest to the batter or dipping sauce; the citrus will brighten up the flavors, offering a refreshing twist you won’t forget.
Each variation invites you to explore new taste dimensions, making your homemade chicken tempura an exciting adventure—perfect for impressing your family or enhancing your culinary skills! For more ideas, consider pairing with a vibrant side salad or even elevate dinner by serving with sushi rice for a delightful Japanese meal experience.
Chicken Tempura Recipe FAQs
What type of chicken should I use for Chicken Tempura?
Absolutely, boneless skinless chicken breasts are the ideal choice for Chicken Tempura! They cook evenly and stay juicy, creating that tender mouthfeel we all love. If you want a richer flavor, boneless chicken thighs can also be used, but make sure to trim excess fat and adjust cooking time as they may take slightly longer to fry.
How long can I store leftover Chicken Tempura?
Very! You can store your leftover Chicken Tempura in an airtight container in the fridge for up to 2-3 days. This helps it maintain its flavor. Ideally, reheat it in an air fryer or an oven to preserve the crunchy texture instead of using a microwave, which can make it soggy.
Can I freeze Chicken Tempura?
Yes, you can! For longer storage, first freeze the chicken tempura in a single layer on a baking sheet. Once frozen solid, transfer it to a freezer-safe bag. This method prevents the pieces from sticking together. It will keep well for up to 1 month. When you’re ready to enjoy it, simply reheat in an air fryer or oven at 375°F (190°C) for about 8-10 minutes until crispy.
What should I do if my batter is too thick or lumpy?
If you find your batter is too thick or lumpy, don’t worry! Just whisk in a bit more chilled sparkling water to achieve a smoother consistency. Your batter should have a pouring texture that can coat the chicken lightly but still maintain fluffiness. Aim for a lump-free mix, and remember that cold ingredients are key for that crispy Chicken Tempura!
Is Chicken Tempura safe for people with gluten allergies?
It can be! To make Chicken Tempura gluten-free, substitute all-purpose flour with a gluten-free flour blend and use cornstarch, which is already gluten-free, for extra crispiness in the batter. Always ensure that any sauces, particularly soy sauce, are also gluten-free if dietary restrictions apply.
How do I achieve that perfect crispy texture?
To achieve that light, crispy batter that Chicken Tempura is known for, keep your batter cold throughout preparation. Additionally, frying small batches at a consistent oil temperature of 350°F (180°C) helps to maintain crispness. Drain the tempura on a wire rack after frying to prevent moisture accumulation, and serve immediately for the best texture experience!
Crispy Chicken Tempura: Your New Favorite Easy Recipe
Ingredients
Equipment
Method
- Pound the chicken breasts to an even thickness of ¼ to ⅓ inch and cut into strips roughly 1x3 inches.
- Mix crushed garlic, ginger, soy sauce, sake, and pepper in a bowl. Add chicken strips and marinate for 15-20 minutes.
- Sift together flour and cornstarch in a bowl. In another bowl, whisk an egg and add chilled sparkling water to create a lump-free batter.
- Heat enough oil in a deep-frying pan to cover chicken pieces to 350°F (180°C), testing with a wooden spoon for readiness.
- Coat the chicken in batter and fry in batches for 3-4 minutes until golden brown. Drain on a wire rack.
- Arrange fried chicken on a plate and serve with ponzu sauce for dipping.