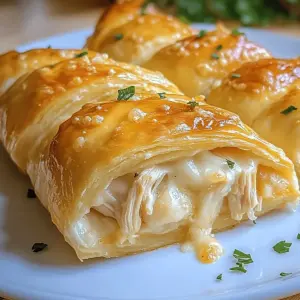
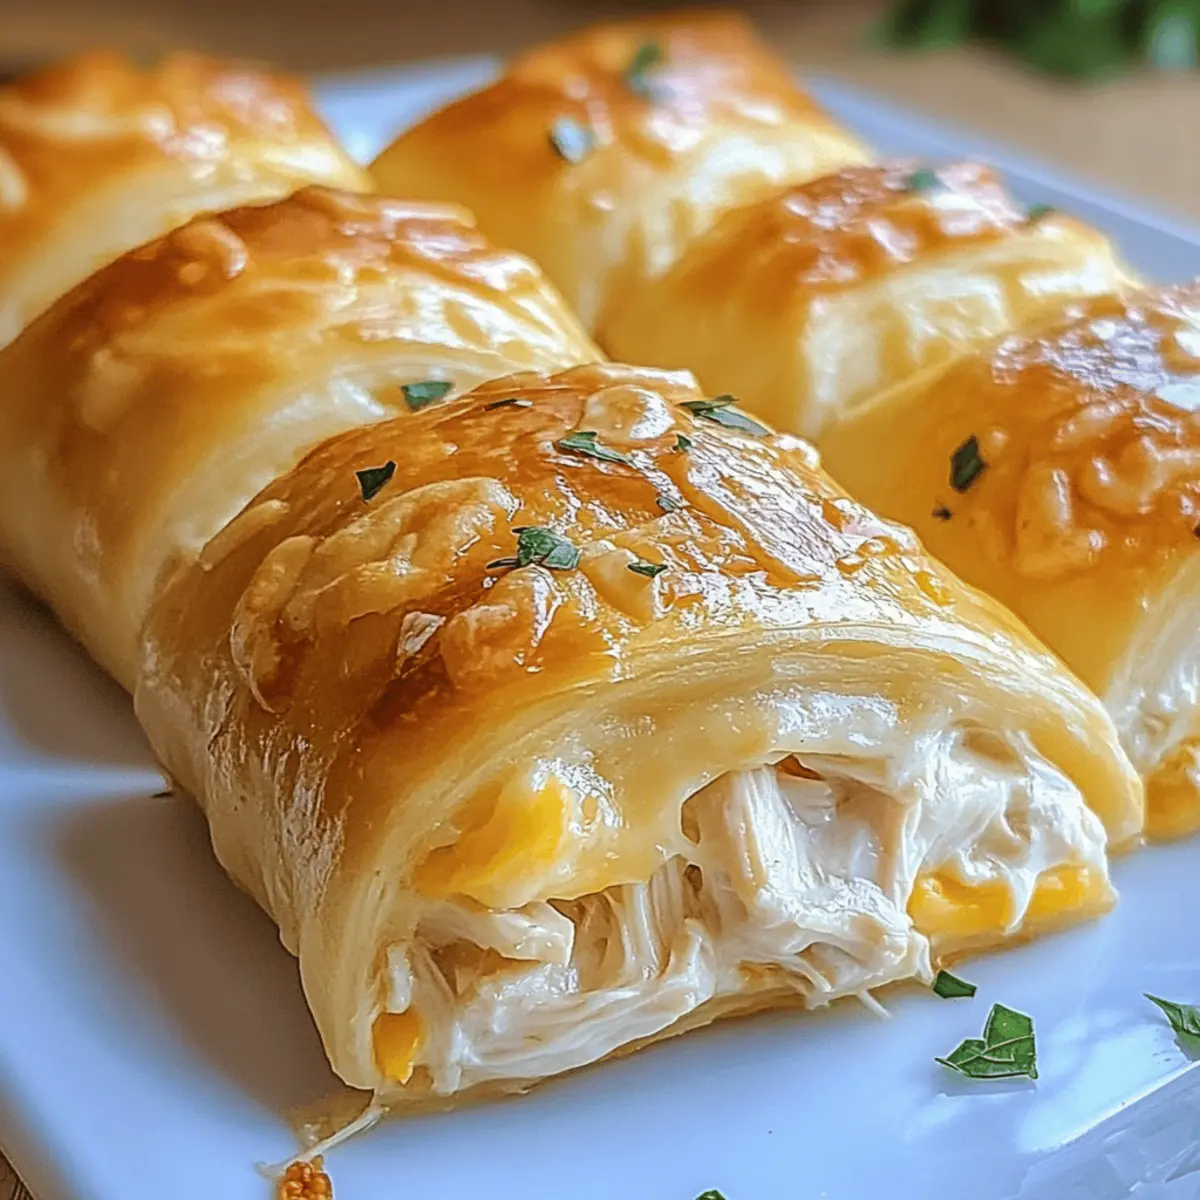
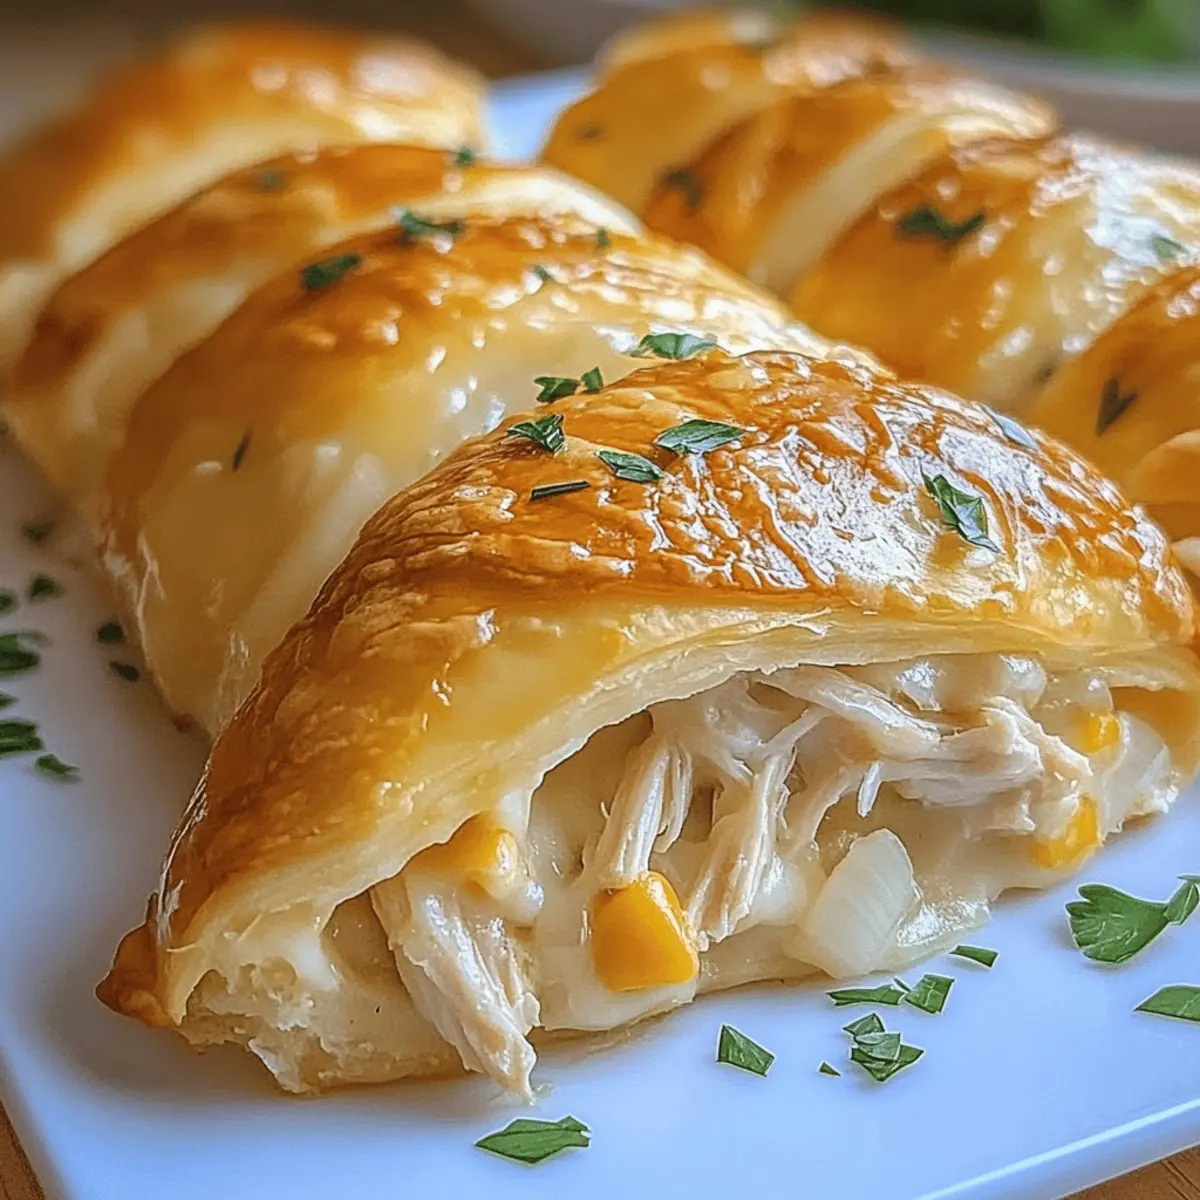
As I stood in the kitchen, the tantalizing aroma of buttery dough filling the air reminded me of family gatherings, laughter, and delicious bites of comfort. Today, I’m excited to share my favorite recipe: Cheesy Chicken Crescent Rolls. These delightful rolls are not just an easy appetizer; they also transform leftover chicken into a mouthwatering dish that everyone will love. With just a few simple ingredients, they’re perfect for a cozy weeknight dinner or an impressive treat at gatherings. Plus, the flexibility of the filling makes them a canvas for your culinary creativity, whether you’d prefer to add a hint of spice or a pop of vegetables. So, are you ready to roll up your sleeves and create something magical?
Why Are These Chicken Crescent Rolls Irresistible?
Simplicity at Its Best: This recipe is incredibly easy to follow, perfect for both beginners and seasoned chefs.
Flavor Explosion: The combination of creamy fillings and flaky dough creates a rich, savory delight that will have everyone coming back for seconds.
Versatile Filling Options: You can personalize these rolls with your favorite ingredients; add cooked spinach, diced peppers, or even different cheeses for an exciting twist!
Ideal for Any Occasion: Whether it’s a cozy dinner or a lively gathering, these Cheesy Chicken Crescent Rolls are always a crowd-pleaser. Pair them with delightful dips like marinara or ranch for an interactive snacking experience.
Make-Ahead Magic: Prep these rolls ahead of time and refrigerate for up to 24 hours or freeze for later use, making weeknight meals a breeze. Experience the comfort of delicious homemade food without the fast-food fuss!
Chicken Crescent Rolls Ingredients
For the Dough
• Crescent Roll Dough – This flaky dough provides the perfect structure; puff pastry can be used if you prefer.
For the Filling
• Shredded Chicken – Adds protein and can be made with leftover or rotisserie chicken for convenience.
• Cream Cheese – Brings creaminess and richness to the filling; mix it with other cheeses for varied flavors.
• Shredded Cheddar Cheese – Offers flavor and texture; swap it out for mozzarella for gooey goodness or pepper jack for spice.
• Garlic Powder – Enhances the overall flavor; fresh minced garlic is also a great option, just adjust the amount.
• Chopped Parsley – Adds freshness; feel free to replace it with other herbs like chives or omit it entirely.
• Salt and Pepper – Essential for seasoning; tweak to your taste preference.
Optional Extras
• Spinach, Diced Peppers, or Jalapeños – Incorporate these for added nutrition or crunch!
• Other Cheeses – Experiment with mozzarella or feta for a unique twist.
• Sun-Dried Tomatoes – Introduce a Mediterranean flair to your filling for extra zest!
Experience the comfort of these Chicken Crescent Rolls that everyone at your gathering will adore!
Step‑by‑Step Instructions for Cheesy Chicken Crescent Rolls
Step 1: Preheat the Oven
Begin your delicious journey by preheating your oven to 375°F (190°C). While the oven warms up, take a moment to grease a baking sheet with cooking spray or butter. This ensures your cheesy chicken crescent rolls won’t stick, making for an easy transfer once they’re all baked.
Step 2: Prepare the Filling
In a large mixing bowl, combine the shredded chicken, cream cheese, and shredded cheddar cheese. Sprinkle in the garlic powder, chopped parsley, and season with salt and pepper. Use a fork or spatula to mix everything together until you achieve a creamy and well-blended filling that radiates warmth and flavor.
Step 3: Roll Out the Dough
Open your package of crescent roll dough and carefully roll it out on a clean surface. Separate the dough into individual triangles by following the designated perforated lines. Each triangle should be neatly arranged, ready to cradle your savory cheesy filling inside.
Step 4: Assemble the Rolls
Take a spoonful of the creamy filling and place it at the wide end of each triangle. Gently roll the dough towards the pointed end, tucking in the edges to encase the filling. Be careful not to overfill to avoid any mess during baking. Each crescent roll should now look enticing and secured!
Step 5: Position on Baking Sheet
Arrange the rolled crescent rolls on your greased baking sheet with the pointed ends facing down. This positioning not only helps them hold their shape but also allows for even cooking. Make sure to leave some space between each roll to give them room to puff up beautifully.
Step 6: Bake to Perfection
Place the baking sheet in the preheated oven and bake the cheesy chicken crescent rolls for 12-15 minutes. Keep an eye on them; you want them to turn a gorgeous golden brown and puff up nicely. The enticing aroma filling your kitchen is a sure sign they are nearly ready!
Step 7: Cool and Serve
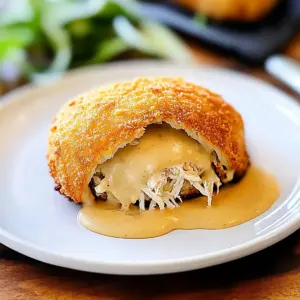
Once the rolls are beautifully golden, take them out of the oven and let them cool slightly on a wire rack. This brief cooling period allows the cheesy filling to set, making them easier to handle. These cheesy chicken crescent rolls are now ready to be enjoyed warm, maybe alongside a favorite dipping sauce!

Make Ahead Options
These Cheesy Chicken Crescent Rolls are perfect for meal prep enthusiasts! You can assemble the rolls and refrigerate them for up to 24 hours before baking, ensuring they stay fresh and ready to go. For longer storage, consider freezing them for 2-3 months; just place the unbaked rolls on a baking sheet, freeze until solid, then transfer to a zip-top bag. This method helps maintain their flaky texture and delicious filling. When ready to serve, bake them straight from the freezer, adding an extra couple of minutes to the baking time for perfect golden results. Enjoy the convenience of homemade comfort food with minimal effort during your busy weeknights!
Expert Tips for Chicken Crescent Rolls
• Avoid Overfilling: Be cautious not to overstuff the dough, as this can lead to leaking during baking, resulting in a messy cleanup.
• Room Temperature Filling: Allow the filling to come to room temperature before using it. This will ensure an even roll and perfect puff.
• Light Touch: Roll the dough gently to maintain its flakiness. Too much pressure can lead to tough rolls instead of the desired tender texture.
• Experiment Wisely: Feel free to try different fillings; just remember that wetter ingredients can result in soggy rolls. Stick to drier fillings for best results!
• Perfect Baking Time: Keep an eye on the oven towards the end of the baking time. Every oven varies, and you want that perfect golden-brown finish on your chicken crescent rolls!
What to Serve with Cheesy Chicken Crescent Rolls
These delightful rolls are the perfect starting point for a cozy gathering or a comforting family dinner.
- Creamy Mashed Potatoes: The buttery texture complements the flaky rolls, creating a heartwarming combination perfect for cold evenings.
- Fresh Garden Salad: A light mix of greens adds a crisp contrast, balancing the richness of the cheesy filling. Toss in some cherry tomatoes and cucumber for a refreshing taste.
- Garlic Aioli: This creamy dip enhances the savory notes of the rolls, providing an extra layer of flavor that will tantalize your taste buds.
- Spicy Buffalo Sauce: For those who like a kick, this sauce offers a fiery contrast to the creamy filling, making every bite an exciting adventure.
- Honey Mustard Dip: It’s sweet and tangy, offering a nice balance to the savory chicken and cheese. Perfect for a dip-and-savor experience!
- Roasted Vegetables: A mixture of bell peppers, zucchini, and carrots brings color and nutrition, harmonizing beautifully with the comforting nature of the crescent rolls.
- Chilled White Wine: A glass of crisp Sauvignon Blanc pairs perfectly, its acidity cutting through the richness while enhancing the flavors of the dish.
- Chocolate Chip Cookies: End the meal on a sweet note with warm cookies; their gooey chocolate and sweet aroma will have everyone reaching for seconds!
- Homemade Coleslaw: The crunch and creaminess of coleslaw provide a delightful contrast to the soft, flaky rolls, making each bite interesting and enjoyable.
- Fruit Punch: A bright and fruity drink refreshes the palate, making it a perfect companion to the savory rolls and enhancing the overall dining experience.
Chicken Crescent Rolls Variations & Substitutions
Feel free to unleash your culinary creativity and make these delicious rolls even more exciting with these tasty twists!
-
Gluten-Free: Use gluten-free crescent roll dough for a delicious option everyone can enjoy.
-
Extra Creamy: Mix in some ricotta cheese with the cream cheese for a velvety texture that melts in your mouth.
-
Vegetarian Delight: Substitute the chicken with a flavorful medley of mushrooms and spinach for a satisfying vegetarian option. It’s hearty and delicious!
-
Spicy Kick: Add diced jalapeños or crushed red pepper flakes to the filling for a fiery burst of flavor in every bite.
-
Herb Infusion: Sprinkle in some dried Italian herbs like oregano or basil to enhance the filling’s flavor, taking your taste buds on a delightful trip!
-
Cheese Lovers: Go wild with different cheese combinations. Try feta or blue cheese for a unique flavor twist that will impress your family and friends!
-
Savory Sun-Dried Tomatoes: Fold in chopped sun-dried tomatoes into the filling for a rich, Mediterranean flair that pairs beautifully with the creamy cheese.
-
Fuel Your Senses: Serve these heavenly rolls with an array of dips like spicy buffalo sauce or homemade aioli, perfect for sharing. The interaction adds an element of fun to your meal.
Whichever way you choose to adapt these Chicken Crescent Rolls, you’re in for a treat! And if you find yourself with leftovers, give them a boost with a dip like ranch dressing or serve them alongside some zesty Garlic Butter Chicken for an unforgettable feast. Enjoy making these rolls your own!
How to Store and Freeze Chicken Crescent Rolls
Fridge: Store uneaten Chicken Crescent Rolls in an airtight container for up to 3 days. Reheat in the oven at 350°F (175°C) until warm for the best texture.
Freezer: For longer storage, freeze the assembled but unbaked rolls on a baking sheet until solid, then transfer them to a freezer bag. They can last for 2-3 months.
Reheating from Freezer: Bake directly from frozen at 375°F (190°C) for about 15-20 minutes, or until they’re puffed and golden brown. Enjoy the fresh-baked taste!
Make-Ahead: Assemble and refrigerate the rolls for up to 24 hours before baking for an easy, last-minute meal option.
Chicken Crescent Rolls Recipe FAQs
What type of chicken should I use for the filling?
Absolutely! You can use shredded leftover chicken, rotisserie chicken for convenience, or even poach and shred chicken breasts. The key is ensuring your chicken is well-cooked and finely shredded to mix effortlessly with the creamy cheese filling.
How should I store leftover Chicken Crescent Rolls?
Uneaten Chicken Crescent Rolls should be stored in an airtight container in the refrigerator, where they will stay fresh for up to 3 days. When you’re ready to enjoy them, a quick reheat in the oven at 350°F (175°C) will bring back their delightful texture.
Can I freeze these Chicken Crescent Rolls?
Yes! For longer storage, you can freeze the assembled but unbaked Chicken Crescent Rolls. Place them on a baking sheet and freeze until solid, then transfer to a freezer bag. They’ll keep well for 2-3 months. When ready to bake, pop them in the oven straight from the freezer, adding about 15-20 minutes to the baking time at 375°F (190°C).
What if my dough tears while rolling?
Very! If your crescent roll dough tears, don’t worry. Just pinch the edges back together gently. You can also cover the tear with some extra dough from another triangle. The rolls will still bake beautifully! Just remember to prevent overfilling, as too much filling can cause tears and leaks.
Are these Chicken Crescent Rolls suitable for dietary restrictions?
Indeed! For a gluten-free option, look for gluten-free crescent roll dough at your local grocery store. You can also adjust the filling to ensure it meets your dietary needs. Just keep an eye on any ingredients you may be allergic to and swap in substitutions as needed. It’s always good to experiment in the kitchen!
How long can I keep these Chicken Crescent Rolls in the fridge before baking?
You can assemble the Chicken Crescent Rolls and refrigerate them for up to 24 hours before baking. This makes it super easy to prep ahead of time and bake when you’re ready for a delicious meal. Just remember to cover them lightly with plastic wrap to avoid drying out!

Melt-in-Your-Mouth Chicken Crescent Rolls for Cozy Nights
Ingredients
Equipment
Method
- Preheat your oven to 375°F (190°C) and grease a baking sheet.
- Combine shredded chicken, cream cheese, cheddar cheese, garlic powder, parsley, salt, and pepper in a large bowl and mix well.
- Open the crescent roll dough and roll it out on a surface, separating it into triangles.
- Place a spoonful of the filling at the wide end of each triangle and roll towards the pointed end.
- Arrange the rolled crescent rolls on the greased baking sheet with pointed ends facing down.
- Bake in the preheated oven for 12-15 minutes until golden brown.
- Let the rolls cool slightly on a wire rack before serving.