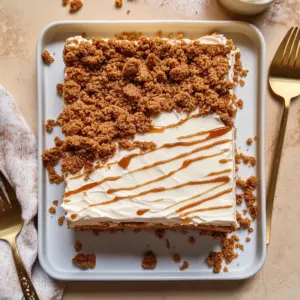
As I stood in my kitchen, the tantalizing scent of caramelized Biscoff cookies wafted through the air, sparking memories of dessert-filled celebrations. Today, I’m excited to share a creation that captures that nostalgic warmth: Biscoff Milk Cake. This dessert is not only a showstopper for gatherings but also incredibly straightforward to whip up, making it perfect for anyone craving a sweet escape from the ordinary. The fluffy cake soaked in a creamy milk mixture, beautifully complemented by velvety whipped Biscoff topping, creates a delightful harmony of textures and flavors. Whether you’re treating yourself or impressing guests, this cake is destined to become a favorite. Ready to dive into a slice of sweet indulgence?
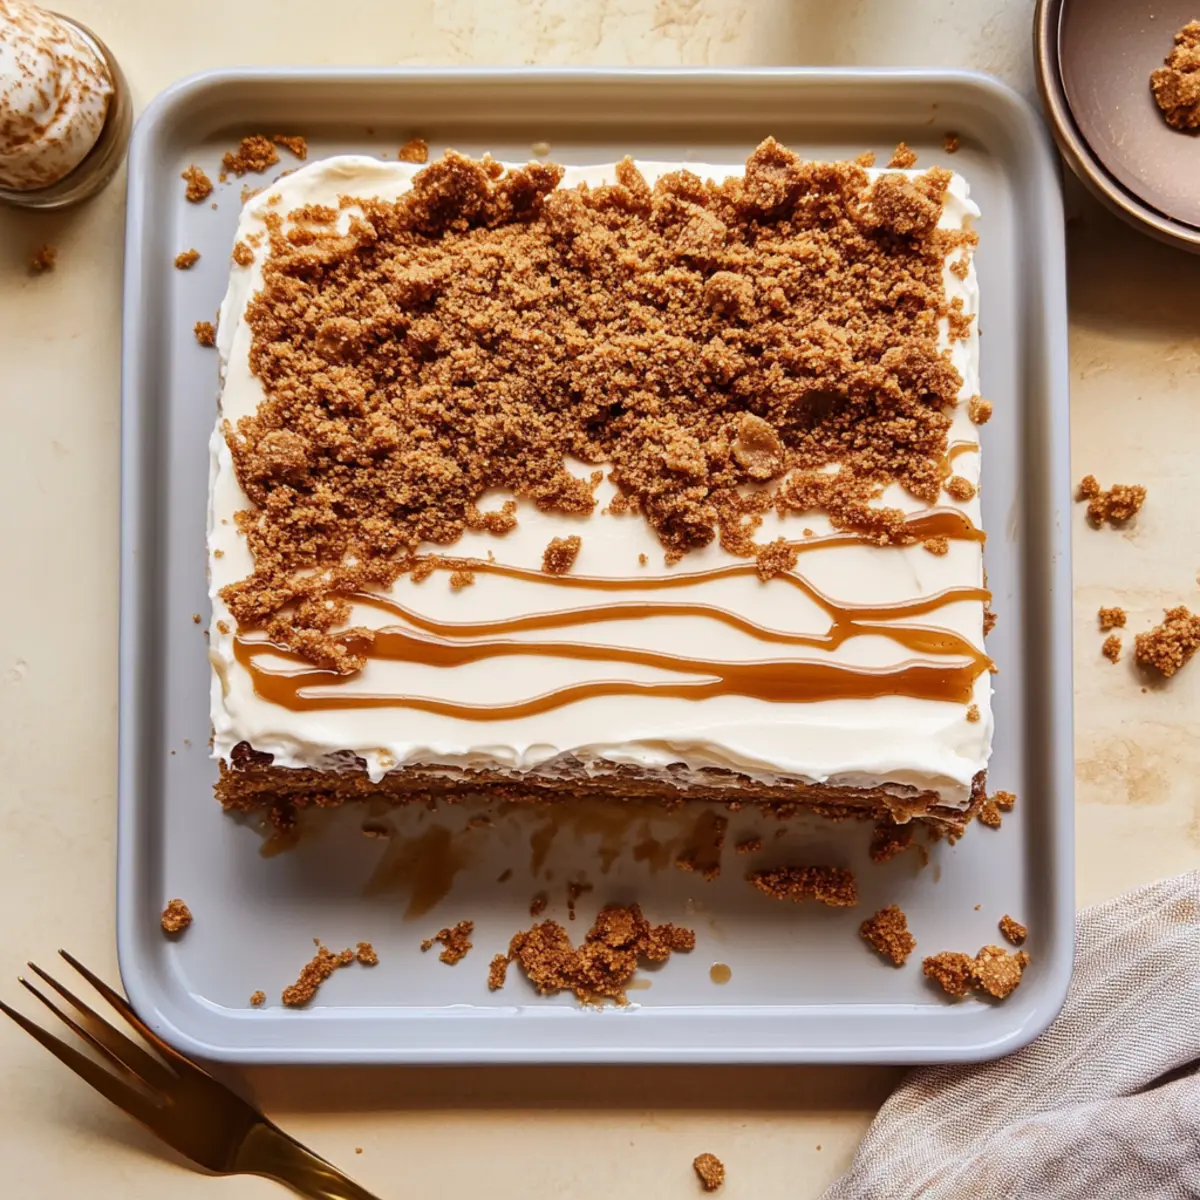
Why Is Biscoff Milk Cake So Irresistible?
Decadent Flavors: The rich flavor of Biscoff cookies infuses every bite, offering an indulgent treat that delights the senses.
Easily Achievable: With just a handful of common ingredients, you can recreate this luxurious dessert in your own kitchen.
Versatile Delight: Perfect for any occasion, this milk cake stands out at parties, family gatherings, or as a sweet evening indulgence, making it a must-try recipe.
Texture Sensation: The cake’s moistness, combined with the creamy whipped topping and crunchy cookie crumbles, creates a harmonious balance that’s hard to resist.
Make Ahead Magic: This delightful dessert can be prepared in advance; just chill and serve it later, allowing you more time to enjoy with family and friends.
Biscoff Milk Cake Ingredients
For the Cake
- All-purpose flour – Provides structure and texture to the cake; use gluten-free flour as a substitute for a gluten-free option.
- Cornstarch – Enhances the cake’s tenderness; can be replaced with a similar amount of flour if unavailable.
- Baking powder – Acts as a leavening agent, ensuring the cake rises properly.
- Cinnamon – Adds warmth and spice to the flavor profile; omit for a milder flavor.
- Salt – Balances sweetness and enhances flavors.
- Eggs (4 large, room temperature) – Essential for structure and moisture; room temperature ensures better incorporation.
- Granulated sugar – Sweetens the cake while aiding in browning.
- Milk (¼ cup) – Adds moisture; use any non-dairy milk as a direct substitute if needed.
- Oil (2 tablespoons) – Keeps the cake moist; can substitute with melted butter for a richer flavor.
- Vanilla extract (1 tablespoon) – Enhances overall flavor.
For the Soaking Mixture
- Evaporated milk (1 can) – Adds creaminess to the milk mixture, crucial for the soaking process.
- Condensed milk (1 can) – Provides sweetness and richness.
- Half & half or whole milk (1½ cups) – Contributes to the cake’s moistness; can use a combination of almond and coconut milk for a non-dairy approach.
- Biscoff (¼ cup, melted) – Infuses the cake with iconic Biscoff flavor.
For the Whipped Topping
- Heavy cream or double cream (2 cups) – Forms the base of the whipped topping, ensuring a light and fluffy texture.
- Powdered sugar (¼ cup) – Stabilizes the whipped cream to maintain its shape.
- Vanilla extract (1 teaspoon) – Adds fragrance to the whipped cream.
Engage with this delightful Biscoff Milk Cake creation and savor the amazingly sweet and creamy flavors that await!
Step‑by‑Step Instructions for Biscoff Milk Cake
Step 1: Preheat and Prepare Your Baking Dish
Start by preheating your oven to 350°F (175°C). Grease a 9×13 inch baking pan with butter or non-stick spray, ensuring the sides are well-coated to prevent sticking. This preparation will give your Biscoff Milk Cake a perfect, golden crust as it bakes.
Step 2: Combine Dry Ingredients
In a medium mixing bowl, whisk together 1 ¾ cups of all-purpose flour, ¼ cup of cornstarch, 2 teaspoons of baking powder, 1 teaspoon of cinnamon, and ½ teaspoon of salt. The mixture should be well combined and airy, which is essential for the cake’s light and tender texture. Set this bowl aside, as it will be combined with the wet ingredients soon.
Step 3: Mix Wet Ingredients
In a large mixing bowl, beat together 4 room temperature eggs and 1 cup of granulated sugar using an electric mixer on medium speed for about 5 minutes. The mixture should become pale and frothy. Gradually add ¼ cup of milk and 1 tablespoon of vanilla extract, mixing well until fully incorporated and smooth.
Step 4: Combine Wet and Dry Mixtures
Slowly fold the dry ingredients into the wet mixture, using a rubber spatula to maintain airiness in the batter. Mix just until no dry streaks remain; be careful not to overmix, as this can affect the texture of your Biscoff Milk Cake. Pour the batter into the prepared baking pan, spreading it evenly with a spatula.
Step 5: Bake the Cake
Place the pan in the preheated oven and bake for 25 minutes, or until the top is lightly golden and a toothpick inserted into the center comes out clean. Keep an eye on it during the last few minutes to prevent overbaking. Once done, remove it from the oven and let it cool in the pan for at least 30 minutes.
Step 6: Poke Holes for Soaking
After the cake has cooled, use a fork to poke holes all over the top, creating small openings for the milk mixture to seep in. This step is essential for infusing the cake with the delicious creamy flavors, making your Biscoff Milk Cake even more irresistible.
Step 7: Prepare the Milk Mixture
In a mixing bowl, whisk together 1 cup of evaporated milk, 1 cup of condensed milk, 1 ½ cups of half & half or whole milk, and ¼ cup of melted Biscoff until smooth and well combined. Pour this rich mixture evenly over the cooled cake, allowing it to soak in. Reserve about ½ cup for serving later.
Step 8: Chill the Cake
Cover the cake with plastic wrap and refrigerate for at least 2 hours, or preferably overnight. This step allows the Biscoff Milk Cake to absorb the creamy milk mixture fully, enhancing the flavor and texture for a delightful treat.
Step 9: Whip the Cream Topping
In a chilled mixing bowl, combine 2 cups of heavy cream, ¼ cup of powdered sugar, and 1 teaspoon of vanilla extract. Using an electric mixer, beat the mixture on high speed until stiff peaks form, indicating the whipped cream will hold its shape. This fluffy topping is what makes the cake wonderfully decadent.
Step 10: Assemble and Serve
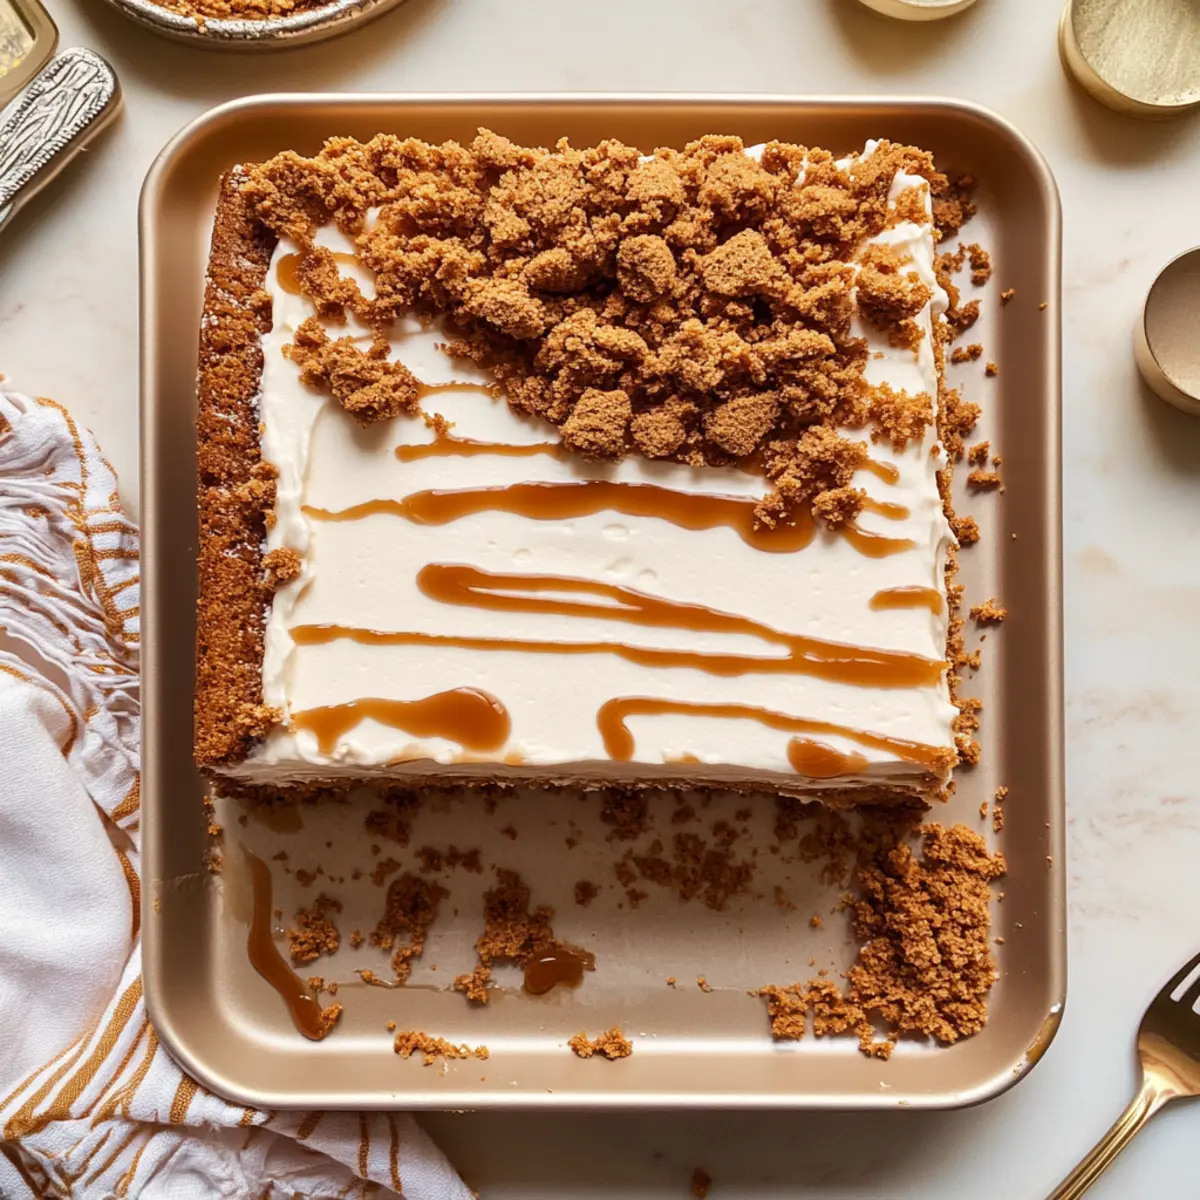
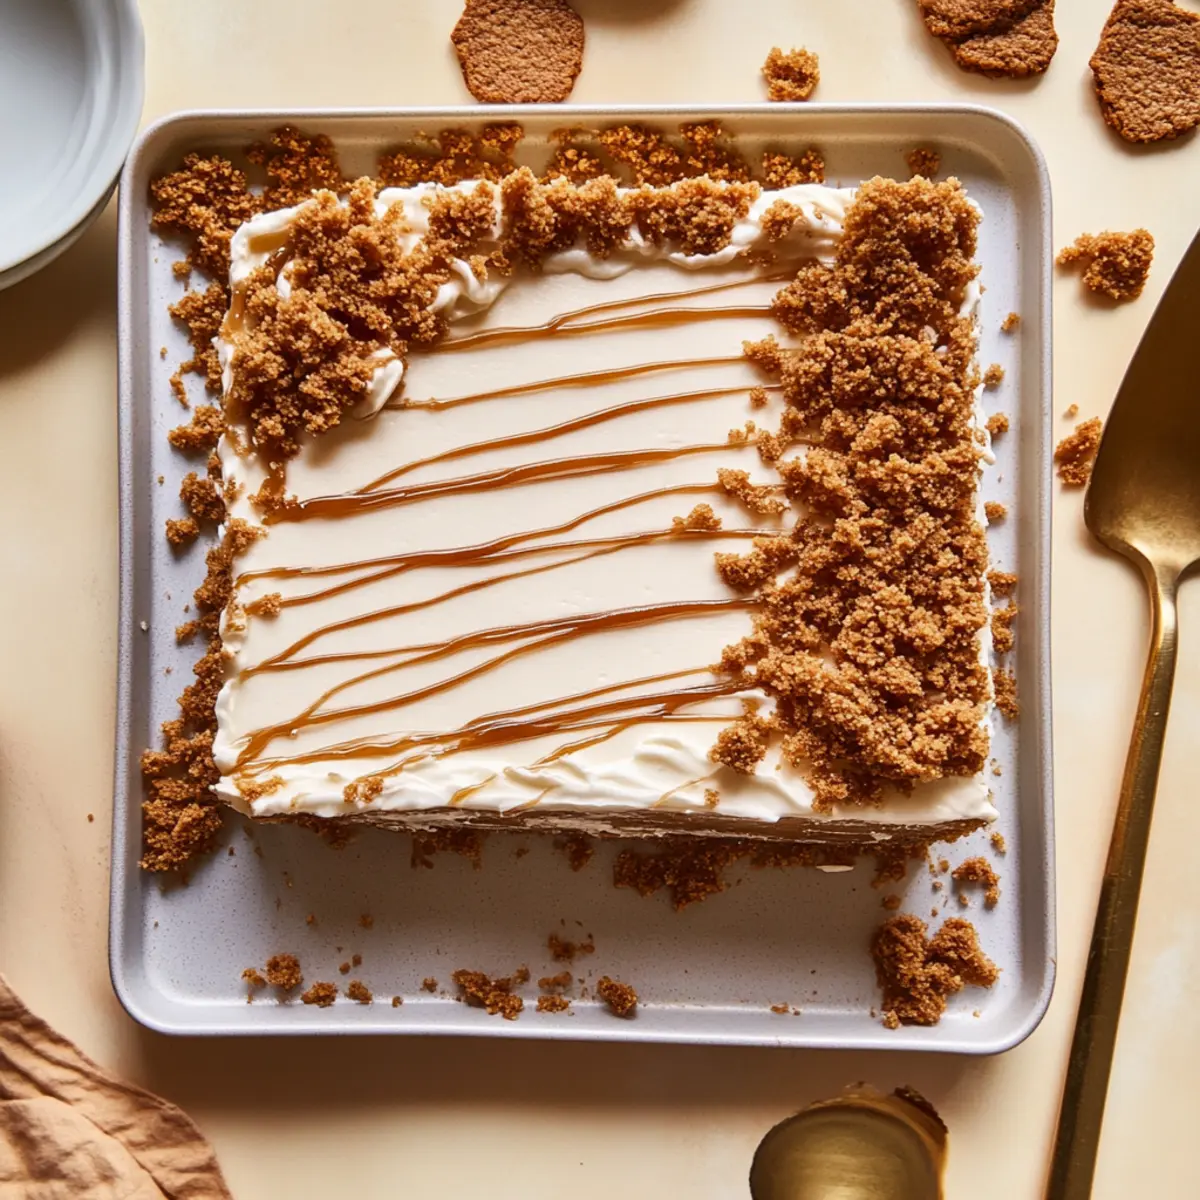
Once chilled, spread the whipped cream evenly over the top of the soaked cake. Drizzle additional melted Biscoff on top and sprinkle with crushed cookie crumbles for added texture and flavor. Cut into squares and serve with the reserved milk for a delightful finish to your Biscoff Milk Cake experience!
Expert Tips for Biscoff Milk Cake
- Perfect Egg Mixture: Beat the eggs until pale and frothy; this ensures a light and airy cake texture. Don’t rush this step!
- Chill for Flavor: For optimal flavor absorption, refrigerate the cake overnight after pouring the milk mixture. This makes the Biscoff Milk Cake more delicious!
- Avoid Overmixing: When combining wet and dry ingredients, fold gently to keep the batter airy and fluffy. Overmixing can lead to a dense cake.
- Poke Holes Generously: Use enough fork holes in the cake for maximum soaking; this creates a wonderfully moist Biscoff Milk Cake.
- Storage Savvy: Keep leftovers in an airtight container in the fridge for 3-4 days. This cake is too indulgent to freeze!
Biscoff Milk Cake Variations & Substitutions
Feel free to explore these delightful variations that let you customize the Biscoff Milk Cake to your taste buds’ delight.
-
Chocolate Twist: Replace Biscoff with chocolate hazelnut spread for a rich, chocolaty flavor.
A chocolate lover’s dream awaits with every bite, creating a new favorite dessert experience. -
Fruit Layers: Add a layer of fresh berries or caramelized bananas between the cake and topping for a fruity surprise.
This small twist brings a luscious freshness that elevates the dessert to a whole new level. -
Dairy-Free Option: Substitute all dairy with coconut cream and almond milk for a creamy, dairy-free version.
Your guests will be amazed at how satisfying a dairy-free treat can be, ensuring everyone’s included in the indulgence! -
Spiced Delight: Enhance the flavor by adding a hint of nutmeg or ginger to the cake batter for a seasonal touch.
These warming spices add depth, making it a delightful treat during colder months or festive occasions. -
Nutty Crunch: Fold in chopped nuts, like pecans or almonds, into the batter for a satisfying texture contrast.
The nutty crunch complements the creamy layers beautifully, introducing delightful surprises with each bite. -
Maple Flavor: Swap out the vanilla for maple extract in the cake and whipped cream for a warm, inviting flavor.
This subtle change brings an autumnal charm that will have everyone raving about your baking skills! -
Coconut Cream: Replace the heavy cream with coconut cream for a tropical twist in the whipped topping.
This twist delivers a light and refreshing taste that pairs perfectly with the sweet Biscoff base. -
Lemon Zing: Add lemon zest to the milk mixture for a bright citrus note that cuts through the sweetness.
This zesty touch refreshes the palate and transforms the dessert into a tangy celebration of flavors.
Let your imagination run wild in the kitchen and create a Biscoff Milk Cake that truly reflects your personal taste! If you’re looking to mix things up, you might also enjoy experimenting with our Lemon Zucchini Bread or our Chocolate Chip Cookies for even more sweet inspiration.
How to Store and Freeze Biscoff Milk Cake
Fridge: Store the Biscoff Milk Cake in an airtight container in the refrigerator for up to 3-4 days. This keeps the cake moist and allows the flavors to remain vibrant.
Freezer: If you have leftovers, freeze the plain cake (before adding the whipped topping) for up to 2 months. Wrap it tightly in plastic wrap and foil to prevent freezer burn.
Thawing: To enjoy frozen cake, simply thaw it overnight in the fridge before serving. Once thawed, top with whipped cream and garnish as desired.
Reheating: If you prefer a warm slice, microwave individual portions for 15-20 seconds, ensuring a moist treat that complements the Biscoff flavor perfectly.
What to Serve with Biscoff Milk Cake
Indulging in a slice of Biscoff Milk Cake creates a delightful moment, but pairing it with the right accompaniments elevates the experience even more.
-
Rich Coffee: The deep flavors of a robust cup of coffee contrast beautifully with the sweetness of the cake, creating a delightful balance.
-
Vanilla Ice Cream: A scoop of creamy vanilla ice cream adds a refreshing, cool element, making the dessert even more indulgent and satisfying.
-
Biscoff Crumble Topping: Enhance the texture by serving the cake with a sprinkle of Biscoff cookie crumbles, echoing its flavor and adding a delightful crunch.
-
Fresh Berries: Juicy raspberries or strawberries offer a burst of fruity acidity, cutting through the rich sweetness of the cake and providing a refreshing contrast.
-
Creamy Hot Chocolate: A warm cup of chocolate brings an extra layer of sweet warmth, inviting you to indulge in this comforting dessert experience.
-
Chai Latte: The spiced creaminess of a chai latte pairs beautifully with the caramel flavors in the cake, creating a cozy, aromatic experience.
-
Gelato with Caramel Drizzle: A scoop of gelato topped with a drizzle of caramel sauce offers a luxurious complement to the Biscoff flavor profile.
-
Decadent Chocolate Sauce: Drizzling chocolate sauce on individual slices allows for an extra touch of richness, enhancing the cake’s indulgence even further.
Make Ahead Options
These Biscoff Milk Cake preparations are perfect for busy home cooks looking to save time! You can bake the cake up to 24 hours in advance and let it soak overnight in the creamy milk mixture for optimal flavor absorption. To maintain its quality, cover the cake tightly with plastic wrap once soaked and refrigerate it. You can also prepare the whipped cream topping up to 3 days ahead; just store it in an airtight container in the fridge. When you’re ready to serve, simply whip the cream until stiff peaks form and spread it over the chilled cake. Enjoy restaurant-quality results with minimal effort, leaving you more time to relax!
Biscoff Milk Cake Recipe FAQs
What type of Biscoff cookies should I use for the recipe?
Absolutely! I recommend using original Biscoff cookies for the best flavor infusion. You can crush them into crumbs for the topping or use the melted spread in the soaking mixture to enhance the cake’s richness even more.
How should I store leftover Biscoff Milk Cake?
To keep your Biscoff Milk Cake fresh, store it in an airtight container in the refrigerator for up to 3-4 days. Ensure the cake is completely cool before covering it to prevent condensation, which could make it soggy.
Can I freeze Biscoff Milk Cake?
Yes, you can freeze the plain cake before adding the whipped topping. Wrap it tightly in plastic wrap and foil to prevent freezer burn, and it will last for up to 2 months. When you’re ready to eat, simply thaw it overnight in the fridge. After thawing, add the whipped topping and serve!
Why is my Biscoff Milk Cake too dense?
Very likely, it’s due to overmixing! When combining wet and dry ingredients, be gentle with your mixing to ensure you maintain the airiness of the batter. Overmixing can lead to a denser texture, so just mix until the ingredients are incorporated.
Can I modify the recipe for dietary restrictions?
Definitely! To make the Biscoff Milk Cake gluten-free, swap regular flour for a gluten-free all-purpose flour. For dairy-free options, you can use any plant-based milk, and coconut cream can replace the whipped cream. Make sure to verify that your Biscoff cookies or spread are also suitable for your dietary needs.
How long should the cake soak for optimal flavor?
I recommend allowing the cake to soak overnight for the best flavor absorption. If you’re short on time, at least two hours will also help, but the longer it sits, the more delectable and rich the flavors will be in your Biscoff Milk Cake!
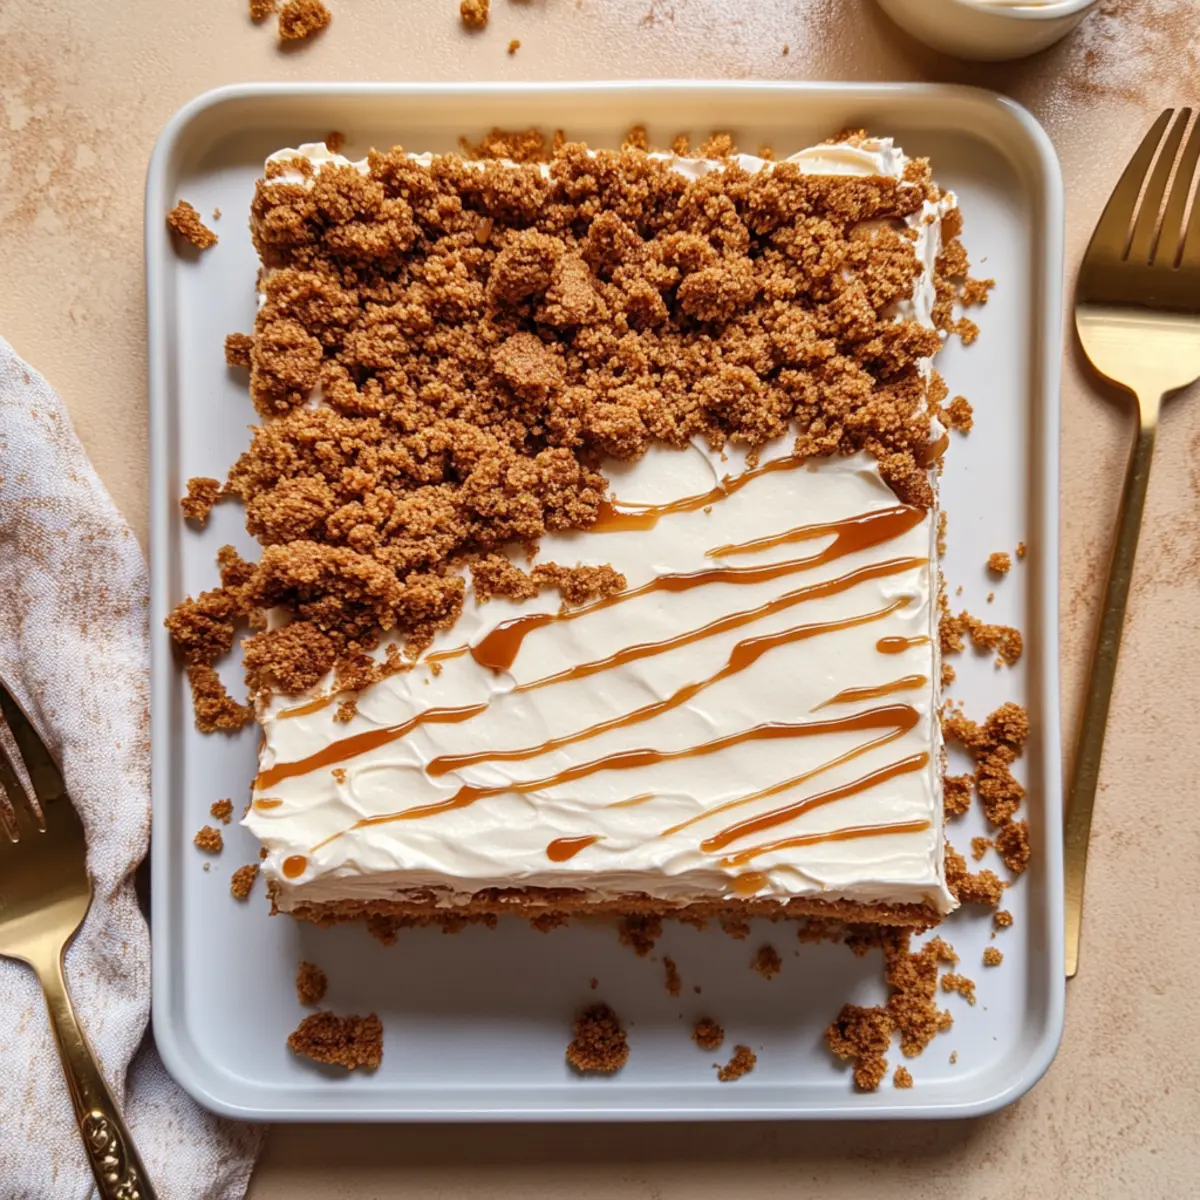
Biscoff Milk Cake: A Dreamy Caramel Dessert Delight
Ingredients
Equipment
Method
- Preheat your oven to 350°F (175°C). Grease a 9x13 inch baking pan.
- In a medium mixing bowl, whisk together all-purpose flour, cornstarch, baking powder, cinnamon, and salt.
- In a large mixing bowl, beat together eggs and granulated sugar until pale and frothy. Gradually mix in milk and vanilla extract.
- Fold the dry ingredients into the wet mixture until combined but be careful not to overmix.
- Pour the batter into the prepared baking pan and spread it evenly.
- Bake for 25 minutes until lightly golden and a toothpick comes out clean. Let it cool for at least 30 minutes.
- Poke holes all over the top of the cooled cake with a fork.
- In a mixing bowl, whisk together evaporated milk, condensed milk, half & half or whole milk, and melted Biscoff. Pour over the cake.
- Cover the cake with plastic wrap and refrigerate for at least 2 hours, or preferably overnight.
- In a chilled mixing bowl, beat heavy cream, powdered sugar, and vanilla extract until stiff peaks form.
- Spread the whipped cream over the chilled cake, drizzle with melted Biscoff, and sprinkle with crushed cookie crumbles. Cut into squares and serve with reserved milk.