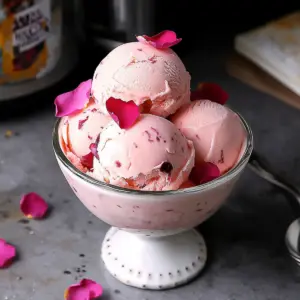
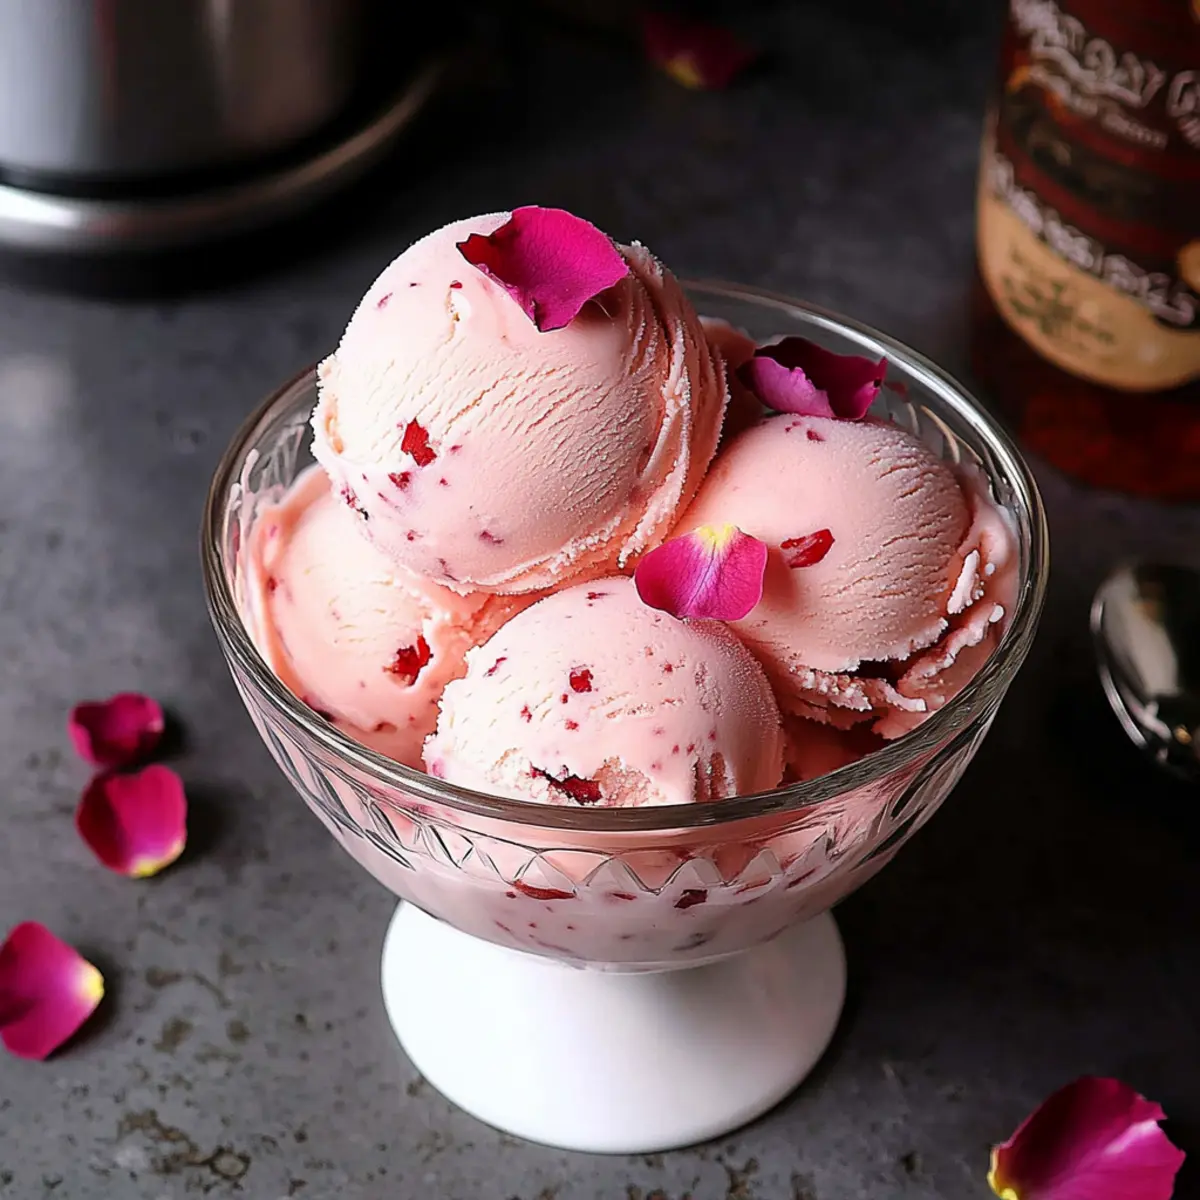
As I slowly swirled the vibrant pink cream in my ice cream maker, an intoxicating floral aroma flooded the kitchen, instantly transporting me to a sunlit garden in full bloom. This Homemade Rose Ice Cream is not just a treat; it’s an experience that combines rich creaminess with the delicate essence of rose water, making it a standout gourmet dessert for any occasion. Perfect for warm spring and summer days, this ice cream is a refreshing escape from mundane flavors, and the best part? It’s gluten-free and easy to whip up at home! Ready to impress your guests or treat yourself to something sensational? Let’s dive into this creamy floral delight that’s bound to captivate your senses.
Why is Rose Ice Cream So Special?
Luxurious Experience: Indulging in this homemade rose ice cream is like savoring a dreamy floral escape, combining rich creaminess with delicate rose notes.
Simple Ingredients: The recipe features common ingredients, offering a gourmet dessert that can be effortlessly made at home.
Gluten-Free Delight: Perfect for those avoiding gluten, you can share this sweet treat with everyone, worry-free.
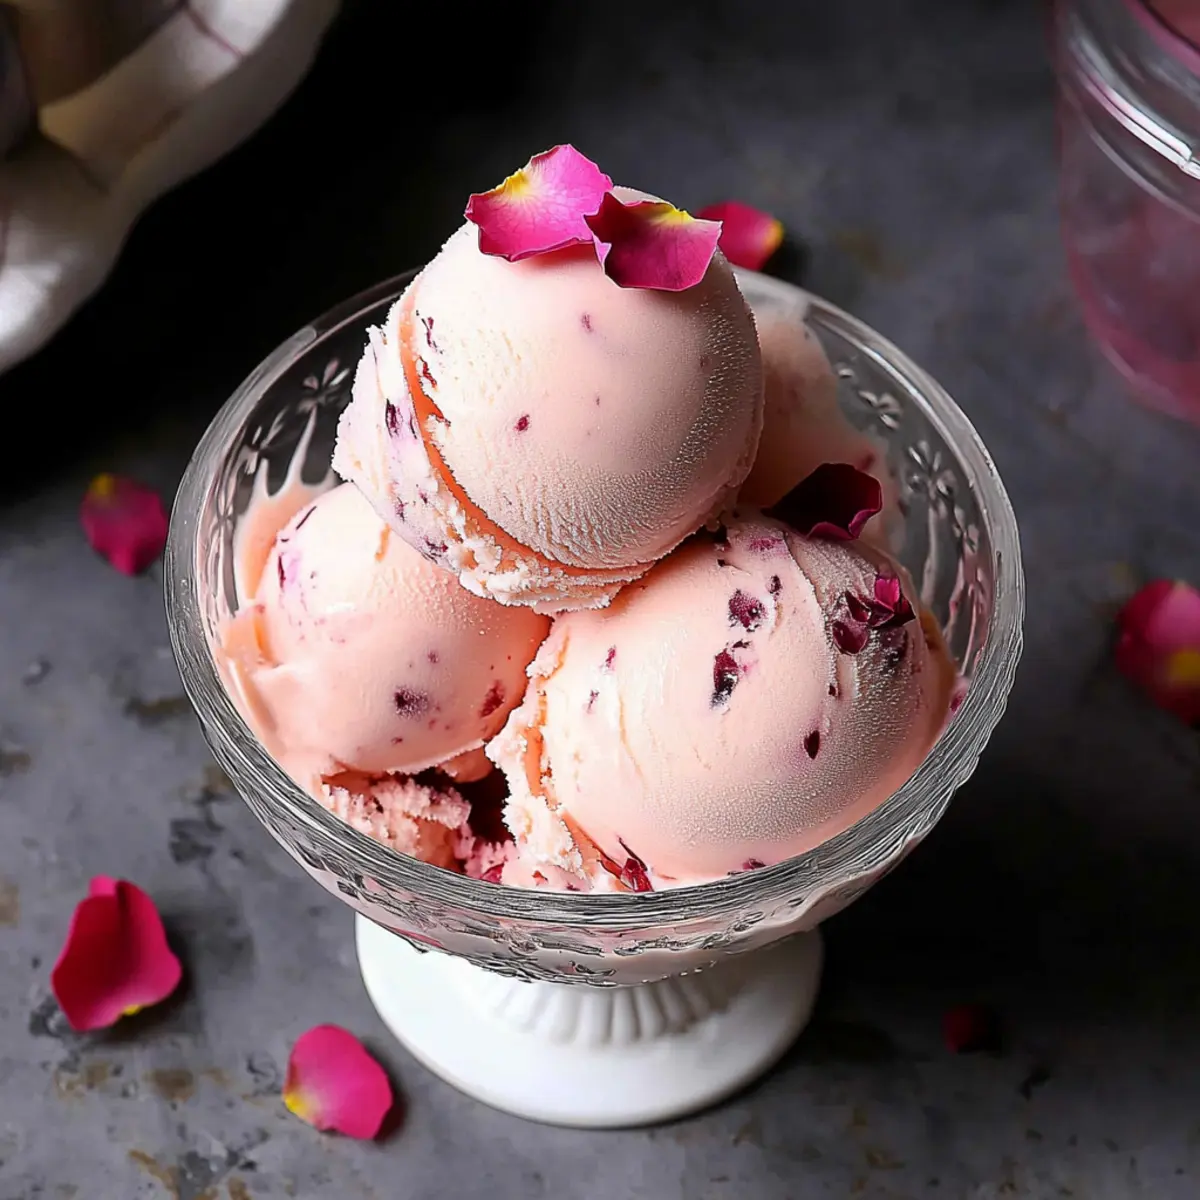
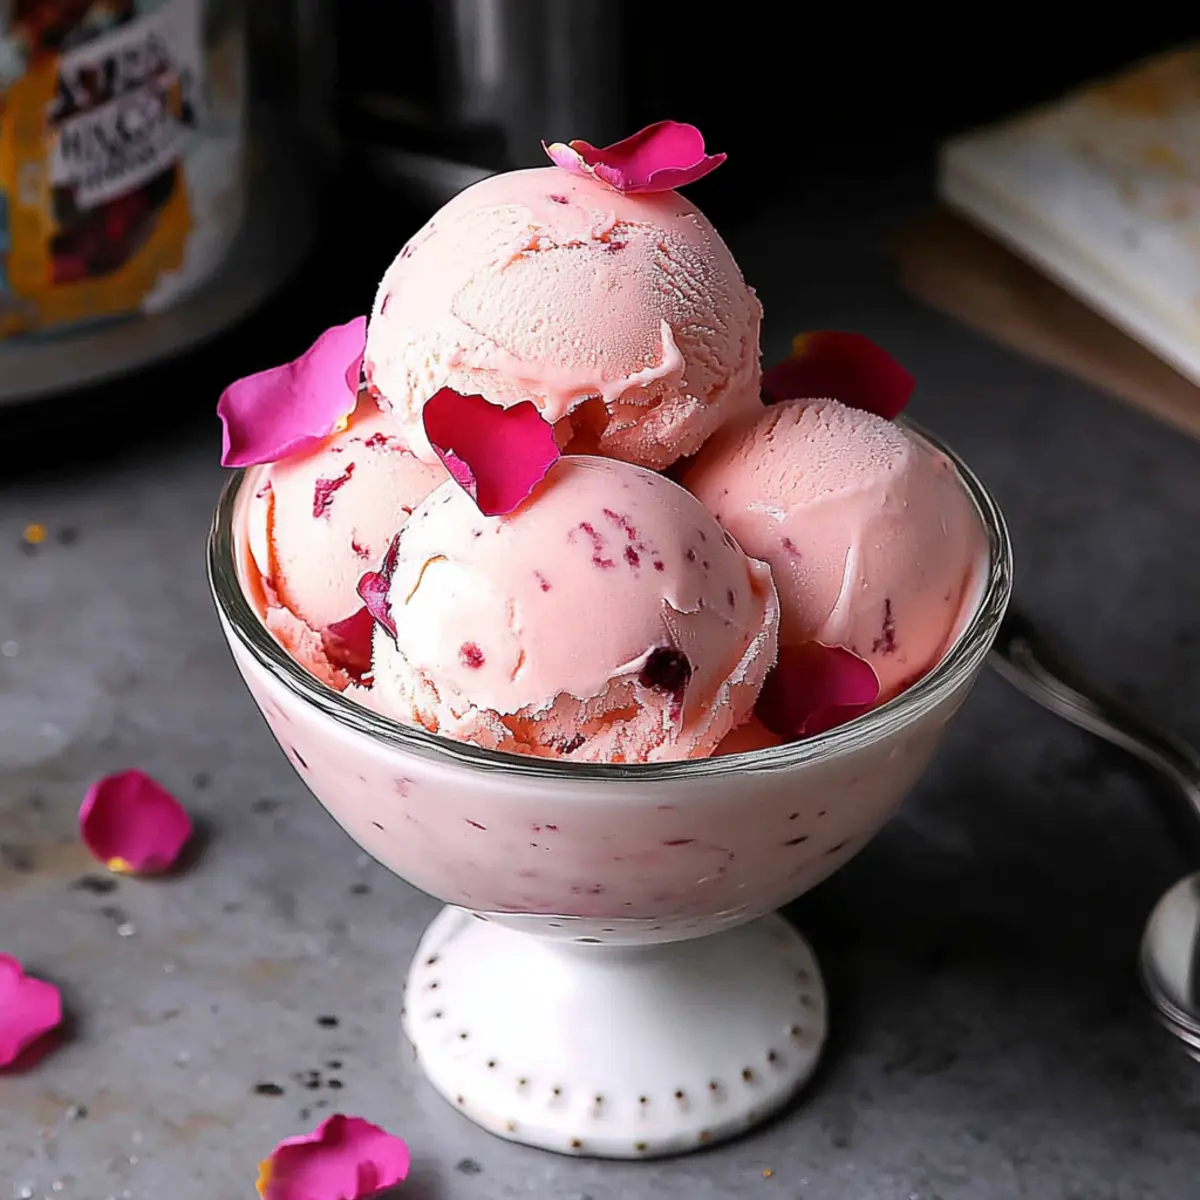
Visually Stunning: Its pale pink hue not only pleases the palate but also elevates your dessert presentation, making it a showstopper at gatherings.
Versatile Flavor: Experiment by infusing dried rose petals or swapping rose water with orange blossom for a delicious twist. Want more ideas? Check out our suggestions for variations!
Rose Ice Cream Ingredients
• To create this beautiful homemade rose ice cream, gather these essential ingredients.
For the Base
• Heavy Cream – Adds richness and a creamy texture; for a lighter version, substitute with half-and-half.
• Milk – Provides balance to the creaminess; any milk type can work based on your dietary needs, such as almond milk for dairy-free preferences.
• Salt – Enhances the flavors; opt for sea salt to give it a gourmet touch.
• Egg Yolks – Create a custard base for thickness and richness; you can use silken tofu for a vegan alternative.
For Sweetness and Flavor
• Granulated Sugar – Sweetens the ice cream; brown sugar can also give a hint of caramel flavor.
• Vanilla Extract – Adds depth of flavor; using pure vanilla extract will yield the best results.
• Rose Water – The primary flavoring agent that infuses a delightful floral note; ensure it’s distilled for maximum fragrance.
• Pink Food Coloring – Optional for visual appeal; you can omit this if you prefer a natural look.
For Texture
• Xanthan Gum (optional) – Stabilizes texture and prevents ice crystal formation; it’s not necessary if you churn well.
Now, you’re all set to create a gluten-free dessert that’s rich, luxurious, and sure to impress!
Step-by-Step Instructions for Homemade Rose Ice Cream
Step 1: Heat the Cream Mixture
In a medium saucepan, combine 2 cups of heavy cream, 1 cup of milk, and a pinch of salt. Over medium heat, stir the mixture gently until it just begins to simmer, which usually takes about 5-7 minutes. Once you see small bubbles forming around the edges, remove it from heat to prevent scalding.
Step 2: Whisk Egg Yolks and Sugar
In a separate bowl, whisk together 5 large egg yolks and 3/4 cup of granulated sugar until the mixture is smooth and pale, approximately 3-4 minutes. The goal is to achieve a creamy texture that lightens in color. This will serve as the base for your rich and delightful rose ice cream.
Step 3: Temper the Egg Mixture
To prevent the egg yolks from scrambling, slowly pour one-third of the hot cream mixture into the egg yolk mixture while whisking continuously. This process, known as tempering, gradually warms the eggs. Then, after it’s all combined, pour the tempered egg mixture back into the saucepan with the remaining cream for a smooth blend.
Step 4: Cook the Custard Base
Place the saucepan back over low heat. Stir the mixture constantly using a wooden spoon or rubber spatula until it thickens enough to coat the back of the spoon, which usually takes about 8-10 minutes. Be careful not to let it boil, as this can ruin the custard base for the rose ice cream.
Step 5: Strain and Cool
Once thickened, strain the custard mixture through a fine-mesh sieve into a clean container. This step removes any egg bits for an ultra-smooth ice cream texture. Allow it to cool slightly for about 10 minutes before moving on to the next step, letting those rich flavors settle in.
Step 6: Add Flavorings
Stir in 1 teaspoon of pure vanilla extract and 2-3 tablespoons of distilled rose water, adjusting to your own taste preferences. For added visual appeal, you may also mix in a few drops of pink food coloring until you achieve your desired hue. The aroma should be heavenly and inviting, reminiscent of blossoming roses.
Step 7: Chill the Mixture
Cover the container with cling film, pressing it directly onto the surface of the mixture to avoid a skin forming. Refrigerate for at least 4 hours, or preferably overnight, allowing the flavors of your homemade rose ice cream to infuse and develop fully.
Step 8: Churn the Ice Cream
Once chilled, pour the mixture into an ice cream maker and churn according to the manufacturer’s instructions, usually for 20-25 minutes. You’ll know it’s done when the ice cream has thickened to a soft-serve consistency, filling your kitchen with a delightful floral scent.
Step 9: Freeze for Texture
Transfer the churned rose ice cream into an airtight container and smooth the top. Freeze for a minimum of 4 hours to allow it to firm up before serving, but for best results, let it freeze overnight. Preparing the ice cream ahead of time will also help build anticipation for this floral delight!
Step 10: Serve and Garnish
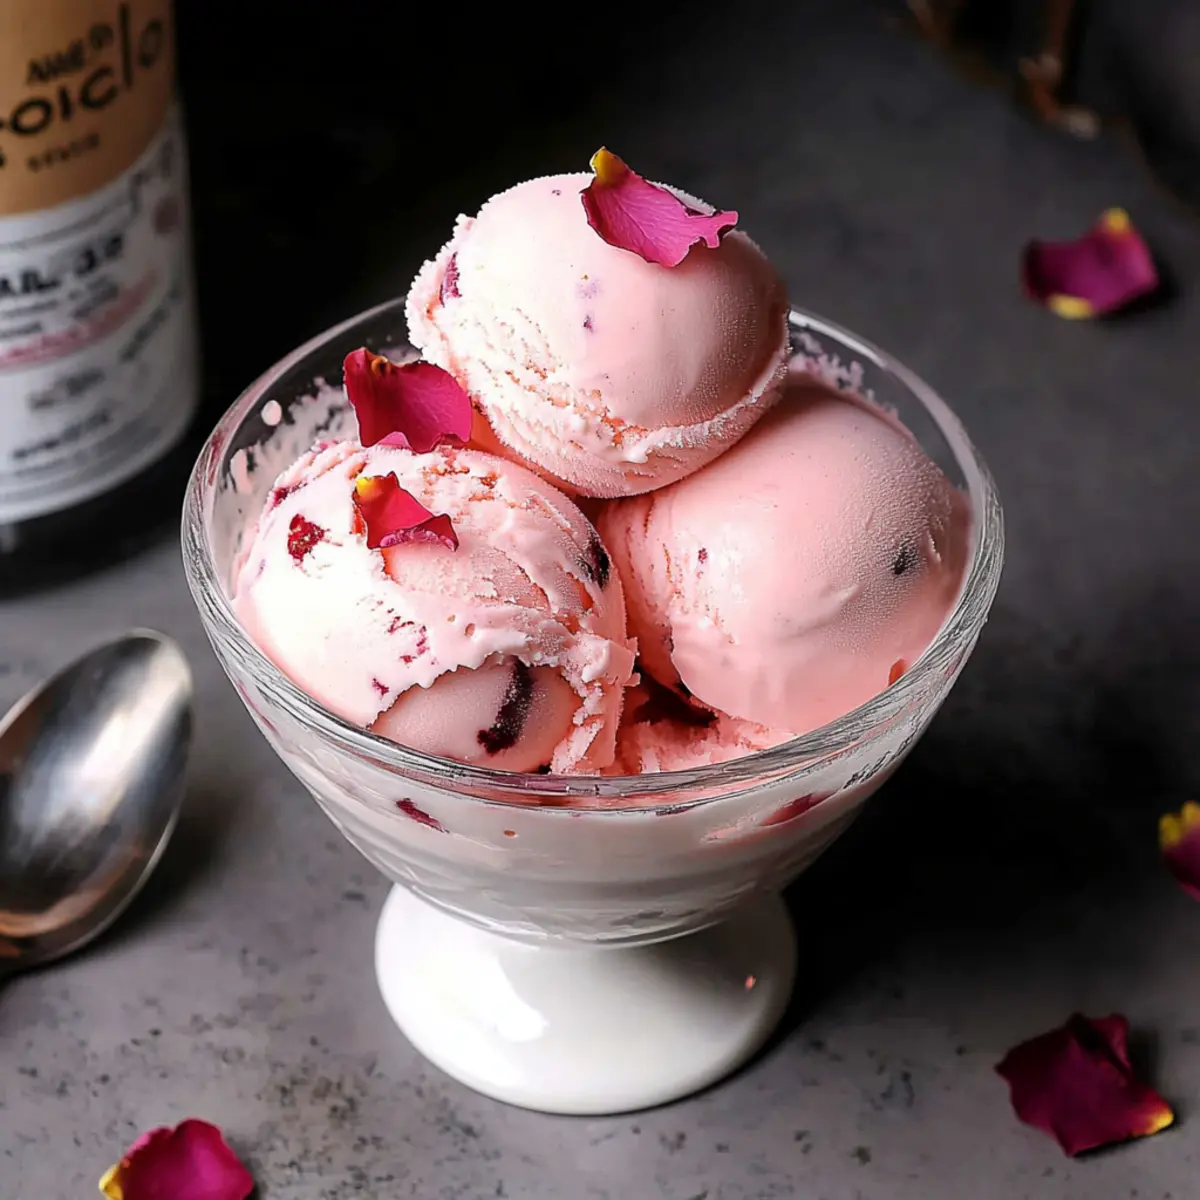
When ready to serve, scoop out the creamy rose ice cream into elegant bowls. For an indulgent touch, garnish with fresh rose petals or crushed pistachios, which add a beautiful texture and contrast to this luscious dessert. Enjoy the refreshing escape that homemade rose ice cream provides!
Homemade Rose Ice Cream Variations
Let your culinary creativity bloom with these delightful twists to elevate your rose ice cream experience!
-
Orange Blossom Water: Swap rose water with orange blossom water for a vibrant citrus floral note that’s equally enchanting.
-
Infused Cream: Add dried rose petals to the cream while heating for a deeper, more subtle rose flavor that infuses beautifully.
-
Pistachio Crunch: Toss in crushed pistachios during churning for a nutty texture and flavor contrast, making each scoop surprisingly delightful.
-
Coconut Dream: Use full-fat coconut milk instead of heavy cream for a dairy-free alternative that adds richness with a tropical flair.
-
Spicy Kick: Add a pinch of cayenne pepper for a surprising heat that balances the sweetness, giving your dessert an exotic twist.
-
Minty Freshness: Incorporate fresh mint leaves into the cream for a refreshing herbal touch that pairs wonderfully with the floral notes.
-
Chocolate Swirl: Drizzle in some melted dark chocolate while churning for a decadent chocolate and rose combination that’s simply irresistible.
-
Lavender Infusion: Steep some culinary lavender in the cream for a beautiful herbaceous note that complements the rose exquisitely.
These variations promise to bring a fresh take on your classic rose ice cream. And if you’re interested in more variations, consider checking out our ideas on different flavor profiles! Happy creating!
Expert Tips for Homemade Rose Ice Cream
• Avoid Scrambling Eggs: Ensure you don’t let the custard base boil; keep the heat low while stirring to achieve the perfect consistency.
• Quality Ingredients Matter: Use fresh, high-quality rose water for a more intense floral flavor; your homemade rose ice cream will truly shine.
• Perfect Churn Technique: Churn the ice cream thoroughly to prevent ice crystals; it should resemble a soft-serve consistency before freezing.
• Flavor Adjustments: If you find the rose flavor too subtle, gradually add more rose water in small amounts until it meets your taste preference.
• Garnish Wisely: Fresh rose petals and crushed pistachios not only enhance the visual appeal but also add an exciting textural contrast to your dessert.
Make Ahead Options
Making Homemade Rose Ice Cream ahead of time is a game-changer for busy home cooks! You can prepare the custard base up to 24 hours in advance by following the cooking steps through to straining, then refrigerate covered (pressing cling film directly onto the surface to prevent a skin). This allows the flavors to meld beautifully, ensuring a richer taste when served. On the day you want to serve, simply churn the chilled mixture in your ice cream maker according to the manufacturer’s instructions, then freeze for at least 4 hours before enjoying. With this make-ahead tip, your gourmet dessert will be just as delicious and dreamy as if made fresh that same day!
How to Store and Freeze Rose Ice Cream
- Freezer: Store the ice cream in an airtight container for up to 2 weeks to maintain its rich texture and floral flavor.
- Reheating: If the ice cream becomes too hard, let it sit at room temperature for about 10 minutes before scooping for easy serving.
- Wrapping: For longer storage, press a piece of parchment paper directly onto the surface of the ice cream before sealing, preventing ice crystals from forming.
- Serving Tips: Always serve the rose ice cream while it’s still slightly soft for the best creamy experience; its delicate floral notes shine when freshly scooped!
What to Serve with Homemade Rose Ice Cream?
Indulging in a scoop of this floral delight invites various pairings that enhance its unique flavor while creating a complete and satisfying meal experience.
-
Fresh Fruit Salad: A zesty medley of seasonal fruits adds a refreshing contrast to the creaminess of the rose ice cream, brightening each bite. Think sweet berries and juicy citrus for a vibrant touch!
-
Pistachio Shortbread Cookies: These buttery, nutty cookies provide a crunchy texture that beautifully balances the silky smooth ice cream, creating a delightful flavor combination you can’t resist.
-
Sparkling Rosé: The light bubbles and fruity notes of sparkling rosé complement the floral essence of the ice cream, making it a perfect choice for a light, elegant pairing.
-
Cardamom Infused Chai: This warm, spiced tea offers an aromatic contrast to the refreshing ice cream, inviting a cozy, indulgent experience that’s perfect for afternoons.
-
Rose Petal Jam: A small dollop of this aromatic jam on top enhances the rose flavor, creating an exquisite dish that intrigues your senses; pair with toast for a brunch delight.
-
Almond Biscotti: Crunchy and flavorful, almond biscotti provide a wonderful textural contrast with the creamy ice cream, inviting a delicious dunking experience.
Whether you’re hosting a gathering or treating yourself, these pairings offer an irresistible way to savor every scoop of your homemade rose ice cream.
Homemade Rose Ice Cream Recipe FAQs
What type of rose water should I use?
Absolutely! To achieve the best floral aroma and flavor, ensure you’re using distilled rose water. Look for high-quality brands or specialty stores that offer culinary-grade rose water, as they will give your homemade rose ice cream an authentic and robust essence.
How long can I store homemade rose ice cream?
It’s best to enjoy your rose ice cream fresh, but you can store it in an airtight container for up to 2 weeks. For optimal quality, make sure to smooth the top and press a piece of parchment paper directly onto the surface. This method helps prevent ice crystals from forming, preserving that luscious creamy texture.
Can I freeze rose ice cream for longer?
Yes, you can! To keep your homemade rose ice cream enjoyable beyond the 2-week mark, it can be frozen for up to 3 months. Just remember to use an airtight container and add a layer of parchment paper on top before sealing it tightly. When you’re ready to enjoy, let it sit at room temperature for around 10 minutes to soften before scooping.
What if my ice cream turns icy or grainy?
Very! If your ice cream has an icy or grainy texture, it usually means that it wasn’t churned long enough or was frozen too quickly. To remedy this in future batches, ensure that you churn it thoroughly according to your ice cream maker’s instructions and let it freeze slowly in a well-sealed container. Additionally, using xanthan gum can help stabilize the mixture and prevent ice crystals.
Is this recipe suitable for people with dairy allergies?
Absolutely! If you’re looking for a dairy-free alternative, you can substitute the heavy cream and milk with full-fat coconut milk or almond milk. For the egg yolks, silken tofu or a commercial egg replacer work wonderfully. This allows those with dairy allergies or lactose intolerance to savor the delightful flavors of this gourmet homemade rose ice cream!
Homemade Rose Ice Cream: Indulge in a Floral Dream
Ingredients
Equipment
Method
- In a medium saucepan, combine 2 cups of heavy cream, 1 cup of milk, and a pinch of salt. Over medium heat, stir gently until it just begins to simmer, about 5-7 minutes.
- In a separate bowl, whisk together 5 large egg yolks and 3/4 cup of granulated sugar until smooth and pale, about 3-4 minutes.
- Slowly pour one-third of the hot cream mixture into the egg yolk mixture while whisking continuously to prevent scrambling.
- Pour the tempered egg mixture back into the saucepan with the remaining cream and cook over low heat until thick enough to coat the back of a spoon.
- Strain the custard mixture through a fine-mesh sieve into a clean container and allow it to cool slightly for about 10 minutes.
- Stir in 1 teaspoon of pure vanilla extract and 2-3 tablespoons of distilled rose water, adjusting to taste. Optionally mix in a few drops of pink food coloring.
- Cover with cling film directly on the surface and refrigerate for at least 4 hours or preferably overnight.
- Pour the chilled mixture into an ice cream maker and churn according to manufacturer’s instructions for 20-25 minutes.
- Transfer the churned ice cream into an airtight container, smooth the top, and freeze for a minimum of 4 hours.
- When ready to serve, scoop into elegant bowls and garnish with fresh rose petals or crushed pistachios.