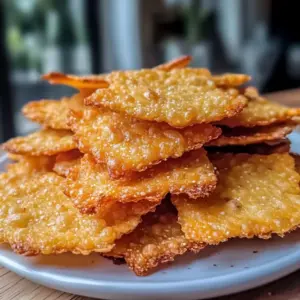
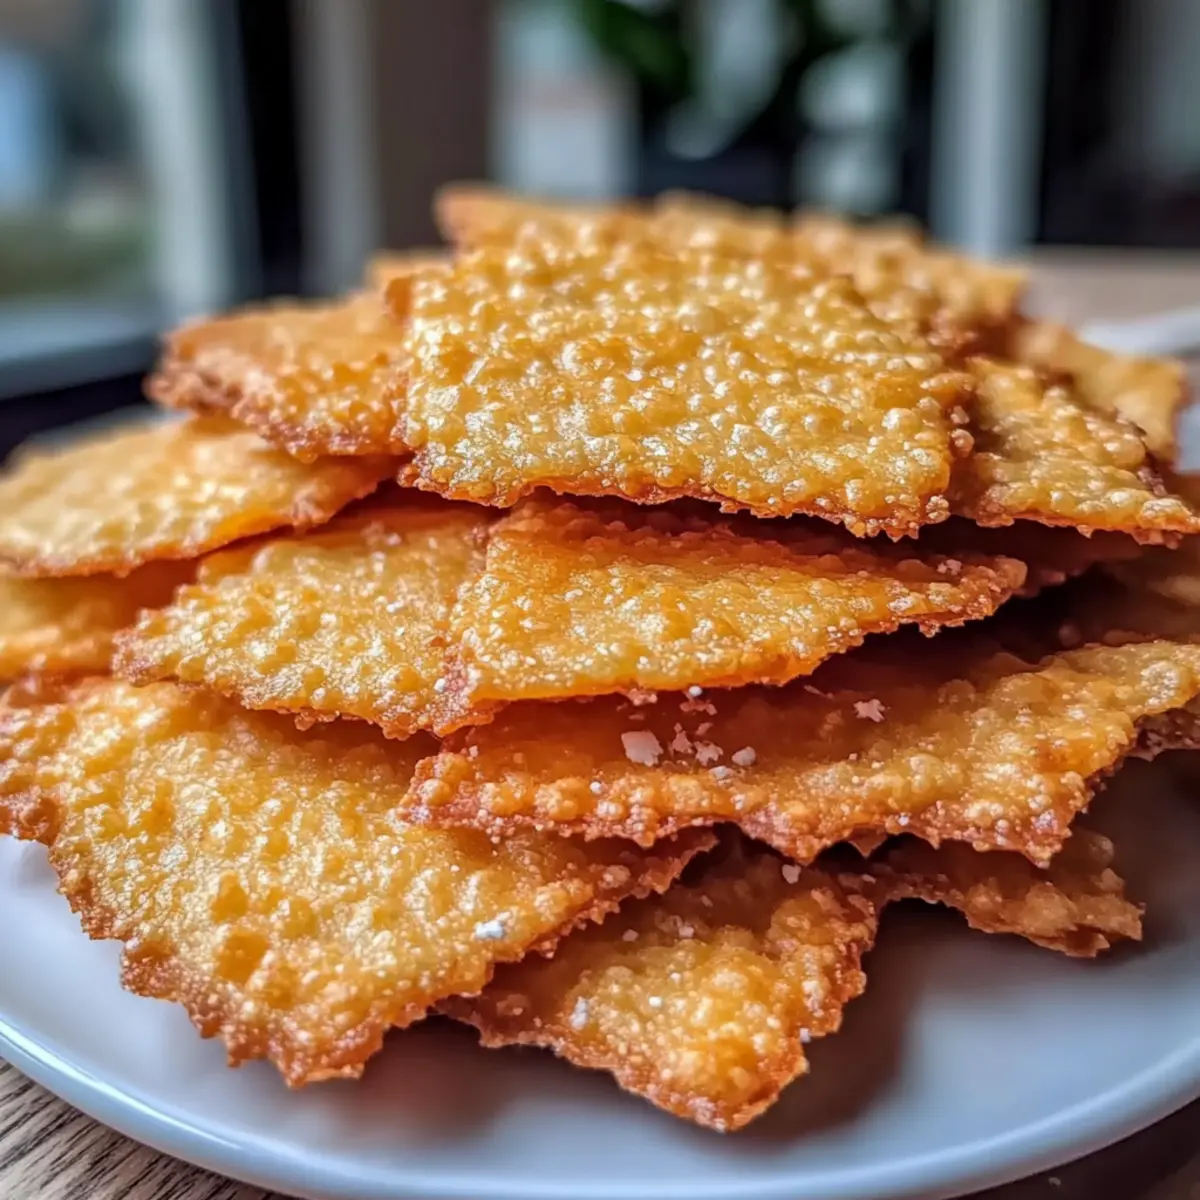
As I sifted through my pantry, I stumbled upon a treasure trove of ingredients just waiting to be transformed into something delicious. Enter my Crispy Sharp Cheddar Cheez-It Crackers — a homemade snack that brings back childhood memories while packing a delightful cheesy punch. This simple recipe not only satisfies your cravings but offers a quick, preservative-free alternative to store-bought snacks, making it perfect for busy days or spontaneous gatherings. Plus, customizing your crackers with gluten-free or dairy-free options opens the door for everyone to enjoy. Are you ready to embrace the crunch and elevate snack time? Let’s dive in!
Why Are Homemade Cheez-Its So Irresistible?
Simplicity: This recipe is incredibly straightforward; you don’t need to be a master chef to conquer these crispy delights!
Flavor Explosion: The rich, sharp cheddar cheese provides an unforgettable taste, making every bite a satisfying treat.
Customizable: With options for gluten-free or dairy-free variations, everyone can indulge in these perfect snacks!
Quick & Efficient: Ready in just 1 hour and 15 minutes, you can whip up a batch even on the busiest days. Enjoy them alone, or pair with dips for a party-worthy appetizer that everyone will rave about!
Nostalgic Touch: Bringing the essence of childhood favorites, these homemade Cheez-Its will take you back while ensuring real ingredients are used!
Crispy Cheddar Cheez-It Ingredients
• Get ready to create your own crispy snacks!
For the Crackers
- Sharp Cheddar Cheese – A must-have for intense cheesy flavor; freshly grated works best!
- All-Purpose Flour – Provides structure and texture; swap with a gluten-free blend for a gluten-free version.
- Unsalted Butter – Essential for richness; make sure it’s cold to keep your dough flaky.
- Salt – Enhances the overall flavor; feel free to adjust for lower sodium options.
Optional Flavorings
- Dijon Mustard Powder – Adds a zesty kick; a little goes a long way!
- Smoked Paprika – Introduces a smoky depth; perfect for those who enjoy bold flavors.
- Honey – Drizzle on before baking for a sweet-savory twist; great if you want to mix things up!
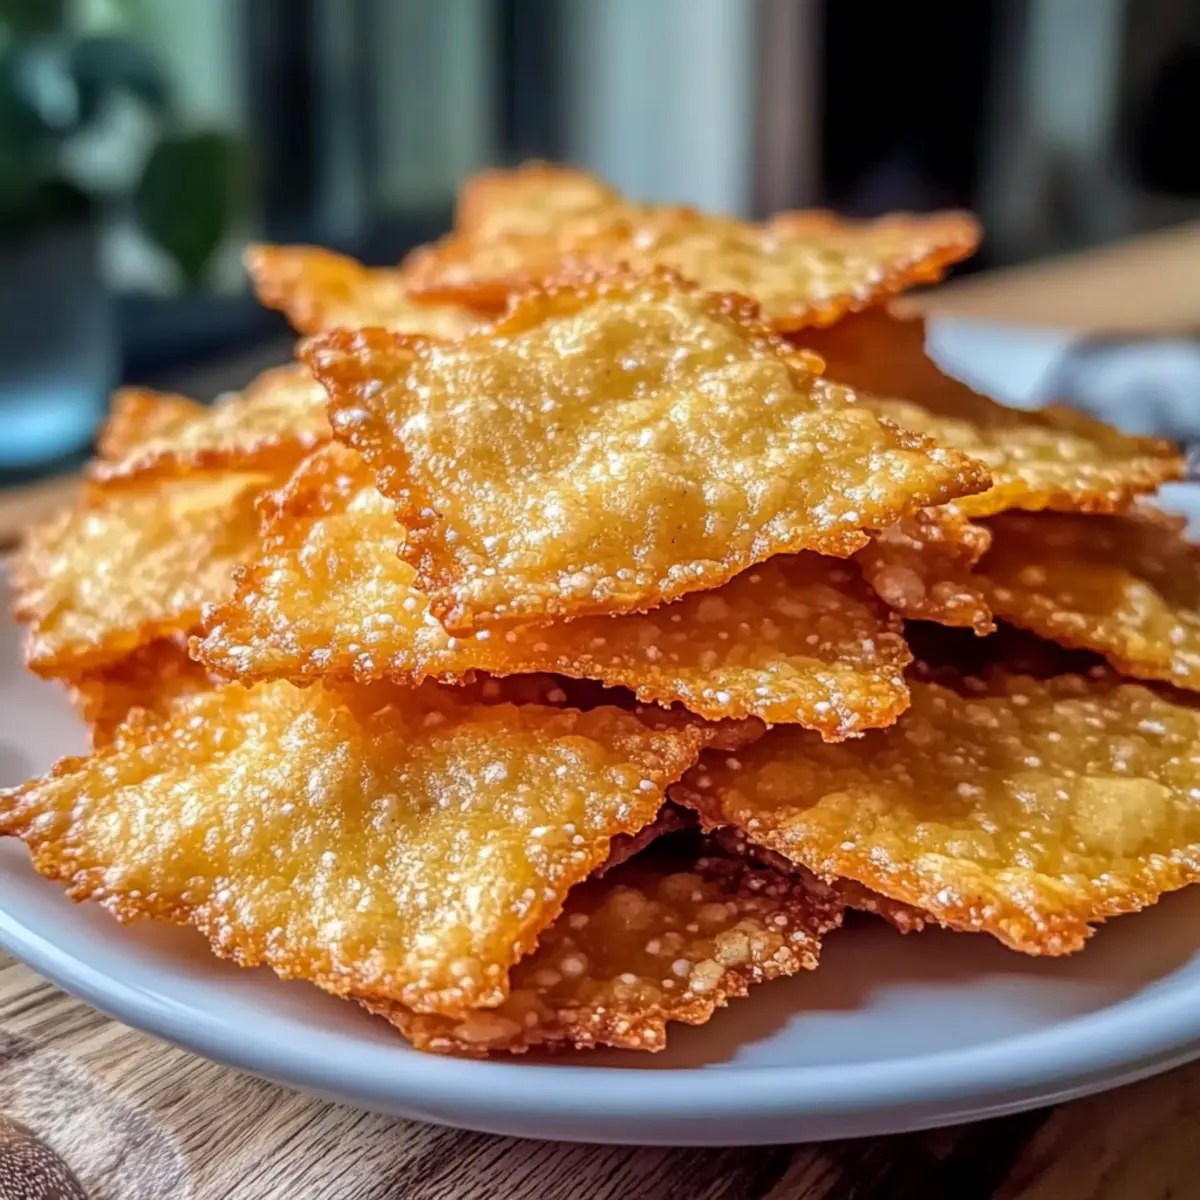
These Crispy Sharp Cheddar Cheez-It Crackers are a perfect homemade snack that everyone will love!
Step‑by‑Step Instructions for Crispy Sharp Cheddar Cheez-It Crackers
Step 1: Prepare the Dough
In a mixing bowl, combine 1 cup of finely grated sharp cheddar cheese, 1 cup of all-purpose flour, 1/2 cup of cold unsalted butter, and 1/2 teaspoon of salt. Use a pastry cutter or your hands to mix until the mixture resembles coarse crumbs. Once crumbly, wrap the dough in plastic wrap and refrigerate for at least 30 minutes to chill, which is crucial for keeping the crackers crispy.
Step 2: Roll & Cut the Dough
After chilling, preheat your oven to 350°F (175°C). On a floured surface, roll the chilled dough out to approximately 1/8 inch thick. Using a pizza cutter or a sharp knife, cut the rolled dough into squares about 1-inch in size. Remember to poke holes in each square using a fork; this will help prevent them from puffing up while baking, ensuring your Crispy Sharp Cheddar Cheez-It Crackers have that perfect flat shape.
Step 3: Bake the Crackers
Carefully arrange the cut crackers on a lined baking sheet, ensuring they’re not touching. Pop them into your preheated oven and bake for 15 to 18 minutes, or until they’re a beautiful golden brown. Keep a close eye on them towards the end of the baking time, as they can quickly go from golden to burnt. The resulting color will promise that iconic crunch you’re aiming for!
Step 4: Cool & Store the Crackers
Once baked, remove the baking sheet from the oven and let the crackers cool on the tray for about 5 minutes. Then transfer them to a wire rack to cool completely. Once cooled, store your Crispy Sharp Cheddar Cheez-It Crackers in an airtight container for up to one week. They can also be frozen for longer-term storage, giving you a delicious snack ready whenever you crave!
Variations & Substitutions for Crispy Sharp Cheddar Cheez-It Crackers
Feel free to explore these variations to suit your taste and dietary needs, transforming your snack experience into something uniquely yours!
-
Gluten-Free: Swap all-purpose flour with a gluten-free blend for a deliciously crispy alternative that everyone can enjoy. Using a certified blend ensures the perfect texture without compromising flavor.
-
Dairy-Free: Substitute sharp cheddar cheese with dairy-free cheese and use vegan butter. These adjustments create a wonderfully crunchy snack that aligns with your dietary preferences. Sometimes plant-based options can surprise with their rich flavors!
-
Spicy Kick: Add a pinch of cayenne pepper or crushed red pepper flakes to the dough for a spicy twist. Adjust the amount according to your heat tolerance—your taste buds will thank you for the extra zing!
-
Herb Infusion: Incorporate dried herbs, like oregano or thyme, into the dough for a fragrant twist. These aromatic herbs bring a delightful layer of flavor that pairs beautifully with the cheese.
-
Sweet-Savory Mix: Drizzle honey over the dough before baking for a sweet-savory flavor that elevates your snack. This is perfect for those warm summer evenings when you want a little twist on tradition.
-
Cheese Blends: Experiment with different cheese varieties like Gouda or Parmesan mixed with the cheddar for a gourmet touch. Blending cheeses can offer a unique flavor profile, keeping your snacks exciting!
-
Smoky Flavor: Introduce smoked paprika into your mix for a deliciously smoky undertone. This subtle twist can transform your crackers into an elevated snack fit for any occasion.
-
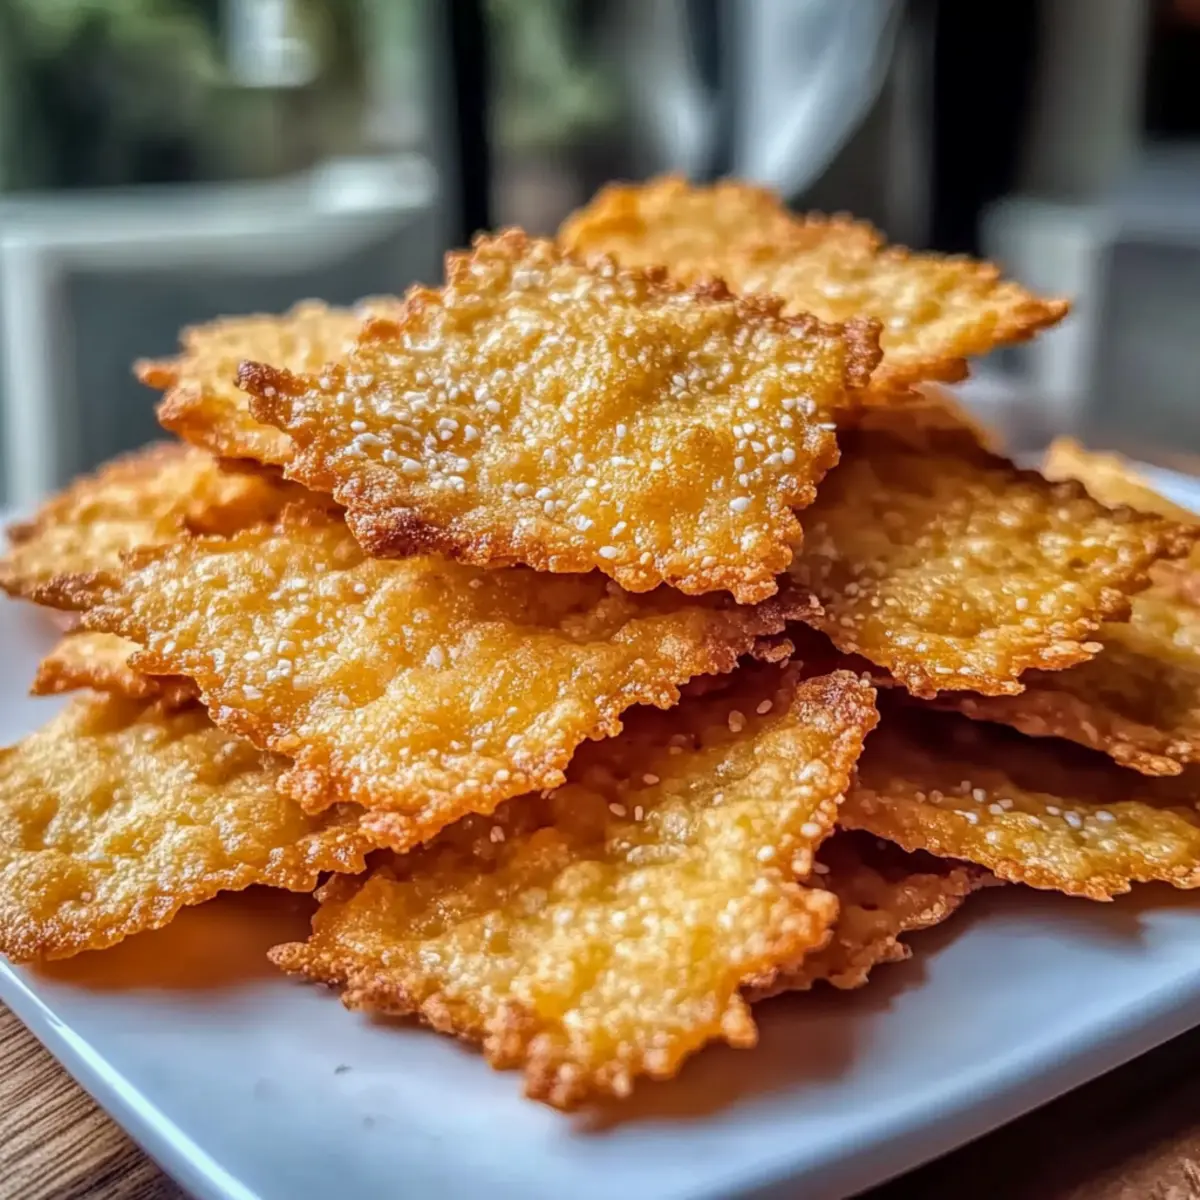
Seed Topping: Sprinkle sesame or poppy seeds on top before baking for added texture and flavor. Not only do they enhance the visual appeal, but they also boost the nutritional value, making for a delightful snack!
Don’t hesitate to adapt these suggestions based on what’s in your pantry or personal preferences. After all, true cooking is about making recipes your own! If you’re curious about other delicious snack ideas, check out my Nutty Granola Bars for a nutritious boost!
How to Store and Freeze Crispy Sharp Cheddar Cheez-It Crackers
Airtight Container: Store your baked crackers in an airtight container at room temperature for up to 1 week to maintain their delightful crunch.
Refrigeration: For longer freshness, you can refrigerate them for up to 2 weeks, although this might slightly alter their texture.
Freezing: Freeze unbaked dough wrapped tightly in plastic wrap for up to 3 months. When ready to enjoy, simply thaw in the fridge overnight before rolling and baking.
Reheating: If they lose crispiness, place the baked crackers in a preheated oven at 350°F (175°C) for about 5-7 minutes for that fresh-from-the-oven crunch again!
What to Serve with Crispy Sharp Cheddar Cheez-It Crackers
Elevate your homemade snacking experience by pairing these irresistible crackers with delightful accompaniments that enhance their cheesy goodness.
-
Creamy Hummus: The smooth texture of hummus adds a delightful contrast to the crunch of the crackers. Choose plain or spicy for a flavor boost!
-
Charcuterie Board: Create a stunning spread with cured meats, cheeses, and fruits; the crackers serve as the perfect crunchy element to complement rich flavors.
-
Fresh Vegetable Sticks: Crisp cucumbers, carrots, or bell peppers provide a refreshing bite that balances the savory cheese, giving a well-rounded snack experience.
-
Savory Cheese Dip: A warm cheese dip creates a gooey partner that amplifies the cheesy flavor of your crackers; a match made in snack heaven.
-
Chicken Salad: A sprinkle of these crunchy Cheez-It crackers atop chicken salad adds texture and a surprising twist to your classic recipe.
-
Tangy Salsa: The zesty flavor of fresh salsa adds a kick that pairs wonderfully with the rich cheddar, offering a burst of freshness in every bite.
-
Mini Quiches: These bite-sized savory treats serve as a delightful pairing, perfect for hosting or just an indulgent snack with friends.
-
Light Fruit Salad: A touch of sweetness from fruits like apple or grapes balances the savory flavor, making for a refreshing contrast on your snack platter.
-
IPA Beer: The hoppy bitterness of a good IPA balances the rich cheddar, enhancing both the snack and beverage for a delightful evening treat.
Make Ahead Options
These Crispy Sharp Cheddar Cheez-It Crackers are perfect for meal prep enthusiasts! You can prepare the dough up to 24 hours in advance, storing it wrapped in plastic in the refrigerator. This chilling step is crucial to maintain the dough’s texture for crispiness. Furthermore, you can also bake the crackers in advance; simply let them cool completely before placing them in an airtight container where they will stay fresh for up to one week. When you’re ready to serve, feel free to reheat them in a warm oven for a few minutes to recrisp. With these make ahead options, you’ll have delightful snacks ready at your convenience—no last-minute rush required!
Expert Tips for Crispy Cheddar Cheez-It Crackers
Chill the Dough: Essential for achieving crispy crackers; don’t skip refrigerating your mixture for at least 30 minutes.
Use Fresh Cheese: Freshly grated sharp cheddar cheese enhances flavor. Pre-shredded cheese may contain agents that affect texture.
Poke Holes: Remember to dock each cracker with a fork. This simple step prevents puffing and keeps them flat during baking.
Watch the Baking Time: Keep a vigilant eye in the final minutes; crackers can transition from golden to burnt in moments.
Customize Flavors: Feel free to experiment with spices like smoked paprika or add a drizzle of honey for a sweet-savory twist in your homemade snack!
Crispy Sharp Cheddar Cheez-It Crackers Recipe FAQs
What type of cheddar cheese should I use for the best flavor?
Absolutely, using freshly grated sharp cheddar cheese is key to achieving the bold, intense flavor you desire. Pre-shredded cheese often contains anti-caking agents that can affect the texture of your crackers. I recommend visiting a local cheese shop or the deli section of your grocery store to find the freshest sharp cheddar available.
How should I store the baked crackers to keep them crispy?
To maintain the delightful crunch of your Crispy Sharp Cheddar Cheez-It Crackers, store them in an airtight container at room temperature for up to one week. If you want them to last longer, refrigerating them can preserve freshness for about two weeks, though it might slightly impact their texture. Make sure they are fully cooled before sealing to prevent moisture buildup.
Can I freeze the baked crackers, and how do I do that?
Yes! I often freeze mine for later enjoyment. To freeze your baked crackers, allow them to cool completely, then place them in a freezer-safe container or bag. They can be frozen for up to 3 months. When you’re ready to enjoy, simply remove them from the freezer and allow them to thaw at room temperature. If they lose some crispiness, just pop them in a preheated oven at 350°F (175°C) for about 5-7 minutes to refresh their texture.
What should I do if my dough is too sticky to roll out?
Not to worry! If your dough turns out sticky, it could be due to the temperature of the butter or humidity in the air. Simply sprinkle a little extra flour on your work surface and on top of the dough. If it’s still too sticky, chill the dough in the refrigerator for an additional 15-30 minutes. This cooling step will help firm it up and make it easier to roll out.
Are there any dietary considerations I should be aware of?
Definitely! This recipe can easily be adapted for dietary needs. To make your crackers gluten-free, substitute the all-purpose flour with a gluten-free baking blend. For a dairy-free option, try using a dairy-free cheese alternative and vegan butter. Be sure to read ingredient labels if you have allergies, and feel free to customize the flavors to suit your taste preferences!

Crispy Sharp Cheddar Cheez-It Crackers You'll Love to Snack On
Ingredients
Equipment
Method
- Prepare the dough by combining cheddar cheese, flour, butter, and salt in a mixing bowl. Mix until crumbly and refrigerate for 30 minutes.
- Roll the chilled dough to 1/8 inch thick and cut into 1-inch squares. Poke holes in each square to prevent puffing.
- Bake in a preheated oven at 350°F (175°C) for 15 to 18 minutes until golden brown.
- Cool on the baking sheet for 5 minutes, then transfer to a wire rack. Store in an airtight container for up to 1 week.