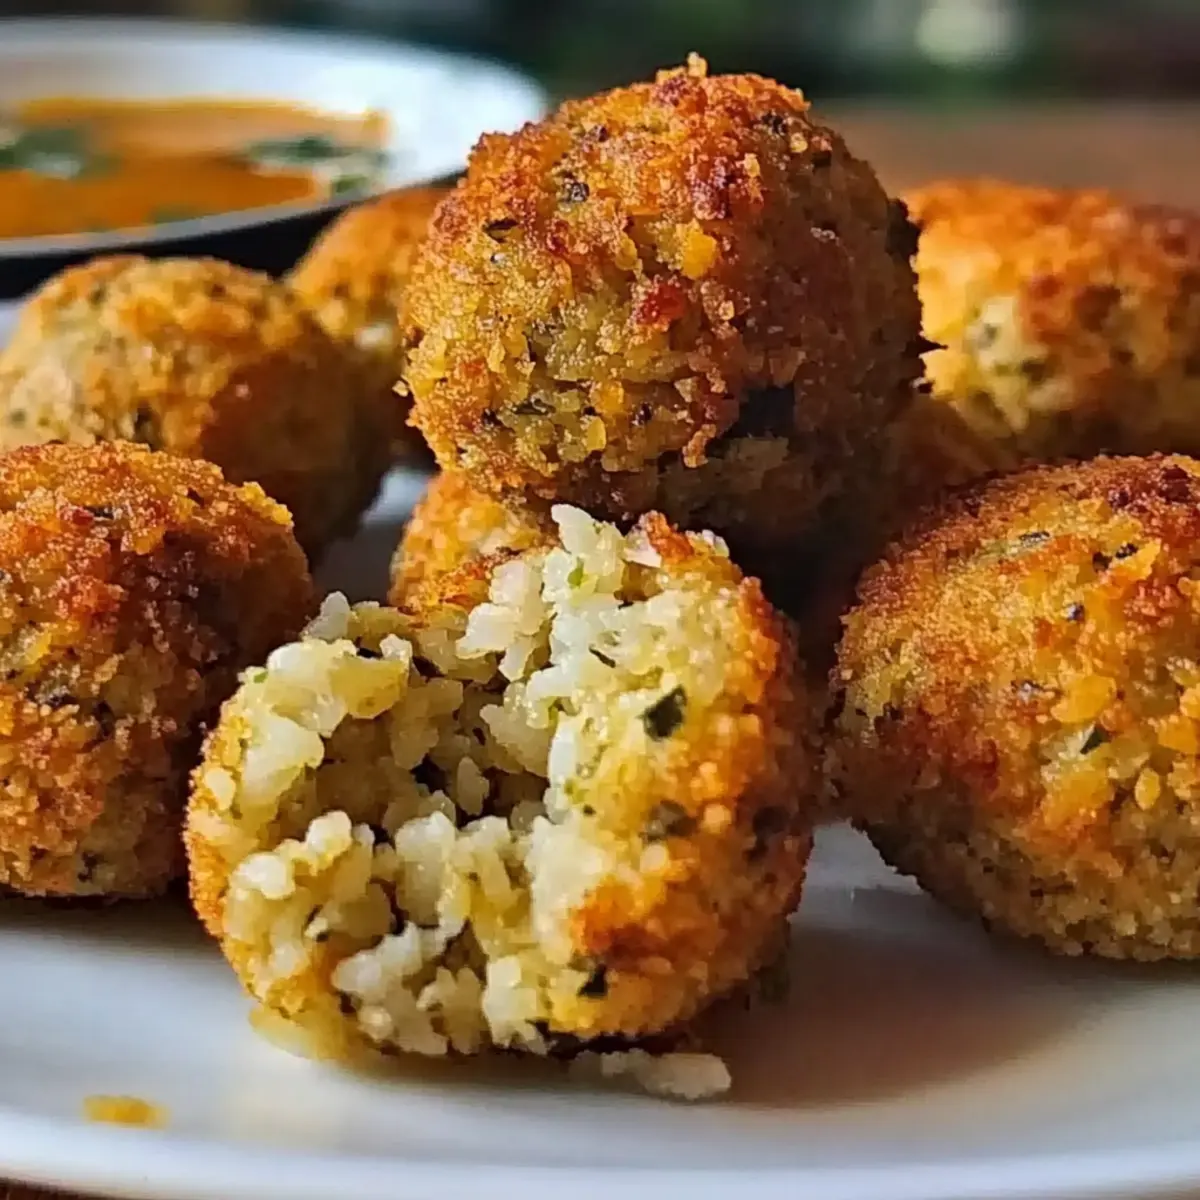
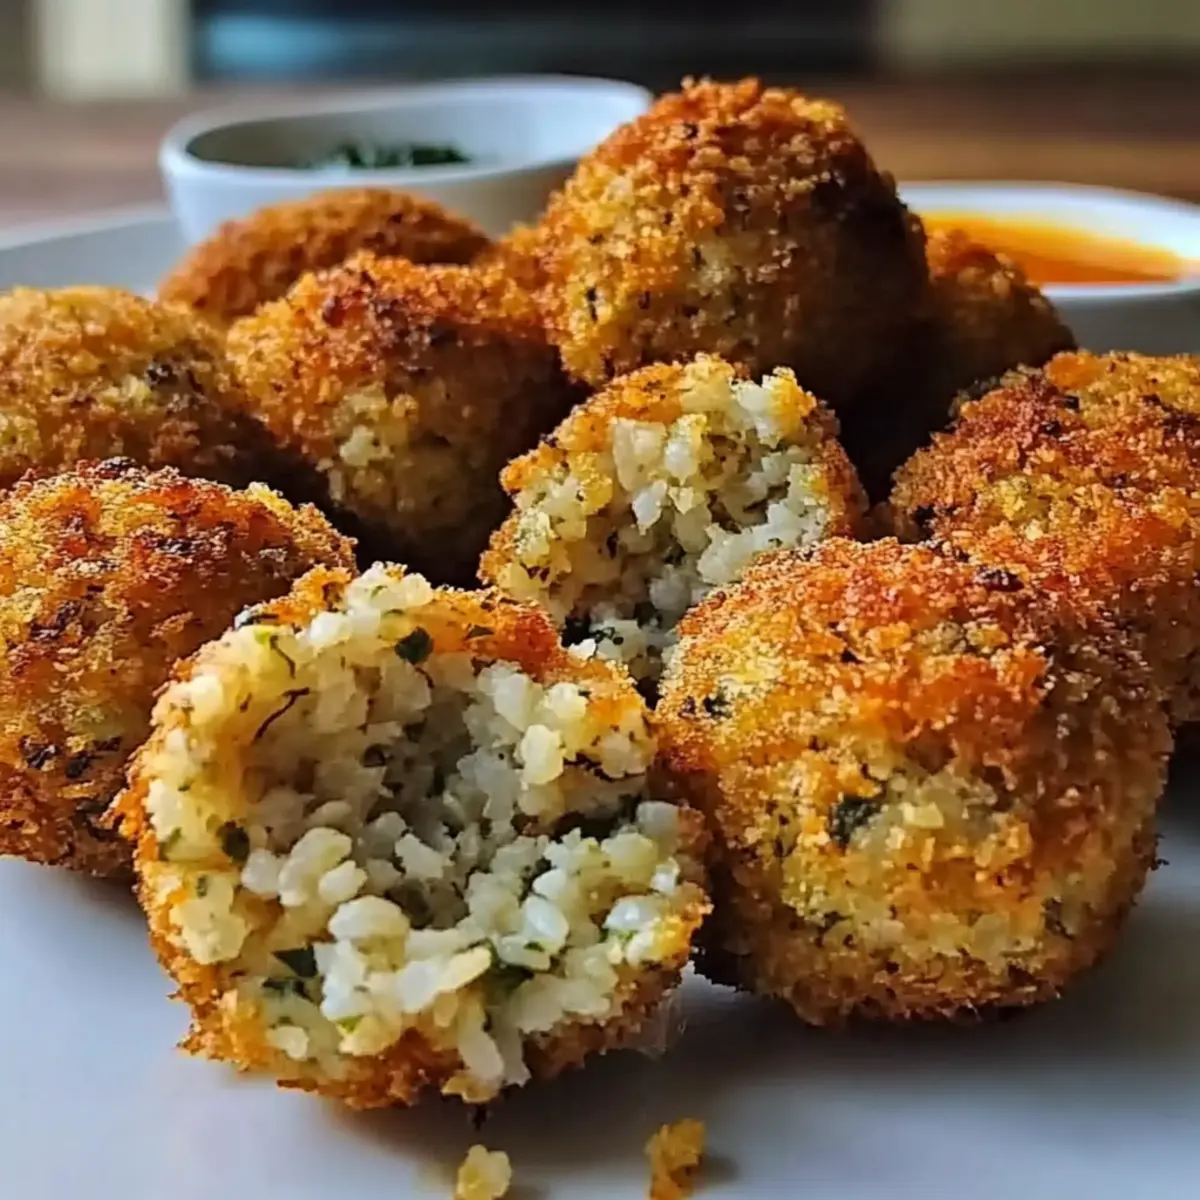
Amid the chaos of a busy weeknight, I found myself staring into my pantry, determined to create something wholesome yet exciting. That’s when I unearthed a can of chickpeas and some leftover rice, igniting the spark for my latest kitchen adventure: Healthy Baked Chickpea and Rice Balls. These little gems are not only effortless to whip up but also deliver on both nutrition and taste, making them a fantastic option for anyone looking to elevate their mealtime game. With crispy exteriors and a fluffy interior bursting with flavor, they’re guaranteed to be a hit—whether for a casual dinner or a lively gathering. Plus, they offer a fun way to clean out your fridge, as you can easily customize the ingredients based on what you have on hand. Intrigued? Let’s dive into this delicious recipe!
Why are Chickpea and Rice Balls a Must-Try?
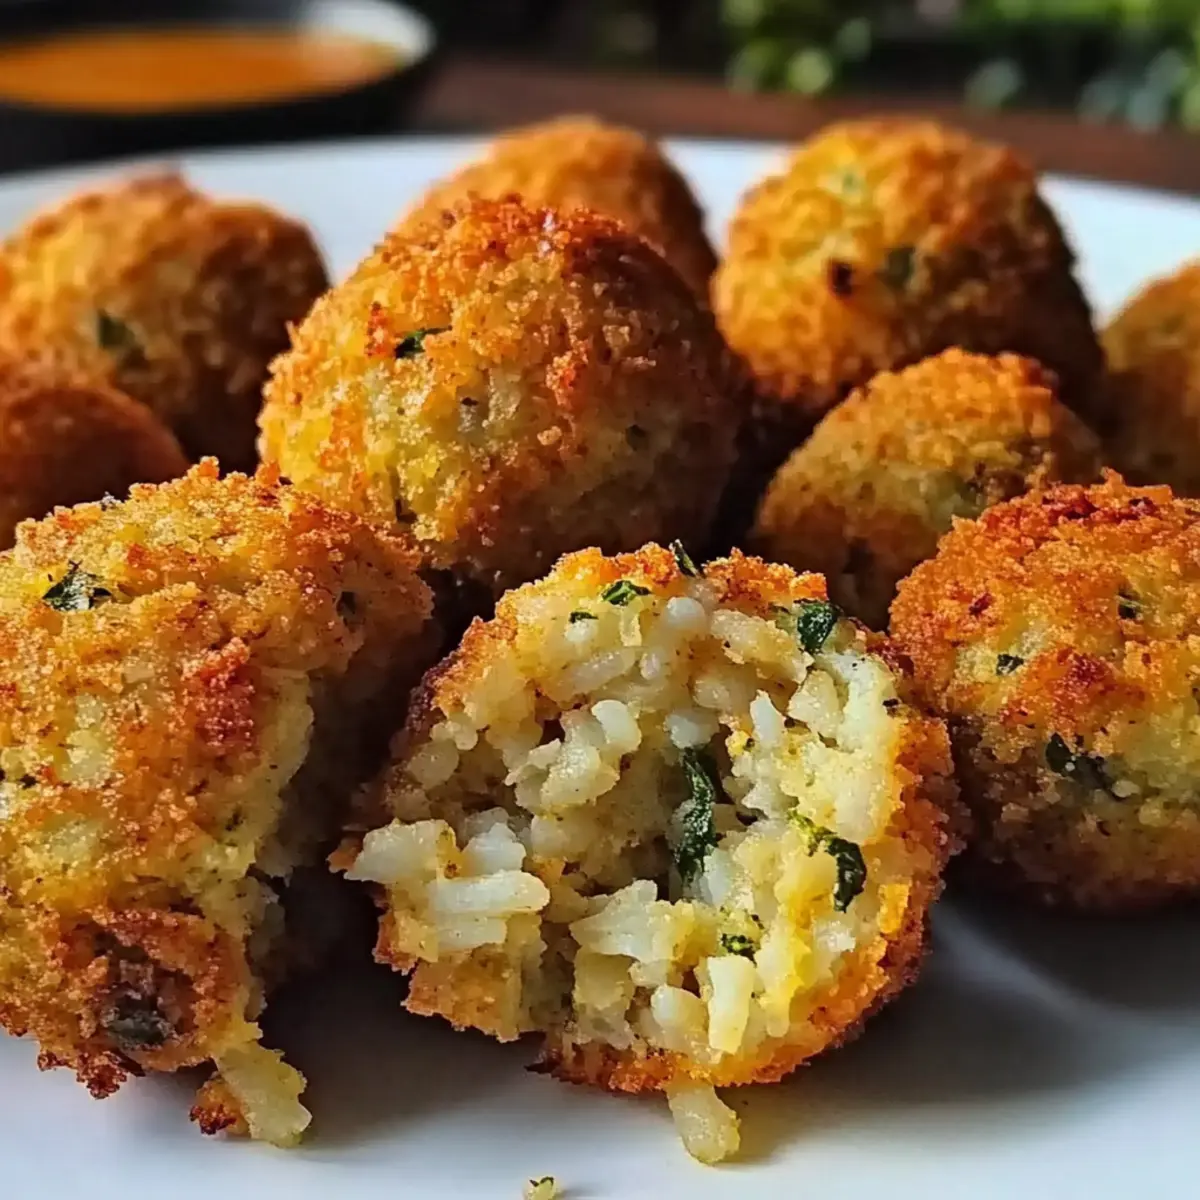
Nutritious, packed with plant-based protein and fiber, these Baked Chickpea and Rice Balls are a guilt-free indulgence. Customizable to suit your taste, swap in your favorite herbs or spices for a unique twist! Quick and easy, they come together in no time—perfect for any busy weeknight. Crowd-pleasing appeal makes them a great addition to parties or cozy dinners. Enjoy warm with a dipping sauce, or toss them in your lunch for a healthy snack on the go!
Baked Chickpea and Rice Balls Ingredients
For the Base Mixture
• Chickpeas – The star ingredient providing protein and texture; canned chickpeas are an easy choice.
• Cooked Rice – Adds structure; leftover short-grain rice binds perfectly and is recommended.
• Garlic – Infuses aromatic flavor; fresh minced garlic or garlic powder can be used.
• Onion Powder – Adds depth; feel free to replace it with fresh onion if preferred.
For the Crispy Coating
• Panko Breadcrumbs – Essential for a delightful crunch; gluten-free panko is a great substitute.
• Salt & Black Pepper – Enhance overall flavor; don’t overlook these essentials!
For Freshness
• Parsley & Chives – Fresh herbs add bright flavor; swap for cilantro or green onions as desired.
For Flavor Boost
• Smoked Paprika – Introduces a warm, smoky note; regular paprika can work too for a milder taste.
For Binding
• Egg – Helps hold everything together; use a flax egg for a vegan-friendly option.
Now that you have all the ingredients, you’re one step closer to creating these delicious Baked Chickpea and Rice Balls that will have everyone raving!
Step‑by‑Step Instructions for Healthy Baked Chickpea and Rice Balls
Step 1: Preparation
Preheat your oven to 400°F (200°C) to ensure it’s hot and ready for baking. While it’s warming up, line a baking sheet with parchment paper to prevent sticking and allow for even cooking. This step sets a solid foundation for your Healthy Baked Chickpea and Rice Balls and makes cleanup a breeze.
Step 2: Mash Chickpeas
Rinse and thoroughly dry one can of chickpeas. In a large mixing bowl, mash the chickpeas with a fork or potato masher until they are mostly broken down, leaving some texture for delightful bites. This mashing process should take about 2-3 minutes. A chunky consistency will keep your baked balls interesting while still allowing them to hold together.
Step 3: Combine Ingredients
Add the cooked rice, half of the panko breadcrumbs, fresh herbs, garlic, onion powder, smoked paprika, salt, and pepper to the mashed chickpeas. Use a spatula to mix everything thoroughly, ensuring the flavors meld together nicely. This step is crucial for building the foundation of flavors in your Healthy Baked Chickpea and Rice Balls.
Step 4: Add Binder
Break one egg into a small bowl and whisk it until well combined. Pour the whisked egg into the chickpea and rice mixture, continuing to mix until it is evenly incorporated. The egg works as a binder to hold your mixture together, creating perfectly formed balls. If you prefer a vegan option, substitute with a flax egg by mixing one tablespoon of ground flaxseed with three tablespoons of water.
Step 5: Chill Mixture
Cover the mixing bowl with plastic wrap or a clean towel and refrigerate the mixture for at least 30 minutes. Chilling helps to firm up the ingredients, making them easier to handle and allowing the flavors to deepen. During this time, you can tidy up your kitchen or prepare your dipping sauce!
Step 6: Form Balls
Once chilled, remove the mixture from the refrigerator. With clean, wet hands, scoop out a portion and roll it into a compact ball about 1.5 inches in diameter. Pack the mixture tightly to ensure each Healthy Baked Chickpea and Rice Ball holds its shape during baking. Repeat this process, placing the formed balls onto the prepared baking sheet.
Step 7: Coat
Take the remaining panko breadcrumbs and place them in a shallow dish. Gently roll each ball in the panko to coat the exterior fully, which will give your Healthy Baked Chickpea and Rice Balls that enticing crispy texture. Make sure each ball is evenly coated for the best crunch after baking.
Step 8: Bake
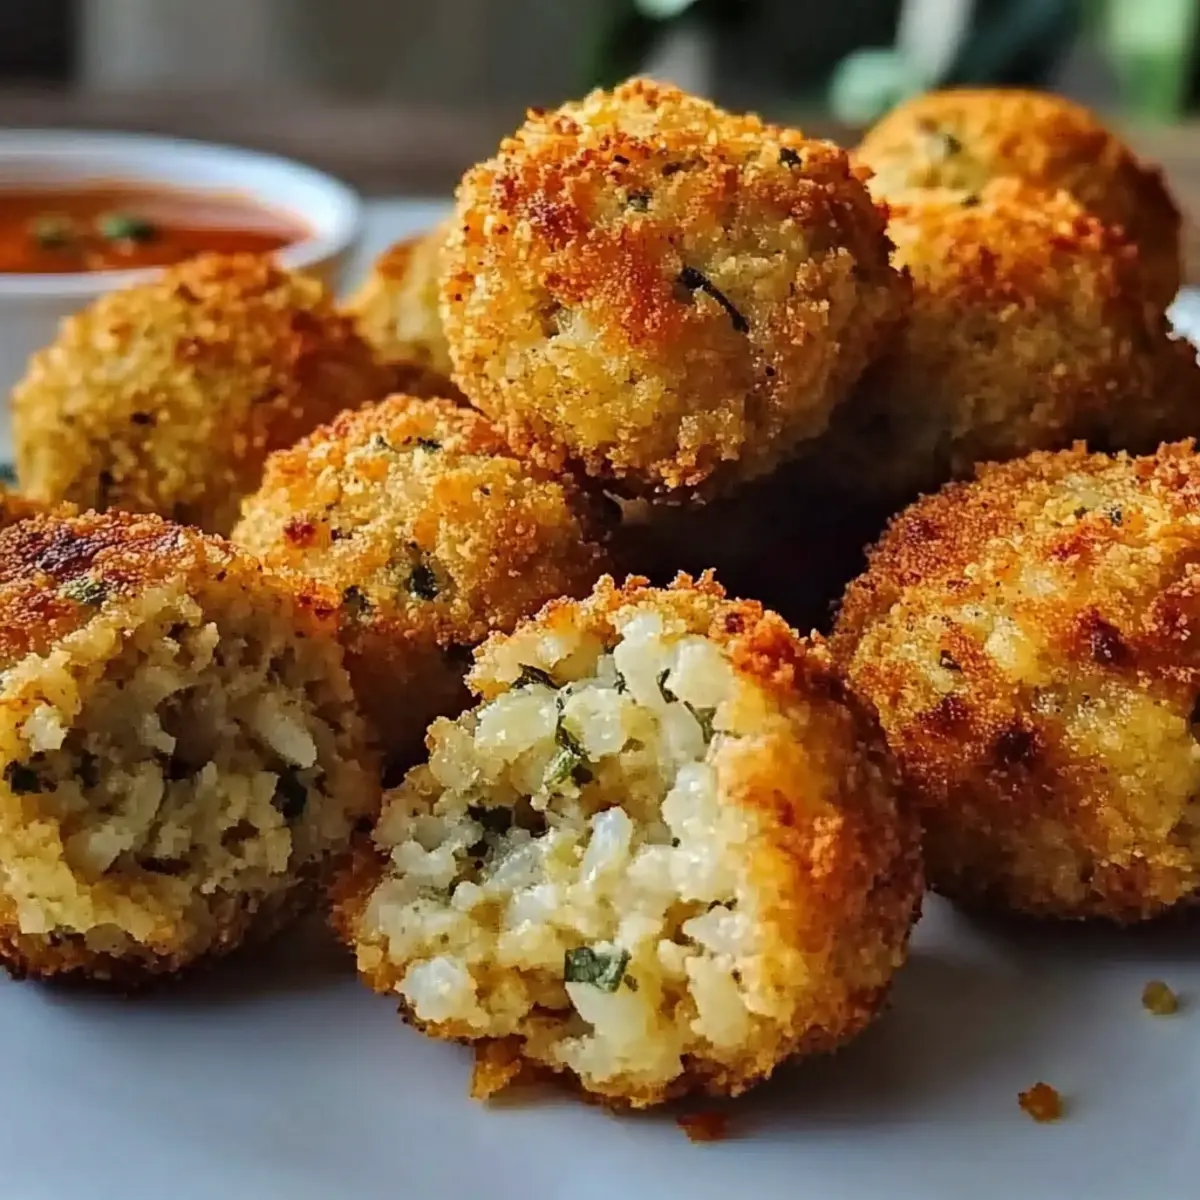
Lightly brush each ball with olive oil to enhance browning. Carefully place the baking sheet in the preheated oven and bake for 20-25 minutes, flipping the balls halfway through for even cooking. You’ll know they’re ready when they turn a beautiful golden brown and have a delicious crispy exterior.
Step 9: Serve
Once baked, remove the Healthy Baked Chickpea and Rice Balls from the oven and allow them to cool slightly on the baking sheet. Serve them warm, either enjoyed alone or alongside your favorite dipping sauce. Their delightful texture and wholesome flavor are sure to be a hit at your table!
Make Ahead Options
These Healthy Baked Chickpea and Rice Balls are ideal for meal prep, saving you valuable time on busy weeknights! You can mix the chickpeas and rice together, including all the spices and herbs, and refrigerate the mixture for up to 24 hours before forming the balls. Alternatively, you can also shape the balls and place them on a baking sheet before refrigerating for up to 3 days; just be sure to cover them tightly to maintain freshness. When you’re ready to enjoy, simply roll them in panko, brush with olive oil, and bake according to the instructions. This way, you’ll have delicious, crispy baked chickpea and rice balls ready to impress with minimal effort!
What to Serve with Healthy Baked Chickpea and Rice Balls
Warm, inviting flavors await you when you complement these delightful bites with the perfect sides or toppings.
- Creamy Hummus: A smooth and creamy dip that brings a nutty richness, perfect for dipping and adding extra flavor!
- Fresh Garden Salad: Crisp greens with tomatoes and cucumbers provide a refreshing contrast to the warm, hearty balls. Toss in a light vinaigrette for brightness.
- Zesty Tzatziki: This cool, yogurt-based sauce with cucumber and garlic offers a refreshing complement, enhancing every bite of the chickpea balls.
- Roasted Vegetables: Pair with caramelized veggies like bell peppers and zucchini for an added touch of sweetness and depth. They work beautifully together in both flavor and texture!
- Quinoa Pilaf: Nutty quinoa mixed with herbs and spices creates a wholesome side that mirrors the nourishing properties of the chickpea and rice balls.
- Tangy Tomato Salsa: This zesty, fresh salsa can add a delightful kick that brightens the palate and pairs perfectly with your baked snacks.
- Crispy Oven Fries: For a heartier option, serve with seasoned fries—crunchy, golden, and perfect for dipping!
- Light Citrus Sparkler: A refreshing drink like lemon or lime-infused sparkling water can balance the flavors and cleanse the palate between bites.
Serving idea: Enjoy the Baked Chickpea and Rice Balls with several of these options to create a colorful, harmonious meal.
Variations & Substitutions for Baked Chickpea and Rice Balls
Feel free to get creative with your recipe! These flavorful adjustments will make each bite an exciting adventure.
- Legume Swap: Substitute chickpeas with black beans or lentils for a different taste and texture. Each legume brings its unique flavor profile, adding to the deliciousness of your dish.
- Veggie Boost: Add finely grated zucchini or carrots to the mixture for extra nutrition and a pop of color. Not only do they enhance the nutrition, but they also add moisture and flavor to the balls.
- Spice it Up: Jazz up the flavor with curry powder or chili flakes for a bit of heat. The warmth of spices can elevate your bites to a new level of tasty intrigue!
- Cheesy Twist: Incorporate nutritional yeast or shredded cheese for a cheesy flavor boost. Cheese lovers will appreciate this extra layer of richness in every bite, making them even more irresistible.
- Herb Variety: Experiment with different herbs, like basil or dill, to find your perfect flavor combination. These herbs can truly transform the overall taste and character of the chickpea and rice balls.
- Gluten-Free Option: Use gluten-free breadcrumbs or crushed rice crackers instead of panko for a satisfying crunch. This ensures that everyone can enjoy these delightful bites without compromising on texture.
- Dipping Sauces: Serve with a variety of sauces like spicy tahini or homemade salsa for a delicious twist. Dipping sauces add a whole new tasting experience while complementing the flavors of the chickpea and rice balls beautifully.
- Herbed Yogurt Sauce: Pair with a quick herbed yogurt sauce for an extra layer of freshness. Just mix Greek yogurt with lemon juice and your choice of herbs for a refreshing complement.
With these variations, you can tailor each batch of Baked Chickpea and Rice Balls to your taste. They are incredibly versatile, making it easy to enjoy different flavors while keeping the base recipe in mind. Whether you fancy a spicy kick or a cheesy delight, there’s a version out there perfect for you!
Expert Tips for Baked Chickpea and Rice Balls
-
Moisture Management: Ensure chickpeas are thoroughly dried before mashing. Excess moisture can prevent your balls from holding their shape and ruin the texture.
-
Chill for Success: Don’t skip the chilling step; it’s critical for firming the mixture, resulting in perfectly formed and baked balls that won’t fall apart.
-
Herb Variety: Feel free to mix and match herbs based on your pantry! Using fresh herbs enhances flavor, while dried options can also add a punch.
-
Uniform Size: Roll the balls evenly (1.5 inches in diameter) to promote even cooking. This ensures all your Baked Chickpea and Rice Balls are crispy and golden.
-
Panko Alternatives: If you’re gluten-free, opt for gluten-free panko breadcrumbs. This keeps the crispy coating without compromising on healthiness.
-
Flavor Experimentation: Don’t be afraid to play with spices and flavors! Incorporate your favorites to customize the taste of these versatile Baked Chickpea and Rice Balls.
How to Store and Freeze Baked Chickpea and Rice Balls
Fridge: Store your Baked Chickpea and Rice Balls in an airtight container for up to 4-5 days. This keeps them fresh while the flavors continue to meld.
Freezer: For longer storage, freeze the baked balls in a single layer on a baking sheet, then transfer to a freezer-safe container. They can last up to 3 months, ready for quick meals!
Reheating: To enjoy them crispy again, reheat in the oven at 375°F (190°C) for about 10-15 minutes, or use an air fryer for instant crunchiness.
Thawing: If frozen, thaw in the fridge overnight before reheating. This helps maintain the integrity of the Baked Chickpea and Rice Balls.
Baked Chickpea and Rice Balls Recipe FAQs
What should I look for when selecting chickpeas?
Absolutely! When selecting chickpeas, whether canned or dried, check for any signs of damage. Canned chickpeas should have a firm texture and no bulging lids, while dried chickpeas should be whole and not shriveled. If using dried chickpeas, soak them overnight and cook until tender for the best flavor and texture.
How should I store leftover Baked Chickpea and Rice Balls?
Very! To store your Baked Chickpea and Rice Balls, place them in an airtight container in the refrigerator. They will stay fresh for about 4-5 days. Reheating them in the oven or air fryer for a few minutes will help restore their crispy exterior!
Can I freeze Baked Chickpea and Rice Balls?
Of course! For freezing, first, place the baked balls on a baking sheet in a single layer and freeze until solid—this prevents them from sticking together. Then, transfer them to a freezer-safe container or bag, where they can be stored for up to 3 months.
What should I do if my mixture is too wet to form into balls?
If you find your mixture is too wet, no worries! Start by adding a bit more cooked rice or panko breadcrumbs until it reaches a moldable consistency. You can also chill the mixture a bit longer in the fridge; this helps it firm up. Remember, the key is to ensure it holds its shape when rolled.
Are Baked Chickpea and Rice Balls suitable for those with gluten allergies?
Indeed! Just use gluten-free panko breadcrumbs instead of regular ones to make this recipe gluten-free. The rest of the ingredients are naturally gluten-free, making these delightful bites perfect for anyone avoiding gluten. Always double-check labels on processed products to ensure they meet your dietary needs.
Can I customize the flavors for my Baked Chickpea and Rice Balls?
Absolutely! The more the merrier! You can experiment with various spices and herbs. Try adding cumin for earthiness or a touch of red pepper flakes for heat. You can also mix in grated vegetables like zucchini or carrots for added nutrition and a fun twist!
Crispy Baked Chickpea and Rice Balls for Healthy Snacking
Ingredients
Equipment
Method
- Preheat your oven to 400°F (200°C) and line a baking sheet with parchment paper.
- Rinse and dry the chickpeas, then mash them in a mixing bowl until mostly broken down.
- Mix in the cooked rice, half of the panko breadcrumbs, herbs, garlic, onion powder, smoked paprika, salt, and pepper.
- In a small bowl, whisk the egg and add it to the chickpea mixture, mixing until evenly incorporated.
- Cover the mixture and refrigerate for at least 30 minutes.
- Form balls about 1.5 inches in diameter, packing the mixture tightly.
- Roll each ball in the remaining panko breadcrumbs.
- Lightly brush each ball with olive oil and bake for 20-25 minutes, flipping halfway.
- Let cool slightly, then serve warm with a dipping sauce.