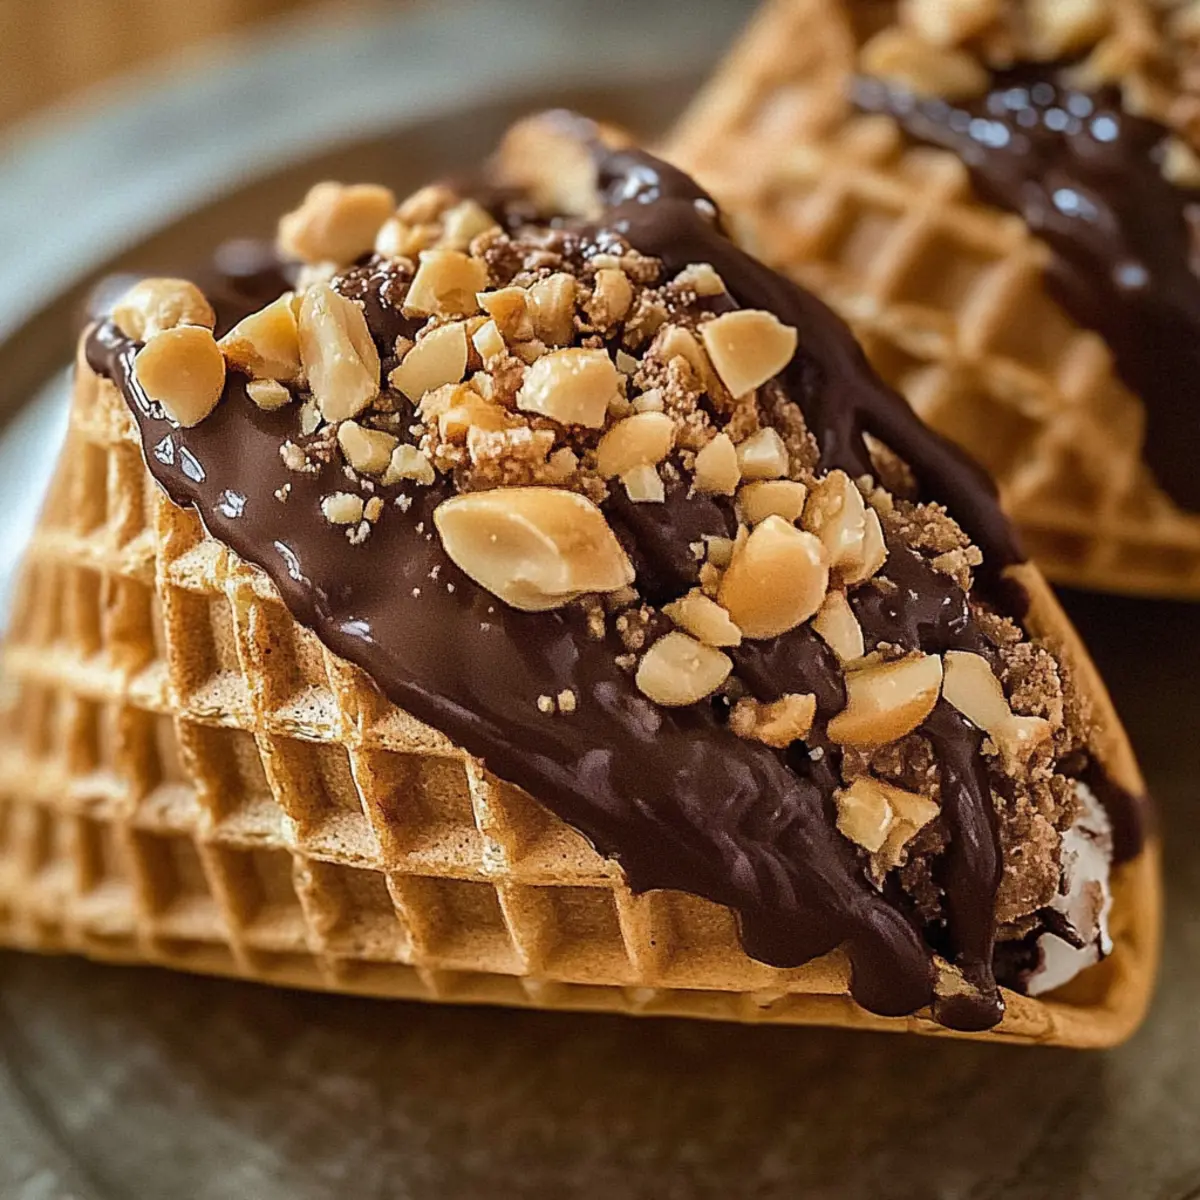
As I stood in my kitchen, the aroma of melting chocolate wafted through the air, transporting me straight back to summer afternoons filled with ice cream truck jingles. The joy of rejuvenating that childhood delight inspired me to create these Homemade Choco Tacos. This nostalgic summer treat features crispy waffle cones cradling dreamy vanilla ice cream, all beautifully coated in rich chocolate and sprinkled with your favorite toppings. This easy-to-make dessert is not only a perfect way to impress friends and family but also allows for endless customization, making it an ideal choice for gatherings. Are you ready to transport yourself back to carefree summers? Let’s dive into this delightful recipe that’s sure to spark a little nostalgia.

Why are Choco Tacos so irresistible?
Nostalgic Delight: These Homemade Choco Tacos are a playful blast from the past, evoking fond memories of childhood ice cream truck visits.
Easy to Prepare: With simple steps, anyone can create these tasty treats at home, making them perfect for both novice cooks and experienced chefs.
Customizable Fun: Enjoy the freedom to personalize each taco with your favorite toppings, whether it’s whipped cream, sprinkles, or various nuts.
Crowd-Pleasing Treat: Perfect for summer gatherings or casual get-togethers, these treats are sure to impress guests and elicit smiles all around.
Sensational Texture: The combination of crunchy waffle cones, creamy ice cream, and rich chocolate is a winning formula, creating a delightful experience in every bite.
Dive into more delightful recipes like these by exploring our easy dessert ideas!
Homemade Choco Taco Ingredients
• Classic and customizable ice cream treat!
For the Taco Shells
- Waffle Cones – Base for these delicious tacos; ensure they are slightly damp to avoid cracking during shaping.
For the Ice Cream Filling
- Vanilla Ice Cream – Rich and creamy filling; feel free to swap it out for your favorite flavor if desired.
For the Chocolate Coating
- Chocolate Chips – Melted for dipping the taco shells; opt for dairy-free chocolate for a vegan version.
For the Toppings
- Peanuts – Adds crunch and flavor; substitute with colorful sprinkles for a festive twist or any favorite nut.
Step-by-Step Instructions for Homemade Choco Tacos
Step 1: Prepare the Waffle Cones
Start by slightly dampening the waffle cones with a sprinkle of water or a moist cloth. This will make them more pliable for shaping. Place the cones in an upright position in a muffin tin to help maintain their shape while you work. Keep the cones moist, as this prevents cracking during the next steps.
Step 2: Shape the Taco Shells
Carefully bend each damp waffle cone into a taco shape. Using your hands, gently pinch the tip of the cone to form a tight taco-like shell. Hold each one for a few seconds until it maintains its shape. Work quickly to avoid letting the cones dry out, and place them back in the muffin tin after shaping.
Step 3: Fill with Ice Cream
Scoop generous amounts of vanilla ice cream into each taco shell. Pack the ice cream tightly, leaving a little room at the top for smooth scooping and added toppings later. Aim for an even distribution to retain the classic taco appearance. After filling, return the assembled choco tacos to the freezer to firm up for about 10-15 minutes.
Step 4: Melt the Chocolate
In a microwave-safe bowl, combine the chocolate chips and heat them in 30-second intervals, stirring between each until smooth. Set the microwave to medium power to ensure gentle melting without burning. Once melted, let the chocolate cool slightly before dipping to ensure it adheres nicely to the taco shells without melting the ice cream.
Step 5: Dip in Chocolate
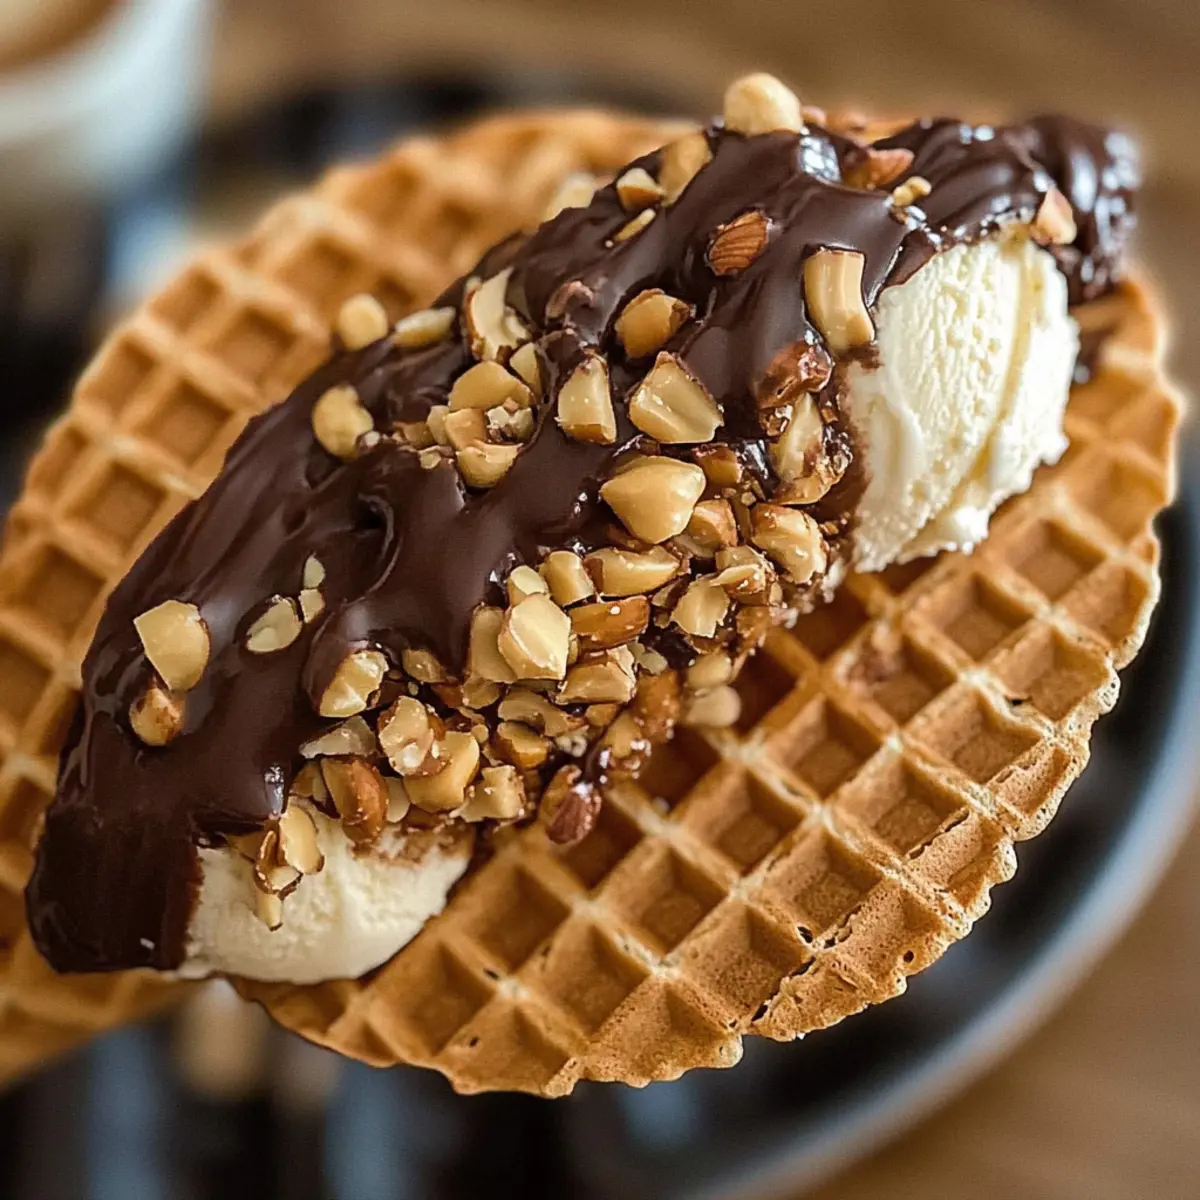
Carefully take each taco filled with ice cream from the freezer. Hold it by the base and dip the top half of the taco into the melted chocolate, allowing excess to drip off. This creates a beautiful chocolate coating that adds flavor and a lovely sheen. Work quickly to maintain the ice cream’s firmness, and place the dipped tacos on a parchment-lined tray.
Step 6: Add Toppings
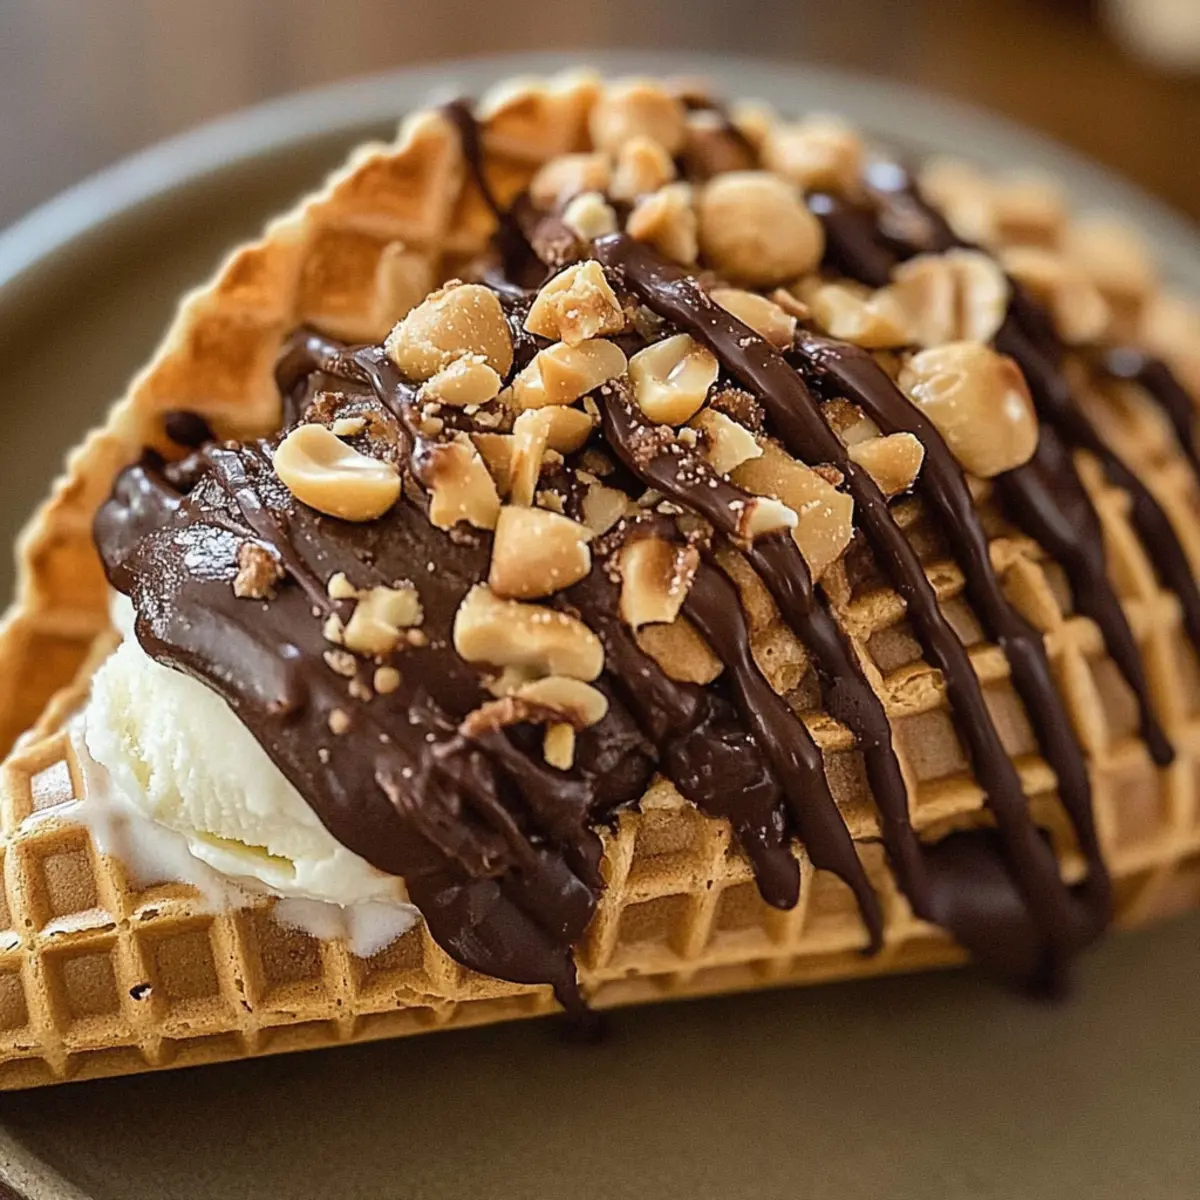
Before the chocolate hardens, generously sprinkle your choice of peanuts or colorful sprinkles over the chocolate coating. This adds a delightful crunch and visual appeal to your Homemade Choco Tacos. Allow the toppings to set into the chocolate before moving on to the next step to ensure they adhere well.
Step 7: Freeze to Set
Place the completed choco tacos back into the freezer for about 15-20 minutes. This final freeze will allow the chocolate coating to harden completely, resulting in a perfect crispy shell that harmonizes beautifully with the creamy ice cream inside. Keep an eye on them to prevent any melting, then serve straight from the freezer for a memorable treat!
What to Serve with Homemade Choco Tacos
Elevate your dessert experience by pairing these delightful treats with something equally delicious and satisfying.
- Fresh Fruit Salad: A medley of refreshing fruits balances the rich sweetness of Choco Tacos, adding a burst of color and flavor.
- Whipped Cream: Light and airy whipped cream provides a creamy contrast, enhancing the overall texture and indulgence of each bite. Don’t forget to drizzle some chocolate sauce on top for extra decadence!
- Chocolate Milkshake: An ultra-chocolaty drink that complements the dessert perfectly, making for a nostalgic treat reminiscent of your favorite diners.
- Mini Brownies: These fudgy bites offer a different texture while keeping the chocolate theme alive—perfect for chocolate lovers everywhere!
- Toasted Coconut: Sprinkling some toasted coconut on top of the taco treats adds a delightful crunch and a hint of tropical flavor that brings summer vibes.
- Coffee or Espresso: A rich cup of coffee or espresso provides a warm contrast to the icy Choco Tacos, enhancing the dessert flavors.
- Scoops of Sorbet: Consider a scoop of tangy sorbet to cleanse the palate between bites, offering a refreshing contrast to the rich chocolate and creamy ice cream.
Expert Tips for Homemade Choco Tacos
- Quick Shaping: Work quickly while shaping the waffle cones to avoid them drying out and cracking. Keep them slightly damp to make the process easier.
- High-Quality Chocolate: Use high-quality chocolate chips for melting to ensure a smooth and delicious coating. This will elevate the flavor and overall presentation.
- Ideal Ice Cream Temperature: Keep your ice cream cold before filling the taco shells and only remove a few cones at a time to prevent melting during assembly.
- Topping Variety: Get creative with toppings! Experiment with different nuts, sprinkles, or even a drizzle of caramel or fudge for a unique twist on your Homemade Choco Tacos.
- Storage Tips: Store leftover Choco Tacos in an airtight container in the freezer to maintain their freshness and crispy texture for future enjoyment.
Make Ahead Options
These Homemade Choco Tacos are perfect for meal prep enthusiasts looking to enjoy simpler weeknights! You can prepare the taco shells and fill them with ice cream up to 24 hours in advance. To do this, shape the damp waffle cones into taco shells as instructed and fill them tightly with vanilla ice cream, then return them to the freezer to firm up. For the best quality, keep the filled tacos tightly wrapped in parchment paper or in an airtight container to prevent freezer burn. When ready to serve, simply melt your chocolate chips and dip the tops of the frozen tacos, add your toppings, and freeze again for 15-20 minutes. This way, you’ll achieve that delicious, nostalgic treat with minimal effort when it’s time to serve!
Homemade Choco Tacos Variations
Feel free to let your imagination run wild with these fun twists on your Homemade Choco Tacos!
-
Flavorful Ice Cream: Swap out vanilla for your favorite ice cream flavor like caramel or cookies and cream for a unique taste experience.
Mix and match flavors for each taco, creating a delightful surprise in every bite. -
Spicy Kick: Add a sprinkle of cayenne pepper or chili powder to the melted chocolate for a daring yet delicious heat.
This unexpected twist can awaken your taste buds and elevate the classic combination of sweet and spicy! -
Nut-Free: Use crushed graham crackers or cookie crumbs instead of peanuts for a delightful crunch without the nuts.
This option is perfect for those with allergies or simply wanting a gluten-free alternative. -
Dairy-Free Delight: Replace the vanilla ice cream and chocolate chips with coconut milk ice cream and dairy-free chocolate for a vegan option.
It’s an easy and delicious way to create a guilt-free version for anyone avoiding animal products. -
Ultimate Indulgence: Drizzle warm caramel or fudge sauce over your chocolate-coated tacos for an extra layer of sweetness and pizzazz.
This rich addition will take your dessert experience to a whole new level—decadent yet delightful! -
Fruit Infusion: Add fresh berries or banana slices on top of the ice cream before dipping in chocolate for a delicious fruit fusion.
This fruity twist brings a burst of freshness that cuts the richness, making each bite balanced and refreshing. -
Savory Snack: Use savory toppings like sea salt or toasted coconut to add a surprising twist to your sweet treat.
Embrace the sweet and salty contrast that keeps your taste buds guessing with every bite!
Dive into more exciting recipes and delicious ideas by checking out our collection of easy desserts.
How to Store and Freeze Homemade Choco Tacos
Fridge: Store leftover choco tacos in an airtight container in the fridge for up to 3 days, although freezing is recommended for longer storage.
Freezer: To maintain freshness, freeze homemade choco tacos in a single layer. Once solid, transfer to an airtight container or freezer bag for up to 2 months.
Reheating: For best texture, allow frozen choco tacos to sit at room temperature for a few minutes before enjoying. They are best served cold straight from the freezer!
Homemade Choco Tacos Recipe FAQs
What type of waffle cones should I use for Homemade Choco Tacos?
You’ll want to look for sturdy waffle cones that are fresh and intact. Avoid those with visible dark spots or cracks, as this could affect the structure of your tacos. I often recommend the classic sugar or plain waffle cones for a delightful sweetness that complements the filling beautifully.
How long can I store my Homemade Choco Tacos?
Store your leftover Homemade Choco Tacos in an airtight container in the freezer for up to 2 months to retain their freshness and crispness. If you’re short on space, freeze them in a single layer first, then transfer to a freezer bag to save room. Just remember to let them sit for a couple of minutes at room temperature before enjoying!
Can I freeze Homemade Choco Tacos? How?
Absolutely! To freeze your Homemade Choco Tacos, first, let them firm up in the freezer for about 15-20 minutes after coating them in chocolate. Then, place them in a single layer on a baking sheet and freeze until solid. Once hard, transfer them to an airtight container or freezer bag, wrapping them tightly to prevent freezer burn. They’ll stay delicious for up to 2 months!
What if my ice cream is melting while I assemble the tacos?
If your ice cream begins to melt during the assembly process, it’s best to put the taco shells back in the freezer for a few minutes to firm them up. You can also work with smaller batches at a time, keeping the other cones in the freezer while you fill and coat a few. This will help maintain the right texture without melting too quickly.
Are there any dietary considerations for Homemade Choco Tacos?
Yes! If you have dietary restrictions, you can easily customize these tacos. Opt for dairy-free ice cream and chocolate chips for a vegan-friendly version. Additionally, if anyone in your gathering has nut allergies, substitute peanuts with gluten-free sprinkles or a different topping that’s nut-free. Always check labels for allergen information to ensure a safe treat for all.
Can I make the taco shells ahead of time?
Certainly! You can prepare the taco shells ahead of time by shaping the dampened waffle cones and storing them in an airtight container in the fridge for 1-2 days. Just make sure to keep them slightly damp to avoid drying out. This way, when you’re ready to fill them with ice cream, everything is set up for a quick assembly!
Homemade Choco Tacos: Your Sweet Nostalgic Ice Cream Fix
Ingredients
Equipment
Method
- Prepare the Waffle Cones: Slightly dampen the waffle cones and place them in a muffin tin.
- Shape the Taco Shells: Bend each damp waffle cone into a taco shape and hold for a few seconds.
- Fill with Ice Cream: Scoop vanilla ice cream into each taco shell, packing it tightly.
- Melt the Chocolate: Combine chocolate chips in a microwave-safe bowl and melt in intervals.
- Dip in Chocolate: Dip the top half of each taco into the melted chocolate, allowing excess to drip off.
- Add Toppings: Before the chocolate hardens, sprinkle peanuts or colorful sprinkles over the top.
- Freeze to Set: Return the choco tacos to the freezer for about 15-20 minutes to harden the chocolate.