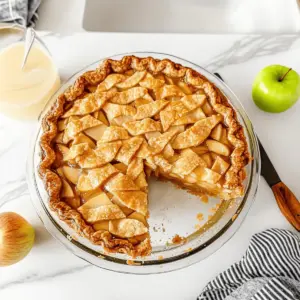
A whiff of cinnamon and warm apples drifting through the kitchen can instantly transport me back to cozy family gatherings. There’s just something magical about making the ultimate homemade apple pie—it’s a timeless tradition that brings everyone together. This recipe for apple pie not only captures the essence of autumn with its flaky crust and sweet, spiced filling, but it also caters to bakers of all skill levels. Whether you’re a novice or a seasoned chef, this classic dessert is a true crowd-pleaser and can easily become your go-to for any occasion. Plus, it’s freezer-friendly, allowing you to whip it out for unexpected guests or those cozy nights in. Are you ready to dive into the delectable world of apple pie? Let’s get started!
Why Is This Apple Pie So Special?
Comforting Aroma: The moment you bake this pie, the delightful scent of warm cinnamon and buttery crust fills your kitchen, creating an inviting atmosphere for family and friends.
Flaky, Homemade Crust: This recipe features an easy-to-make flaky crust that elevates any filling, promising a perfect bite every time. Don’t forget to check out our tips for making the best homemade crust!
Versatile Filling: Customize your filling with various apple types for a complex flavor profile, making this apple pie uniquely yours.
Crowd-Pleaser: It’s a dessert that appeals to everyone, making it the perfect centerpiece for gatherings. Serve it warm with a scoop of vanilla ice cream for an unforgettable treat!
Make-Ahead Convenience: This apple pie is freezer-friendly, so whip it up ahead of time for last-minute guests or cozy nights in. You’ll love having a homemade treat on hand!
For more comforting recipes check out our Hearty Shepherds Pie or Savory Braised Pie.
Apple Pie Ingredients
• Here’s everything you need to create the best homemade apple pie!
For the Crust
- Refrigerated Pie Crusts – These make for a flaky, tender base; for a homemade touch, try your favorite all-purpose dough.
- Butter (1 tablespoon) – Adds a delightful richness to your crust; using cold butter will help maintain flakiness.
- Egg (1 beaten) – Gives a beautiful glossy finish to the crust; milk can be used if you prefer a dairy alternative.
For the Filling
- Granny Smith Apples (3 lbs) – Their tartness is perfect for baking, but mixing in sweeter apples like Honeycrisp can create depth of flavor.
- Sugar (1 cup) – Balances the tart apples; brown sugar can be swapped in for a richer taste.
- Flour (1/4 cup) – Thickens the filling to prevent it from being soggy; cornstarch works as a suitable alternative.
- Apple Pie Spice (1 1/2 teaspoons) – Adds warm notes of cinnamon and nutmeg; consider making your own spice blend for a personal touch.
- Vanilla Bean Ice Cream – This classic accompaniment elevates the apple pie experience; whipped cream is a delicious alternative.
With these ingredients ready to go, you’re just a few steps away from serving a warm slice of homemade apple pie that everyone will adore!
Step‑by‑Step Instructions for Ultimate Homemade Apple Pie with Flaky Crust
Step 1: Preheat the Oven
Begin by preheating your oven to 400°F (200°C). This step is crucial as it ensures that the crust of your apple pie bakes evenly, becoming beautifully golden and flaky. While the oven heats, take some time to gather your ingredients, keeping everything within reach for a smooth baking process.
Step 2: Prepare the Pie Crust
Line a 9-inch pie plate with one of the refrigerated pie crusts. Use a fork to prick the bottom of the crust, which helps prevent bubbles from forming during baking. This step creates a solid base for your homemade apple pie. Set the crust aside while you prepare the delicious filling.
Step 3: Mix the Apple Filling
In a large mixing bowl, combine your sliced Granny Smith apples with sugar, flour, and apple pie spice. Toss the ingredients together until the apples are evenly coated with the sweet and spiced mixture. The combination of flavors truly enhances the filling of your apple pie and ensures every bite is a delightful experience.
Step 4: Assemble the Pie
Pour the apple filling into the prepared crust, spreading it out evenly. Dot the filling with small pieces of butter, which will melt during baking and add richness to the filling. This step is essential for a well-balanced taste in your homemade apple pie.
Step 5: Top with Second Crust
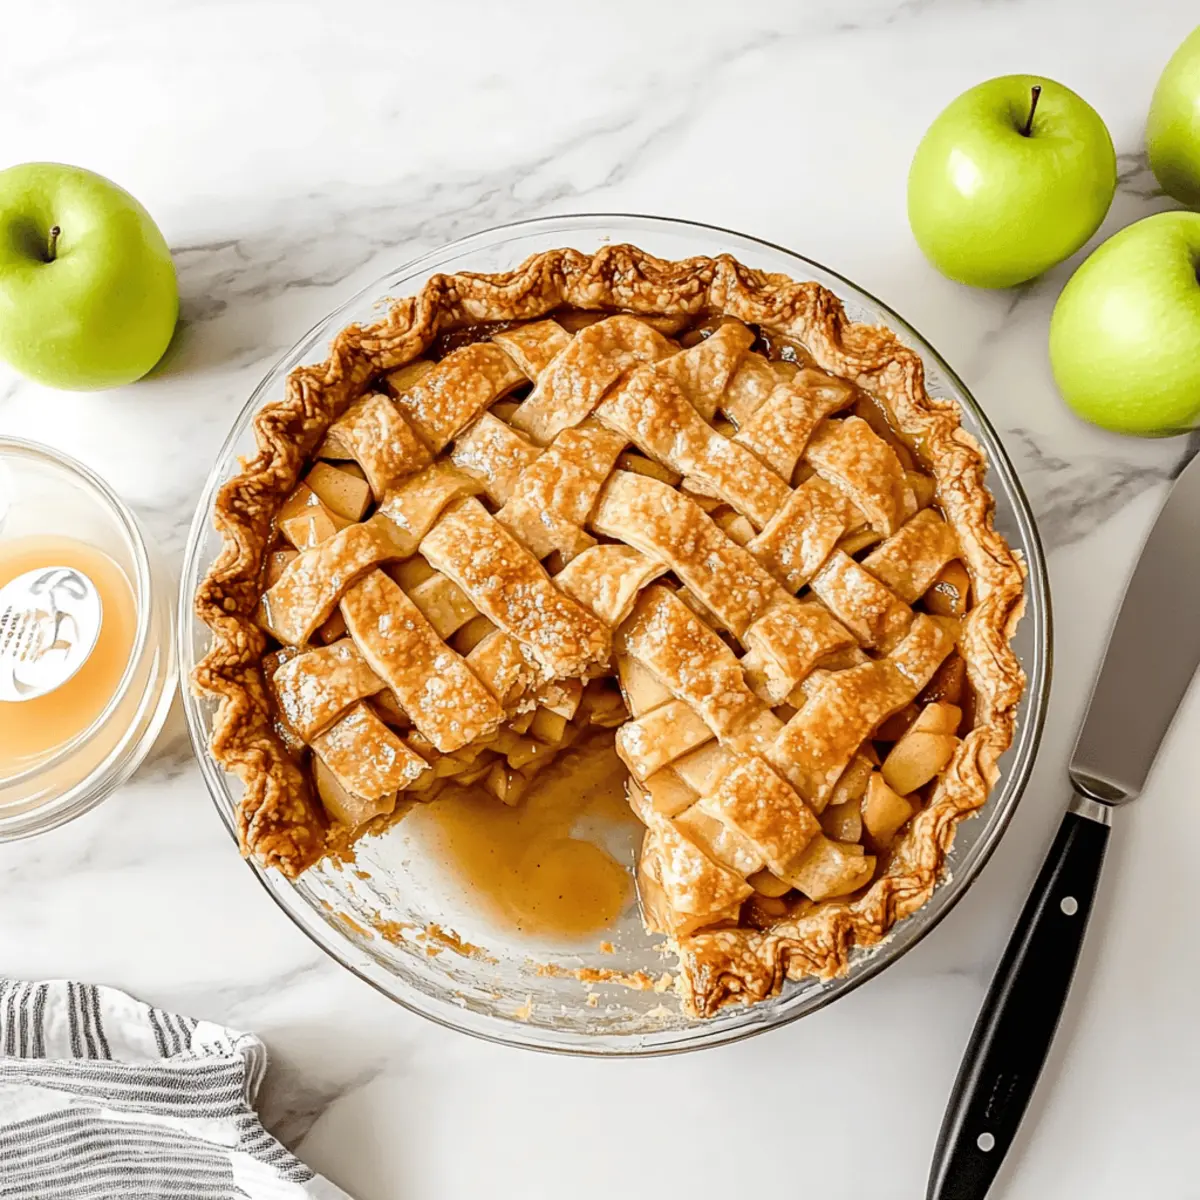
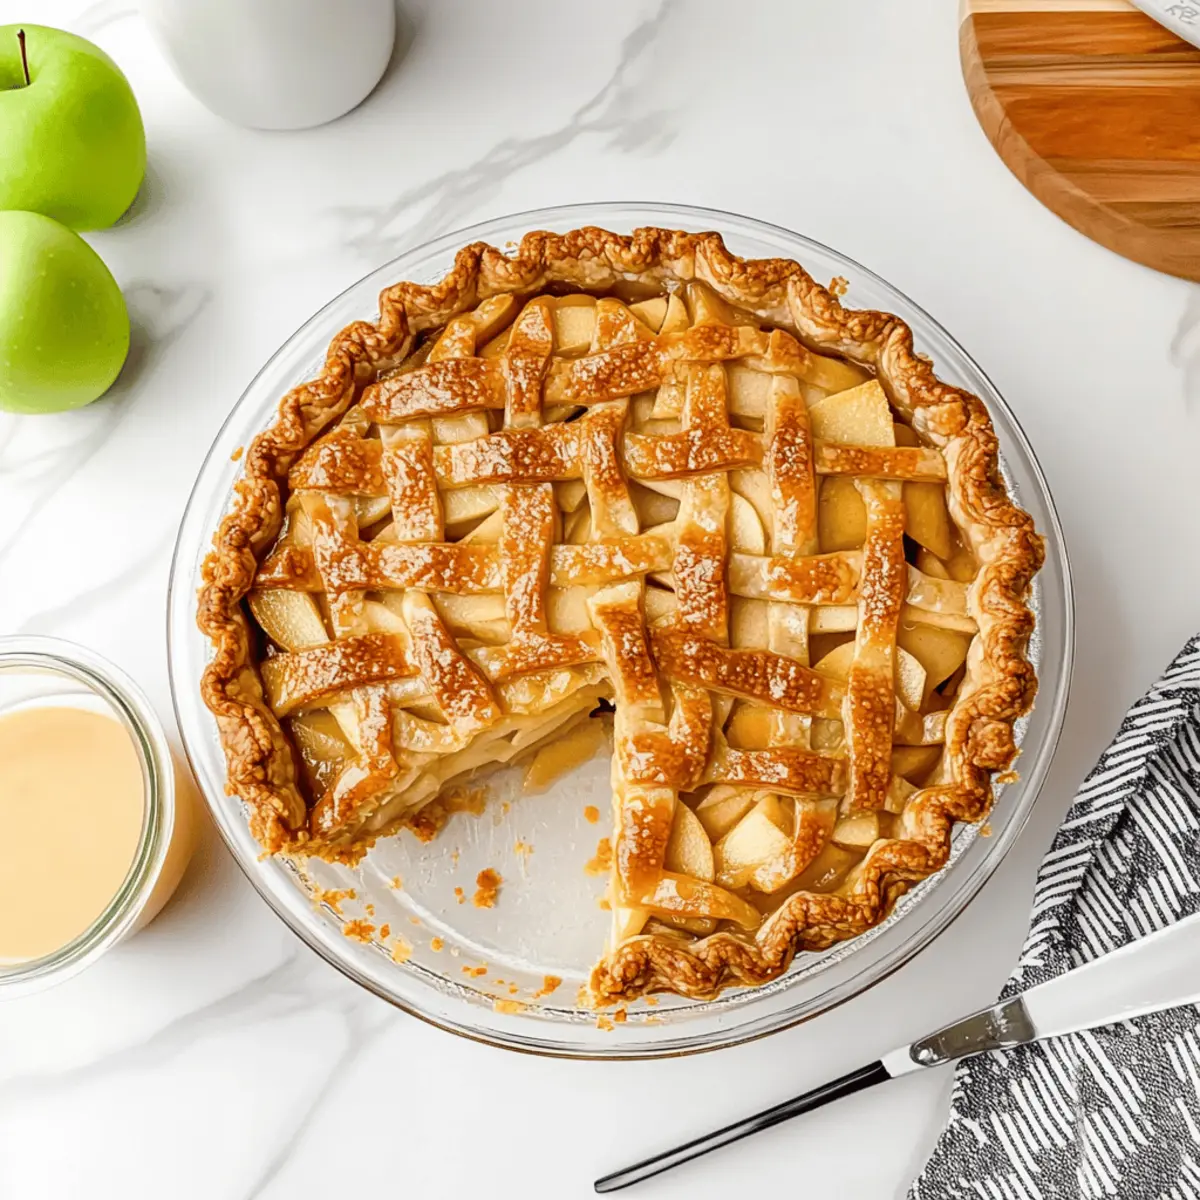
Cut decorative shapes from the second pie crust, like leaves or lattice strips, and layer them on top of the apple mixture. Ensure the filling is well covered while allowing some ventilation to escape steam. This not only adds visual appeal but also enhances the texture so the apple pie bakes beautifully.
Step 6: Brush and Sprinkle
Brush the top crust with the beaten egg, which creates a lovely, glossy finish once baked. If you’d like, sprinkle a little sugar over the crust for added sweetness and crunch. This touch elevates the presentation of your homemade apple pie and entices everyone at the table.
Step 7: Bake the Pie
Place the pie in the preheated oven and bake for about 45 minutes. Keep an eye on it, checking for a golden crust and bubbling filling as signs of doneness. If the edges brown too quickly, cover them with foil to prevent burning. The enticing aroma will surely fill your kitchen!
Step 8: Cooling and Serving
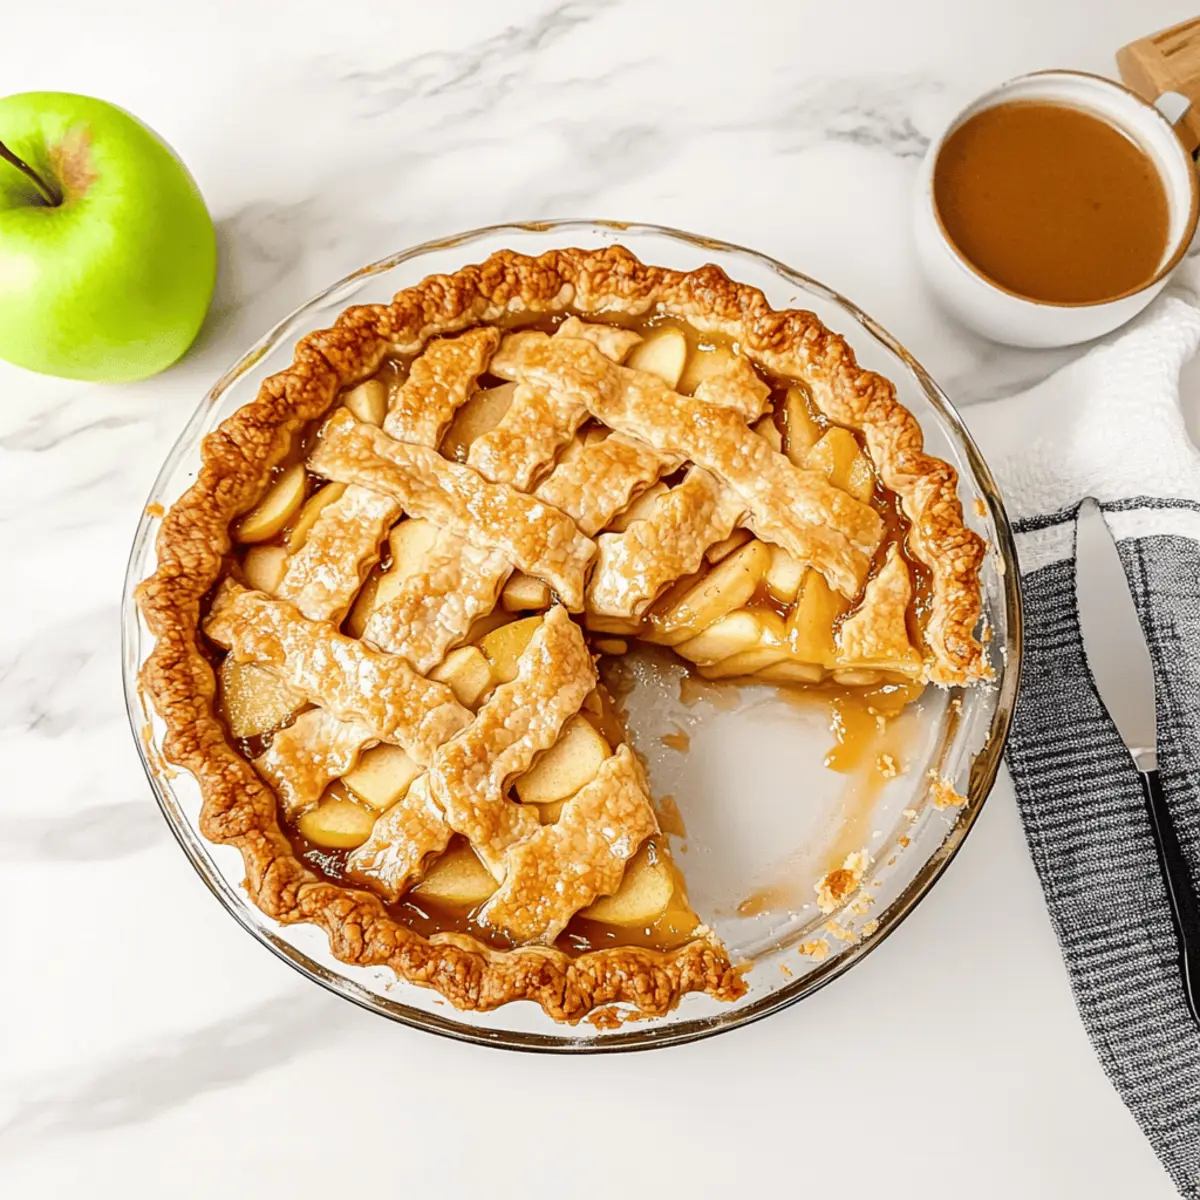
Once baked, remove the apple pie from the oven and let it cool for at least 30 minutes. This cooling time allows the filling to set, making it easier to slice. Serve your ultimate homemade apple pie warm, ideally with a scoop of vanilla bean ice cream or a drizzle of caramel for a deliciously comforting treat.
Storage Tips for Apple Pie
Room Temperature: You can store your apple pie at room temperature for up to 2 days. Keep it covered with foil or a clean kitchen towel to maintain freshness.
Fridge: For longer storage, refrigerate the pie in an airtight container for up to 3 days. This helps preserve its texture and flavor while preventing spoilage.
Freezer: To freeze, wrap the apple pie tightly in plastic wrap and then in aluminum foil. It can be stored in the freezer for up to 3-4 months. Thaw in the fridge overnight before enjoying.
Reheating: To reheat, place slices in a 350°F (175°C) oven for about 10-15 minutes until warmed through. Serve warm with ice cream for a delightful treat!
What to Serve with Ultimate Homemade Apple Pie
Indulging in a slice of warm apple pie opens the door to a world of delightful pairings that will elevate your dessert experience.
-
Vanilla Bean Ice Cream: This classic pairing melts beautifully over the warm pie, creating a luscious contrast that enhances each bite.
-
Caramel Sauce: A drizzle of rich caramel brings a sweet, buttery depth that perfectly complements the spiced apples in your pie.
-
Whipped Cream: Light and airy, whipped cream adds a creamy texture that balances the pie’s sweetness while inviting nostalgia.
-
Espresso or Coffee: A warm cup of coffee or espresso sharpens the flavors of the pie and provides a refreshing counterpoint after the sweetness.
-
Fresh Fruit Medley: A bright salad of fresh berries or citrus can cleanse the palate, adding a refreshing zing to the sweet apple pie.
-
Cheddar Cheese: An unconventional but delightful pairing, sharp cheddar contrasts the pie’s sweetness and adds a savory element for a unique twist.
-
Bourbon Caramel Sauce: Elevate your dessert with a touch of bourbon in your caramel for added complexity and warmth, perfect for special occasions.
Let these accompaniments inspire you to shine even further at your dessert gatherings, inviting compliments and smiles with every slice!
Make Ahead Options
These homemade apple pie options are a lifesaver for busy cooks! You can prepare the filling (sliced apples mixed with sugar, flour, and apple pie spice) up to 24 hours in advance. Simply store it in an airtight container in the refrigerator to maintain its freshness. The crust can also be prepped ahead; just keep it wrapped tightly in plastic wrap and refrigerate for up to 3 days. When you’re ready to bake, assemble the pie by pouring the chilled filling into the crust, adding dots of butter, and layering the decorative top crust before baking as directed. This way, you’ll have a scrumptious apple pie ready fresh from the oven with minimal effort!
Apple Pie Variations & Substitutions
Feel free to unleash your creativity and tailor this classic apple pie to your taste preferences and dietary needs.
-
Different Apples: Experiment with apple varieties like Honeycrisp or Fuji for extra sweetness embedded in your pie. Mixing tart and sweet apples can elevate flavors and make every bite unique.
-
Gluten-Free Crust: Swap in a gluten-free pie crust mix if you prefer a gluten-free option. This way, everyone can enjoy a delicious slice of homemade goodness without worry.
-
Dairy-Free: For a dairy-free twist, use coconut oil or a dairy-free butter alternative in your crust. You’ll still achieve that sought-after flakiness while keeping it suitable for dairy-sensitive eaters.
-
Lower Sugar: Reduce the sugar in the filling to half a cup or switch to a natural sweetener like maple syrup for a healthier option. Adjusting sweetness can bring out the natural flavors of the apples beautifully.
-
Zesty Filling: Add a tablespoon of lemon juice or a bit of zest to the filling for a fresh, vibrant note. It cuts through the sweetness and balances the flavors.
-
Cinnamon Swirl: For a lovely aromatic twist, mix in an extra teaspoon of cinnamon or a dash of nutmeg into the apple filling. You’ll be greeted with deliciously warm spices in every bite.
-
Nutty Crunch: Toss in some chopped nuts like walnuts or pecans into the apple filling for added texture and a delightful crunch. It makes your apple pie not only more interesting but also more hearty!
-
Festive Flair: Enhance the taste with dried cranberries or raisins for a seasonal twist. They add bursts of sweetness and a chewy texture that complements the soft apple filling.
For additional comforting recipes, don’t miss our Hearty Shepherds Pie or Savory Braised Pie.
Expert Tips for Homemade Apple Pie
-
Slice Evenly: Ensure apples are thinly sliced for even cooking, which helps the filling gel perfectly without mushiness.
-
Right Apple Mix: Use a combination of tart and sweet apples for a complex flavor profile that will elevate your classic apple pie.
-
Avoid Sogginess: Don’t over-mix the apples with sugar to prevent watering down the filling; just toss gently to coat.
-
Chill the Dough: Keep your pie crust ingredients cold to ensure a flaky texture; this is key for a standout homemade apple pie.
-
Check Doneness: About halfway through baking, check your pie; if the edges are browning too quickly, cover with foil to avoid burning.
Apple Pie Recipe FAQs
How do I select the best apples for apple pie?
Absolutely! For the best apple pie, I recommend using a mix of Granny Smith for their tartness and Honeycrisp for sweetness. This combination creates a layered taste experience, making every bite delightful. Look for firm apples without dark spots or blemishes, as these indicate ripeness and freshness.
How should I store my apple pie after baking?
You can store your apple pie at room temperature for up to 2 days, covered with foil or a clean kitchen towel to keep it fresh. For longer storage, refrigerate it in an airtight container for up to 3 days, ensuring the crust remains crisp and the filling stays flavorful.
Can I freeze my apple pie? What’s the best way?
Absolutely! To freeze your apple pie, wrap it tightly in plastic wrap, followed by aluminum foil to prevent freezer burn. This method preserves its flavors and textures while being freezer-friendly for up to 3-4 months. When you’re ready to indulge, simply thaw it overnight in the fridge and reheat in a 350°F (175°C) oven for about 10-15 minutes.
What if my apple pie filling is too watery?
No worries! If you find your filling a bit watery, next time make sure to toss the apples gently with sugar and flour without overmixing. This prevents the release of too much juice. You can also add a bit more flour or cornstarch to help thicken the filling, ensuring a perfectly balanced pie.
Are there any dietary considerations I should be aware of?
Indeed! If you have dietary restrictions, feel free to skip the butter in the filling and use non-dairy milk in place of the egg for brushing the crust. Additionally, check your pie crust ingredients for allergens if you’re cooking for someone with sensitivities. This ensures everyone can enjoy your wonderful homemade apple pie!
How long does the apple pie last in the fridge?
You can refrigerate your delicious apple pie for up to 3 days. Make sure to keep it covered to maintain its fresh flavor. After that, it’s best enjoyed fresh, but if you have leftovers, feel free to freeze them for later enjoyment within 3-4 months!

Homemade Apple Pie with Flaky Crust That's Simply Irresistible
Ingredients
Equipment
Method
- Preheat your oven to 400°F (200°C).
- Line a 9-inch pie plate with one of the refrigerated pie crusts and prick the bottom with a fork.
- In a large mixing bowl, combine sliced Granny Smith apples, sugar, flour, and apple pie spice.
- Pour the apple filling into the prepared crust, dot with small pieces of butter.
- Cut decorative shapes from the second pie crust and layer on top of the filling.
- Brush the top crust with the beaten egg and sprinkle sugar over it.
- Bake for about 45 minutes, checking for a golden crust and bubbling filling.
- Let cool for at least 30 minutes before serving.