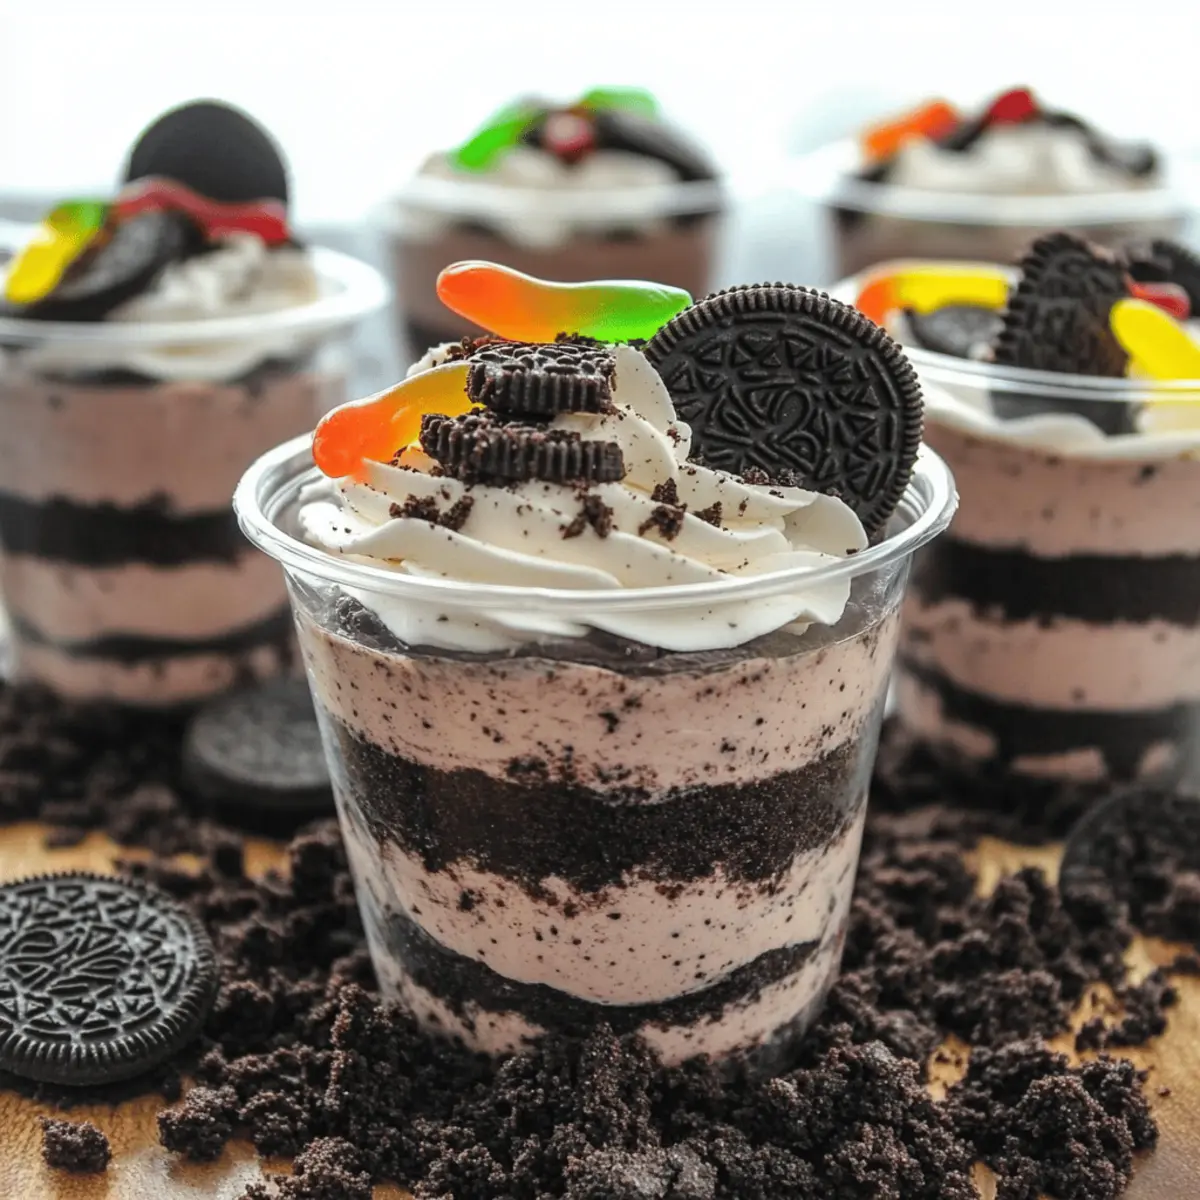
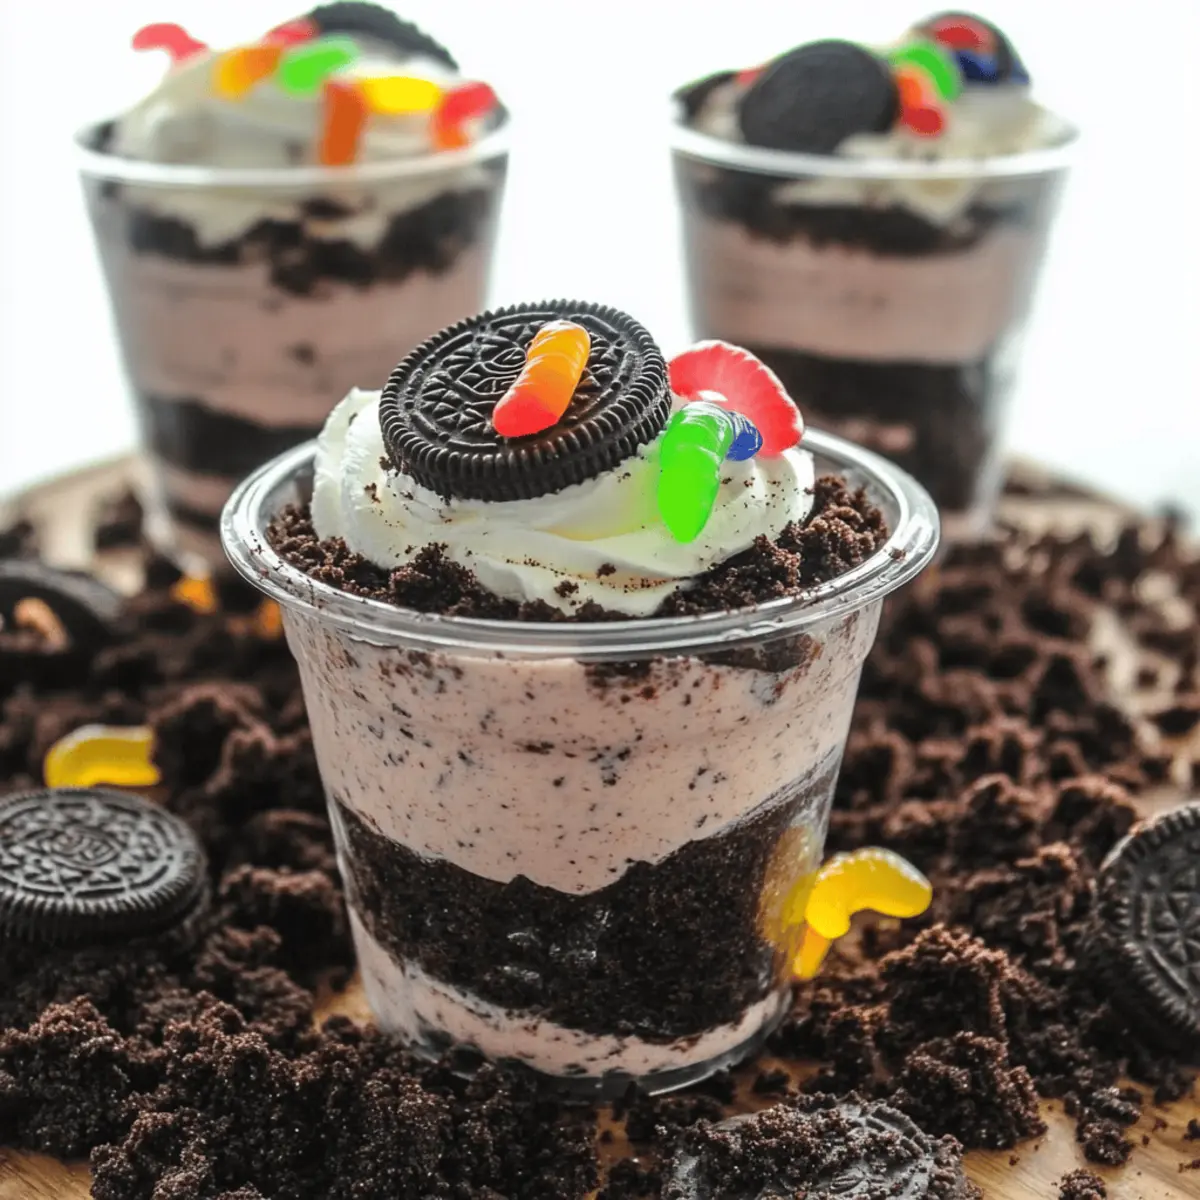
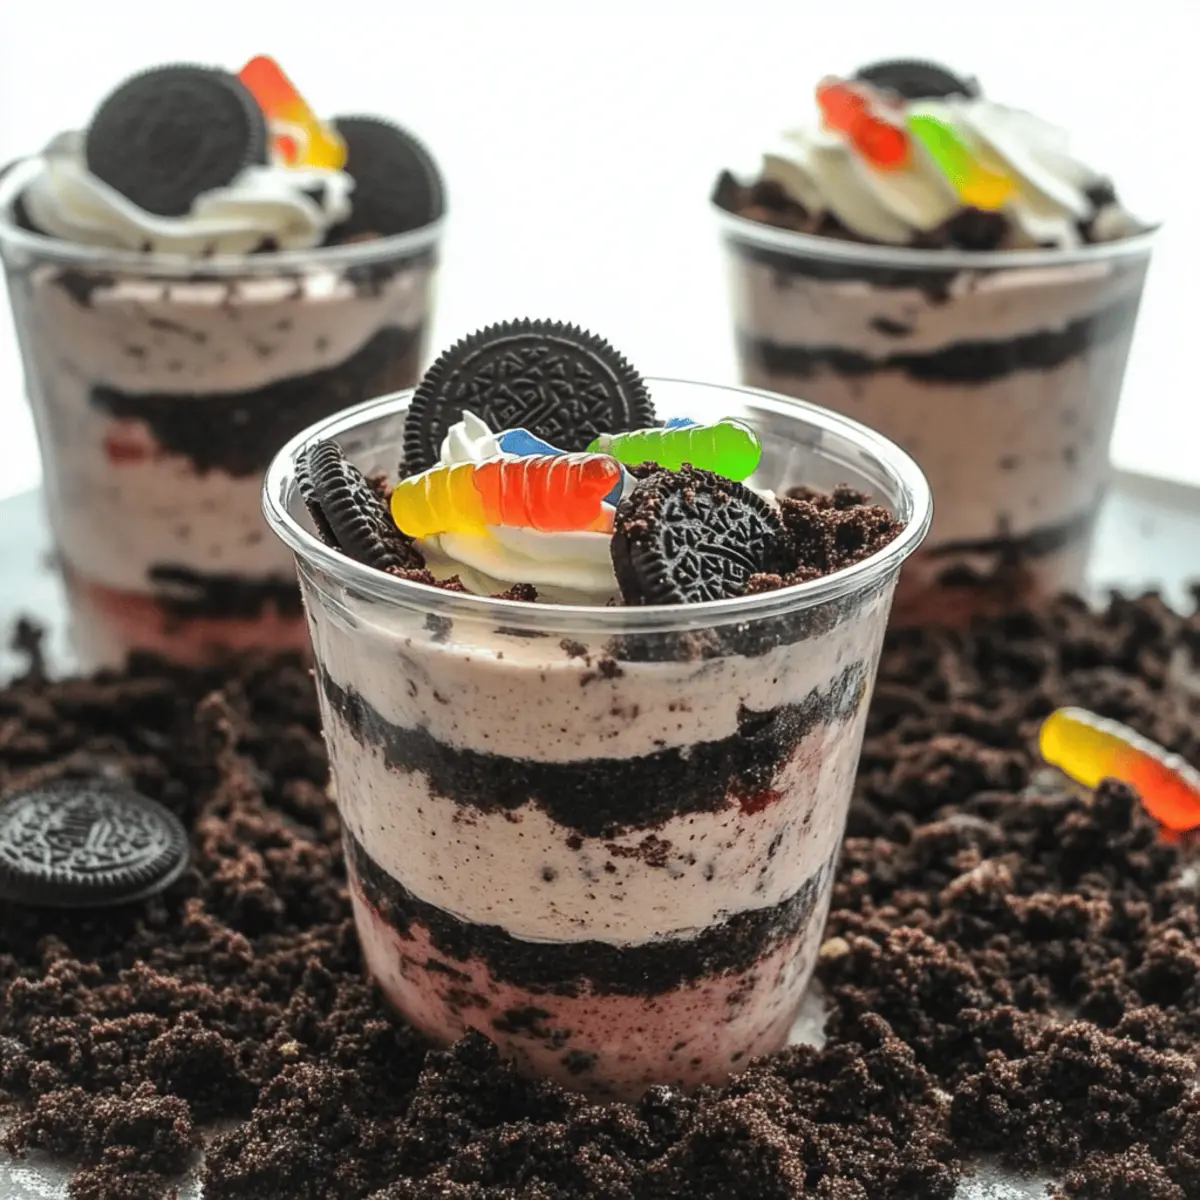
As I stood in the kitchen, a wave of nostalgia washed over me, transporting me back to carefree childhood days filled with laughter and messy hands. That’s the magic of these Oreo Dirt Cake Cups! Reminiscent of warm family gatherings, these no-bake delights are crafted with layers of crushed Oreos, creamy pudding, and a sprinkle of fun with gummy worms on top. They not only promise to bring joy to your next party but also simplify dessert prep—perfect for those who want a crowd-pleaser they can whip up in no time. Whether you’re treating kids at a birthday bash or indulging your inner child, this playful dessert is a sure winner. Ready to dive into a world where dessert meets whimsy? Let’s get started!
Why Is This Recipe a Must-Try?
Simplicity: No baking is required, making it easy for anyone to whip up these delightful treats, even on a busy day.
Nostalgic Appeal: Each bite transports you back to childhood, surrounded by laughter and joy during family gatherings.
Customizable Fun: The variations inspire creativity! Transform them into graveyards, sandy beaches, or festive treats perfect for any occasion.
Crowd-Pleaser: Everyone loves these Oreo Dirt Cake Cups—kids and adults alike will be reaching for seconds (or thirds)!
Quick and Easy: With just a few ingredients, this no-bake recipe is perfect for those last-minute dessert needs. Plus, consider pairing it with a delicious Cupcake Recipe for a perfect dessert table!
Oreo Cookie Dirt Cup Ingredients
For the Base
• Oreo Cookies – The star of the dessert, providing a rich chocolate flavor and delightful crunch. Feel free to use any chocolate sandwich cookie for a twist.
• Butter (4 tbsp, softened) – It helps to bind the cream cheese and sugar mixture together; margarine works as a dairy-free alternative.
For the Creamy Filling
• Powdered Sugar (1 cup) – This lends sweetness and smoothness to the cream cheese; granulated sugar can be substituted, but keep texture in mind.
• Cream Cheese (8 oz, softened) – Adds that rich, creamy goodness; for a lighter version, try Neufchâtel or a dairy-free alternative.
• Instant Chocolate Pudding (2 packages, 3.9 oz each) – The key ingredient that thickens the mixture and infuses delightful chocolate flavor; don’t use cook-and-serve types.
• Milk (3 1/2 cups) – Combines with pudding mix for creamy consistency; any dairy or plant-based milk is suitable.
• Cool Whip (12 oz) – Adds a light, airy texture; you can replace it with homemade whipped cream for an extra touch of freshness.
For the Fun Garnish
• Gummy Worms – These whimsical touches bring the dirt cake theme to life; get creative with decorative alternatives like candy flowers or chocolate-covered insects!
Step‑by‑Step Instructions for Oreo Cookie Dirt Cup
Step 1: Crush the Oreos
Begin by placing the entire package of Oreo cookies into a food processor. Pulse them until they become fine crumbs, resembling dirt, which will serve as the base for your Oreo Cookie Dirt Cup. If you don’t have a food processor, you can place the cookies in a zip-top bag and crush them with a rolling pin. Set the crushed Oreos aside for later layering.
Step 2: Prepare the Cream Cheese Mixture
In a medium mixing bowl, combine 4 tablespoons of softened butter, 1 cup of powdered sugar, and 8 ounces of softened cream cheese. Using an electric mixer, beat the mixture on medium speed until it is smooth and creamy, about 2-3 minutes. This step is crucial as the cream cheese adds richness to the dessert, setting the foundation for your delectable Oreo Cookie Dirt Cup.
Step 3: Make the Chocolate Pudding
In a large bowl, whisk together the two packages of instant chocolate pudding and 3 ½ cups of milk until well incorporated. Continue mixing for about 2 minutes until the pudding mixture thickens slightly. This step is essential for achieving that rich chocolate flavor. Once thickened, gently fold in 12 ounces of Cool Whip until fully combined, creating a light and fluffy filling that layers beautifully.
Step 4: Combine the Mixtures
Now that your pudding mixture is ready, add the cream cheese mixture to the bowl with the pudding. Stir the two mixtures together gently until you have a uniform cream that is smooth and well-blended. This creamy filling will bring your Oreo Cookie Dirt Cup to life with its decadent taste and delightful texture.
Step 5: Layer the Cups
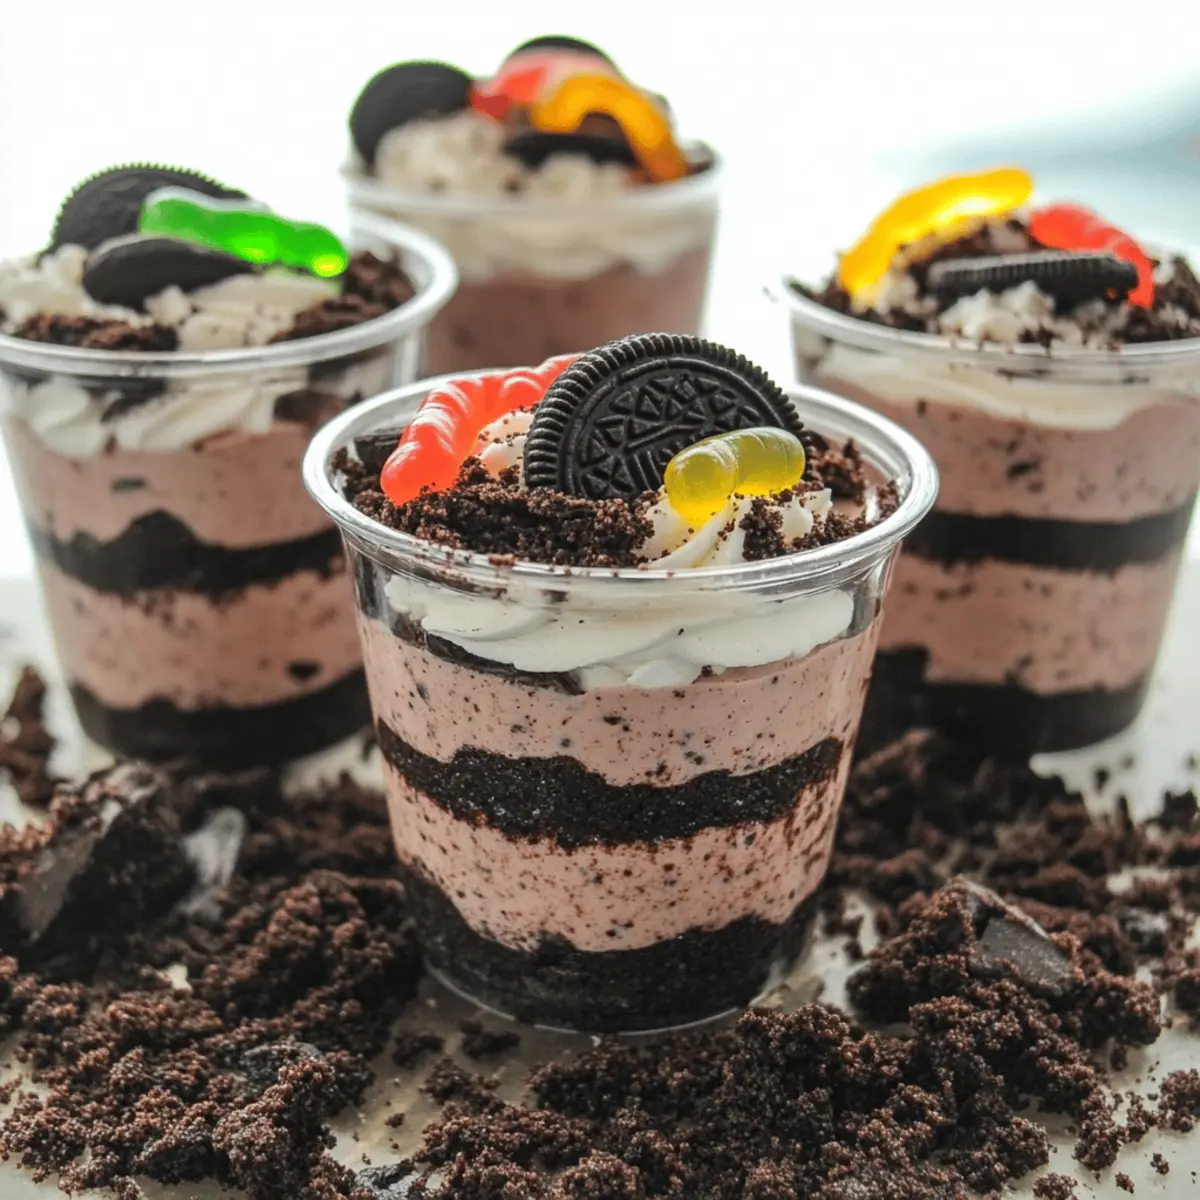
Take individual serving cups and begin with a layer of the chocolate pudding mixture at the bottom. Then, sprinkle a layer of the crushed Oreos over the pudding. Follow with another layer of the pudding, then more crushed Oreos. Repeat the process until the cups are filled, ensuring that the final layer is crushed Oreos for an appealing dirt-like appearance on top.
Step 6: Add Fun Garnishes
Finish off your Oreo Cookie Dirt Cup by garnishing with playful gummy worms and a sprinkle of Oreo crumbs on top. This adds a whimsical touch that kids (and the kid-at-heart) will love. For extra flair, consider adding edible flowers or different decorative candies that enhance the fun theme of your dessert.
Step 7: Chill Before Serving
Refrigerate the layered cups for at least 1 hour before serving. This chilling time helps to set the layers and allows the flavors to meld perfectly. Serve chilled for a refreshing treat that’s perfect for parties or a fun afternoon snack, inviting everyone to dig in and enjoy the sweet nostalgia of these Oreo Cookie Dirt Cups!
Expert Tips for Oreo Cookie Dirt Cup
• Chill Time Matters: Refrigerate your cups for at least an hour to allow the layers to set firmly while enhancing flavor.
• Crush with Care: Aim for fine crumbs when crushing Oreos; larger chunks can disrupt the layering. A food processor yields the best results!
• Customize Wisely: While it’s fun to alter the dessert, ensure any substitutions enhance the flavor; maintain the core elements of the Oreo Cookie Dirt Cup.
• Watch for Softening: If making ahead, limit preparation to 1 day before serving so the Oreos remain crunchy.
• Presentation Counts: Use clear cups to showcase the delicious layers; they’ll make your dessert look even more inviting!
Make Ahead Options
These Oreo Cookie Dirt Cups are perfect for meal prep, allowing you to save time during busy weeknights or exciting celebrations! You can prepare the cream cheese mixture and chocolate pudding up to 24 hours in advance—just be sure to refrigerate them until you’re ready to layer. To maintain the crispy texture of the crushed Oreos, it’s best to layer them just before serving. When you’re ready to impress your guests, simply assemble the cups by alternating layers of the pudding mixture and crushed Oreos, finishing with a generous topping of gummy worms. This way, you get to enjoy that fresh-out-of-the-kitchen experience while saving precious moments!
What to Serve with Oreo Cookie Dirt Cup
Looking for the perfect sides to elevate your dessert experience? Let’s create a delightful spread that complements the sweet whimsy of your Oreo Cookie Dirt Cups.
-
Vanilla Ice Cream: A scoop of creamy vanilla ice cream adds a rich contrast to the chocolatey layers, creating a delightful combination of textures. Perfect for those who love ice cream with their cake!
-
Fresh Fruit Salad: Bright, juicy fruits provide a refreshing balance to the sweetness. Consider strawberries, blueberries, and pineapple for a colorful, healthy addition that cleanses the palate. They also add a vibrant splash of color!
-
Chocolate Chip Cookies: Who could resist the classic comfort of warm chocolate chip cookies alongside the dirt cups? They offer an additional crunch and sweetness that kids and adults alike will raving about!
-
Chocolate Milkshake: For a fun and indulgent pairing, a thick chocolate milkshake is a match made in dessert heaven. The creamy shake pairs perfectly with the layered cups, making it a whimsical dessert duo.
-
Mini Cupcakes: Little bites of sweetness that can be customized to match any theme! They bring a playful touch to your table, adding variety while keeping the focus on fun.
-
Coffee or Milk: For the adults at the gathering, serve freshly brewed coffee or a chilled glass of milk. Both drinks complement the rich chocolate flavors beautifully and provide the perfect finishing touch.
-
Chocolate Pudding Cups: If you want to stick with the theme but offer something a little different, consider mini chocolate pudding cups. They’re simple, delightful, and will satisfy any chocolate cravings.
-
Gummy Worm Jell-O: Incorporate some playful gummy worm Jell-O as a fun dessert side that echoes the dirt cake theme. It adds a whimsical touch and is sure to delight the kids!
Each pairing enhances the Oreo Cookie Dirt Cup experience, creating a memorable and joyous feast that everyone will cherish.
Oreo Cookie Dirt Cup Variations
Feel free to let your creativity shine as you customize these delightful treats with fun swaps and additions!
-
Dairy-Free: Substitute cream cheese and Cool Whip with dairy-free alternatives for everyone to enjoy.
-
Fruit Boost: Add a layer of fresh berries like strawberries or raspberries between the layers for a fruity twist. This brightens the flavor and adds a beautiful pop of color.
-
Nutty Crunch: Mix in crushed nuts such as walnuts or pecans with the Oreo crumbs for an interesting texture contrast. This adds a delightful crunch that elevates the dessert experience.
-
Spicy Kick: Incorporate a sprinkle of cayenne pepper to the pudding mixture for an unexpected heat that pairs surprisingly well with chocolate.
-
Chocolate Lovers Delight: Swap regular Oreos for double chocolate or mint-flavored cookies for an intense chocolate experience. This can redefine your classic dessert with deeper chocolate notes.
-
Seasonal Themes: Adapt to the holidays—think pumpkin spice for fall or peppermint pieces for winter celebrations. Engaging with seasonal flavors can make the dessert feel even more special.
-
Topping Variations: Instead of gummy worms, use crushed candy bars or sprinkles to change the visual appeal and taste. Bright sprinkles can bring a festive touch that excites any dull gathering!
-
Layered Parfaits: Transform your Oreo Cookie Dirt Cup into an impressive layered parfait by using clear glass jars. This simple presentation can make a big impression at dinner parties or picnics; it’ll feel more elegant while keeping the fun!
These personalized touches are sure to spark joy and ignite creativity, making your Oreo Cookie Dirt Cup a truly unique delight each time! Don’t hesitate to explore more options with no-bake desserts and fun kids’ treats for even more inspiration.
How to Store and Freeze Oreo Cookie Dirt Cups
Fridge: Store any leftover Oreo Cookie Dirt Cups covered in an airtight container in the refrigerator for up to 2 days. This keeps them fresh, but be mindful that the crushed Oreos may soften over time.
Freezer: While it’s best enjoyed fresh, you can freeze the cups for up to 1 month. Wrap them tightly with plastic wrap or transfer to freezer-safe containers to prevent freezer burn.
Reheating: There’s no need to reheat; enjoy the Oreo Cookie Dirt Cups cold for the ultimate refreshing treat. Just let the frozen cups thaw in the fridge overnight before serving.
Make Ahead: Feel free to prepare these cups a day in advance for parties or gatherings, ensuring the creamy filling sets nicely while keeping the crunch of the Oreos intact!
Oreo Cookie Dirt Cup Recipe FAQs
How should I select ripe ingredients?
Absolutely! For the best texture and flavor, choose fresh ingredients like cream cheese that is soft and easy to mix. Look for Oreos without dark spots or damage, as these can indicate age. If opting for milk alternatives in your Oreo Cookie Dirt Cup, make sure they are within the expiration date and have a creamy consistency for best results.
What is the best way to store leftover Oreo Cookie Dirt Cups?
Very important! Store any leftover Oreo Cookie Dirt Cups covered in an airtight container in the refrigerator for up to 2 days. This helps retain their freshness, but be aware that the crushed Oreos may lose some crunch over time.
Can I freeze Oreo Cookie Dirt Cups?
Of course! While it’s best to enjoy them fresh, you can freeze these delightful cups for up to 1 month. To do this, wrap each cup tightly with plastic wrap or place them in freezer-safe containers, ensuring that air is removed to prevent freezer burn. When you’re ready to indulge, simply let them thaw in the refrigerator overnight before serving—no need to heat them!
What if my cream cheese mixture is lumpy?
No worries! If your cream cheese mixture appears lumpy, make sure your cream cheese is softened properly before mixing. I recommend letting it sit at room temperature for about 30 minutes prior to use. If you still encounter lumps, use an electric mixer for 2-3 additional minutes until smooth and creamy. This step is crucial for achieving that delightful texture in your Oreo Cookie Dirt Cup.
Are there any dietary considerations for pets or allergies?
Absolutely! Always keep in mind that this dessert contains chocolate, which is toxic to dogs and cats. Ensure that you keep these Oreo Cookie Dirt Cups well out of reach of pets. Additionally, if anyone in your guest list has a dairy allergy or gluten sensitivity, be sure to use dairy-free cream cheese and gluten-free cookies as alternatives to accommodate their needs.
Oreo Cookie Dirt Cup: A Fun No-Bake Treat for All Ages
Ingredients
Equipment
Method
- Crush the Oreos until fine crumbs and set aside.
- Combine softened butter, powdered sugar, and cream cheese in a bowl and mix until smooth.
- Whisk together instant chocolate pudding and milk in a large bowl until thickened.
- Fold in Cool Whip until combined to create filling.
- Layer cups with pudding mixture, followed by crushed Oreos, repeating until filled.
- Garnish with gummy worms and Oreo crumbs, then refrigerate for 1 hour before serving.