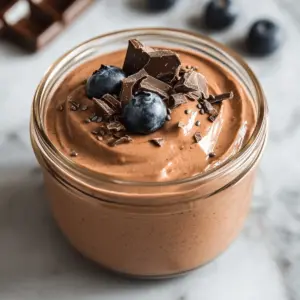
“Did you ever find yourself in the middle of a busy week, craving something sweet yet nourishing?” This high protein chocolate protein pudding is here to rescue your snacking routine! Packed with creamy goodness, it requires minimal effort and can easily adapt to fit both whey and vegan diets. Not only does it serve as a delightful dessert, but it’s also perfect for meal prep, making it a go-to choice for busy home chefs like us who want to eat healthier. This pudding not only satisfies those sweet cravings but also keeps your protein intake on track without a fuss. With endless possibilities for flavor variations, what combination will you try first? Let’s dive in and whip up something delicious!
Why is Protein Pudding a Game Changer?
Versatile Delight: This recipe easily adapts to various dietary needs, allowing both whey and vegan protein enthusiasts to enjoy its creamy goodness.
Quick & Easy: With minimal effort required, making this protein pudding is as simple as mixing a few ingredients—perfect for busy weeknights!
Healthy Indulgence: Packed with protein and fiber, it satisfies your sweet tooth without the guilt, ensuring you fuel your body right.
Meal Prep Hero: Make a batch in advance to have nourishing snacks or desserts for days—ideal for those on-the-go cravings.
Flavor Freedom: From chocolate to fruity variations, you can get creative and transform this pudding to fit your taste, whether you want something rich like a decadent fudge or fruity like a fresh berry blend!
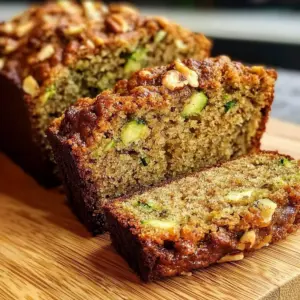
Don’t forget to check out High Protein Unstuffed to complement your meal prep with another protein-packed option.
Protein Pudding Ingredients
• A simple, healthy delight!
For the Base
- Whey Protein Powder – Provides a creamy texture and boosts protein content; swap for vegan protein powder if desired.
- Greek Yogurt – Adds creaminess and lowers calories; use dairy-free yogurt for a vegan option.
- Milk – Introduces smoothness and balances the mixture; any milk, dairy or plant-based, works wonders here.
For the Flavor
- Vanilla Extract (Optional) – Enhances sweetness and depth; consider omitting or replacing with almond extract for a different twist.
- Chia Seeds (Optional) – Boosts fiber and texture; ground flaxseed can be a suitable substitute.
- Sea Salt (Optional) – Balances sweetness and enhances flavors; just a pinch will do wonders.
This is your essential list for creating deliciously creamy protein pudding that fits right into your busy life!
Step‑by‑Step Instructions for Protein Pudding
Step 1: Combine Dry Ingredients
In a mixing bowl, add your whey protein powder and Greek yogurt. Use a whisk or fork to blend them together thoroughly until they form a smooth, lump-free mixture. This step is crucial for achieving a creamy base for your protein pudding, so spend about 1 to 2 minutes ensuring everything is well combined.
Step 2: Incorporate Milk Gradually
Slowly pour in your choice of milk while continuously stirring the mixture. Aim for a steady stream and keep mixing until you achieve a silky texture. This should take about 2 to 3 minutes, and you’ll know it’s ready when the blend is smooth and has no lumps. This consistency is key to a luscious protein pudding.
Step 3: Add Flavor Enhancements
Enhance your protein pudding by adding optional ingredients like vanilla extract, chia seeds, and a pinch of sea salt. Stir the mixture well for another minute until all the extras are evenly distributed. The flavors will come together beautifully, elevating your protein pudding to a new level of deliciousness.
Step 4: Portion for Convenience
Take airtight containers or mason jars and carefully spoon the protein pudding into them, filling each one to the desired level. This step is perfect for meal prep, letting you store convenient portions for later. You should aim to portion out the pudding within 10 minutes to maintain its freshness and ease of access.
Step 5: Refrigerate or Freeze
Now, place your containers in the refrigerator if you plan to enjoy your protein pudding within 3 days, or in the freezer for longer storage up to 2 months. Refrigerate for at least 30 minutes to allow the pudding to chill and thicken properly. If frozen, remember to take the pudding out a few hours beforehand to thaw in the fridge for the best texture when you’re ready to serve.
Step 6: Serve and Enjoy
Once chilled or thawed, grab your protein pudding, and it’s ready to be savored. You can enjoy it straight from the container or top it with fresh fruit, nuts, or granola for added variety. Experience the creamy, high-protein goodness that makes this protein pudding not just a snack, but a delightful treat!
How to Store and Freeze Protein Pudding
Fridge: Keep your protein pudding stored in airtight containers in the refrigerator for up to 3 days. This ensures it remains creamy and fresh for your snacking pleasure.
Freezer: For longer storage, freeze your protein pudding in suitable containers for up to 2 months. Make sure to leave some space at the top to allow for expansion.
Thawing: When ready to enjoy, thaw the pudding in the fridge for several hours or overnight for the best texture. Avoid warming it in the microwave as it may alter the creaminess.
Reheating: If you prefer a warm snack, you can gently warm your thawed protein pudding in a microwave for a few seconds, stirring to maintain its smoothness.
Expert Tips for Protein Pudding
• Texture Control: Start with less milk and gradually add more until you achieve your desired creaminess for the perfect protein pudding.
• Flavor Variations: Don’t hesitate to mix in cocoa powder for a chocolate version or try fruit purees for a refreshing twist!
• Ingredient Swaps: If you’re vegan, substitute Greek yogurt with dairy-free yogurt, ensuring your protein pudding stays creamy and delightful.
• Perfect Storage: For optimal freshness, ensure your protein pudding is stored in airtight containers—this will keep it delicious longer!
• Add Crunch: Top your pudding with granola or nuts for a delightful contrast in texture, enhancing the overall experience of your snack!
What to Serve with High Protein Chocolate Protein Pudding
Indulge in delightful pairings that elevate your protein pudding experience and transform it into a complete meal!
-
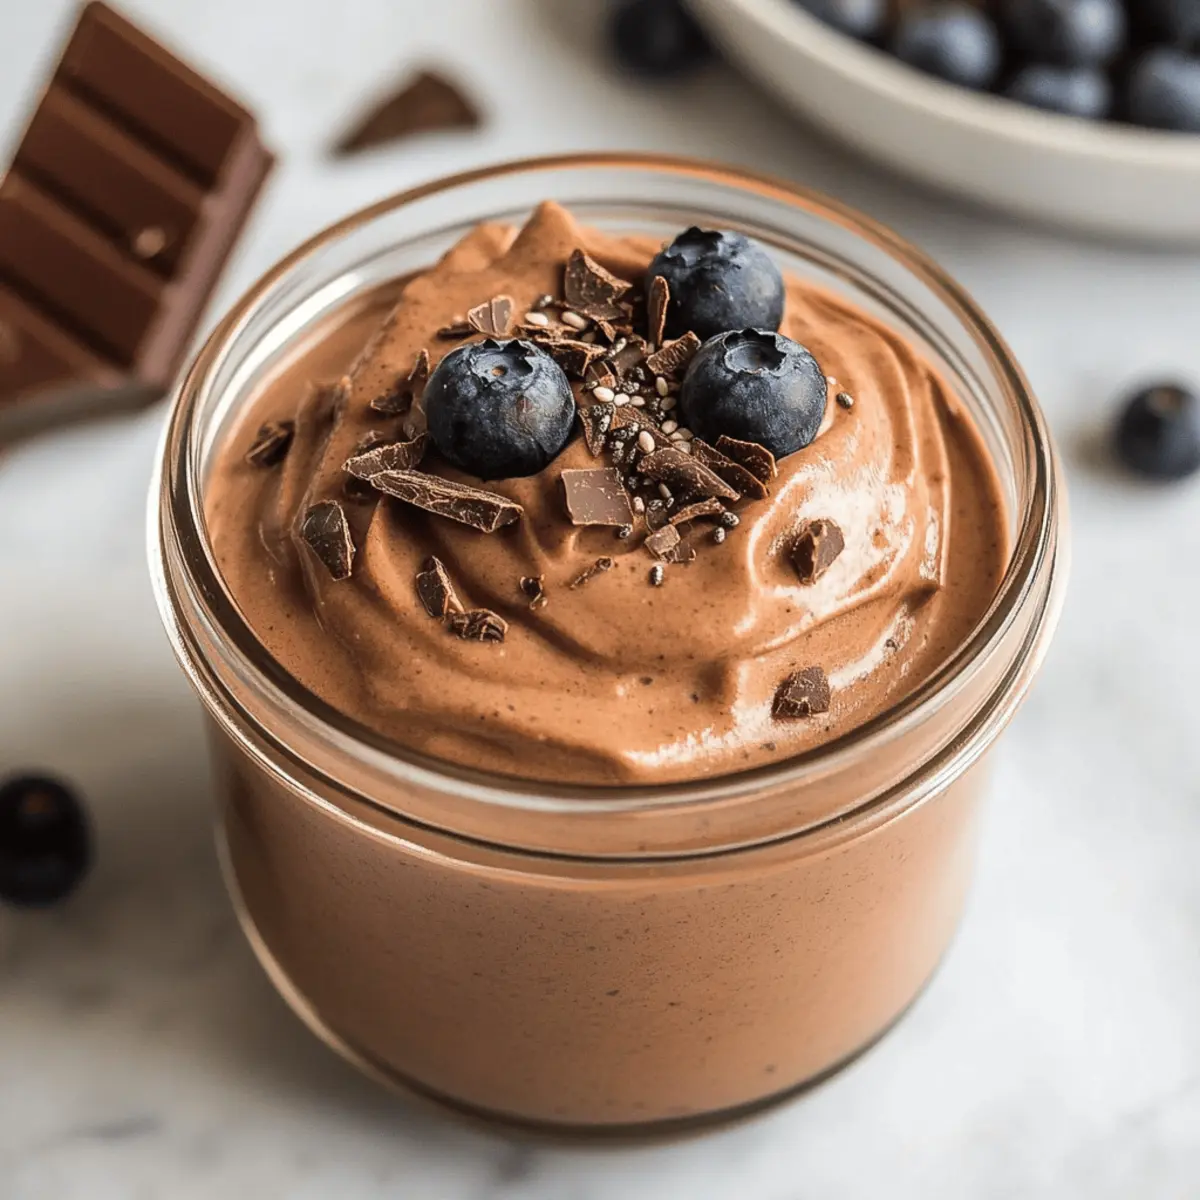
Fresh Berries: Juicy strawberries, blueberries, or raspberries add a burst of freshness and vibrant flavor that contrasts perfectly with creamy pudding.
-
Granola Crunch: A sprinkle of crunchy granola not only adds texture but also a satisfying element of sweetness, making each spoonful more exciting.
-
Sliced Bananas: The natural sweetness and soft texture of bananas complement the pudding beautifully, creating a luxurious treat that feels indulgent.
-
Nut Butter Swirl: Incorporating peanut or almond butter into your pudding adds richness and a protein boost, making it a filling snack or dessert.
-
Coconut Whipped Cream: A dollop of coconut whipped cream on top enhances the creaminess while providing a light, tropical twist to your pudding.
-
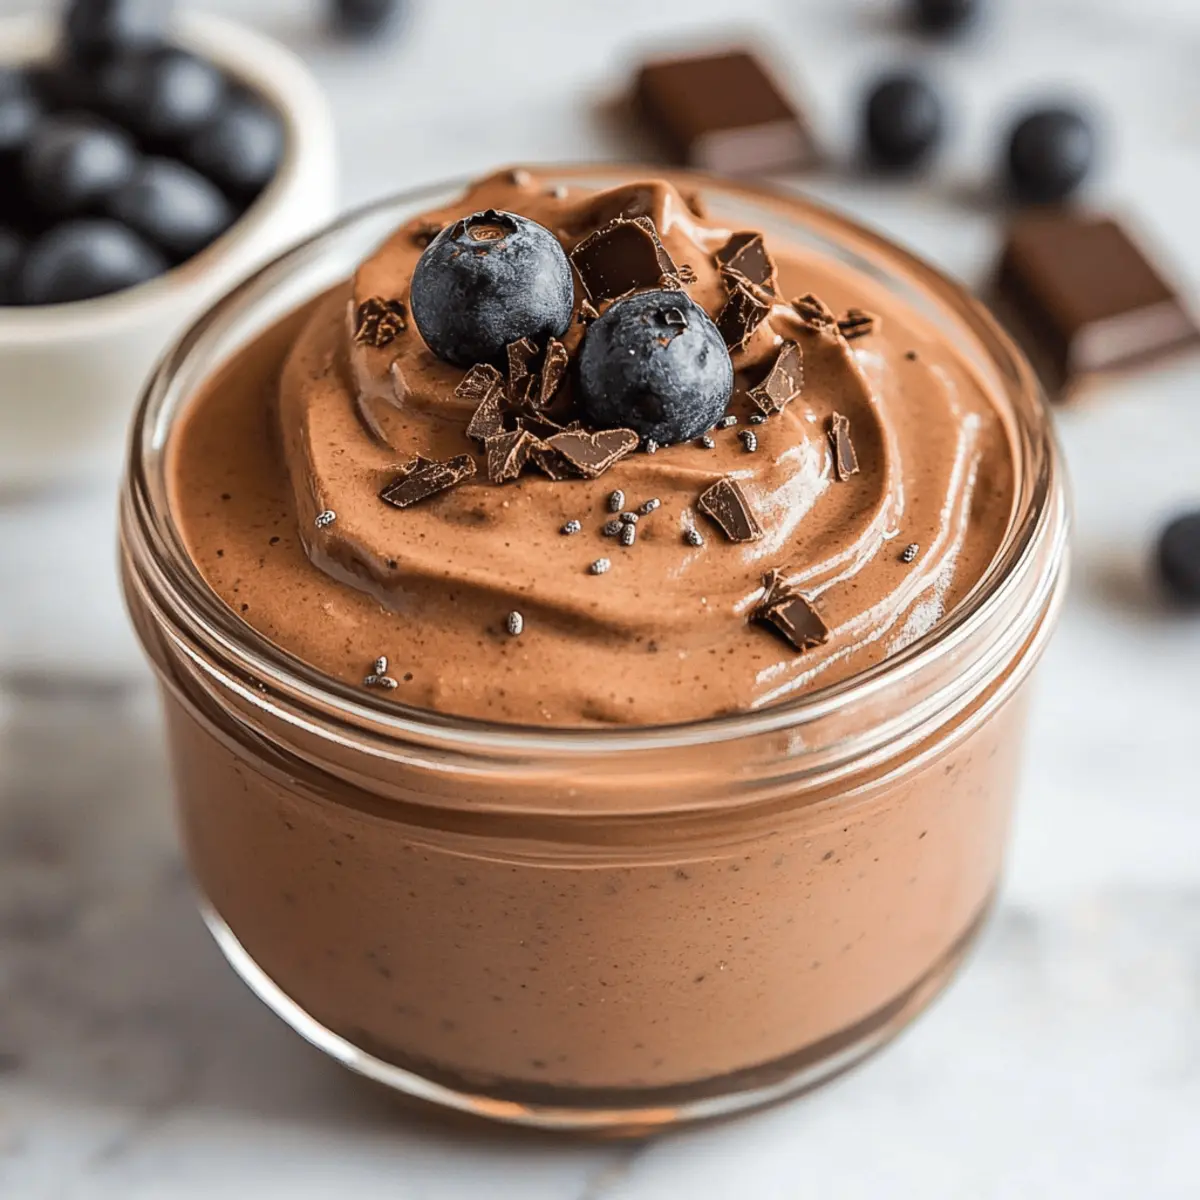
Dark Chocolate Shavings: A sprinkle of decadent dark chocolate shavings elevates the dessert by introducing a touch of bitterness that balances the sweetness wonderfully.
Protein Pudding: Customization Awaits
Feel free to get creative and tailor this creamy delight to your taste buds!
-
Vegan Swap: Exchange whey protein powder with your favorite plant-based protein powder for a vegan-friendly option. This keeps the creamy texture intact while ensuring everyone can enjoy it.
-
Nutty Indulgence: Stir in a spoonful of almond or peanut butter for a deliciously rich and nutty twist. Not only does it add flavor, but it also elevates the healthy fat content.
-
Fruit Fusion: Blend in pureed fruits like banana or berries to naturally sweeten and enhance your pudding’s flavor profile. Think of a refreshing berry-infused pudding that’s as colorful as it is tasty!
-
Chocolate Lovers: Add cocoa powder for a double chocolate delight; the rich chocolate flavor pairs wonderfully with the creamy base. You can even top it off with chocolate shavings for a decadent touch!
-
Spice It Up: For a warm kick, sprinkle in some cinnamon or pumpkin pie spice. This adds a cozy aroma and flavor that’s perfect for autumn-inspired treats.
-
Crunchy Toppings: Elevate the texture with toppings like granola, nuts, or seeds. A sprinkle of crunchy goodness makes each bite exciting!
-
Chilled Treat: Freeze your protein pudding for a refreshing frozen dessert variation. Just blend it slightly after thawing to restore the creamy texture.
-
Sweetener Swap: If you prefer a sugar-free option, use a sugar substitute like Stevia or monk fruit sweetener to keep the sweetness without the calories.
Don’t forget, if you’re looking for more protein-packed options, check out our High Protein Unstuffed peppers for a meal prep delight you won’t want to miss! Have fun experimenting and finding your perfect spin on this indulgent yet guilt-free protein pudding!
Make Ahead Options
These Protein Puddings are perfect for meal prep enthusiasts! You can prepare the pudding mixture up to 3 days in advance, ensuring you have a delicious, nutritious snack ready to go. Simply follow the initial steps of combining the whey protein powder, Greek yogurt, and milk, then store the mixture in airtight containers or mason jars to keep it fresh. To maintain the creamy texture, refrigerate the prepared pudding—this will help it thicken and develop flavors. When you’re ready to serve, just give it a good stir, and you’ll enjoy a high-protein treat that’s just as delicious as if you’d made it fresh that day!
Protein Pudding Recipe FAQs
What type of protein powder should I use for the best texture?
For the best results, I recommend using whey protein powder, as it gives the pudding a creamy texture and boosts the protein content significantly. If you’re looking for a vegan option, try using a plant-based protein powder. Just keep in mind that you might need to adjust the amount of liquid you add to achieve that smooth consistency.
How long can I store my protein pudding in the fridge?
You can store your protein pudding in airtight containers in the refrigerator for up to 3 days. Just be sure to seal them well to keep out moisture and maintain its creamy texture. I often make a batch at the start of the week to ensure I always have a quick snack ready!
Can I freeze protein pudding, and if so, how?
Absolutely! To freeze your protein pudding, pour it into airtight containers, leaving a little space at the top for expansion. It will stay fresh for up to 2 months in the freezer. When you’re ready to enjoy it, simply thaw in the fridge for several hours or overnight before serving for the best texture.
How can I achieve the perfect consistency for my protein pudding?
To achieve that smooth, creamy consistency, start by gradually adding your choice of milk while mixing. If you accidentally add too much milk and the pudding becomes too thin, you can thicken it by adding a little more protein powder or Greek yogurt until it reaches your desired texture. It typically takes 2-3 minutes of mixing to get it just right!
Are there any dietary considerations I should keep in mind?
When preparing protein pudding, consider any allergies you or your guests might have. If you’re making it for someone with a dairy allergy, substitute Greek yogurt with a dairy-free alternative. Also, be sure to double-check flavors or added ingredients for any potential allergens, such as nuts or gluten. It’s all about making a delicious treat everyone can enjoy!
What toppings can I add to enhance my protein pudding?
There’s no limit to the fun toppings you can try! For added crunch and nutrition, I love adding a sprinkle of granola or some chopped nuts. Fresh fruit like berries or sliced bananas not only look beautiful but also add natural sweetness. You can even drizzle honey or nut butter on top for an extra creamy, decadent twist—get creative with it!

Creamy Protein Pudding: Easy, Guilt-Free Indulgence
Ingredients
Equipment
Method
- In a mixing bowl, add your whey protein powder and Greek yogurt. Whisk together until smooth and lump-free. Spend about 1 to 2 minutes ensuring everything is well combined.
- Gradually pour in your choice of milk while continuously stirring. Mix until you achieve a silky texture, which should take about 2 to 3 minutes.
- Add vanilla extract, chia seeds, and sea salt if desired, and mix well for another minute.
- Spoon the mixture into airtight containers or mason jars for meal prep. Portion out within 10 minutes.
- Refrigerate or freeze the pudding as needed; chill for at least 30 minutes.
- Serve chilled or thawed, and enjoy directly or topped with fruits, nuts, or granola.