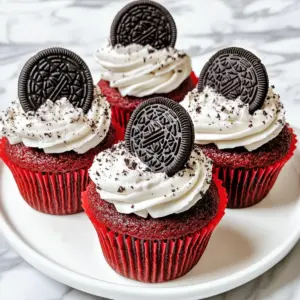
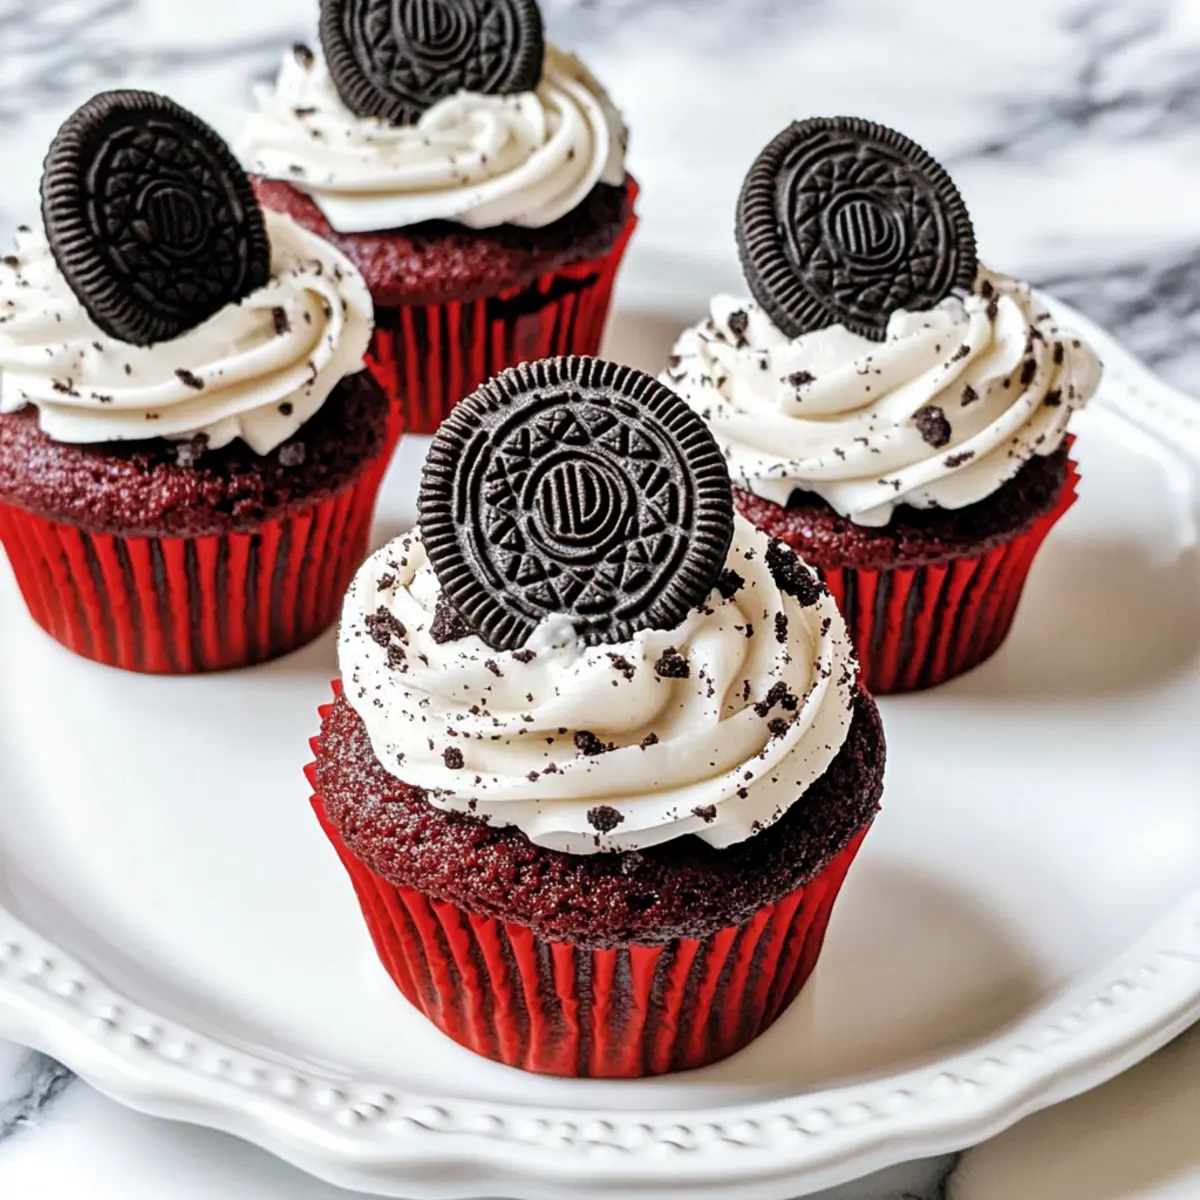
As I pulled the first batch of Red Velvet Oreo Cupcakes from the oven, the room was filled with an undeniable sweetness, an invitation to indulge. These easy desserts combine the best of both worlds—the classic red velvet flavor and the delightful crunch of Oreo cookies concealed within. Whether you’re hosting a vibrant celebration or simply craving a comforting treat, these cupcakes offer a visually appealing solution that’s sure to impress. Not only are they simple to make, but their creamy frosting and hidden surprise make them a guaranteed crowd-pleaser. Ready to take a bite of nostalgia and creativity? Let’s dive into the recipe and create something magical together!
Why Are These Cupcakes So Irresistible?
Delightful Surprise: Each bite reveals a hidden Oreo, elevating your experience with a crunchy surprise.
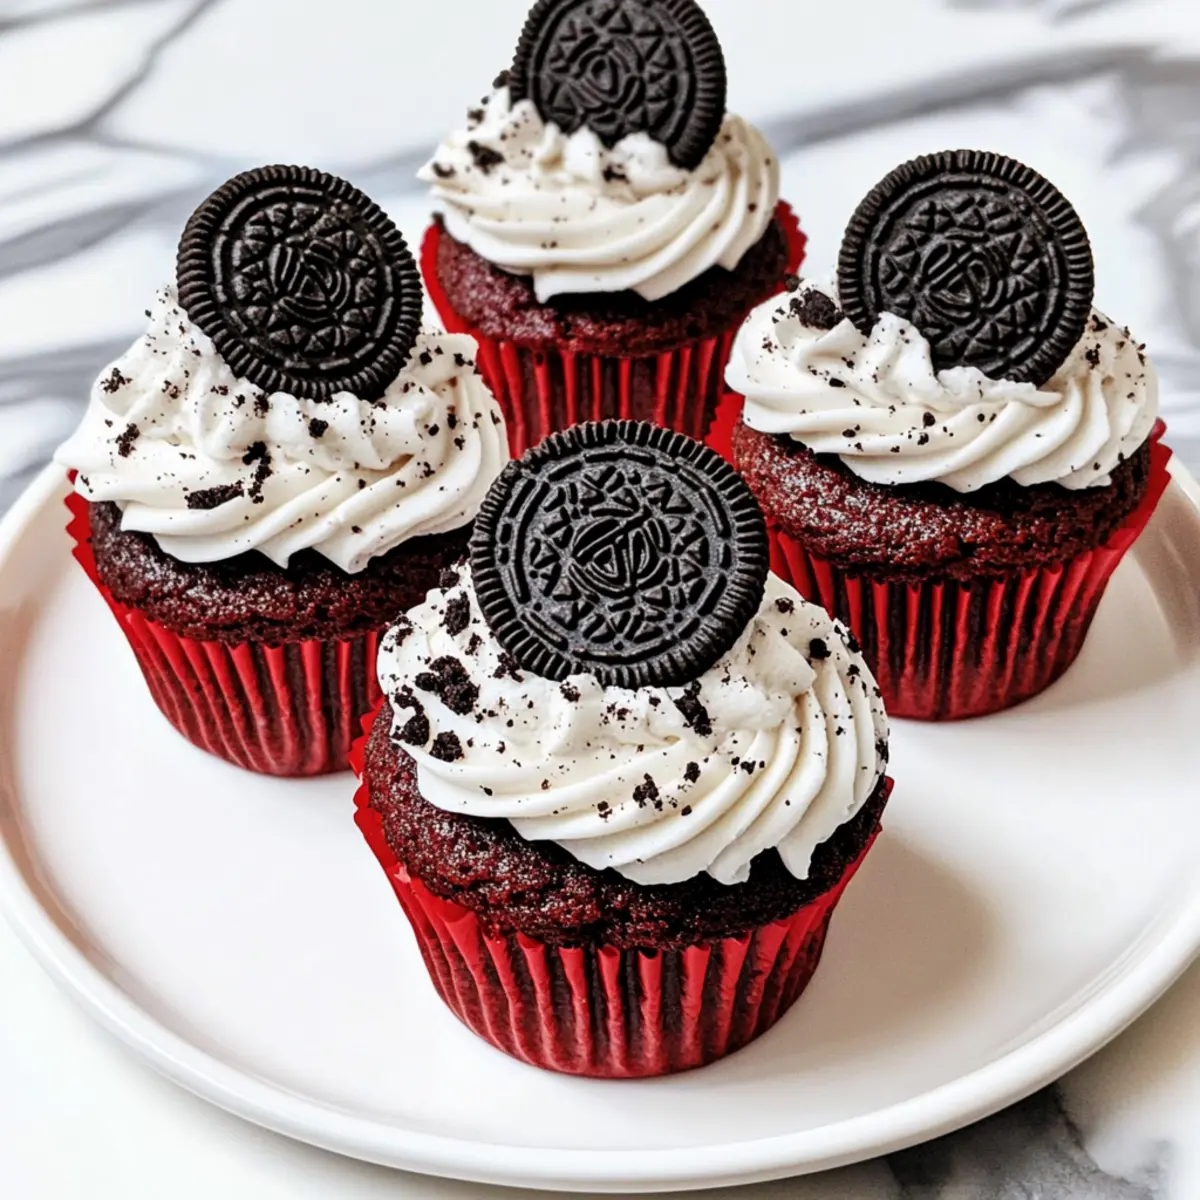
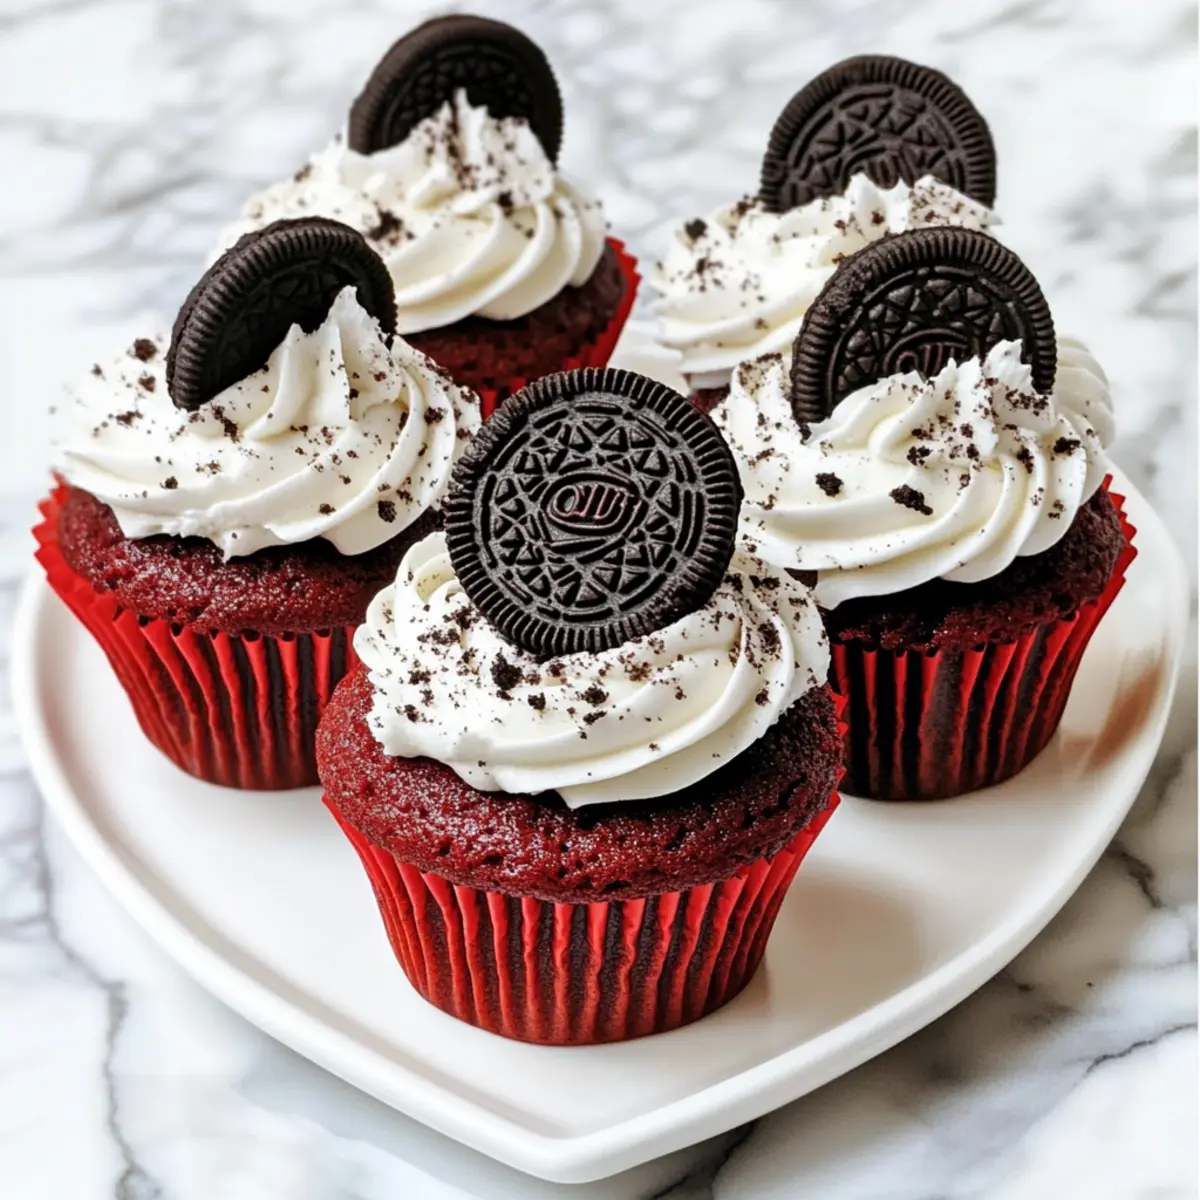
Visual Appeal: The stunning red color and luscious frosting make these cupcakes a feast for the eyes.
Effortlessly Simple: With straightforward steps, even novice bakers can master these cupcakes.
Perfect for Any Occasion: Whether it’s a birthday party, holiday gathering, or just a cozy night in, these treats steal the show!
Time Saver: Bake and decorate in about an hour, making them a quick and rewarding dessert option.
Crowd-Pleasing Flavor: Combining the beloved taste of red velvet with cookies-and-cream results in a flavor explosion everyone will love.
Red Velvet Oreo Cupcake Ingredients
• Here’s everything you need to create these delightful treats!
For the Cupcake Base
- All-purpose flour – Provides structure; substitute with gluten-free flour for a gluten-free option.
- Cocoa powder – Adds rich chocolate flavor; dark cocoa can enhance the taste.
- Baking soda – Leavening agent for rising; ensure it’s fresh for optimal potency.
- Salt – Balances sweetness; use kosher salt for added texture.
- Buttermilk – Adds moisture and tanginess; substitute with milk plus vinegar (1 tbsp) if unavailable.
- White vinegar – Reacts with baking soda to enhance rising; can be omitted but reduces tanginess.
- Vanilla extract – Enhances flavor depth; use pure vanilla for the best results.
- Butter – Provides richness and moisture; replace with unsalted butter to control salt levels.
- Granulated sugar – Sweetens the batter; can be substituted with coconut sugar for a lower glycemic option.
- Large egg – Binds and enriches; a flax egg (1 tbsp ground flaxseed + 2.5 tbsp water) can be used as a vegan alternative.
- Red food coloring – Gives the cupcakes a vibrant hue; omit for natural color, and the flavor remains unchanged.
- Oreo cookies – Add texture and flavor surprise; Double Stuf can enhance the creaminess in the frosting.
For the Frosting
- Powdered sugar – Used in frosting for sweetness and smoothness; can substitute with monk fruit sweetener for lower-sugar alternatives.
- Heavy cream – Adds richness to the frosting; use whole milk if a lighter consistency is desired.
These delightful Red Velvet Oreo Cupcake Ingredients are sure to spark joy in your kitchen and create a treat that captivates everyone’s taste buds!
Step‑by‑Step Instructions for Red Velvet Oreo Cupcakes
Step 1: Prepare Dry Ingredients
In a medium bowl, whisk together 1 ½ cups of all-purpose flour, 1 tablespoon of cocoa powder, 1 teaspoon of baking soda, and ½ teaspoon of salt. Make sure the dry ingredients are well combined, and set the mixture aside. This step ensures a uniform rise and flavor throughout your Red Velvet Oreo Cupcakes.
Step 2: Mix Wet Ingredients
In a small bowl, combine 1 cup of buttermilk, 1 tablespoon of white vinegar, and 1 teaspoon of vanilla extract. Stir gently until well mixed. This buttermilk mixture will add moisture and depth of flavor to your cupcakes, ensuring they turn out soft and flavorful.
Step 3: Cream Butter and Sugar
In a large mixing bowl, use an electric mixer to beat ½ cup of softened butter and 1 cup of granulated sugar together until the mixture is light and fluffy, about 3-4 minutes. This step is crucial as it introduces air into the batter, leading to delightful, fluffy Red Velvet Oreo Cupcakes.
Step 4: Add Egg and Color
Blend in 1 large egg and 1 tablespoon of red food coloring to the butter and sugar mixture. Mix until fully incorporated, ensuring the batter develops that gorgeous red hue. Watch for an even consistency; this step is essential for achieving the signature color of the cupcakes.
Step 5: Combine Mixtures
Gradually add the dry ingredients and the buttermilk mixture to the creamed mixture, mixing gently on low speed until just combined. Be careful not to overmix; this will help keep your cupcakes light and airy. The batter should be smooth and slightly thick.
Step 6: Assemble Cupcakes
Line a cupcake pan with 12 liners and spoon in the red velvet batter until each liner is about ¾ full. Press a whole Oreo cookie gently into the center of each batter-filled liner, then cover it with a bit more batter until just above the Oreo. This hidden surprise makes each bite a delightful experience!
Step 7: Bake
Place the cupcake pan in a preheated oven at 350°F (175°C) and bake for about 20 minutes. Keep an eye on them; when a toothpick inserted into the center comes out clean, they’re done! The tops should be slightly dome-shaped and spring back when lightly pressed.
Step 8: Cool Down
Allow the cupcakes to cool in the pan for 5 minutes before transferring them to a wire rack to cool completely. This cooling step is important to ensure they firm up and maintain their shape while providing a perfect base for the frosting.
Step 9: Make Frosting
In a mixing bowl, start by whipping ½ cup of softened butter until it’s creamy. Gradually add 2 cups of powdered sugar, 1 teaspoon of vanilla extract, and a pinch of salt. Slowly mix in 2-4 tablespoons of heavy cream, increasing the speed until the frosting is fluffy and smooth, ideal for topping your delicious cupcakes.
Step 10: Decorate
Once your cupcakes are completely cooled, pipe the fluffy frosting onto each one. Top with crushed Oreos and half an Oreo for the perfect finishing touch. This eye-catching decoration will not only enhance the presentation but also add an extra layer of cookie flavor to your Red Velvet Oreo Cupcakes.
Red Velvet Oreo Cupcakes Variations
Feel free to explore these delightful twists that add a personal touch to your cupcakes!
-
Gluten-Free: Use a 1:1 gluten-free flour blend for a gluten-free treat that retains all the flavor and fluffiness of the original.
-
Vegan: Replace the egg with a flax egg (1 tablespoon ground flaxseed + 2.5 tablespoons water) and use non-dairy milk for a completely vegan version.
-
Natural Color: Omit the red food coloring for a rustic chocolate look or substitute with beet juice for a healthier alternative that still pops!
-
Nutty Crunch: If you love a bit of crunch, add chopped walnuts or pecans to the batter for an exciting texture.
-
Mini Versions: Turn these into mini cupcakes! Just bake for about 10-12 minutes, perfect for bite-sized party treats.
-
Spiced Up: Add a pinch of cinnamon or nutmeg into the batter for a warm, spiced flavor that beautifully complements the chocolate notes.
-
Cream Cheese Frosting: Swap out the heavy cream for soft cream cheese in the frosting, creating that classic tangy flavor many adore.
-
Peppermint Twist: Introduce a hint of peppermint extract into the frosting during the holidays for a festive flair that delights!
With these variations, you can tailor these cupcakes to suit your tastes or dietary needs. So, whether you want to enjoy a cozy evening, celebrate a birthday, or indulge in a deliciously themed treat, there’s always a delightful option to savor!
Make Ahead Options
These Red Velvet Oreo Cupcakes are perfect for busy home cooks looking to save time! You can prepare the cupcake batter and fill the liners with Oreo cookies up to 24 hours in advance; simply cover the filled liners with plastic wrap and refrigerate them to maintain freshness. On the day you plan to serve, just take them out, bake them until a toothpick comes out clean (about 20 minutes), and let them cool completely. The frosting can also be made in advance and stored in the refrigerator for up to 3 days; just give it a quick whip before decorating the cupcakes. This prep approach ensures you enjoy delicious, freshly baked Red Velvet Oreo Cupcakes with minimal effort when it’s time to celebrate!
What to Serve with Red Velvet Oreo Cupcakes
To create a delightful spread that complements the whimsical charm of these cupcakes, consider these pairing suggestions that enhance your meal experience.
- Creamy Vanilla Ice Cream: The cool, smooth texture complements the rich cupcakes, offering a delightful contrast that melts in your mouth.
- Fresh Berries: Juicy strawberries or raspberries add a refreshing burst of flavor, balancing the sweetness and elevating your dessert.
- Chocolate Milk: This nostalgic drink brings an extra touch of indulgence, perfectly harmonizing with the cupcakes’ flavors for the ultimate treat.
- Whipped Cream Topping: A dollop of homemade whipped cream creates a light, airy finish that enhances the cupcakes’ richness without overpowering them.
- Coffee or Espresso: The robust flavors of coffee provide a lovely contrast, enhancing the cocoa notes in the cupcakes for a sophisticated pairing.
- Milkshake: A cookies-and-cream milkshake pairs beautifully, echoing the delightful Oreo aspect of the dessert while making it an interactive treat.
- Mason Jar Parfaits: Layered yogurt and granola in a jar offer a light and creamy complement, introducing crunch and a healthy touch to your dessert table.
- Spiced Chai Latte: The warm spices create a fragrant, cozy experience that embraces the sweetness of cupcakes while adding a comforting element.
- Chocolate Ganache Dip: A drizzle of rich ganache further elevates your cupcakes, providing an indulgent finishing touch for true chocolate lovers!
These pairing options make your dessert spread not only inviting but also a memorable experience for loved ones.
Tips for the Best Red Velvet Oreo Cupcakes
- Room Temperature Ingredients: Ensure all your ingredients are at room temperature for optimal mixing, which leads to a smoother batter and fluffier cupcakes.
- Don’t Overmix: Avoid overmixing after adding dry ingredients; this will keep your Red Velvet Oreo Cupcakes light and tender.
- Even Oreo Placement: For a consistent cookie surprise, press the Oreo gently into the batter, ensuring it’s centered for a delightful crunch in every bite.
- Cooling Time: Allow cupcakes to cool completely before frosting. This prevents the frosting from melting and maintains its beautiful texture.
- Storage: Store any leftovers in an airtight container in the refrigerator to keep them fresh and delicious for up to 5 days.
How to Store and Freeze Red Velvet Oreo Cupcakes
Room Temperature: Store unfrosted cupcakes in an airtight container for up to 2 days to maintain freshness.
Fridge: Frosted cupcakes should be kept in the refrigerator for about 5 days, ensuring they stay cool and delicious.
Freezer: For longer storage, freeze unfrosted cupcakes in an airtight container for up to 3 months. Thaw in the fridge overnight before frosting.
Reheating: If desired, reheat individual unfrosted cupcakes in the microwave for 10-15 seconds to enjoy a warm, soft treat.
Red Velvet Oreo Cupcakes Recipe FAQs
How do I select ripe ingredients for this recipe?
Absolutely! For the best results, ensure your buttermilk is fresh and tangy, as it greatly contributes to the moisture and flavor of the cupcakes. When choosing eggs, look for ones that are large and have a clean shell. Fresh eggs will help achieve a fluffier texture. Additionally, if you’re opting for fresh cream, select heavy cream with a high fat content for the frosting to create that rich, creamy consistency.
What is the best way to store leftover cupcakes?
Very! Store your frosted Red Velvet Oreo Cupcakes in an airtight container in the refrigerator for up to 5 days. This will help keep them fresh and maintain the quality of the frosting. If you have unfrosted cupcakes, they can be kept at room temperature in an airtight container for about 2 days. Remember to frost them right before serving for that extra touch of freshness!
Can I freeze Red Velvet Oreo Cupcakes?
Absolutely! To freeze these delightful cupcakes, first allow them to cool completely. Place unfrosted cupcakes in a single layer in an airtight container or freezer-safe bag, ensuring they are well separated to avoid sticking. They can stay fresh in the freezer for up to 3 months. When you’re ready to indulge, simply thaw them overnight in the fridge, and frost them right before serving for the best texture!
What should I do if my batter is too thick?
If you find your batter is a bit thick, don’t worry! You can add a little extra buttermilk, one tablespoon at a time, while mixing on low speed until you reach a smoother consistency. Just be careful not to overmix, as this can affect the fluffiness of your cupcakes. Additionally, ensuring your ingredients are at room temperature can help create a smoother batter overall.
Are there any dietary considerations for these cupcakes?
I often make variations to accommodate different dietary needs! To make these Red Velvet Oreo Cupcakes gluten-free, simply substitute the all-purpose flour with a gluten-free baking blend. For a vegan version, use a flax egg instead of the large egg and replace buttermilk with almond milk mixed with vinegar. Also, check the ingredients in your Oreos, as some formulations may contain allergens like soy or dairy.
How long will the cupcakes stay fresh in the fridge?
Very! When stored properly in an airtight container, your frosted Red Velvet Oreo Cupcakes will remain fresh in the refrigerator for up to 5 days. To maintain their quality, try to ensure they are sealed tightly to prevent them from drying out. Enjoy them within this timeframe for the best flavor and texture!

Red Velvet Oreo Cupcakes: Irresistibly Easy and Decadent
Ingredients
Equipment
Method
- Prepare Dry Ingredients: In a medium bowl, whisk together 1 ½ cups of all-purpose flour, 1 tablespoon of cocoa powder, 1 teaspoon of baking soda, and ½ teaspoon of salt. Set aside.
- Mix Wet Ingredients: In a small bowl, combine 1 cup of buttermilk, 1 tablespoon of white vinegar, and 1 teaspoon of vanilla extract. Stir gently until well mixed.
- Cream Butter and Sugar: In a large mixing bowl, use an electric mixer to beat ½ cup of softened butter and 1 cup of granulated sugar together until light and fluffy, about 3-4 minutes.
- Add Egg and Color: Blend in 1 large egg and 1 tablespoon of red food coloring to the butter and sugar mixture. Mix until fully incorporated.
- Combine Mixtures: Gradually add the dry ingredients and the buttermilk mixture to the creamed mixture, mixing gently on low speed until just combined.
- Assemble Cupcakes: Line a cupcake pan with 12 liners and spoon in the batter until each liner is about ¾ full. Press an Oreo cookie gently into the center of each liner, covering with a bit more batter.
- Bake: Place the cupcake pan in a preheated oven at 350°F (175°C) and bake for about 20 minutes. Test with a toothpick.
- Cool Down: Allow the cupcakes to cool in the pan for 5 minutes before transferring to a wire rack.
- Make Frosting: Whip ½ cup of softened butter until creamy. Gradually add 2 cups of powdered sugar, 1 teaspoon of vanilla extract, and a pinch of salt. Mix in 2-4 tablespoons of heavy cream.
- Decorate: Pipe the frosting onto each cupcake. Top with crushed Oreos and half an Oreo.