

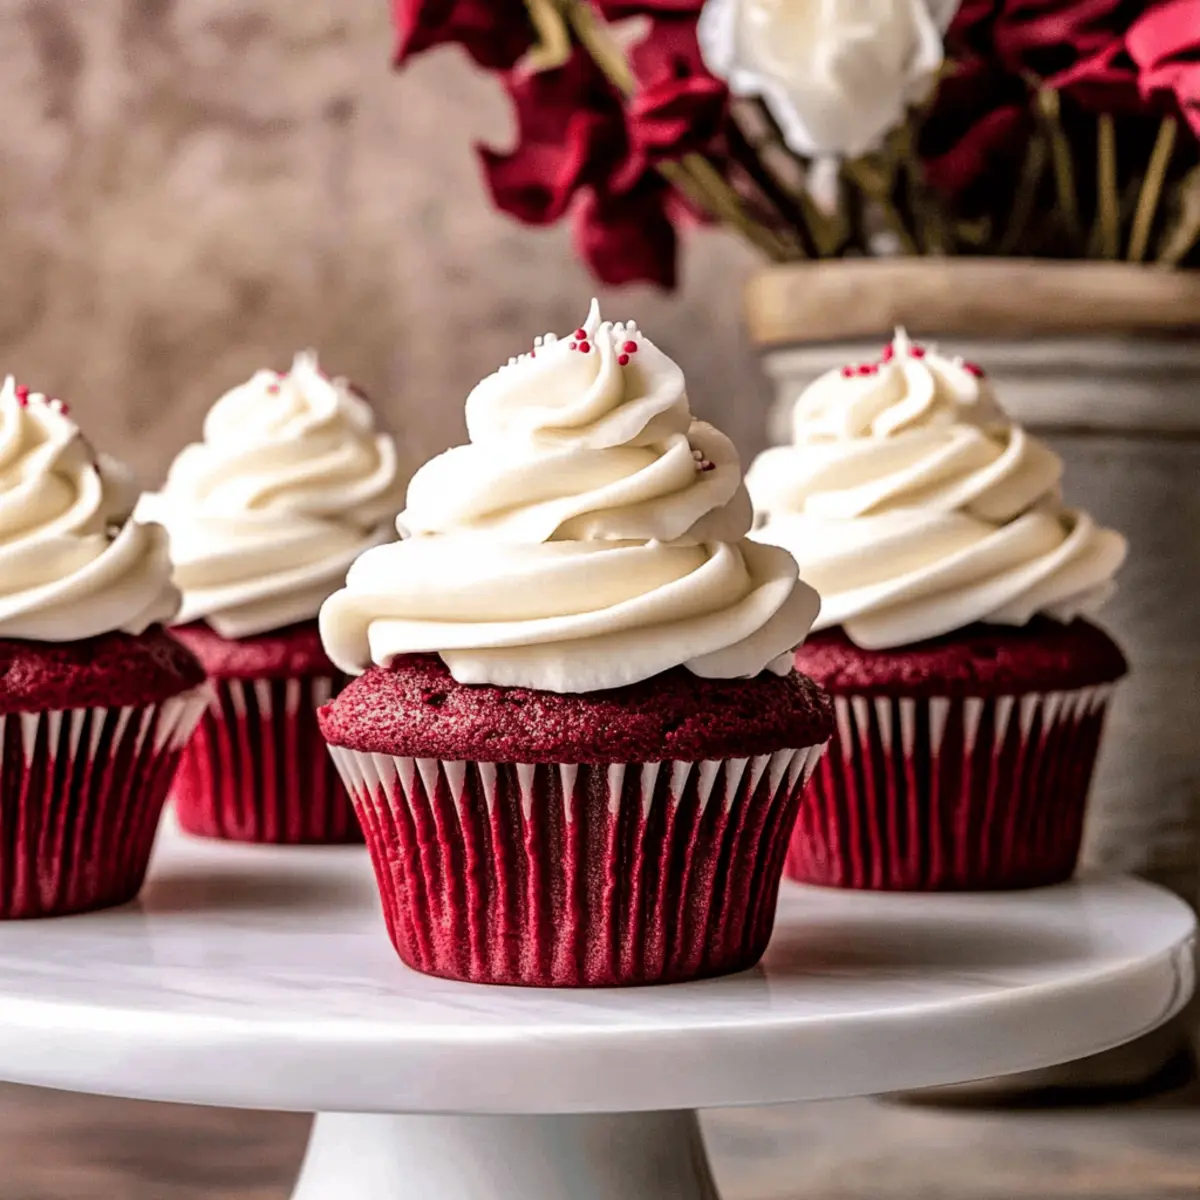
As I sifted through my pantry, searching for that perfect flour, the memory of a recent gathering flooded my mind. Nothing quite captured the appreciation of my friends like a batch of moist red velvet cupcakes topped with tangy cream cheese frosting. These captivating treats, vibrant in color and bursting with a subtle cocoa essence, are a guaranteed hit for any special occasion, from Valentine’s Day to Christmas. Baking these classic cupcakes is not only an excellent way to impress guests, but they’re also surprisingly easy to prepare! So, if you’re ready to elevate your dessert game and create something truly unforgettable, let’s dive into this red velvet cupcake recipe together! What do you say—are you ready to whip up a delightful batch?
Why Are These Cupcakes So Special?
Sublime Moisture: Each bite of these red velvet cupcakes is a burst of moisture, leaving your taste buds dancing with joy.
Classic Elegance: Their vibrant color and smooth, tangy cream cheese frosting make these cupcakes an instant centerpiece for any gathering or celebration.
Effortless Preparation: You don’t need to be a baking pro to whip these up; the process is straightforward and beginner-friendly, ensuring even novices can create these stunning treats.
Versatile Delights: Whether it’s a birthday bash or just a cozy dinner at home, these cupcakes are adaptable for any occasion and can even be made into mini versions for bite-sized enjoyment.
Decadent Flavor: With a subtle cocoa note and a tangy frosting, these cupcakes provide a flavor profile that resonates with everyone, making them a crowd favorite.
For another delightful dessert idea, don’t miss my Mexican Shredded Chicken that features bold flavors, perfect for a full meal to pair with your sweet treats!
Red Velvet Cupcake Ingredients
• Here’s everything you need to create the perfect red velvet cupcakes, ensuring they remain irresistibly moist!
For the Cupcakes
- All-purpose flour – Provides structure to the cupcakes; for gluten-free, use a gluten-free baking blend.
- Cocoa powder (Dutch process) – Adds a hint of chocolate flavor and deep color; regular cocoa powder can be used but will alter the hue.
- Baking powder – A leavening agent to help the cupcakes rise; always check expiration for effectiveness.
- Baking soda – Works alongside baking powder for leavening; very important for texture, so don’t omit it.
- Salt – Enhances flavor and balances sweetness; kosher salt is preferred for better distribution.
- Unsalted butter – Provides moisture and richness; make sure it’s softened for easy creaming.
- Granulated white sugar – Sweetens the batter and contributes to structure; can be substituted with a sugar alternative for lower calorie content.
- Egg and egg yolk – Adds richness, moisture, and helps bind ingredients; both should be at room temperature for best results.
- Vanilla extract – Adds depth of flavor; opt for pure vanilla for the best outcome.
- Buttermilk – Increases moisture and provides ideal texture; you can mix regular milk with vinegar or lemon juice as a substitute.
- Red gel food coloring – Gives the cupcakes their signature vibrant color; avoid liquid dye for deeper color.
For the Cream Cheese Frosting
- Cream cheese – The base for the rich, tangy frosting; ensure it’s cold before mixing for optimal texture.
- Powdered sugar – Sweetens and thickens the frosting; sift before adding to prevent clumps.
Optional Decoration
- Sprinkles – A fun way to decorate; choose edible sprinkles that won’t bleed color into the frosting.
Step‑by‑Step Instructions for Moist Red Velvet Cupcakes with Cream Cheese Frosting
Step 1: Preheat the Oven
Start by preheating your oven to 350°F (175°C). While the oven heats, line a cupcake pan with cupcake liners, ensuring they are evenly placed for uniform baking. This initial step sets the stage for your red velvet cupcakes to rise beautifully, so don’t skip it!
Step 2: Prepare Dry Ingredients
In a medium bowl, whisk together 2 cups of all-purpose flour, 2 tablespoons of cocoa powder, 1 teaspoon of baking powder, 1 teaspoon of baking soda, and ½ teaspoon of salt until well mixed. This not only combines the dry ingredients but also aerates them, helping your red velvet cupcakes achieve the perfect tender crumb.
Step 3: Cream Butter and Sugar
In a large mixing bowl, use an electric mixer to cream together 1 cup of softened unsalted butter and 1 ½ cups of granulated sugar on medium speed for about 2 minutes, or until the mixture is light and fluffy. This step is crucial as it incorporates air, leading to a lighter cupcake texture.
Step 4: Add Eggs and Vanilla
Next, add in 1 large egg, 1 egg yolk, and 2 teaspoons of vanilla extract to the butter-sugar mixture. Mix on low speed for 1-2 minutes until everything is well incorporated, and the mixture appears pale and smooth. This adds richness and moisture to your red velvet cupcakes.
Step 5: Combine Wet and Dry Ingredients
Gradually incorporate the dry ingredients into the wet mixture, alternating with 1 cup of buttermilk. Mix on low speed until just combined—about 30 seconds is enough. Scrape down the sides of the bowl with a spatula as needed. Be careful not to overmix, as this can lead to dense cupcakes.
Step 6: Add Food Coloring
Gently fold in 1 tablespoon of red gel food coloring to the cupcake batter. This step gives your red velvet cupcakes that iconic vibrant color. Ensure the color is evenly distributed without overmixing, which helps maintain the light texture of your batter.
Step 7: Fill the Liners
Using a scoop or spoon, fill each cupcake liner about three-quarters full with batter. This allows enough space for your cupcakes to rise without overflowing. Place the filled pan into the preheated oven, and bake for 17-20 minutes, or until a toothpick inserted into the center of a cupcake comes out clean.
Step 8: Cool the Cupcakes
Once baked, remove the cupcake pan from the oven and allow the red velvet cupcakes to cool in the pan for about 10 minutes. Then, transfer them to a wire rack to cool completely. This cooling process ensures a perfect texture for frostings later on.
Step 9: Make Cream Cheese Frosting
While the cupcakes are cooling, prepare the cream cheese frosting by beating 1 cup of softened unsalted butter until pale and creamy. Gradually mix in 8 ounces of cold cream cheese until smooth. Slowly add in 4 cups of sifted powdered sugar, mixing until the frosting is light and fluffy.
Step 10: Frost and Decorate
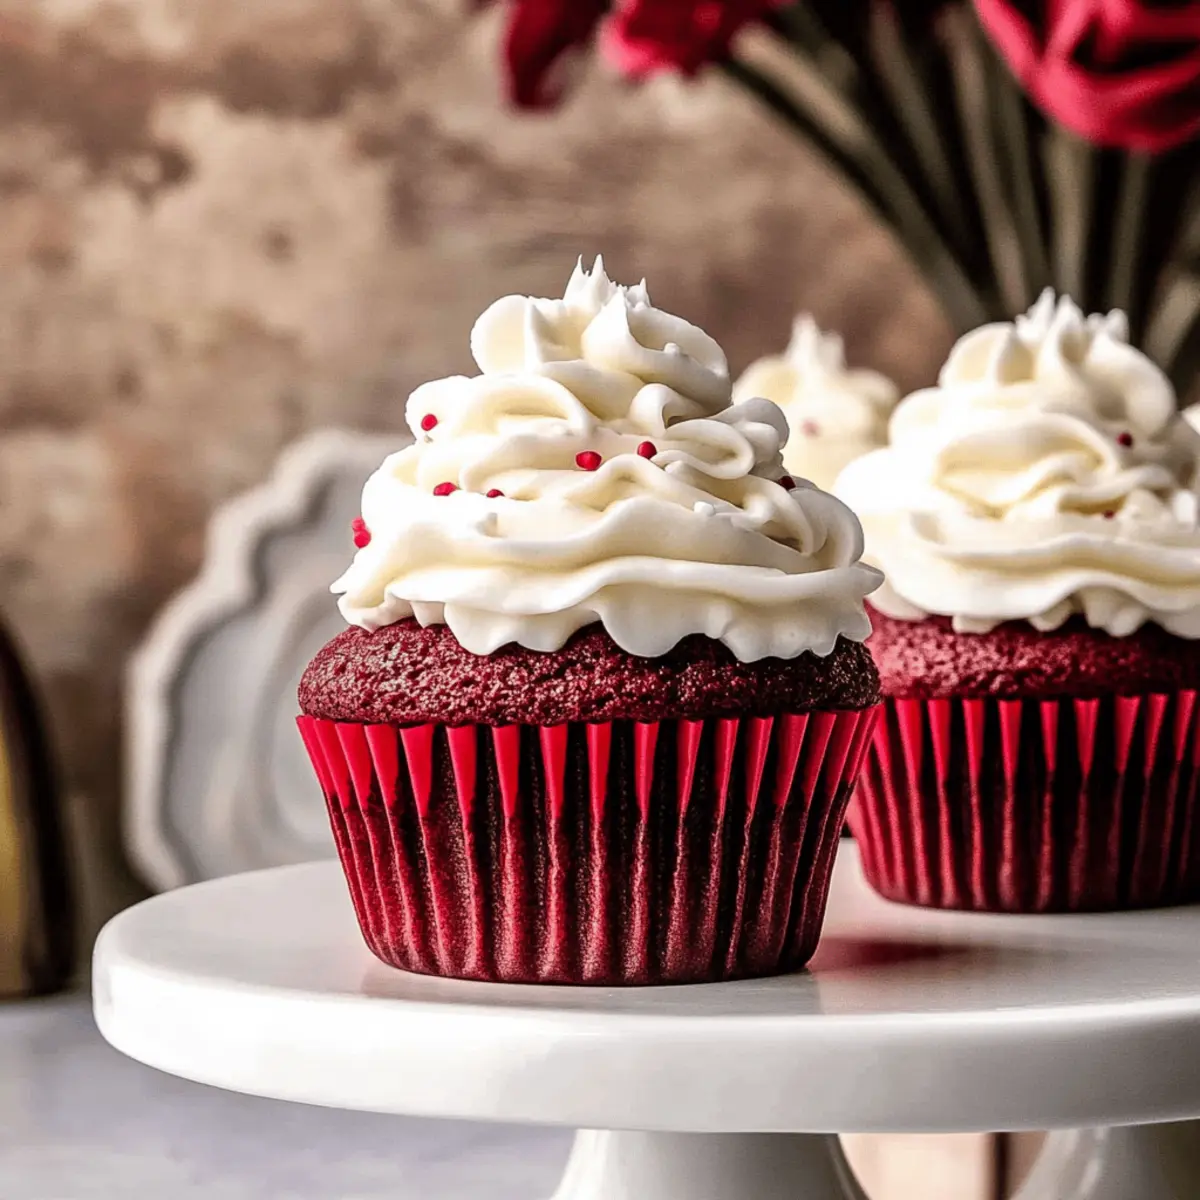
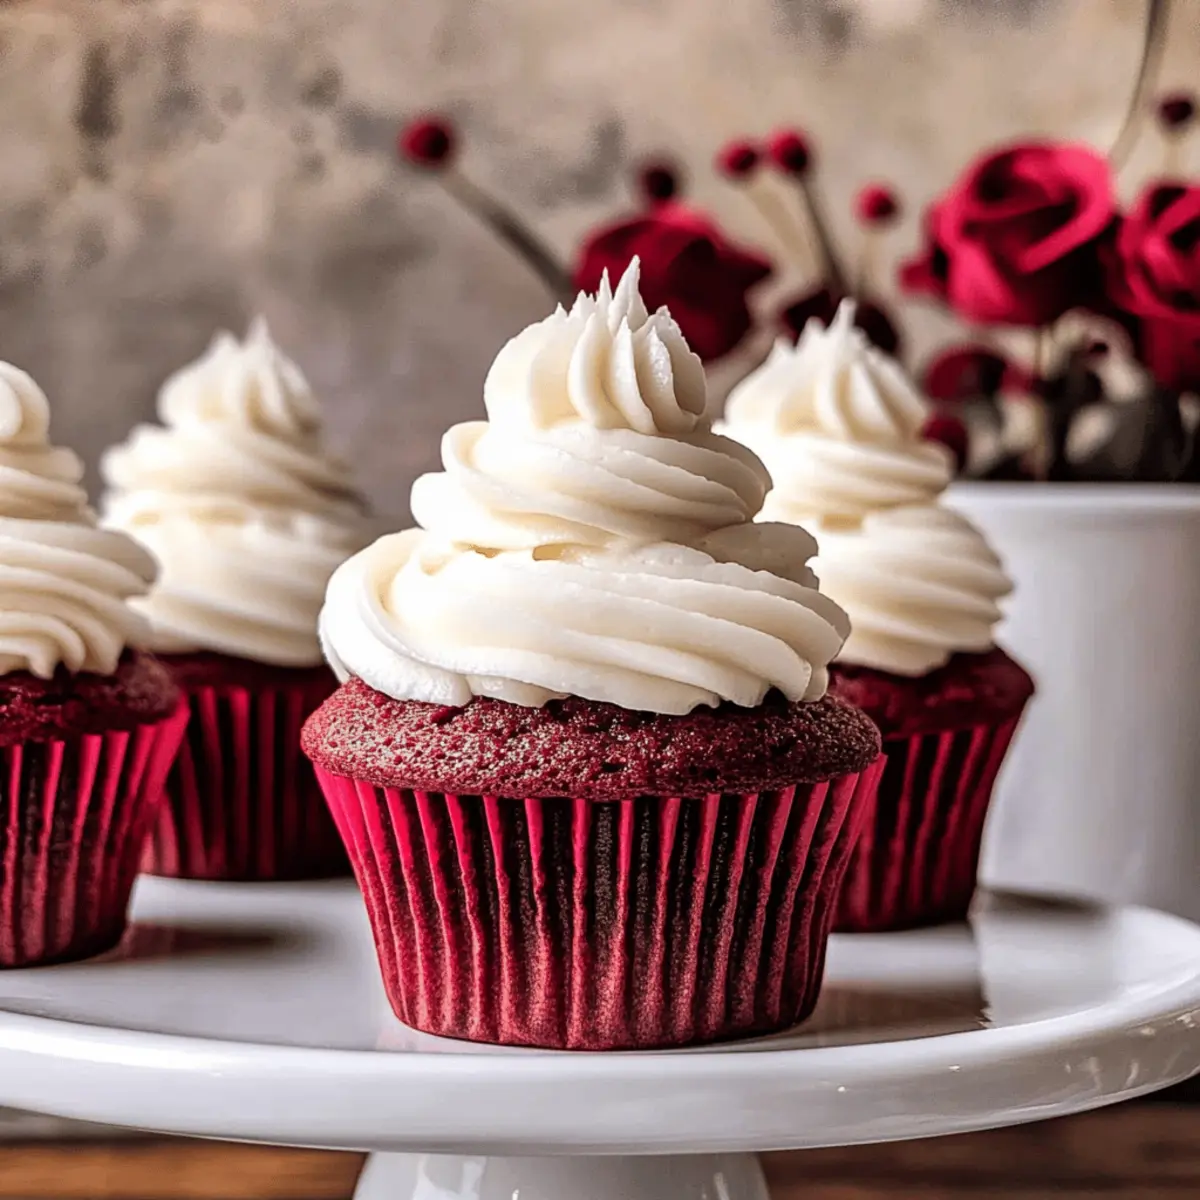
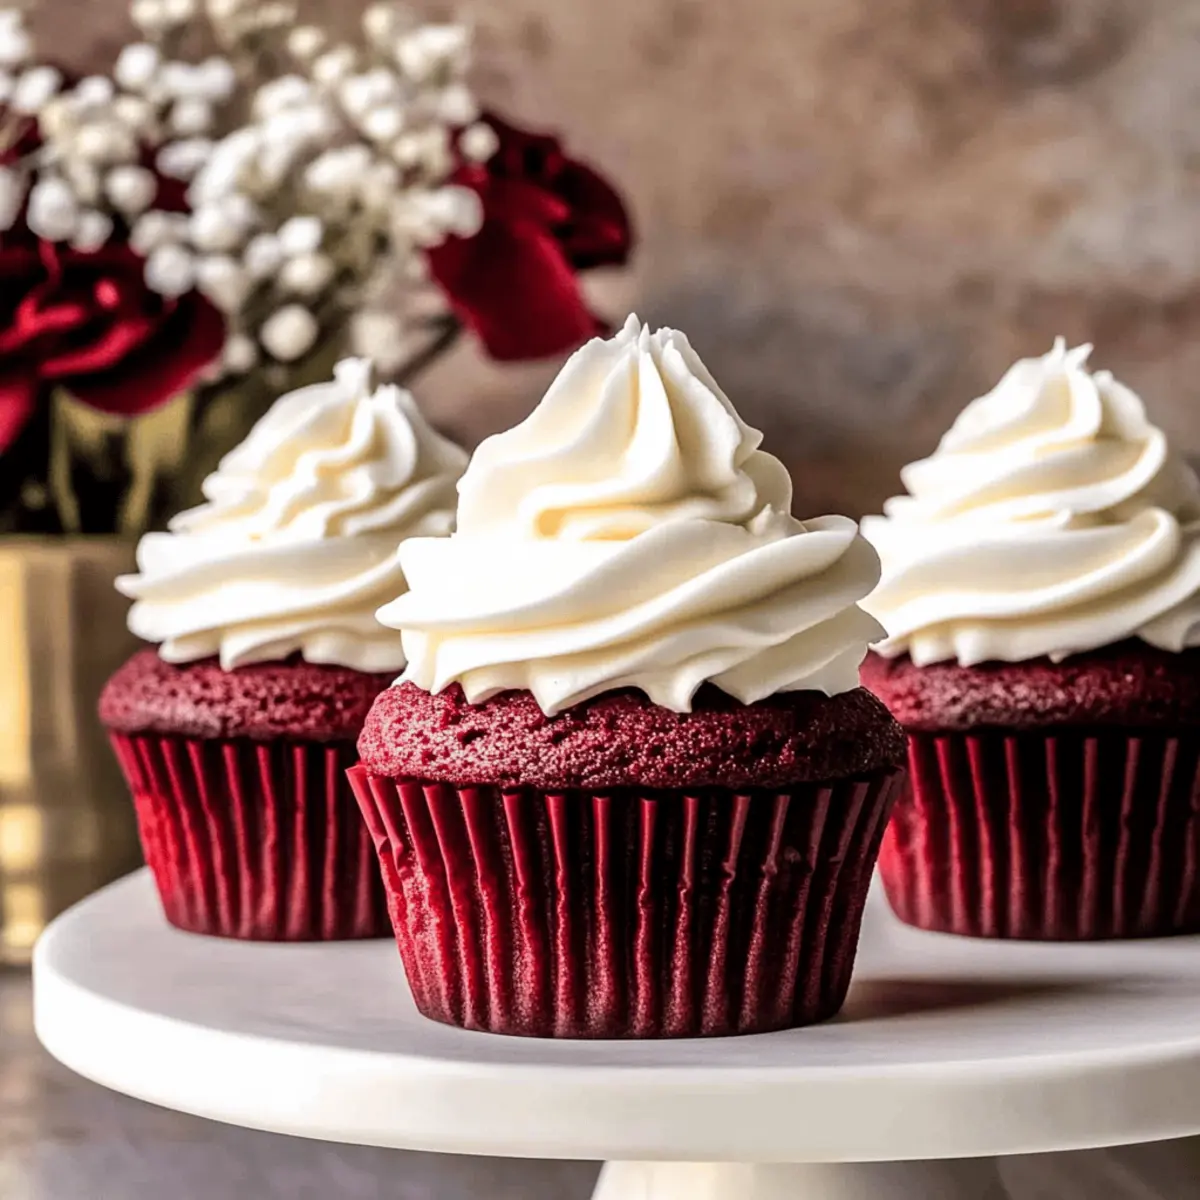
Once the red velvet cupcakes are completely cool, use a piping bag to generously frost each cupcake with the cream cheese frosting. If desired, sprinkle edible decorations on top to make them visually appealing. These final touches elevate your delightful red velvet cupcakes, making them perfect for any special occasion!
Make Ahead Options
These moist red velvet cupcakes are perfect for meal prep enthusiasts! You can prepare the cupcake batter up to 24 hours in advance. Simply mix all your wet and dry ingredients as directed, then transfer the batter to an airtight container and refrigerate. For the cream cheese frosting, it can be made 3 days ahead and stored in the fridge; just make sure to rewhip it before frosting the cupcakes for a smooth texture. When ready to bake, pour the batter into the liners and pop them into the oven. With these make-ahead steps, you can enjoy freshly baked red velvet cupcakes with minimal effort while saving precious time on busy days!
Expert Tips for Red Velvet Cupcakes
-
Proper Flour Measurement: Use the spoon-and-level method to measure flour; scooping directly can lead to excess and dry cupcakes.
-
Room Temperature Ingredients: Ensure all wet ingredients, especially eggs and buttermilk, are at room temperature to create a smoother batter and even bake.
-
Don’t Overmix: Gently fold in the red gel food coloring and avoid overmixing the batter after adding dry ingredients to keep the cupcakes fluffy.
-
Cool Completely: Allow the cupcakes to cool completely before frosting to prevent melting and ensure the cream cheese frosting holds its shape perfectly.
-
Cream Cheese Consistency: Start with cold cream cheese for the frosting to achieve a thick, stable consistency that spreads beautifully on your red velvet cupcakes.
Red Velvet Cupcakes Variations & Substitutions
Feel free to get creative with these red velvet cupcakes and make them your own!
- Dairy-Free: Substitute buttermilk with coconut milk mixed with a tablespoon of vinegar for a dairy-free version.
- Gluten-Free: Use a gluten-free baking blend in place of all-purpose flour for a gluten-free treat that everyone can enjoy.
- Chocolate Lovers: Add ½ cup of chocolate chips to the batter for a decadent chocolate surprise in every bite.
- Mini Cupcakes: Turn this recipe into mini cupcakes for bite-sized delights—just reduce the baking time to 12-15 minutes.
- Nutty Flavor: Incorporate ½ cup of finely chopped walnuts or pecans for a delightful crunch and nutty flavor.
- Spiced Up: Add a teaspoon of cinnamon or nutmeg to the dry ingredients for a warm and cozy twist.
- Berry Burst: Mix in ½ cup of mashed raspberries or chopped strawberries directly into the batter before baking for a fruity surprise.
- Frosting Twist: Opt for a vanilla buttercream frosting instead of cream cheese for a lighter and sweeter take on these cupcakes.
To elevate your dessert game even further, try pairing these delicious cupcakes with my recipe for Creamy Chicken and Buttered Noodles, making for a delightful meal to complement your sweet treats. Enjoy your baking journey!
Storage Tips for Red Velvet Cupcakes
-
Room Temperature: Enjoy your red velvet cupcakes at room temperature for up to 2 days; simply cover them with a clean towel or place them in a cake dome to keep them fresh.
-
Fridge: Store any leftover cupcakes in an airtight container in the fridge for up to 3 days. Let them come to room temperature before serving to enhance their flavor and texture.
-
Freezer: If you’d like to enjoy your cupcakes later, freeze them, un-frosted, in an airtight container for up to 3 months. When ready to eat, thaw in the fridge overnight and frost once defrosted.
-
Reheating: For a warm treat, you can lightly microwave a cupcake for about 10-15 seconds. This little trick revives moisture and flavor, creating a delightful experience with the red velvet cupcakes!
What to Serve with Moist Red Velvet Cupcakes with Cream Cheese Frosting
As you savor the sweet, tangy indulgence of these cupcakes, consider elevating your dessert experience with delightful pairings.
- Rich Vanilla Ice Cream: A scoop of creamy vanilla ice cream contrasts beautifully with the cupcakes’ texture, adding a cool, refreshing element.
- Fresh Berries: Strawberries or raspberries bring a pop of tartness that enhances the rich flavors of the cupcakes, creating a lovely balance.
- Hot Chocolate: A warm mug of hot chocolate complements the subtle cocoa notes in the cupcakes, making every bite a cozy delight.
- Chocolate Dipped Strawberries: This classic combination adds an elegant touch, by pairing the sweetness of chocolate with the tang of the cream cheese frosting.
- Coffee or Espresso: A cup of rich coffee perfectly balances the sweetness of the cupcakes, enhancing the cocoa flavor and providing a comforting experience.
- Light Lemon Sorbet: The bright, citrusy flavor of lemon sorbet pairs well with the richness of the cupcakes, acting as a refreshing palate cleanser.
- Caramel Sauce Drizzle: A drizzle of warm caramel sauce brings an added layer of decadence, enriching the delightful experience of your red velvet treats.
- Spiced Chai Latte: The aromatic spices in a chai latte enhance the warm flavors of chocolate, making for a perfect dessert beverage duo.
- Cream Cheese Brownies: If you’re feeling adventurous, serve a slice of fudgy cream cheese brownies alongside your cupcakes for a double treat of indulgence.
Red Velvet Cupcakes Recipe FAQs
What is the best way to select ripe ingredients for my red velvet cupcakes?
Absolutely! For the best results, ensure your butter is softened at room temperature, as this helps create a creamy texture when you mix it with sugar. Your eggs should also be at room temperature to properly incorporate into the batter. Additionally, using fresh ingredients, especially the buttermilk (which should have a pleasant smell), is key to achieving that moist and flavorful cupcake.
How do I store my leftover red velvet cupcakes, and how long will they last?
You can store your red velvet cupcakes in an airtight container at room temperature for up to 2 days. If you need to keep them longer, place them in the refrigerator for up to 3 days. For optimal flavor and texture when serving, let them come to room temperature before indulging. Just remember to cover them to keep them fresh and moist!
Can I freeze these red velvet cupcakes for later enjoyment?
Very much so! To freeze your cupcakes, first, allow them to cool completely. Then, place them in an airtight container or wrap them individually in plastic wrap to prevent freezer burn. They will stay fresh for up to 3 months. When you’re ready to enjoy, simply thaw them overnight in the fridge, and they’ll be beautiful and ready for frosting once again!
What should I do if my red velvet cupcakes turn out dry?
If your cupcakes turn out dry, it might be due to overmixing the batter or not measuring flour properly. When incorporating dry ingredients, mix just until combined to keep the batter light. Also, be sure to measure flour using the spoon-and-level method. If you find yourself with dry cupcakes, consider adding a drizzle of simple syrup (equal parts sugar and water heated until dissolved) over the cupcakes to enhance moisture.
Are there any specific dietary considerations I should keep in mind?
Definitely! If you’re catering to dietary allergies, ensure you check for gluten sensitivities by using a gluten-free baking blend in place of all-purpose flour. For a lower sugar option, you can swap out granulated sugar for a sugar alternative. Also, be mindful of cream cheese in the frosting for those avoiding dairy—vegan cream cheese could be a perfect substitute!
How can I achieve that signature red color without it looking dull?
For that vibrant, deep red color in your red velvet cupcakes, use red gel food coloring instead of liquid. Gel food coloring provides more intense pigment, ensuring your cupcakes have that stunning hue when baked. Make sure to fold it gently into the batter to maintain the airy texture!
Crispy Outside, Moist Red Velvet Cupcakes That Wow
Ingredients
Equipment
Method
- Preheat your oven to 350°F (175°C) and line a cupcake pan with cupcake liners.
- Whisk together flour, cocoa powder, baking powder, baking soda, and salt in a medium bowl.
- Cream butter and sugar in a large mixing bowl until light and fluffy.
- Add egg, egg yolk, and vanilla extract to the butter-sugar mixture and mix until incorporated.
- Gradually incorporate the dry ingredients and buttermilk, mixing until just combined.
- Gently fold in red gel food coloring to the batter.
- Fill each cupcake liner three-quarters full and bake for 17-20 minutes.
- Cool in the pan for 10 minutes, then transfer to a wire rack.
- Prepare frosting by beating butter and cream cheese until smooth, then mix in powdered sugar.
- Frost cooled cupcakes with cream cheese frosting and decorate as desired.


