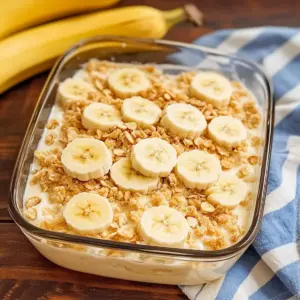
As I stood in the kitchen, the unmistakable aroma of warm vanilla began to fill the air, instantly transporting me back to my grandmother’s home and her well-loved recipe for Classic Homemade Banana Pudding. This Southern delight is a heartfelt tribute to tradition, featuring layers of ripe bananas and crunchy vanilla wafers that come together in a creamy, comforting dessert. One of the best parts? It’s an easy dessert you can whip up without any boxed pudding mixes, making it a perfect quick treat for gatherings or cozy family nights. Plus, it can be made ahead of time, allowing those rich flavors to meld overnight for a truly indulgent experience. Are you ready to create a dish that warms the heart and satisfies the soul? Let’s dive in!
What makes this dessert unforgettable?
Homemade goodness: This Classic Homemade Banana Pudding is crafted from scratch, ensuring a rich and authentic taste that boxed mixes simply can’t match.
Perfectly balanced layers: Combining crunchy vanilla wafers and fresh bananas creates delightful textures in every spoonful, offering a satisfying mix of creamy and crispy.
Time-saving: Prepare this dessert ahead of time, allowing the flavors to meld overnight—perfect for potlucks and family gatherings!
Crowd-pleaser: Whether it’s a holiday celebration or a simple weeknight treat, this Southern classic appeals to everyone, leaving a lasting impression.
Comforting taste of tradition: With its roots in Southern cuisine, every bite evokes nostalgia and warmth, making it a cherished addition to any meal.
For more delicious homemade desserts, check out my guide on Essential Comfort Foods.
Classic Homemade Banana Pudding Ingredients
For the Pudding
• Sugar – Sweetness that balances the creaminess; can substitute with brown sugar or honey for a slight variation.
• Flour – Thickening agent essential for smooth texture; all-purpose flour works best here.
• Salt – A pinch enhances the overall flavor without making it salty.
• Milk – Provides creaminess and serves as the pudding base; any milk variety, including non-dairy options, will work.
• Eggs – Adds richness and is crucial for thickening; whole eggs are best for this recipe.
• Vanilla extract – Flavor enhancer; opt for pure vanilla to elevate the taste.
For the Layers
• Vanilla wafers – Create the structure and crunch; about 8 oz is ideal, but you can swap with graham crackers or Biscoff cookies if desired.
• Bananas – Essential for flavor and texture; fresh, ripe bananas (4, sliced) are recommended—no substitutes for this quantity.
Enjoy crafting your Classic Homemade Banana Pudding with these simple ingredients, as this Southern delight is sure to warm hearts and satisfy sweet cravings!
Step‑by‑Step Instructions for Classic Homemade Banana Pudding
Step 1: Combine Dry Ingredients
In a medium saucepan, combine 3/4 cup sugar, 1/3 cup flour, and a pinch of salt. Whisk them together thoroughly until they are well blended. This will ensure an even distribution of flavor and prevent clumping.
Step 2: Whisk in the Milk
Gradually pour in 3 cups of milk while continually whisking the mixture to avoid lumps. Place the saucepan over medium heat and stir constantly until it thickens and begins to bubble, about 10 minutes. You should see the mixture coating the back of a spoon when it’s ready.
Step 3: Cook the Mixture
Lower the heat and allow the thickened pudding to gently bubble for an additional 2 minutes, stirring consistently to prevent burning. Once done, remove the saucepan from heat to cool slightly.
Step 4: Temper the Eggs
In a small bowl, whisk together 3 whole eggs. Gradually stir in about 1 cup of the hot pudding mixture, whisking continuously to bring the eggs up to temperature without scrambling them.
Step 5: Return to Heat
Pour the tempered egg mixture back into the saucepan with the remaining pudding. Cook on low heat, stirring constantly, until the mixture gently reaches a boil again for 2 minutes. You’ll know it’s done when it thickens further and bubbles visibly.
Step 6: Add Vanilla and Cool
Remove the pudding from the heat, and stir in 1 teaspoon of pure vanilla extract for that comforting flavor. Let the pudding cool for about 15 minutes, stirring occasionally to maintain a smooth consistency and prevent a skin from forming.
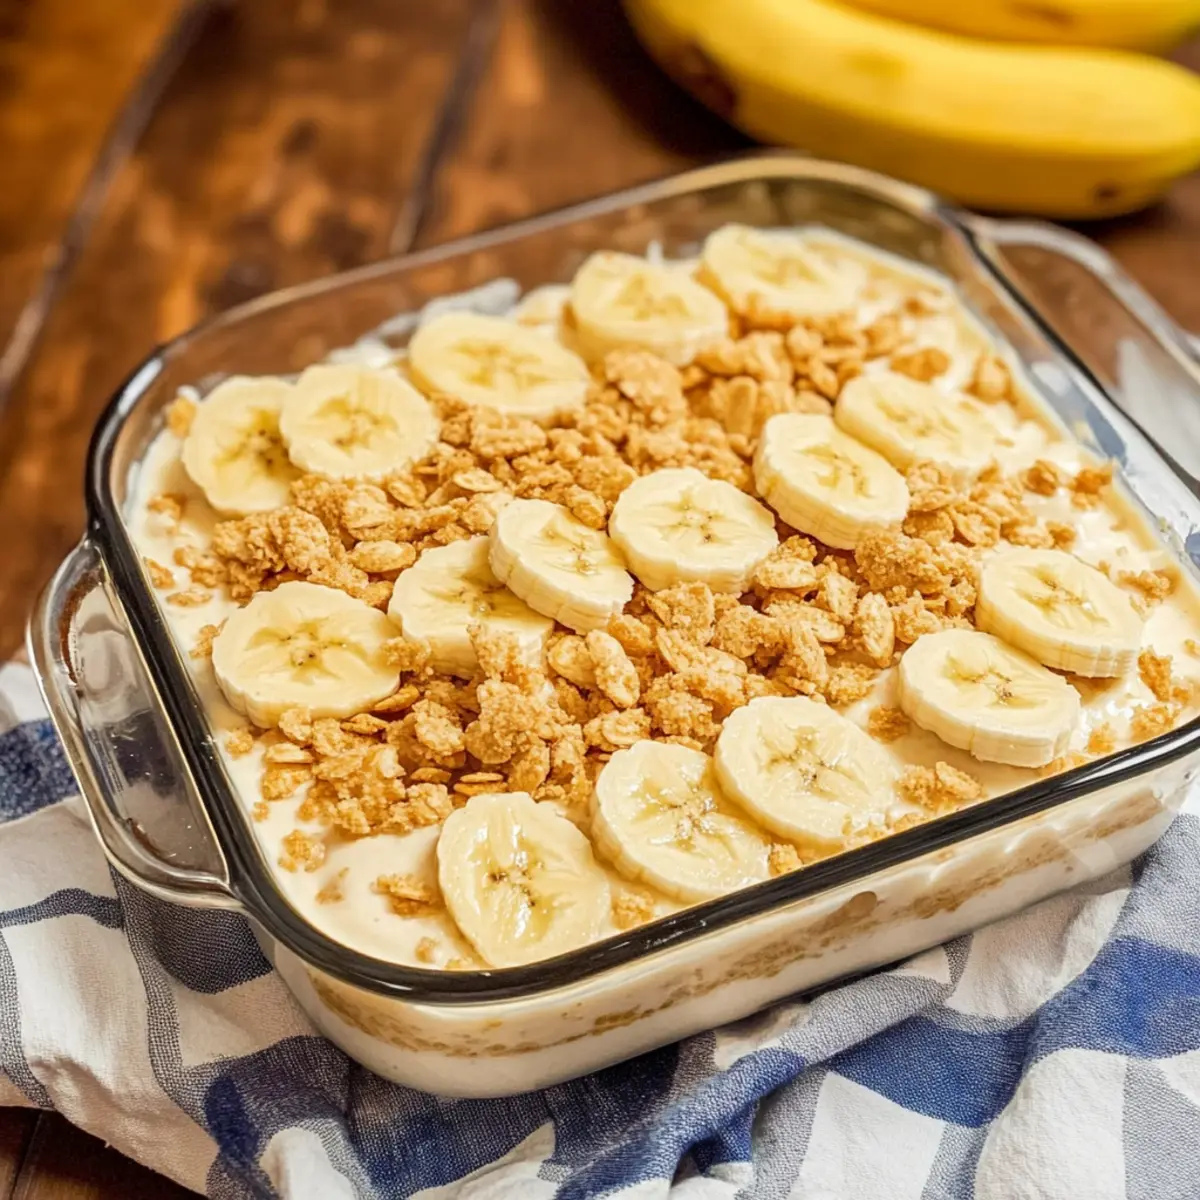
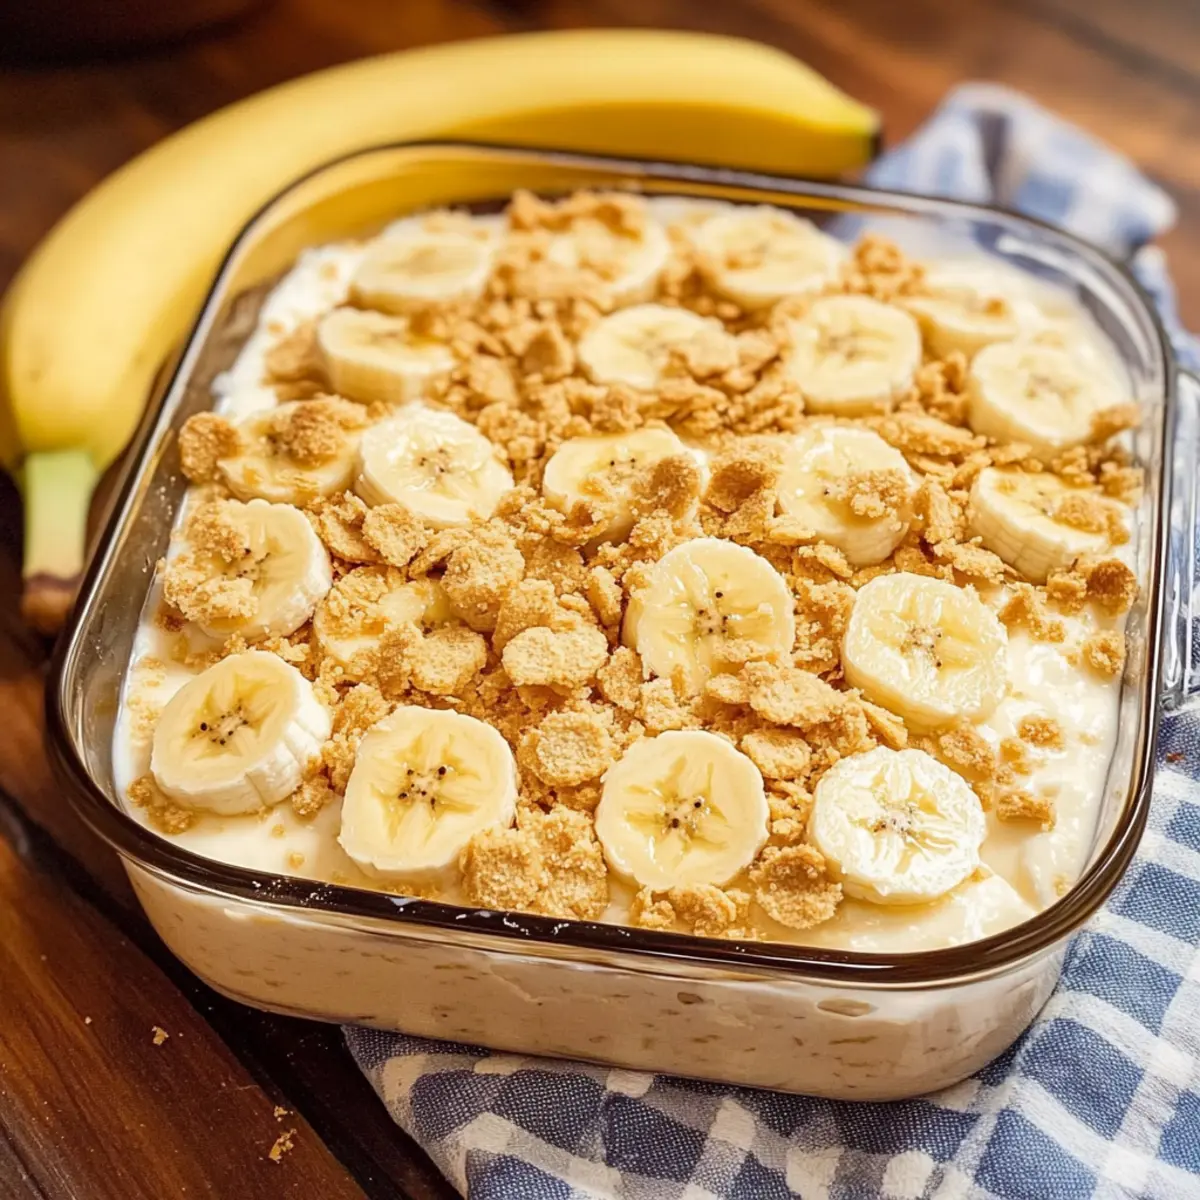
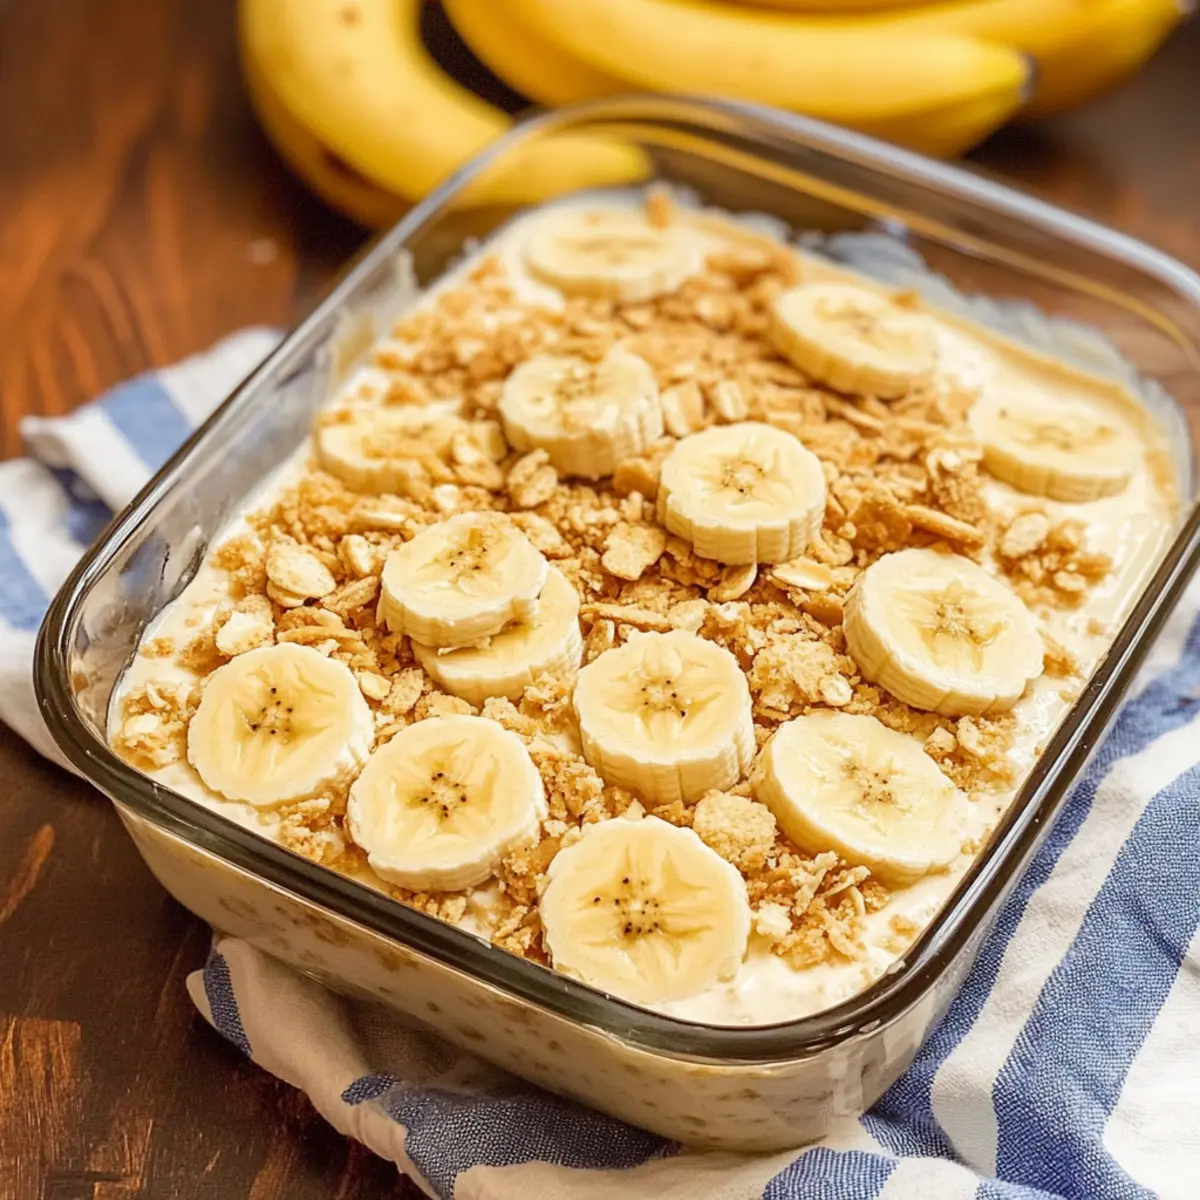
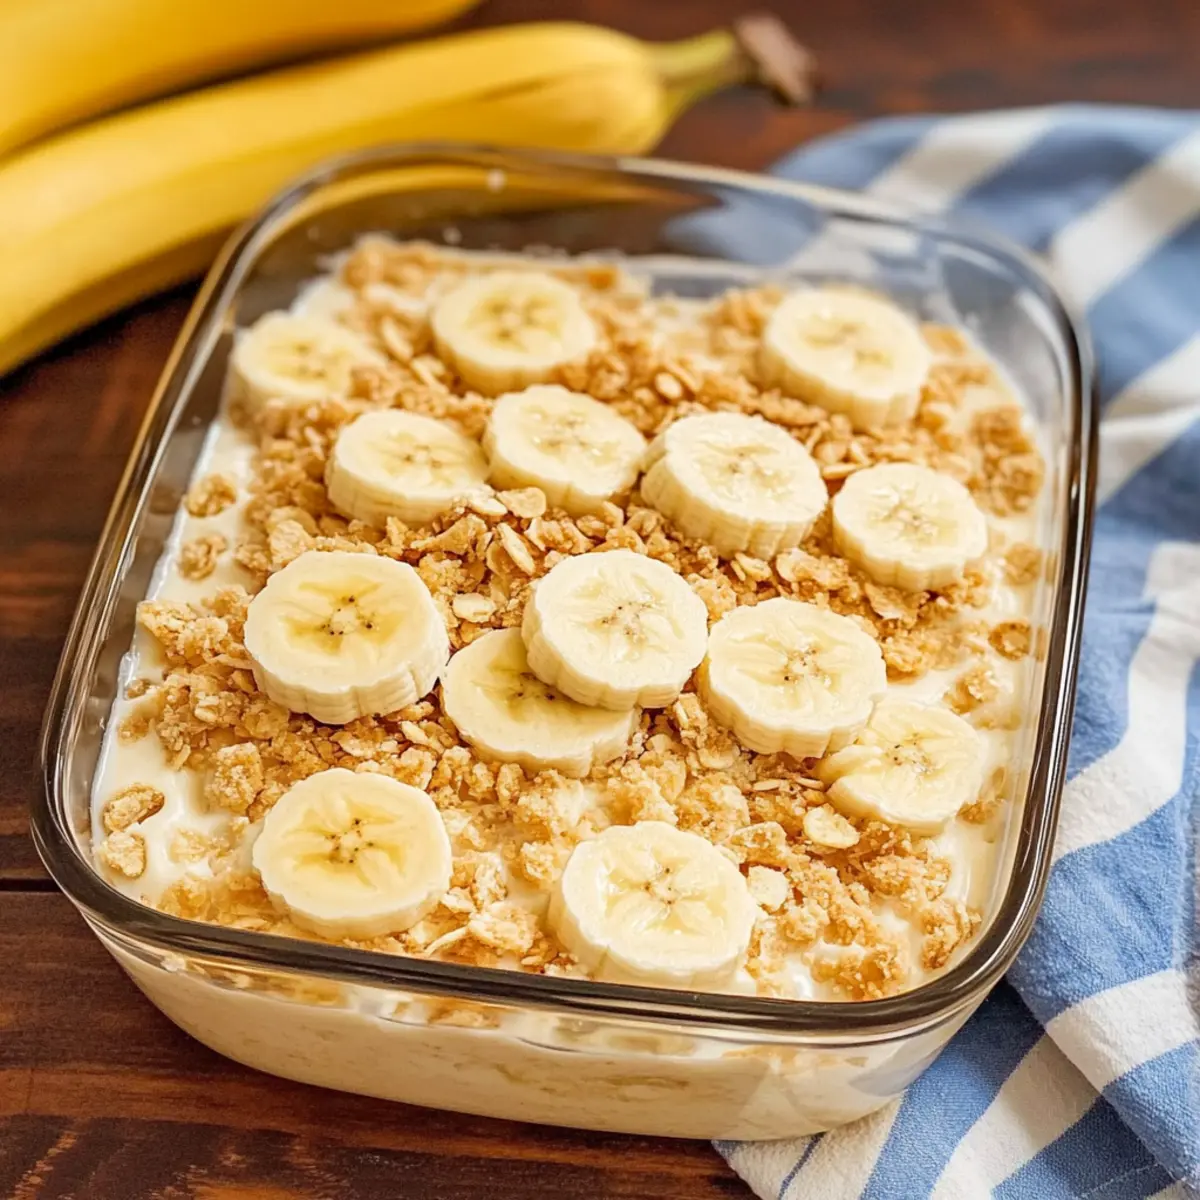
Step 7: Layer the Ingredients
In an ungreased 8-inch square pan, create the first layer by placing approximately 25 vanilla wafers evenly across the bottom. Next, add half of your banana slices over the wafers, using about 2 ripe bananas.
Step 8: Pour the Pudding
Gently pour half of your warm pudding mixture over the first layer of bananas and vanilla wafers, ensuring an even spread. Repeat the process with the remaining bananas and then pour the rest of the pudding on top, completing your Classic Homemade Banana Pudding.
Step 9: Chill and Set
Cover the banana pudding with plastic wrap, pressing it gently against the surface to prevent a skin from forming. Refrigerate for at least 4 hours, though overnight chilling is ideal to let the flavors meld and create a creamy texture.
Step 10: Garnish and Serve
Before serving, crush remaining vanilla wafers and sprinkle them over the top for a delightful crunch. Serve chilled, possibly alongside whipped cream or additional banana slices, for a truly comforting dessert experience!
Classic Homemade Banana Pudding Variations
Feel free to make this dish your own by swapping ingredients and boosting flavors for a delightful twist!
- Dairy-Free: Use almond milk or coconut milk for a delicious non-dairy version that still maintains creamy goodness.
- Banana Boost: Mash an extra banana into the pudding mix for an intensified banana flavor that will make your taste buds sing.
- Cookie Switch: Swap out vanilla wafers for chocolate cookies or graham crackers for a fun, unique flavor contrast.
- Nutty Crunch: Add chopped walnuts or pecans between the layers for a delightful crunch and nutty depth. They’re a great textural addition!
- Caramel Drizzle: Drizzle caramel sauce in between the layers to take your banana pudding to a whole new level of indulgence.
- Spiced Up: Sprinkle in a dash of cinnamon or nutmeg for a warm flavor that beautifully complements the bananas. It’s a cozy touch!
- Layering Fruits: Try layering fresh berries or diced mango with the bananas for a refreshing twist bursting with fruity goodness.
- Chocolate Twist: Incorporate chocolate pudding into the layers for a deliciously decadent chocolate-banana pudding combo. You can’t go wrong!
Embrace your creativity in the kitchen! For more ways to make delightful desserts, explore my tips on Creating Unique Dessert Flavors.
What to Serve With Classic Homemade Banana Pudding
Classic Homemade Banana Pudding is the darling of dessert tables, offering a blend of flavors and textures that make it the star of any meal.
- Fresh Berries: Juicy strawberries or tart raspberries provide a bright contrast that cuts through the creaminess, elevating every spoonful.
- Whipped Cream: A light, fluffy topping complements the pudding’s richness, adding a delightful texture that makes each bite feel indulgent.
- Ice Cream: Vanilla bean or banana ice cream pairs beautifully, enhancing the banana flavor while offering an extra creamy layer for unforgettable indulgence.
- Coffee: A warm cup of coffee balances the sweetness and richness of the pudding, creating a comforting pairing perfect for any time of day.
- Chocolate Crumble Cookies: Add a crunch with crushed cocoa cookies; the chocolate notes mingle with the bananas for a decadent twist.
- Pineapple Slices: Fresh pineapple adds a tropical burst that brightens the dish, making it feel light and refreshing while enhancing the flavor profile.
These pairings not only complement the lusciousness of your Classic Homemade Banana Pudding but also create a delightful dining experience!
Make Ahead Options
These Classic Homemade Banana Pudding is perfect for busy home cooks looking to save time! You can prepare the pudding mixture up to 24 hours in advance, allowing the flavors to meld beautifully by refrigerating it in an airtight container. Layer the vanilla wafers and banana slices in the serving dish when you’re ready to serve, which helps maintain the wafers’ crispiness. Just remember to cover the pudding tightly to prevent the bananas from browning, and for ultimate freshness, add any remaining crushed wafers right before serving. With these make-ahead tips, you’ll enjoy a delicious dessert with minimal effort on the day of your gathering!
Storage Tips for Classic Homemade Banana Pudding
Refrigerator: Keep your banana pudding covered tightly with plastic wrap in the fridge for up to 4 days to maintain freshness and prevent browning of the bananas.
Freezer: Freezing is not recommended, as it can alter the texture, making the pudding watery and the banana slices mushy when thawed.
Serving: For the best flavor and texture, add the fresh banana slices and crushed vanilla wafers just before serving to preserve their crispness.
Leftover Cooling: If you have leftover pudding, let it cool before storing for optimal taste.
Expert Tips for Classic Homemade Banana Pudding
• Cool Before Layering: Allow your pudding to cool before layering; this prevents the vanilla wafers from becoming soggy and maintains their delightful crunch.
• Prevent Browning: To keep the banana slices fresh and vibrant, cover the pudding tightly and add bananas just before serving. This helps avoid any unwanted browning.
• Quality Over Quantity: Use fresh, ripe bananas for the best flavor and texture. Avoid overripe bananas that may turn mushy in the pudding layers.
• Proper Mixing: When combining the pudding and egg mixture, whisk continuously to prevent the eggs from scrambling. This step is crucial for a smooth classic homemade banana pudding.
• Overnight Option: For the richest flavors, prepare your pudding a day ahead. Chilling overnight allows the taste to deepen and provides a creamier consistency.
• Storage Reminder: Keep covered in the refrigerator for up to 4 days. Freezing is not recommended, as it can alter the texture of your banana pudding.
Classic Homemade Banana Pudding Recipe FAQs
How do I choose the right bananas for this recipe?
Absolutely! For the best flavor and texture in your Classic Homemade Banana Pudding, select fresh, ripe bananas. Look for bananas with a bright yellow peel and a few small brown spots, which indicates ripeness. Avoid overripe bananas that are excessively brown or mushy, as they won’t hold up well in the pudding layers.
What are the best storage methods for leftover banana pudding?
Very! Store your Classic Homemade Banana Pudding in the refrigerator by tightly covering it with plastic wrap or aluminum foil. This helps to maintain freshness while preventing the bananas from browning. It will stay good for up to 4 days, so you can enjoy it for a few days after making it!
Can I freeze leftover banana pudding?
While you could try, I recommend against freezing Classic Homemade Banana Pudding. Freezing can significantly affect the texture, making the pudding watery and the bananas mushy upon thawing. For the best taste and enjoyment, it’s best to consume it fresh or refrigerated.
What should I do if my pudding doesn’t thicken properly?
Not to worry! If your pudding stays runny, make sure the mixture has cooked long enough. After adding the eggs, cook it until it reaches a gentle boil while stirring consistently. If you find it still too thin after cooling, you can gently reheat the pudding in a saucepan, whisking in a bit more flour mixed with cold milk to help thicken it.
Can this recipe be adapted for dietary restrictions?
Certainly! If you have dietary concerns, you can substitute regular milk with non-dairy options like almond or oat milk. Additionally, for a sugar alternative, consider using coconut sugar or agave syrup. Just keep in mind these changes may slightly alter the flavor or texture, but they’re absolutely worth trying!
How should I serve and garnish the banana pudding?
Absolutely delightful! Before serving your Classic Homemade Banana Pudding, garnish it with crushed vanilla wafers on top for a satisfying crunch. You might also add a dollop of freshly whipped cream and a few slices of banana to enhance the presentation and elevate the flavor even more!
Classic Homemade Banana Pudding: Comfort in Every Bite
Ingredients
Equipment
Method
- In a medium saucepan, combine 3/4 cup sugar, 1/3 cup flour, and a pinch of salt. Whisk them together thoroughly until well blended.
- Gradually pour in 3 cups of milk while whisking continuously. Place over medium heat, stirring until thickened and bubbling, about 10 minutes.
- Lower heat and let bubble gently for an additional 2 minutes, stirring constantly. Remove from heat to cool slightly.
- In a small bowl, whisk together 3 whole eggs. Gradually stir in 1 cup of the hot pudding mixture, whisking to temper the eggs.
- Pour the tempered egg mixture back into the saucepan with the pudding. Cook on low, stirring, until it boils again for 2 minutes.
- Remove from heat and stir in 1 teaspoon of pure vanilla extract. Cool for about 15 minutes.
- In an ungreased 8-inch square pan, place 25 vanilla wafers at the bottom. Add half of the banana slices over the wafers.
- Pour half of the pudding mixture over the first layer. Repeat with remaining bananas and pudding.
- Cover with plastic wrap and refrigerate for at least 4 hours, overnight is ideal.
- Before serving, crush remaining vanilla wafers and sprinkle over the top. Serve chilled.