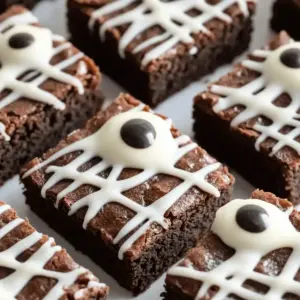
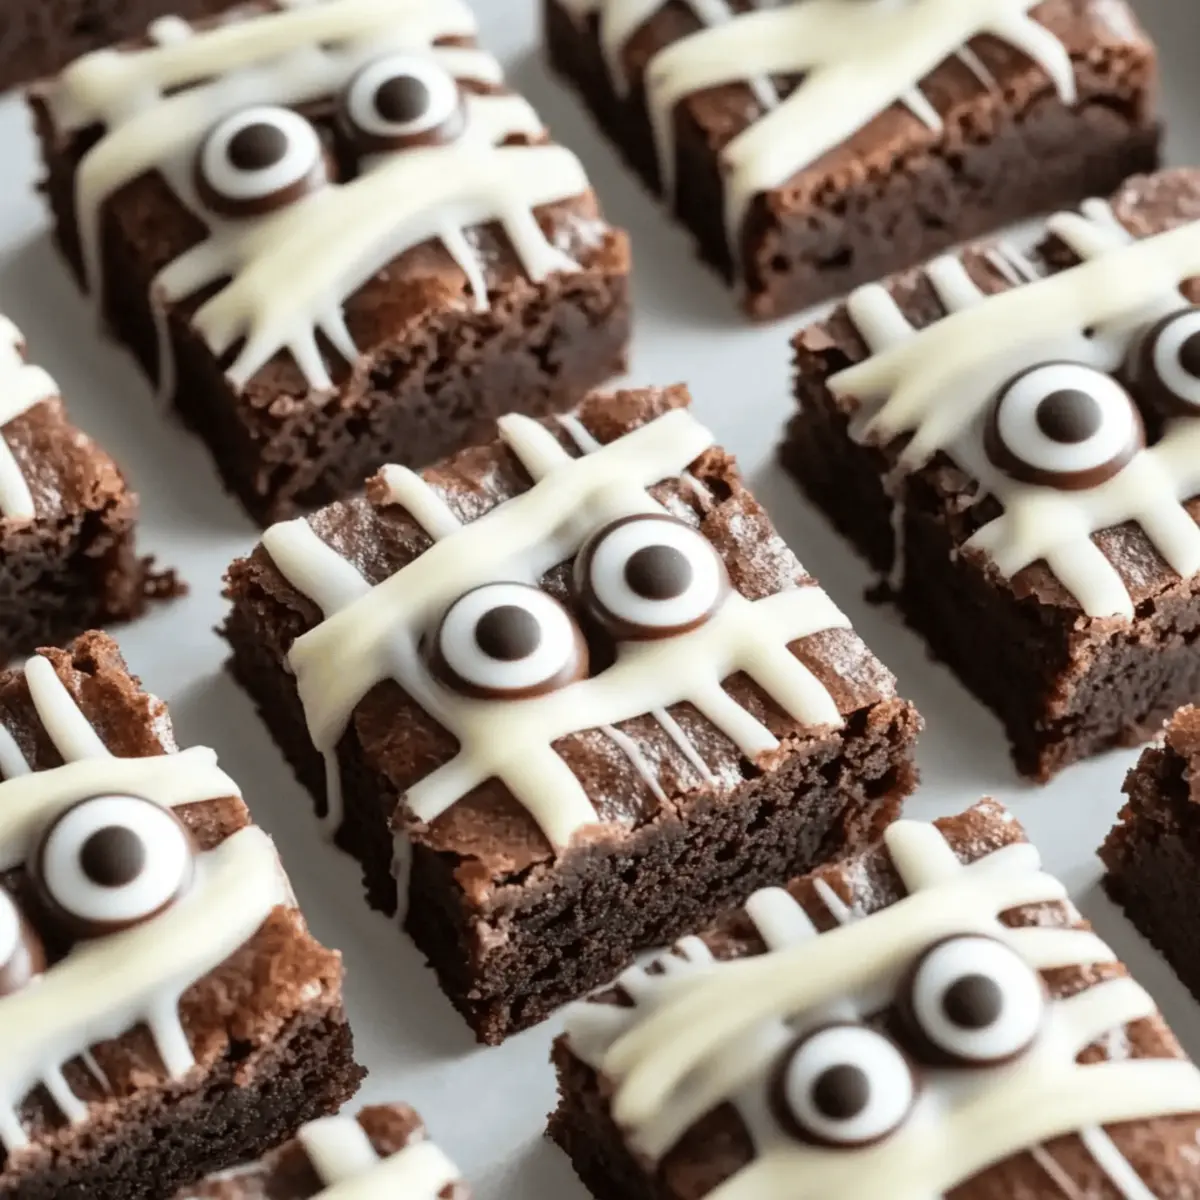
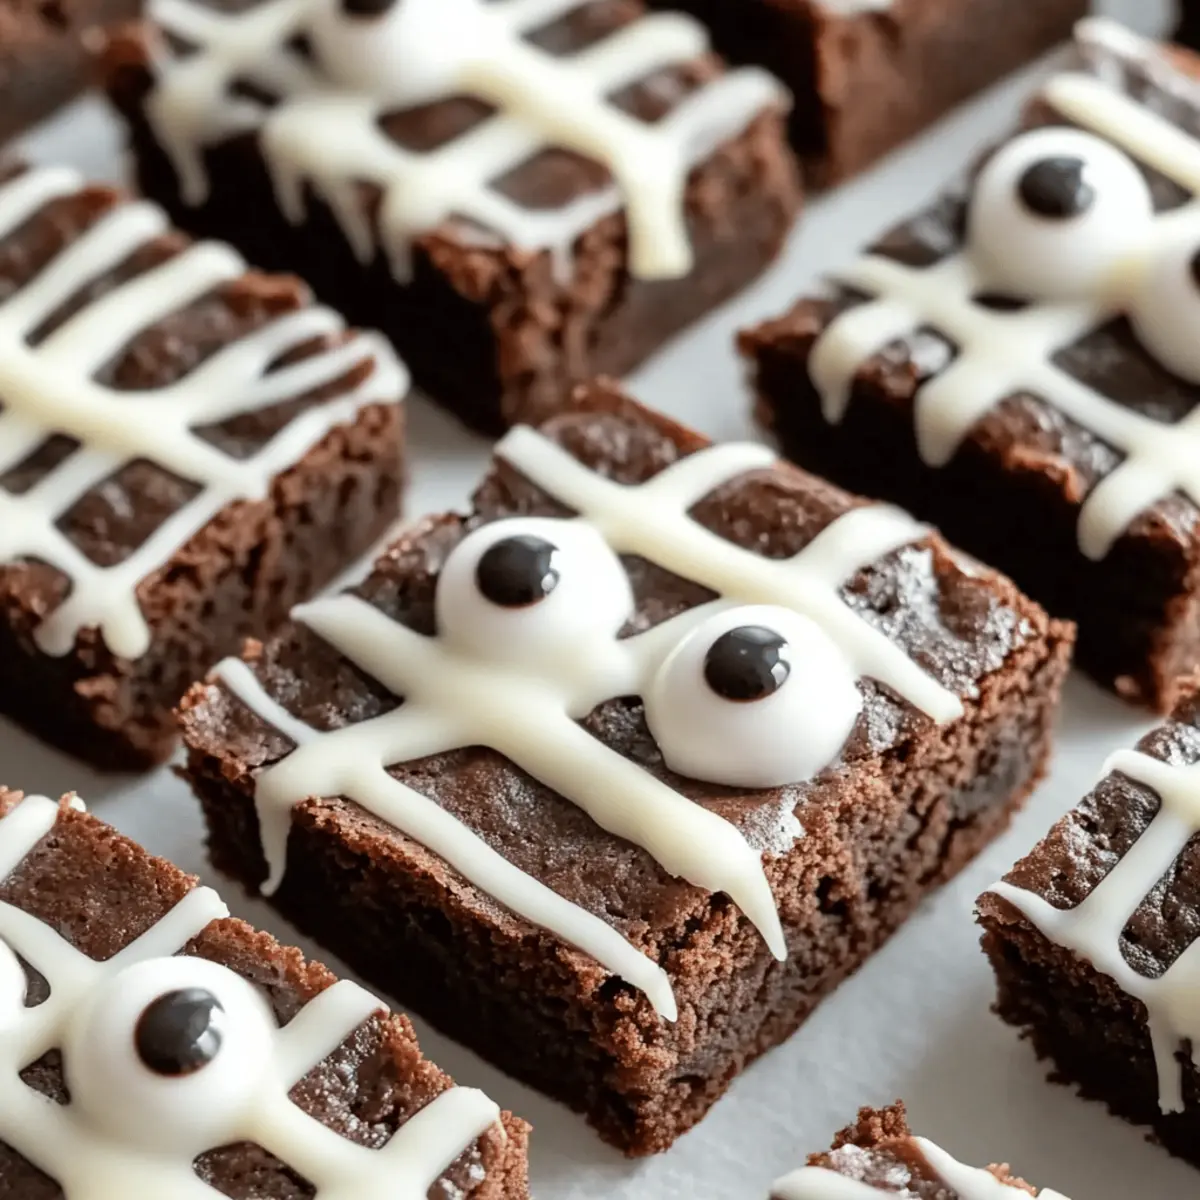
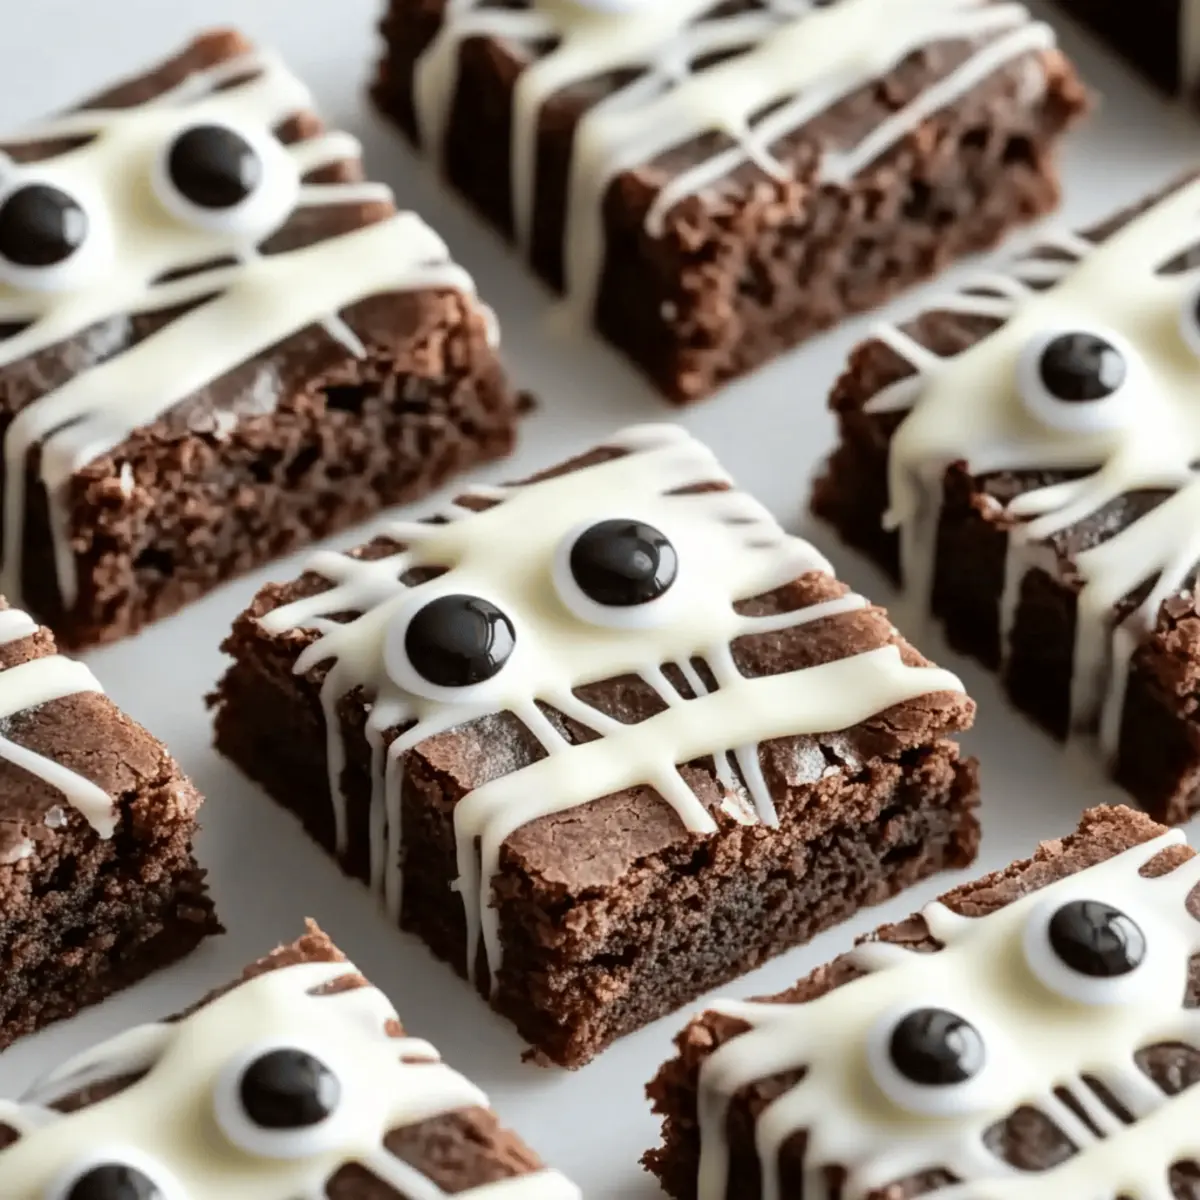
As I glanced at my kitchen, a flurry of Halloween ideas danced in my head, and there it was—a batch of Spooky Mummy Brownies lying in wait. With their rich chocolate goodness and charming white chocolate bandages, these delightful treats are sure to steal the show at any October gathering. What I adore most about this recipe is how effortlessly it brings joy to both the makers and the eaters. Not only are they easy to whip up, making it a perfect option for those last-minute plans, but they also embody the spirit of creativity that Halloween calls for, delighting kids and adults alike. Ready to transform a simple brownie into a whimsical bite of fun? Let’s dive in!
Why Are Mummy Brownies So Fun?
Creativity, It’s not just about taste; these Mummy Brownies invite you to bring out your artistic side! Transform traditional brownies into playful Halloween delights that thrill children and adults alike.
Simplicity, With easy-to-follow steps, you can whip these perfect treats up even on a busy day.
Flexibility, Experiment with different chocolate types and toppings to make this recipe uniquely yours.
Perfect for Gatherings, These spooky snacks will steal the spotlight at your Halloween parties, leaving guests smiling and satisfied.
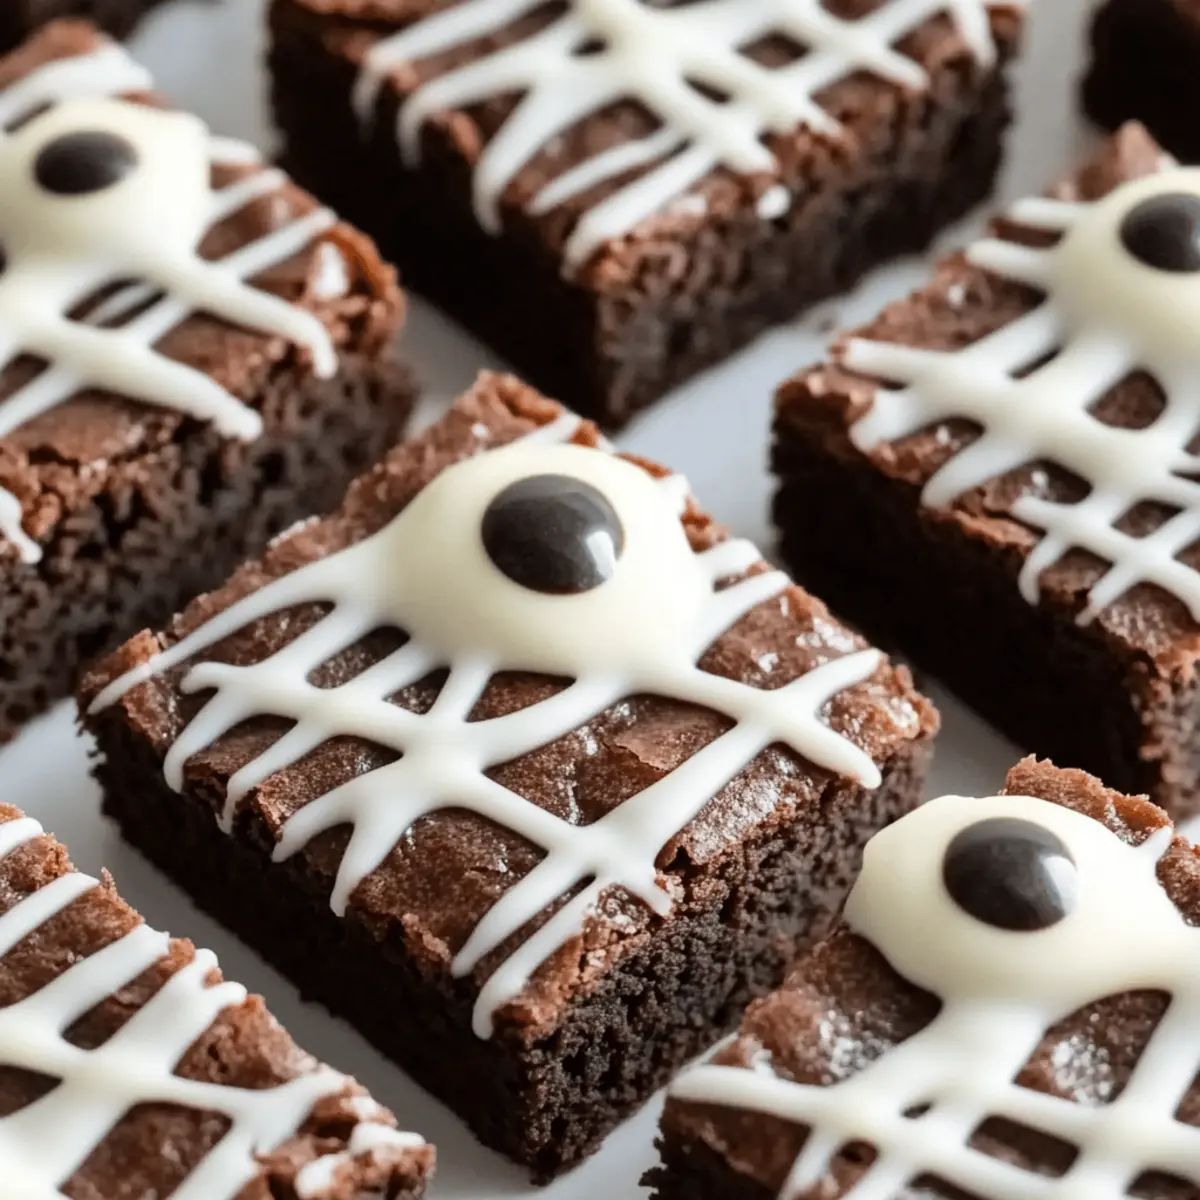
Memorable Treats, The whimsical white chocolate drizzle and candy eyes create a festive touch, making your desserts not only delicious but a feast for the eyes as well.
Storage-Friendly, Need to prepare ahead? These brownies stay fresh for days and can be frozen, easy to serve whenever the Halloween spirit calls!
Mummy Brownies Ingredients
• Gather what you need to create these delightful treats!
For the Brownie Base
- Butter – Adds richness and moisture; feel free to use unsalted or salted and adjust salt accordingly.
- Semisweet Chocolate Chips – Imparts a deep chocolate flavor; substitute with milk chocolate for a sweeter result.
- Vanilla Extract – Enhances the flavor profile; opt for pure vanilla extract for the best taste.
- Eggs – Provide structure and moisture; using room temperature eggs helps them blend better.
- All-Purpose Flour – Acts as the base for structure; can be switched with gluten-free flour if needed.
- White Sugar – Adds sweetness; can be replaced with coconut or brown sugar for extra flavor complexity.
- Brown Sugar – Contributes moisture and caramel notes; use either light or dark brown sugar.
- Dutch-Process Cocoa Powder – Delivers a rich flavor with less acidity; if unavailable, regular cocoa powder works well.
- Salt – Balances sweetness and enhances overall flavors.
For the Decoration
- White Chocolate Chips or Candy Melts – Used for mummy bandages; opt for colored melts for a fun twist.
- Candy Eyes – The finishing touch for your mummies; can be replaced with homemade chocolate dots for a personal touch or omitted entirely.
These Mummy Brownies are sure to be a hit at your Halloween celebrations!
Step‑by‑Step Instructions for Mummy Brownies
Step 1: Preheat the Oven
Begin by preheating your oven to 350°F (175°C). While it heats, take a 9×9-inch baking pan and line it with parchment paper to ensure easy removal of your brownies later. You’ll want it ready for the rich, chocolatey batter that’s about to come together!
Step 2: Melt the Chocolate and Butter
In a microwave-safe bowl, combine the butter and semisweet chocolate chips. Heat them in the microwave in 30-second intervals, stirring between each, until the mixture is completely melted and smooth. This will create a luscious base for your Mummy Brownies that melts in your mouth.
Step 3: Whisk the Dry Ingredients
In a separate bowl, whisk together the all-purpose flour, white sugar, brown sugar, Dutch-process cocoa powder, and salt until well combined. This blend will form the structure of the brownies, giving them that chewy, decadent texture we crave. Make sure there are no lumps—it should look inviting!
Step 4: Combine Wet and Dry Ingredients
Once your chocolate and butter are melted and slightly cooled, add the eggs and vanilla extract to this mixture. Stir until fully combined, ensuring a glossy consistency. Gradually fold the dry ingredient mixture into the wet ingredients, combining until just mixed. Avoid overmixing, as this can lead to dense brownies!
Step 5: Bake the Brownies
Carefully pour the brownie batter into your prepared baking pan, spreading it evenly with a spatula. Place the pan in your preheated oven and bake for 30 to 35 minutes. You’ll know they’re done when a toothpick inserted into the center comes out with a few moist crumbs clinging to it—perfect for those Mummy Brownies!
Step 6: Cool and Cut
Once out of the oven, let the brownies cool in the pan for about 5 minutes. Then, lift them out using the edges of the parchment paper and transfer them to a wire rack to cool completely. This cooling process ensures cleaner cuts when it’s time to portion out those delicious squares.
Step 7: Drizzle the White Chocolate
After the brownies are completely cooled, cut them into 16 squares. Melt the white chocolate chips or candy melts in a microwave-safe bowl until smooth. Using a fork, drizzle the melted chocolate over each brownie, creating the whimsical mummy bandages that make these treats so fun.
Step 8: Add the Candy Eyes
While the white chocolate is still warm, gently press two candy eyes into the center of each brownie. This adds a playful touch to your Mummy Brownies, completing the spooky look that will captivate everyone at your Halloween gathering!
Step 9: Let Them Set
Allow the decorated Mummy Brownies to set for about 15 minutes at room temperature, letting the white chocolate firm up perfectly. Once set, they’re ready to be served! Enjoy the delightful blend of flavors and get ready for compliments on your festive creation.
How to Store and Freeze Mummy Brownies
Room Temperature: Store Mummy Brownies in an airtight container at room temperature for up to 4 days. This keeps them fresh and delicious, ready for snacking anytime!
Fridge: If you live in a warmer climate or want extra firmness, you can refrigerate the brownies. Just remember to seal them tightly to prevent absorption of other odors, and they’ll last for about a week.
Freezer: For long-term storage, wrap undecorated brownies tightly in plastic wrap and place them in an airtight container or freezer bag. They can stay frozen for up to 2 months, making them perfect for last-minute treats!
Reheating: To enjoy brownies after freezing, simply thaw them in the fridge overnight. For a warm treat, microwave individual pieces for about 10-15 seconds until just warmed through, and they’ll taste freshly baked!
Make Ahead Options
These Mummy Brownies are perfect for busy home cooks looking to save time! You can bake the brownies up to 3 days in advance, letting them cool completely before storing in an airtight container at room temperature. For even longer storage, freeze the undecorated brownies wrapped tightly in plastic wrap for up to 2 months. When you’re ready to serve, simply thaw them overnight in the refrigerator, then drizzle with melted white chocolate and add candy eyes right before your gathering. This way, you’ll achieve that delightful freshness, ensuring your Mummy Brownies are just as delicious and inviting as if they were made the same day!
Mummy Brownies: Exciting Recipe Twists
Get ready to unleash your creativity and customize these delightful Mummy Brownies into something even more special!
-
Milk Chocolate: Substitute semisweet chips for milk chocolate to create a sweeter and creamier brownie experience. Perfect for those who enjoy a softer chocolate flavor!
-
Nuts Galore: Toss in some chopped walnuts or pecans for an extra crunch and delightful texture. The contrast between the creamy brownies and the nuts brings a delightful surprise in every bite.
-
Dark Chocolate: Use dark chocolate chips instead for a richer, more intense flavor. This swap enhances the chocolatey experience and adds a touch of sophistication to your treat.
-
Gluten-Free Delight: Replace all-purpose flour with a gluten-free flour blend. You won’t sacrifice taste or texture—everyone can enjoy these magic brownies!
-
Festive Sprinkles: Add a handful of colorful sprinkles atop the melted white chocolate for a fun, festive touch that’s perfect for Halloween parties. Who can resist a pop of color?
-
Spice it Up: Incorporate a dash of cinnamon or pumpkin spice to the dry ingredients for a seasonal warmth. This lovely twist will evoke the cozy feelings of fall in every bite!
-
Caramel Swirl: For an unexpected indulgence, create a caramel swirl by adding caramel sauce to the brownie batter before baking. The gooey pockets of caramel will elevate these brownies to another level of deliciousness!
-
Candy Substitutions: No candy eyes? No problem! Feel free to use homemade chocolate dots or even whipped cream to achieve a whimsical look without missing out on the fun.
Let these variations inspire your festive baking, making your Mummy Brownies truly one-of-a-kind! Looking for more delightful Halloween treats? Check out my tips for spooky party snacks and learn about creative baking techniques to elevate your holiday fare!
What to Serve with Mummy Brownies?
These delightful treats can shine even brighter when paired with complementary flavors and textures that elevate the Halloween spirit.
- Vanilla Ice Cream: A scoop of creamy vanilla ice cream offers a cool and sweet contrast to the rich chocolate, making each bite extra special.
- Pumpkin Spice Latte: Warm, spiced coffee brings seasonal flavors that enhance the chocolate and create a cozy vibe—perfect for those fall gatherings.
- Caramel Sauce: Drizzling warm caramel over the brownies adds an indulgent touch, enhancing their sweetness while offering a delightful gooey experience.
- Chocolate Milkshake: A thick and frosty shake will excite the palate, perfect for kids and adults looking for a fun dessert pairing.
- Whipped Cream: Light and airy, a dollop of homemade whipped cream balances the richness of the brownies and adds a touch of elegance.
- Fruit Salad: Fresh fruits like strawberries or apples provide a refreshing contrast to the sweet brownies, cleansing the palate and adding vibrancy to your dessert table.
- Spiced Cider: A warm glass of spiced cider brings a delightful warmth and festivity, enhancing the autumn flavors of your gathering.
- Halloween-themed Cookies: Pairing these brownies with other themed desserts creates a dessert platter that sparks excitement and fun for the season.
Expert Tips for Mummy Brownies
Choose Quality Chocolate: Use high-quality semisweet chocolate for the best flavor result in your Mummy Brownies. Avoid using chocolate chips with lower cocoa content.
Room Temperature Eggs: Make sure your eggs are at room temperature before adding them to the chocolate mixture. This helps the batter blend more smoothly for a better texture.
Don’t Overmix: When combining wet and dry ingredients, mix until just incorporated. Overmixing can lead to dense brownies, so stir gently and avoid vigorous beating.
Proper Cooling for Clean Cuts: Allow the brownies to cool completely before cutting. This prevents crumbling and ensures that each square has a neat, festive look.
Decorate with Fun: Use colorful candy melts for the drizzle if you want to make your Mummy Brownies even more festive. It adds an extra flair for Halloween parties!
Mummy Brownies Recipe FAQs
What type of chocolate should I use for Mummy Brownies?
Absolutely, choosing high-quality semisweet chocolate chips is key to achieving the rich flavor that defines your Mummy Brownies. If you prefer a sweeter treat, you can substitute with milk chocolate chips. Additionally, using Dutch-process cocoa powder will enhance the chocolate richness—just make sure to avoid chips with lower cocoa content for the best baking experience.
How should I store Mummy Brownies?
You can store Mummy Brownies in an airtight container at room temperature for up to 4 days. If you live in a warmer climate, I recommend refrigerating them to maintain firmness; they’ll be good for about a week. Just remember to seal them tightly to keep them fresh and prevent other food odors from being absorbed!
Can I freeze Mummy Brownies?
Certainly! To freeze your Mummy Brownies, wrap the undecorated brownies tightly in plastic wrap, then place them in an airtight container or a freezer bag. They can be frozen for up to 2 months. When you’re ready to enjoy, simply thaw in the fridge overnight. For a warm treat, microwave individual pieces for about 10-15 seconds to bring back that freshly baked goodness.
What if my brownies turn out too dense?
Getting the texture just right is essential! If your brownies are dense, it’s likely that you overmixed the batter after adding the dry ingredients. To prevent this, mix gently until everything is just combined—no vigorous stirring is needed! Also, ensure you’re baking them for the right duration; they should come out with a few moist crumbs on the toothpick.
Can my pets eat Mummy Brownies?
It’s best to keep Mummy Brownies away from pets, especially chocolate, which is toxic to dogs and cats. If you’re looking for a special treat for your furry friends, consider making pet-friendly alternatives using safe ingredients like pumpkin and peanut butter. Your pets will appreciate the gesture without the risks!
How can I customize the decoration?
Very! You can have fun with the decorations for your Mummy Brownies. If you’re looking to change things up, try using colored candy melts for a vibrant twist or add festive sprinkles before the white chocolate hardens. You could even use edible googly eyes if you want to switch it up from the candy eyes, making each brownie as unique as your creativity!
Mummy Brownies Recipe FAQs
Mummy Brownies: Spooktacular Chocolate Treats for Halloween
Ingredients
Equipment
Method
- Preheat your oven to 350°F (175°C) and line a 9x9-inch baking pan with parchment paper.
- In a microwave-safe bowl, combine the butter and semisweet chocolate chips. Heat in 30-second intervals until smooth.
- Whisk together the all-purpose flour, white sugar, brown sugar, Dutch-process cocoa powder, and salt in a separate bowl until well combined.
- Add the eggs and vanilla extract to the melted chocolate mixture and stir until fully combined. Gradually fold in the dry ingredients.
- Pour the brownie batter into the prepared baking pan and bake for 30-35 minutes. A toothpick should come out with a few moist crumbs.
- Let the brownies cool in the pan for 5 minutes, then transfer them to a wire rack to cool completely.
- Melt the white chocolate chips or candy melts until smooth and drizzle over each brownie.
- Press two candy eyes into the center of each brownie while the chocolate is still warm.
- Allow the decorated brownies to set for about 15 minutes at room temperature before serving.