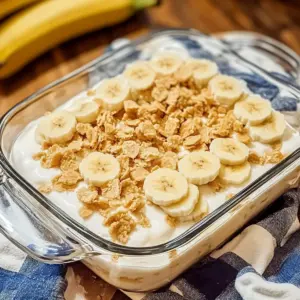
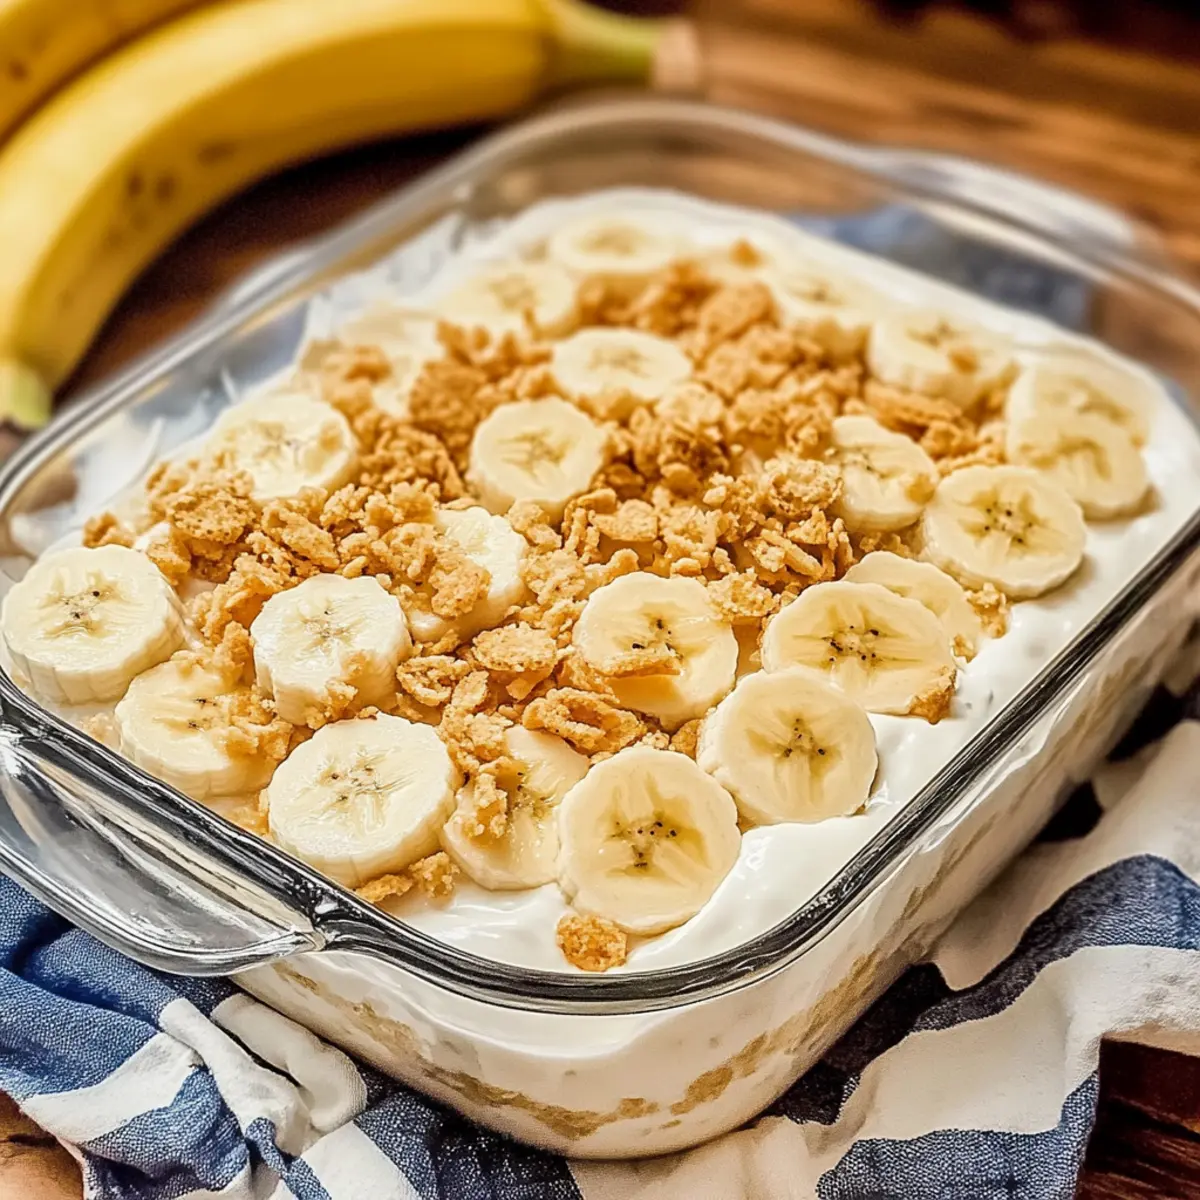
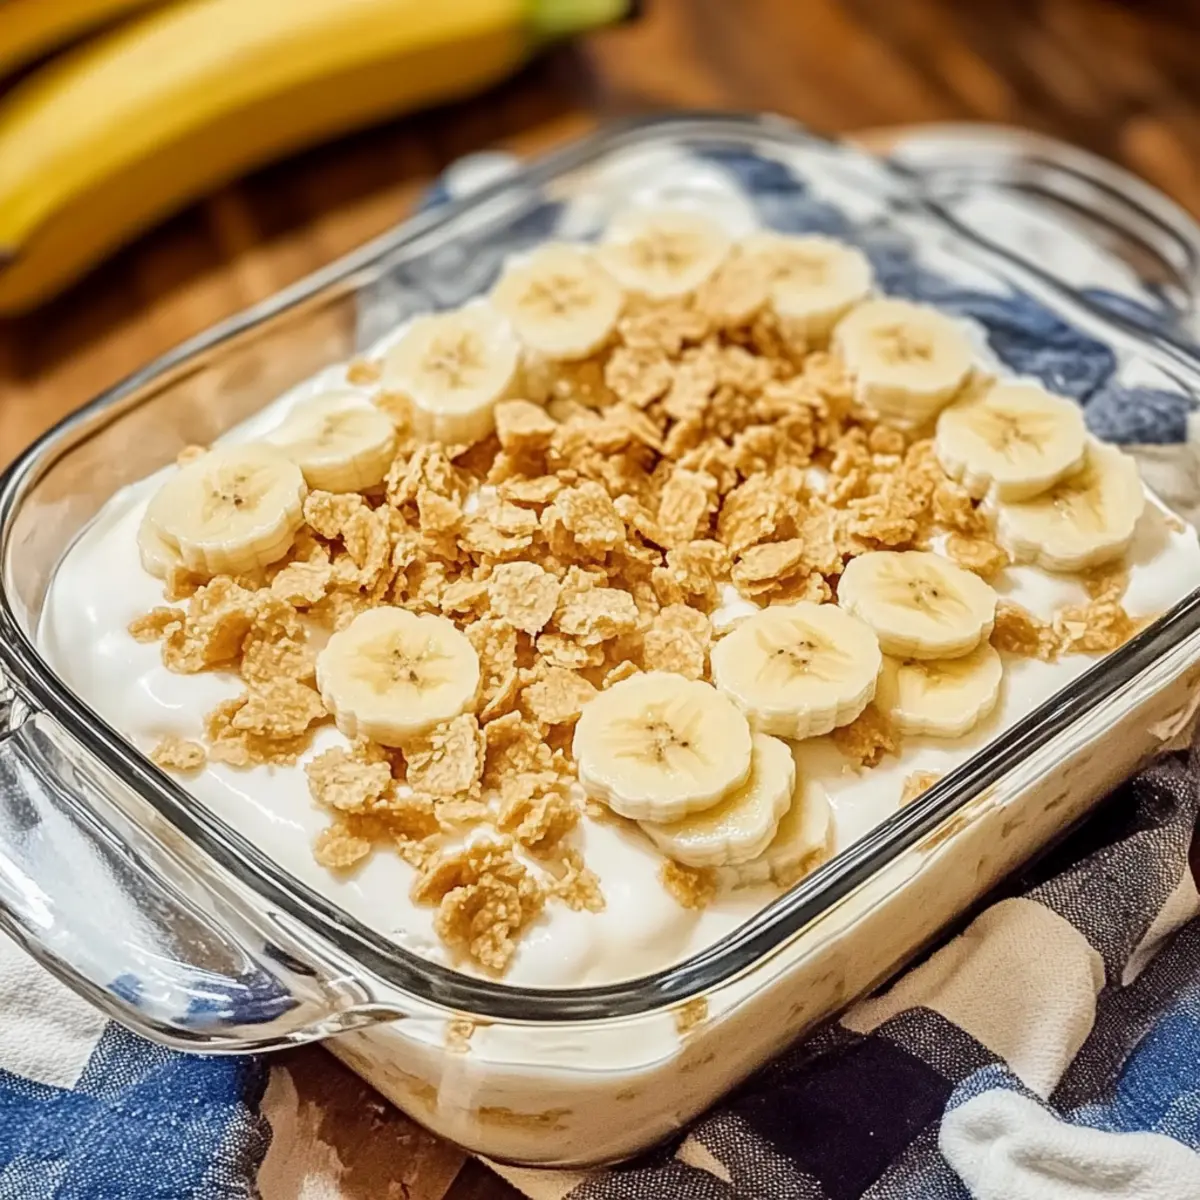
As I peeled back the layers of nostalgia, a sweet, comforting aroma filled the kitchen—my heart knew what was coming. This Classic Homemade Banana Pudding, with its decadent layers of ripe bananas and crunchy vanilla wafers, isn’t just a dessert; it’s a warm embrace from my Southern roots. Making this pudding from scratch not only gives me a richer taste that outshines any boxed mix, but it also makes for a quick prep ahead of gatherings when laughter and love are in the air. Whether it’s a cozy family dinner or a festive celebration, this beloved recipe is sure to evoke cherished memories and bring smiles to everyone’s faces. Ready to make your own? Let’s dive into the delicious world of homemade banana pudding!
Why Is This Banana Pudding So Special?
Comforting Nostalgia: This Classic Homemade Banana Pudding is a warm reminder of family gatherings and Southern hospitality. Easy to Prepare: With simple ingredients and straightforward instructions, you can whip this up in no time, making it perfect for spontaneous dessert cravings.
Rich, Creamy Texture: Each spoonful offers a delightful creaminess that outshines any store-bought version. Versatile Options: Feel free to switch up the fruit or add different flavored extracts to create your own twist. You can check out how to make this dessert ahead of time in my prep section to save even more. Crowd Favorite: Whether you’re serving a family dinner or a festive celebration, this pudding is sure to impress guests of all ages. What’s not to love about a dessert that brings people together?
Classic Homemade Banana Pudding Ingredients
For the Pudding
• Sugar – Provides sweetness that balances the creaminess; can be swapped with brown sugar for a deeper flavor.
• Flour – Acts as a thickening agent essential for smooth pudding texture; all-purpose flour yields the best results.
• Salt – A pinch enhances flavor without making it salty, creating a perfect balance.
• Milk – The base for the pudding adds creaminess; any milk variety, including non-dairy options, is acceptable.
• Eggs – Add richness and are crucial for thickening; whole eggs work best for this recipe.
• Vanilla extract – Enhances flavor; using pure vanilla elevates the taste and overall experience.
For the Layers
• Vanilla wafers – Provide structure and crunch; about 8 oz is ideal; consider replacing with graham crackers for a different texture.
• Bananas – Essential for flavor and texture; 4 fresh, ripe bananas (sliced) are recommended with no substitutes.
This Classic Homemade Banana Pudding offers a delightful blend of textures and flavors that truly captures the essence of Southern comfort food!
Step‑by‑Step Instructions for Classic Homemade Banana Pudding
Step 1: Whisk the Dry Ingredients
In a medium saucepan, combine 3/4 cup sugar, 1/3 cup flour, and a pinch of salt. Whisk these together until fully blended, ensuring there are no lumps. This mixture will create a smooth base for your Classic Homemade Banana Pudding.
Step 2: Add the Milk and Heat
Gradually whisk in 3 cups of milk to the dry mixture, seamlessly incorporating it. Place the saucepan over medium heat and continuously stir the mixture. Keep stirring for about 10 minutes, or until it thickens and bubbles gently, indicating it’s ready for the next step.
Step 3: Cook on Low Heat
Reduce the heat to low, allowing the pudding to gently bubble for an additional 2 minutes. Stir constantly to prevent sticking or burning on the bottom of the pan. Once this time is up, remove the saucepan from heat to let your delicious pudding mixture cool slightly.
Step 4: Temper the Eggs
In a separate bowl, whisk together 3 whole eggs. To avoid scrambling, slowly add 1 cup of the hot pudding mixture to the eggs while whisking briskly. This process, known as tempering, warms the eggs without cooking them too quickly.
Step 5: Return the Mixture to Heat
Pour the tempered egg mixture back into the saucepan with the remaining pudding mixture. Place the saucepan back on low heat, stirring constantly until the mixture reaches a gentle boil again, which should take about 2 minutes. This step ensures a luscious, creamy texture.
Step 6: Add Vanilla and Cool
Stir in 1 teaspoon of pure vanilla extract after achieving the right consistency. This not only enhances the flavor but also embodies the essence of Classic Homemade Banana Pudding. Allow the pudding to cool for about 15 minutes, making it easier to layer later.
Step 7: Layer the Wafers
In an ungreased 8-inch square pan, begin by layering approximately 25 vanilla wafers on the bottom. Make sure they’re evenly spread out. This layer will act as a delightful base, providing structure and crunch for your pudding.
Step 8: Add the Bananas and Pudding
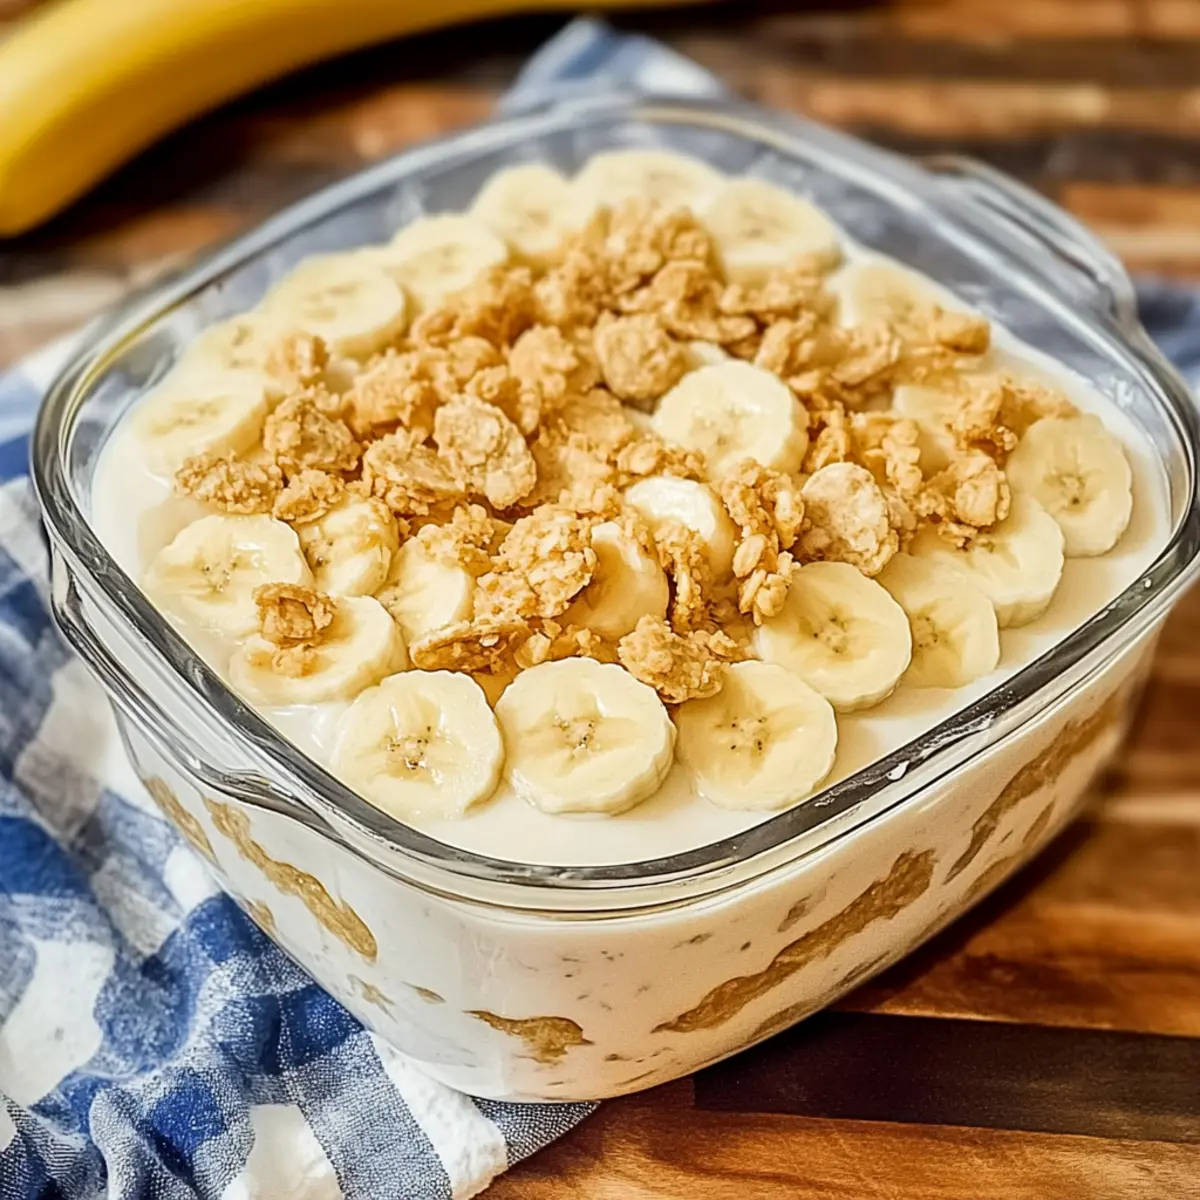
Place half of the banana slices over the wafer layer, ensuring a delightful burst of flavor in every spoonful. Next, pour half of the warm pudding over the bananas, spreading it evenly. Repeat this process by adding the remaining banana slices and then the rest of the pudding.
Step 9: Cover and Chill
Cover the dish tightly with plastic wrap, pressing it against the surface to prevent skin formation on the pudding. Place it in the refrigerator for at least 4 hours, or overnight if possible. This chilling time allows the flavors to meld beautifully.
Step 10: Garnish and Serve
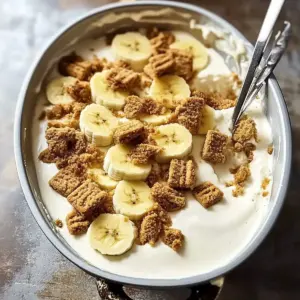
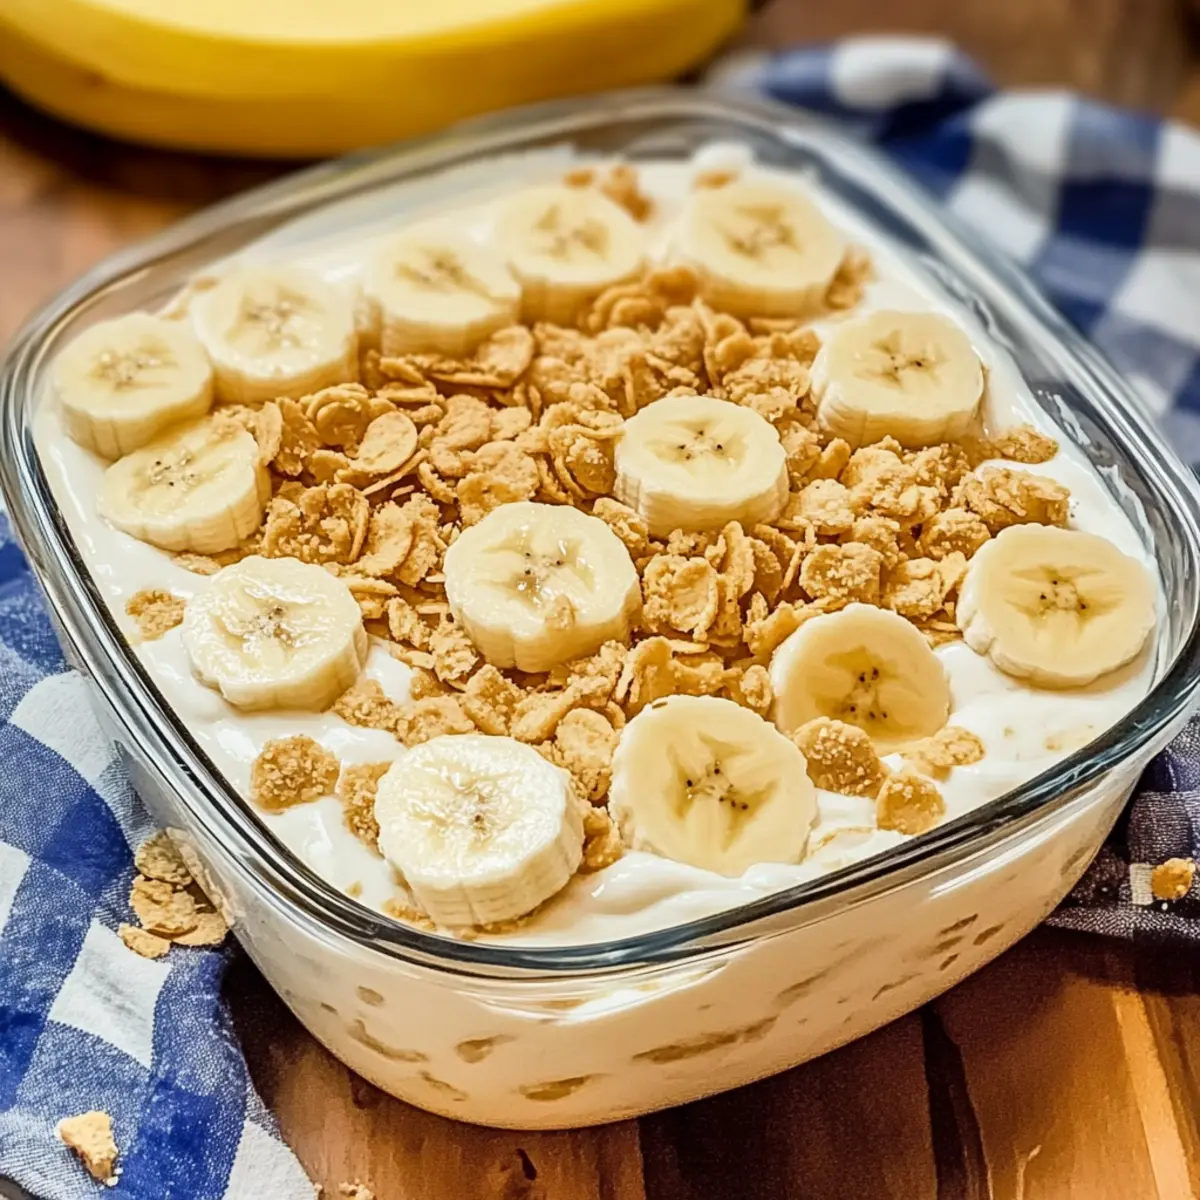
Before serving your Classic Homemade Banana Pudding, garnish the top with crushed vanilla wafers for that extra crunch. This final touch adds an appealing texture and enhances the overall presentation, making your dessert inviting and delightful!
Expert Tips
- Whisking Techniques: Ensure you’re whisking continuously when tempering the eggs to prevent scrambling, creating a perfectly smooth banana pudding.
- Cool Before Layering: Allowing the pudding to cool slightly before layering it with the wafers helps maintain their crunchiness and prevents them from becoming soggy.
- Banana Preservation: To keep banana slices fresh and vibrant, cover the dish tightly and add the bananas just before serving your Classic Homemade Banana Pudding.
- Proper Storage: Store leftovers in the refrigerator for up to 4 days. Avoid freezing, as this may alter the texture and make it less enjoyable.
- Experiment with Flavors: Don’t hesitate to add your personal touch! Substituting different fruits or flavored extracts can create a unique twist on this classic recipe.
Classic Homemade Banana Pudding Variations
Feel free to get creative with this beloved Classic Homemade Banana Pudding recipe—it’s all about making it your own!
-
Berry Delight: Substitute fresh bananas with a layer of strawberries or blueberries for a fruity twist that brightens the flavor and adds a pop of color.
-
Flavor Extravaganza: Experiment with flavored extracts like almond or coconut instead of traditional vanilla, giving your pudding a unique and delightful taste profile that’s sure to spark conversation.
-
Gluten-Free Option: Use gluten-free vanilla wafers or cookies to accommodate gluten-sensitive friends and family without sacrificing the pudding’s authenticity and texture.
-
Coconut Craze: Incorporate unsweetened shredded coconut into the pudding or sprinkle on top for an exotic flair that adds an irresistible texture.
-
Nutty Crunch: Add crushed nuts, such as pecans or walnuts, between the layers for an extra crunch and delightful nuttiness that complements the creamy pudding beautifully.
-
Choco-Banana Fusion: Enhance the layers with chocolate pudding or drizzle chocolate sauce over the pudding before serving, creating a heavenly chocolate-banana combination.
-
Spicy Kick: For those who love a bit of heat, add a pinch of cayenne pepper or ground cinnamon to the pudding mix. This surprising twist adds warmth and complexity to the classic recipe.
For those looking to elevate their dessert even more, you might find inspiration in my tips on how to serve these delicious creations, whether it’s with a dollop of fresh whipped cream or delectable homemade cookies on the side!
How to Store and Freeze Classic Homemade Banana Pudding
Fridge: Store your Classic Homemade Banana Pudding in an airtight container in the refrigerator for up to 4 days. This keeps it fresh and creamy, ready for a quick dessert fix!
Covering: If you’re serving at a gathering, cover the pudding tightly with plastic wrap directly on the surface to prevent any skin from forming during chilling.
Reheating: It’s best to enjoy your pudding chilled. However, if you prefer it warm, gently reheat individual servings in the microwave for about 15-20 seconds, stirring in between to maintain its smooth texture.
Freezer: We recommend avoiding freezing your Classic Homemade Banana Pudding, as the texture can become grainy and watery once thawed. Instead, prepare the pudding mixture up to 24 hours ahead for optimal flavor!
Make Ahead Options
These Classic Homemade Banana Pudding layers are perfect for anyone looking to save time during busy weeknights! You can prepare the pudding mixture up to 24 hours in advance by cooking it and letting it cool before assembly. Simply refrigerate the cooled pudding tightly covered to maintain its creamy texture. You can also slice the bananas ahead of time; just toss them in a little lemon juice to prevent browning, and add them just before serving for optimal freshness. When you’re ready to impress your family or guests, layer the wafers, pudding, and bananas, then garnish with crushed wafers. Your dessert will be just as delicious as if made on the same day!
What to Serve with Classic Homemade Banana Pudding
Turn your delightful dessert into a full meal experience with these mouthwatering pairings!
-
Fresh Fruit Salad: A medley of seasonal fruits adds a refreshing contrast, enhancing the sweet, creamy notes of the pudding. Bright flavors and vibrant colors will invigorate your table!
-
Southern Biscuits: Flaky buttermilk biscuits bring a comforting touch, perfect for sopping up any leftover pudding. They create a classic experience that warms the heart.
-
Whipped Cream: A dollop of freshly whipped cream elevates the classic banana pudding, introducing lightness and creaminess in every bite. It also invites a bit of extra indulgence!
-
Chocolate Chip Cookies: The gooey sweetness of warm chocolate chip cookies is a delicious companion to banana pudding. This pairing creates a delightful textural contrast that keeps everyone reaching for more!
-
Iced Tea: A chilled glass of sweet tea complements the richness of the pudding, marrying Southern tradition with a refreshing sip. Whether sweetened or unsweetened, it’s a classic pairing for any occasion.
-
Pecan Pie: This Southern staple showcases crunchy, nutty goodness and a hint of caramel sweetness that nicely balances the softness of the pudding. The flavors dance beautifully together, leaving you satisfied.
-
Miniature Cupcakes: Bite-sized vanilla or banana-flavored cupcakes are adorable and delicious, serving as the perfect sweet treat alongside your classic pudding. Their playful nature adds a festive spirit to your gathering!
Classic Homemade Banana Pudding Recipe FAQs
How do I select ripe bananas for this recipe?
Absolutely! When choosing bananas, look for ones that are bright yellow with a few small brown spots. They should feel slightly soft to the touch, indicating they’re sweet and ready for the pudding. Avoid bananas that are overly brown or have dark spots all over, as this could suggest overripeness.
What is the best way to store leftovers?
Very! Store your Classic Homemade Banana Pudding in an airtight container in the refrigerator. This keeps it fresh for up to 4 days. Be sure to cover the surface tightly with plastic wrap to prevent any skin formation and preserve its delightful creaminess.
Can I freeze Classic Homemade Banana Pudding?
I recommend skipping the freeze! Freezing this pudding can lead to a grainy texture once thawed. Instead, if you want to get a head start, prepare the pudding mixture up to 24 hours in advance and refrigerate it to enhance flavors without sacrificing texture.
Why did my pudding not thicken properly?
Oh no! If your pudding didn’t thicken, it might be due to not cooking it long enough. Remember to keep stirring over medium heat for about 10 minutes or until it thickens and bubbles. If you find it still runny after returning it to the heat with the tempered eggs, gently simmer it longer while stirring continuously.
Are there any dietary considerations for this recipe?
Of course! This Classic Homemade Banana Pudding contains eggs and dairy, so it is not suitable for those with egg or dairy allergies. You can use dairy-free milk alternatives and egg substitutes like flaxseed meal or applesauce for a vegan-friendly option. Always check ingredient labels to ensure they meet your dietary needs!
How can I keep the bananas from browning in the pudding?
Wonderful question! To prevent banana browning, cover the pudding tightly with plastic wrap immediately after layering it, ensuring the wrap is pressed against the surface. Also, consider adding banana slices just before serving for extra freshness and vibrancy!
Classic Homemade Banana Pudding That'll Warm Your Heart
Ingredients
Equipment
Method
- In a medium saucepan, combine 3/4 cup sugar, 1/3 cup flour, and a pinch of salt. Whisk until fully blended.
- Gradually whisk in 3 cups of milk to the dry mixture. Place the saucepan over medium heat and continuously stir for about 10 minutes or until thickened.
- Reduce heat to low and bubble for an additional 2 minutes, stirring constantly, then remove from heat.
- In a separate bowl, whisk together 3 whole eggs. Slowly add 1 cup of hot pudding mixture while whisking to temper the eggs.
- Pour tempered egg mixture back into the saucepan. On low heat, stir until it reaches a gentle boil again for about 2 minutes.
- Stir in 1 teaspoon of pure vanilla extract. Allow the pudding to cool for about 15 minutes.
- In an ungreased 8-inch square pan, layer about 25 vanilla wafers on the bottom.
- Place half of banana slices over wafers, then pour half of warm pudding over bananas. Repeat with remaining banana slices and pudding.
- Cover with plastic wrap pressed against the surface to prevent skin formation. Chill for at least 4 hours or overnight.
- Before serving, garnish with crushed vanilla wafers for added crunch.