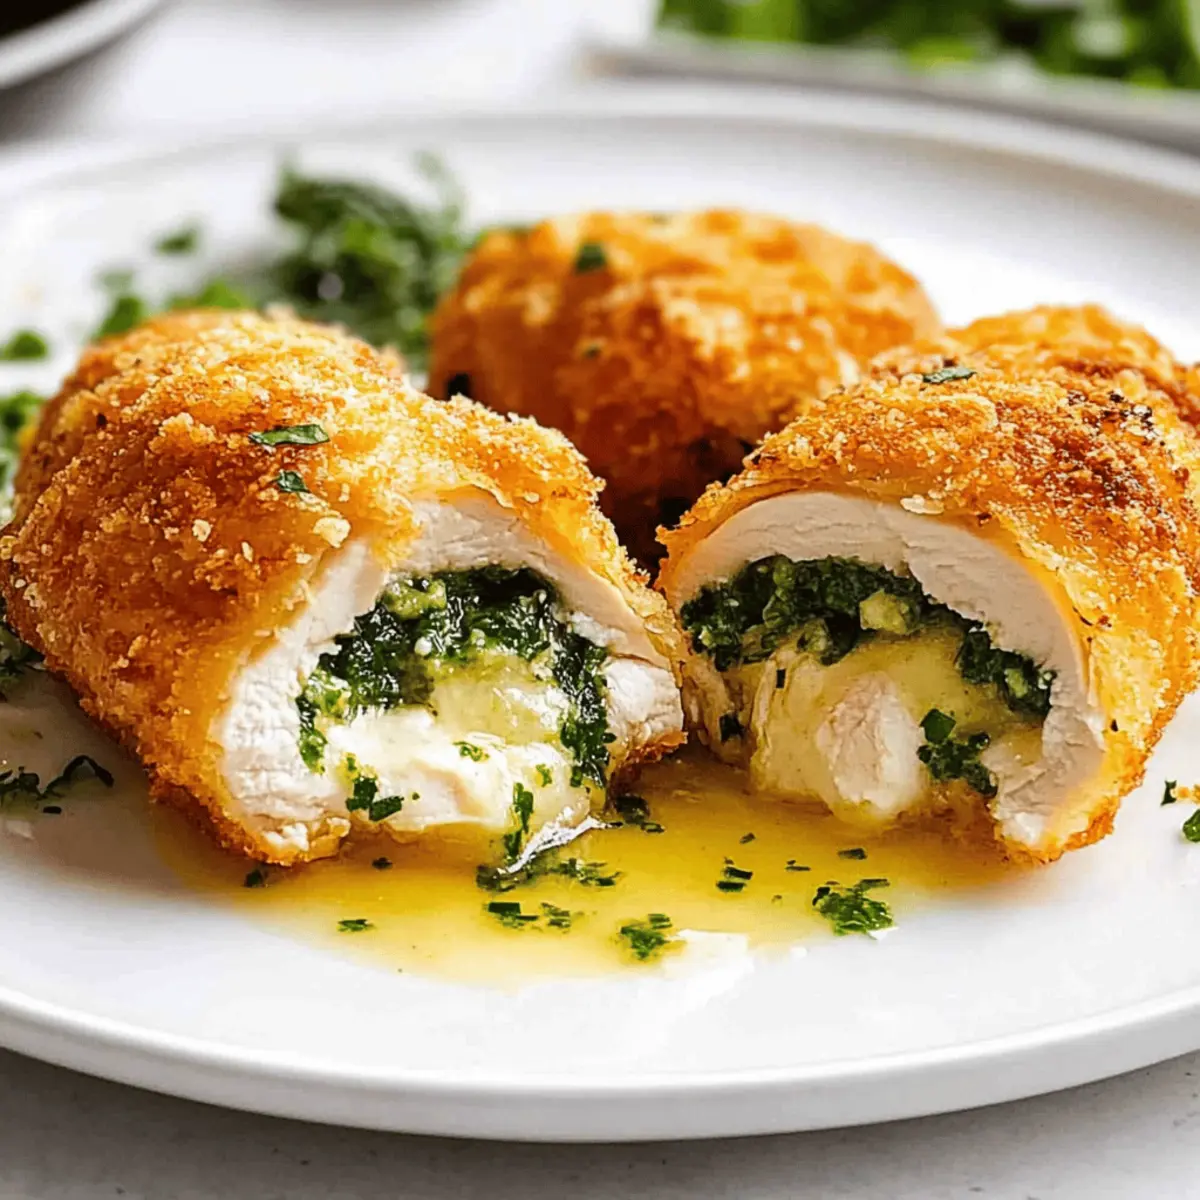
As I stood in my kitchen, the aroma of sizzling chicken and melting garlic butter transported me back to family dinners filled with warmth and laughter. This Classic Chicken Kiev Recipe embodies nostalgia, featuring tender chicken breasts enveloping a delicious core of herb-infused butter. What’s especially appealing about this dish is its versatility—it can be quickly prepared for a weeknight family meal or dressed up for a special occasion. Plus, with the option to bake rather than fry, you can indulge guilt-free while still enjoying that crispy golden exterior. Are you ready to impress your loved ones and add a timeless favorite to your repertoire? Let’s dive into making this culinary delight that’s sure to become a new staple!
Why is Chicken Kiev a Must-Try?
Nostalgic Experience: Each bite of this Chicken Kiev takes you back to family dinners, filled with warmth and love.
Easy Preparation: With simple steps and accessible ingredients, you’ll whip this up even on the busiest nights.
Healthy Twist: Bake instead of fry for a guilt-free take on a classic comfort food that’s just as delicious.
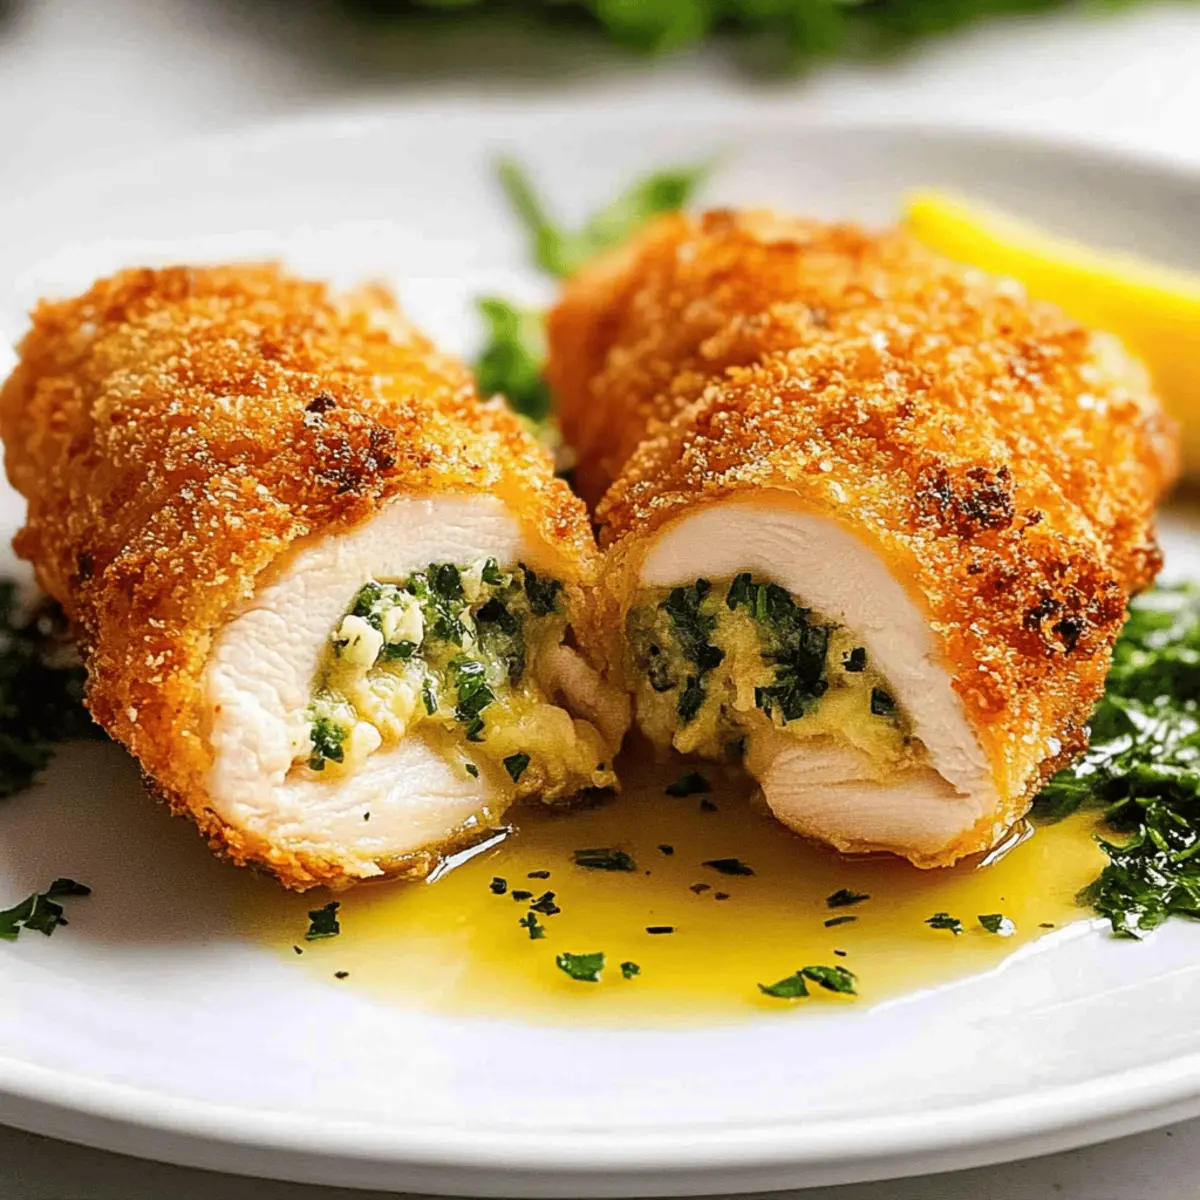
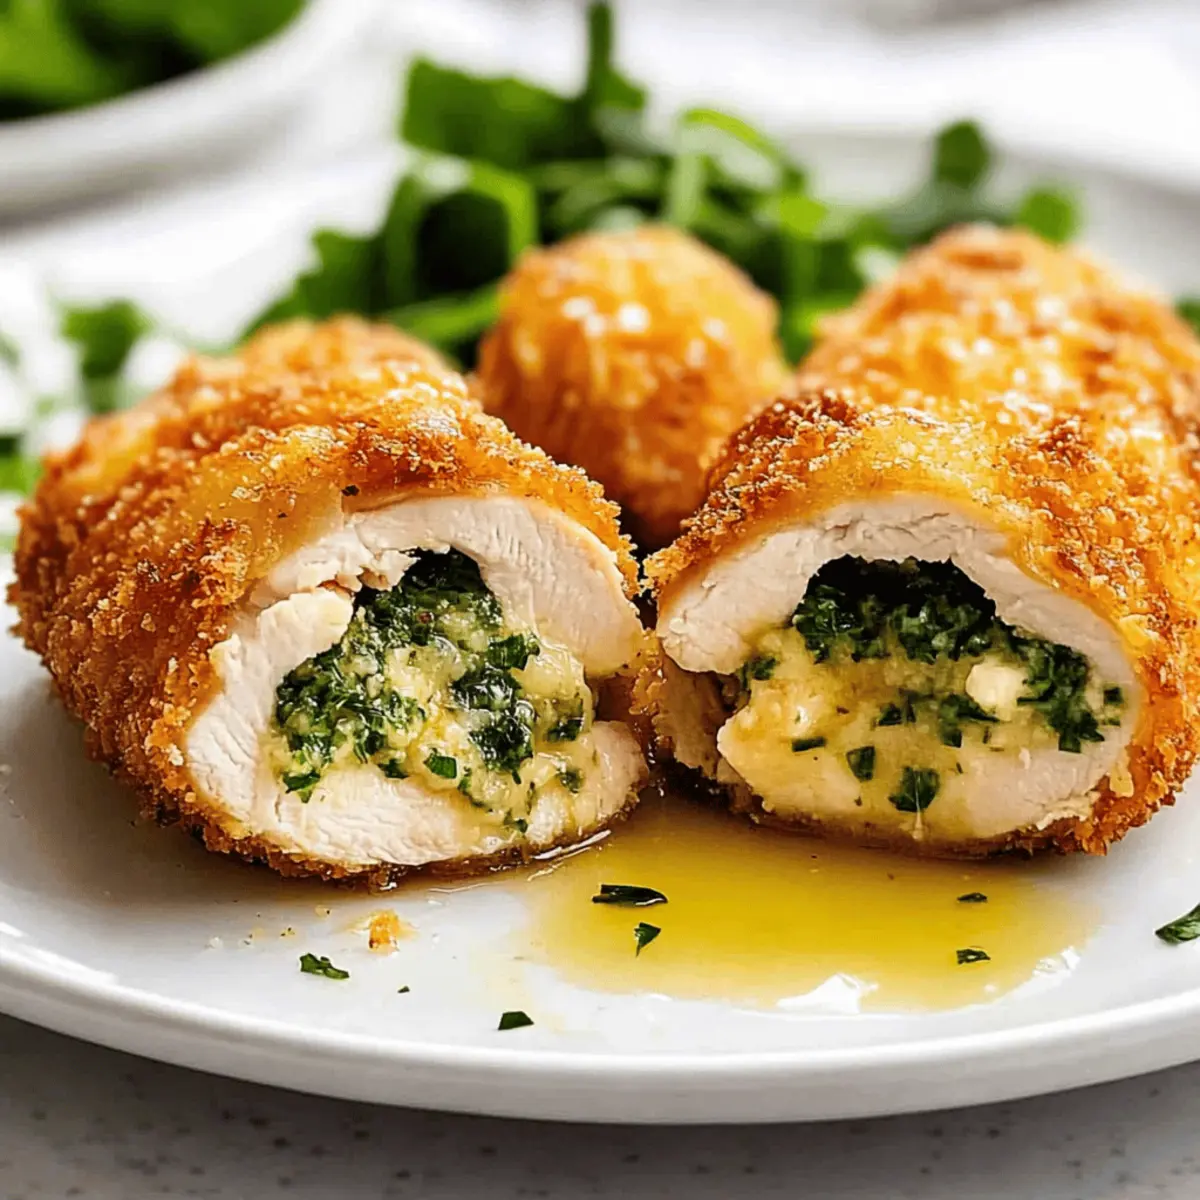
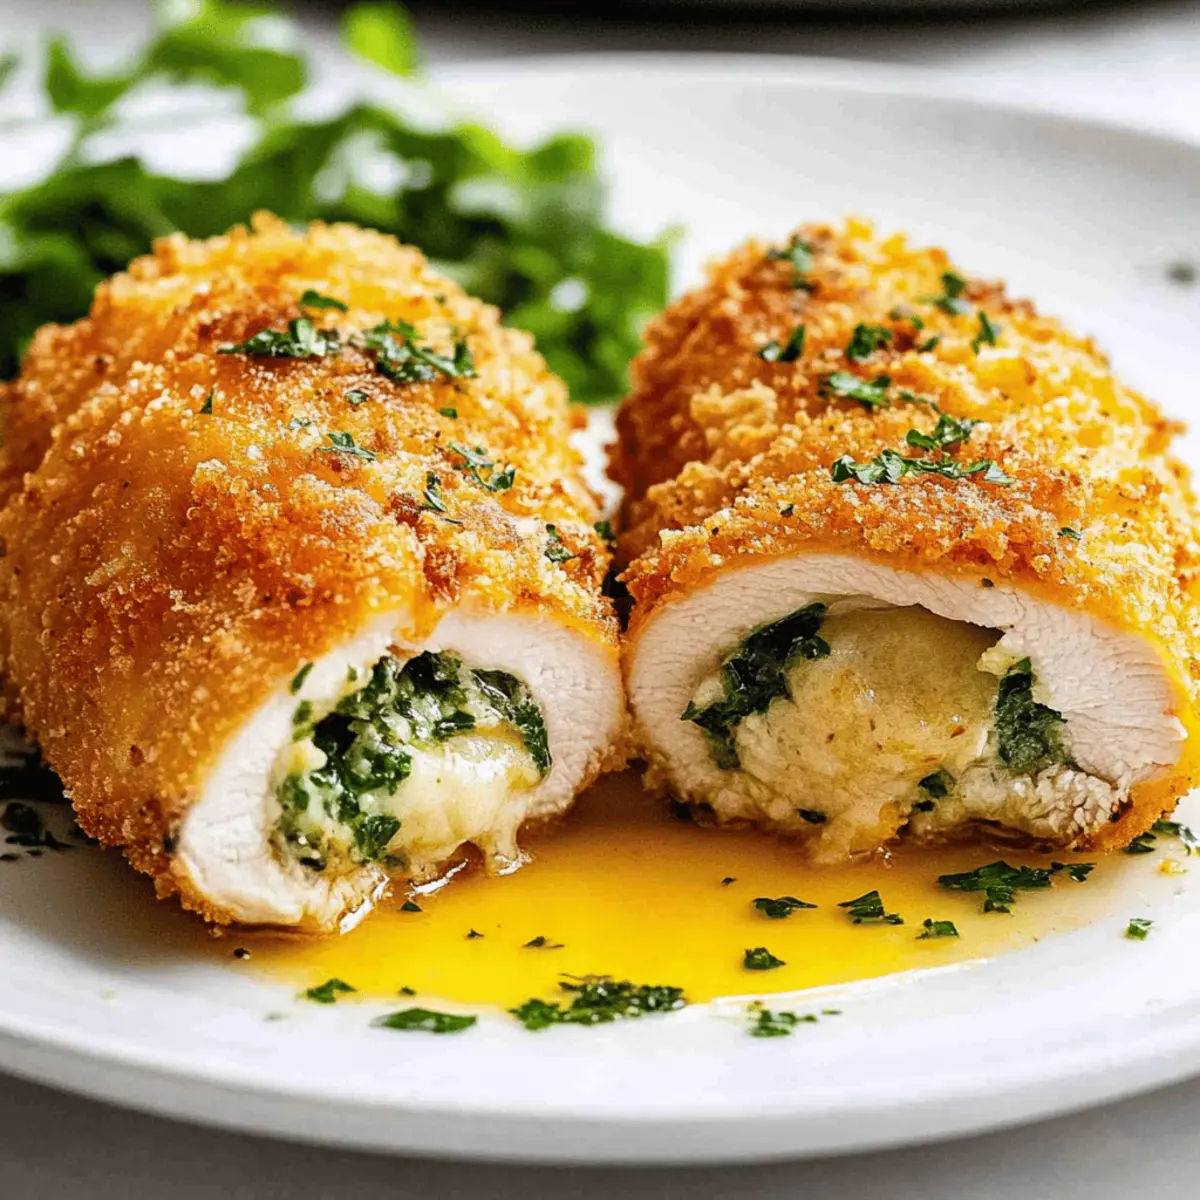
Savory Surprise: The melt-in-your-mouth garlic butter center creates the ultimate flavor explosion that will wow your taste buds.
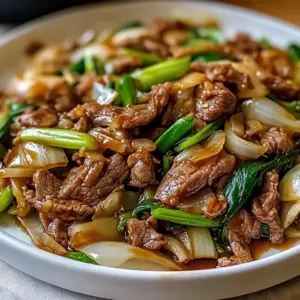
Serving Versatility: Pair with fresh salad or crunchy bread to soak up every drop of that irresistible butter. Try it alongside other favorites like Garlic Butter Chicken or Sweet Sour Chicken for a complete meal experience!
Chicken Kiev Recipe Ingredients
Here’s everything you need to make this flavorful Chicken Kiev!
For the Garlic Butter
• Unsalted Butter – Main filling component providing creaminess and flavor; substitute with salted butter but reduce additional salt.
• Garlic – Finely minced for bold flavor; fresh garlic is best for an authentic taste—avoid powders.
• Parsley – Adds freshness to the garlic butter; can be substituted with herbs like chives or dill for a twist.
For the Chicken
• Chicken Breast – The base ingredient, skinless and boneless, ideal for rolling; thigh fillets can be used for added juiciness.
• Salt and Pepper – Essential for seasoning the chicken; adjust to taste for the perfect flavor.
For Breading
• Panko Breadcrumbs – Provides a superior crispy texture; prefer over regular breadcrumbs; regular can be used if necessary.
• Flour – Helps the breadcrumbs adhere to the chicken; any all-purpose flour will work perfectly.
• Egg – Acts as a binding agent for the coating; try a flax or chia egg for a vegan alternative, but results may vary.
For Frying
• Oil – Essential for frying; canola or vegetable oil is ideal; avoid strong oils like olive due to their low smoke point.
Step‑by‑Step Instructions for Chicken Kiev Recipe
Step 1: Prepare Garlic Butter
Begin by softening your unsalted butter in a bowl. Mix in the finely minced garlic, chopped parsley, and a pinch of salt until well combined and smooth. Shape this mixture into a rectangular block using parchment paper, then wrap it tightly and place it in the refrigerator for at least 30 minutes to firm up.
Step 2: Pound Chicken
Take the skinless, boneless chicken breasts and place them between two sheets of plastic wrap. Use a meat mallet or rolling pin to gently pound each breast to about 0.5 cm thickness. Ensure they’re uniformly flattened for easier rolling. This will help create even cooking and enhance the Chicken Kiev experience.
Step 3: Season and Stuff
Remove the chicken from the plastic wrap and season each piece generously with salt and pepper. Slice the chilled garlic butter into batons and place one in the center of each chicken breast. Carefully fold the sides over the butter, then roll the chicken tightly, tucking in the ends to fully enclose the filling.
Step 4: Chill and Coat
Wrap each stuffed chicken breast individually in cling film and place them in the freezer for at least 30 minutes, which helps the Chicken Kiev hold its shape during cooking. Once firm, set up your breading station with flour in one bowl, beaten egg in another, and panko breadcrumbs in a third. Coat each chicken bundle first in flour, then dip in the egg, and finally roll in the panko, ensuring an even crust.
Step 5: Fry
Heat about 1 inch of canola or vegetable oil in a large skillet over medium heat until shimmering, approximately 350°F (175°C). Carefully add the breaded Chicken Kiev to the hot oil, cooking for about 2-3 minutes per side, or until golden brown and crispy. Avoid crowding the pan to maintain temperature, and turn gently to ensure even frying.
Step 6: Bake
Preheat your oven to 375°F (190°C). Transfer the golden brown Chicken Kiev to a wire rack set over a baking sheet to allow excess oil to drain. Bake in the preheated oven for 12-15 minutes, or until the internal temperature reaches 165°F (75°C), ensuring that the chicken is thoroughly cooked without losing its juicy goodness.
Step 7: Serve
Once baked, remove the Chicken Kiev from the oven and let it rest for 2 minutes before serving. This resting time helps the juices redistribute. Sprinkle with fresh parsley for a touch of color, and serve with your favorite sides like mashed potatoes or a fresh salad to soak up the delicious garlic butter.
Chicken Kiev Recipe Variations
Feel free to unleash your creativity and personalize this Chicken Kiev recipe to suit your taste buds!
- Herb Twist: Substitute parsley with fresh chives or dill for a different flavor profile that adds a unique touch!
- Cheesy Delight: Mix in shredded cheese like mozzarella or cheddar with the garlic butter for a creamy and savory filling.
- Sun-Dried Tomato: Add chopped sun-dried tomatoes to the garlic butter for a tangy and vibrant kick. This pairing elevates each bite!
- Spicy Kick: Incorporate crushed red pepper flakes into the garlic butter for an exciting heat that dances on your palate.
- Jalapeño Infusion: For a zesty twist, mix in diced jalapeños with the butter to create a spicy, southwestern Chicken Kiev.
- Baked Option: If you prefer something lighter, skip the frying and bake the coated Chicken Kiev directly at 375°F (190°C) for a crisp feel.
- Thai Flavors: Give your Chicken Kiev an Asian flair by adding a teaspoon of Thai fish sauce and chopped cilantro to the garlic butter.
- Mediterranean Style: Substitute garlic with finely minced olives and feta cheese for a distinct burst of Mediterranean flavors.
These variations allow you to explore different culinary styles while enjoying your beloved Chicken Kiev! If you’re looking for more delicious ideas, try serving it alongside Bang Bang Chicken for a delightful dinning experience!
How to Store and Freeze Chicken Kiev
Fridge: Store leftover Chicken Kiev in an airtight container; it will remain fresh for up to 3 days. Reheat gently in the oven or microwave, covered to retain moisture.
Freezer: Wrap tightly in cling film, then place in a freezer bag to prevent freezer burn. Chicken Kiev can be frozen for up to 3 months. Thaw overnight in the fridge before reheating.
Reheating: When reheating from frozen, bake at 375°F (190°C) for 25-30 minutes until heated through, ensuring the center reaches 165°F (75°C) for safety.
Make-Ahead: Prepare Chicken Kiev ahead of time and freeze before frying. This allows you to enjoy a homemade meal anytime by simply thawing and cooking straight from the freezer.
Make Ahead Options
Chicken Kiev is a fantastic option for meal prep, allowing you to savor its deliciousness without the stress during busy weeknights. You can prep the chicken by assembling and freezing it up to 24 hours in advance; just make sure to wrap the stuffed breasts tightly in cling film after breading. For optimal quality, freeze them until firm (around 30 minutes) and then transfer to a freezer bag for longer storage. When you’re ready to cook, simply thaw them in the refrigerator overnight before frying or baking. This way, you’ll have perfectly crispy, restaurant-quality Chicken Kiev with minimal effort, ready to impress your family!
What to Serve with Classic Chicken Kiev?
Let your taste buds travel through a comforting culinary journey with delightful pairings that amplify the flavors of your Chicken Kiev.
- Creamy Mashed Potatoes: Their velvety texture pairs beautifully with the buttery interior, making every bite indulgent.
- Fresh Garden Salad: A crisp, colorful mix of greens and veggies adds brightness and balances the richness of the chicken.
- Garlic Bread: Toasty and buttery, this classic side is perfect for soaking up any runny garlic butter. A comforting addition that everyone loves!
- Roasted Vegetables: Seasonal veggies roasted to perfection will contrast the dish’s richness while enhancing the meal’s visual appeal and health factor.
- Coleslaw: The crunch and tanginess of coleslaw provide a refreshing contrast. This serves to cleanse the palate after each bite.
- Wine Pairing: A chilled Chardonnay complements the chicken’s creaminess while elevating the whole meal with a sophisticated touch.
- Dessert Suggestion: Serve alongside a light fruit tart or sorbet to end your meal on a refreshing note, cleansing the palate and balancing richness.
Expert Tips for Chicken Kiev Recipe
-
Don’t Rush Chilling: Ensure you chill your rolled Chicken Kiev for at least 30 minutes. This step prevents leakage during cooking and helps maintain the shape.
-
Use Fresh Garlic: For a rich and bold flavor, always opt for finely minced fresh garlic. Avoid garlic powders as they won’t provide the same depth in your chicken dish.
-
Monitor Internal Temperature: Keep a meat thermometer handy to check the internal temperature. It should reach 165°F (75°C) to ensure chicken safety without sacrificing moisture.
-
Shallow Fry Option: If you’re looking to reduce oil usage, consider shallow frying your chicken. It retains the satisfying crunch while being a healthier alternative.
-
Experiment with Fillings: Feel free to mix up the filling! Try adding cheese or sun-dried tomatoes with your garlic butter for a tasty twist on the traditional Chicken Kiev recipe.
Chicken Kiev Recipe FAQs
How do I choose the best garlic for my Chicken Kiev?
Absolutely! For the most robust flavor, opt for fresh garlic. Select bulbs that are firm without any sprouting or dark spots. The fresher the garlic, the more intense and aromatic your garlic butter will be, ensuring that beautiful burst of flavor when you take a bite.
How should I store leftover Chicken Kiev?
Very simply! Place the leftover Chicken Kiev in an airtight container in the fridge. It will stay fresh for up to 3 days. When you’re ready to enjoy it again, make sure to reheat it gently in the oven or microwave, covered to keep it moist and delicious!
Can I freeze Chicken Kiev before cooking?
Absolutely! To freeze, tightly wrap each prepared Chicken Kiev in cling film, then place them in a freezer bag to prevent freezer burn. They can be frozen for up to 3 months. When you’re ready to cook, just thaw them overnight in the fridge before frying or baking.
What if my Chicken Kiev leaks butter during cooking?
Don’t worry! If you find that your Chicken Kiev is leaking butter, it could be due to insufficient chilling before frying. To help prevent this, ensure you chill the rolled chicken for a good 30 minutes and keep an eye on your cooking temperature; avoid cooking it too quickly at high heat.
Is this recipe suitable for dietary restrictions, like gluten or dairy intolerances?
Great question! For gluten-free options, substitute panko breadcrumbs with gluten-free breadcrumbs or crushed rice cereal. For those with dairy intolerances, you can create a vegan garlic butter using plant-based butter. While you may lose some of the richness, it can still be a delicious substitute!
How can I enhance the flavor of the garlic butter?
The more the merrier! You can add fresh herbs like chives or even a bit of grated cheese into your garlic butter mixture for a delightful twist. Mixing in some lemon zest can also brighten the flavors beautifully, giving your Chicken Kiev an extra zing!
Ultimate Chicken Kiev Recipe: Crispy, Buttery Bliss Awaits
Ingredients
Equipment
Method
- Begin by softening your unsalted butter in a bowl. Mix in the finely minced garlic, chopped parsley, and a pinch of salt until well combined and smooth. Shape this mixture into a rectangular block using parchment paper, then wrap it tightly and place it in the refrigerator for at least 30 minutes to firm up.
- Take the skinless, boneless chicken breasts and place them between two sheets of plastic wrap. Use a meat mallet or rolling pin to gently pound each breast to about 0.5 cm thickness. Ensure they’re uniformly flattened for easier rolling.
- Remove the chicken from the plastic wrap and season each piece generously with salt and pepper. Slice the chilled garlic butter into batons and place one in the center of each chicken breast. Carefully fold the sides over the butter, then roll the chicken tightly, tucking in the ends to fully enclose the filling.
- Wrap each stuffed chicken breast individually in cling film and place them in the freezer for at least 30 minutes. Set up your breading station with flour in one bowl, beaten egg in another, and panko breadcrumbs in a third. Coat each chicken bundle first in flour, then dip in the egg, and finally roll in the panko.
- Heat about 1 inch of canola or vegetable oil in a large skillet over medium heat until shimmering. Carefully add the breaded Chicken Kiev to the hot oil, cooking for about 2-3 minutes per side, or until golden brown and crispy.
- Preheat your oven to 375°F (190°C). Transfer the golden brown Chicken Kiev to a wire rack set over a baking sheet to allow excess oil to drain. Bake in the preheated oven for 12-15 minutes.
- Once baked, remove the Chicken Kiev from the oven and let it rest for 2 minutes before serving. Sprinkle with fresh parsley for a touch of color, and serve with your favorite sides.