

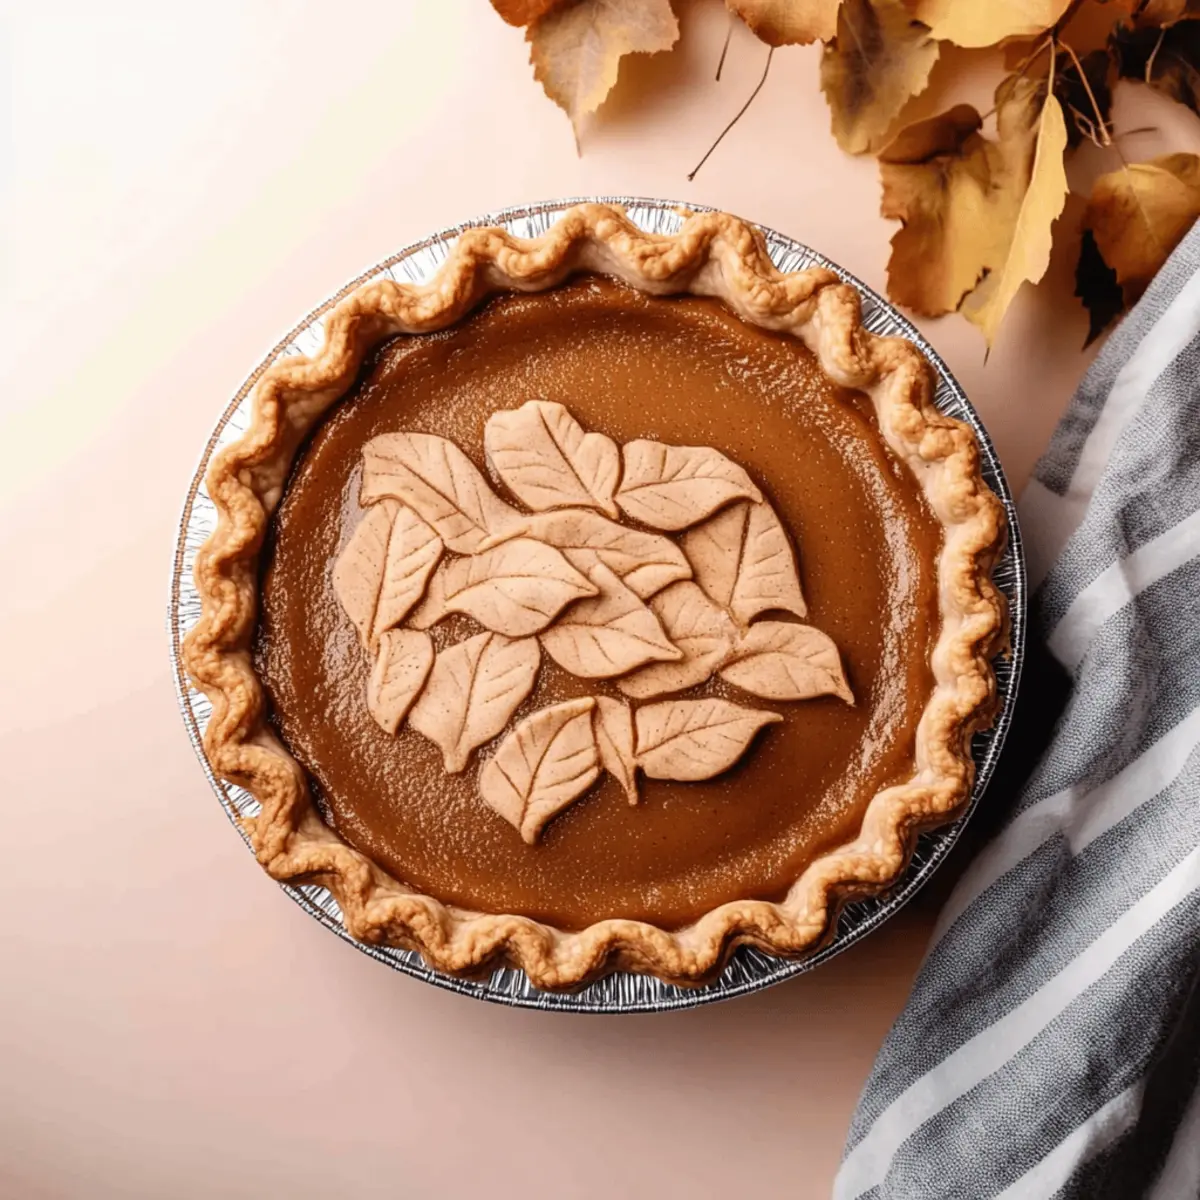
The sight of falling leaves and the crisp autumn air always brings a wave of inspiration in my kitchen. This season, I’ve been captivated by a beloved comfort: Apple Butter Pie. Easier to whip up than you might think, this custard-style pie showcases the rich, warm flavors of apple butter while offering a delightful twist that will surprise your guests. It’s the perfect dessert to elevate any gathering, especially when you’re looking for something quick yet impressive. With minimal effort and just a handful of ingredients, you’ll have a silky-smooth pie that’s bound to become your new fall favorite. So, are you ready to indulge in the cozy, comforting autumn flavors of this Apple Butter Pie? Let’s dive into the recipe!
Why is Apple Butter Pie a must-try?
Uniqueness: This pie offers an unexpected flavor twist with apple butter, providing a delightful alternative to traditional desserts.
Simplicity: With just a handful of ingredients and a straightforward process, this recipe is perfect for both novice and seasoned bakers.
Comforting Flavor: Infused with warm spices, it captures the essence of fall, making it an instant crowd favorite.
Versatility: Serve chilled or at room temperature, with or without whipped cream, to accommodate all preferences.
Make-Ahead Friendly: Perfect for holiday gatherings, this pie can be prepared in advance for a stress-free celebration. Enjoy this delicious dessert alongside other favorites like Garlic Butter Chicken or Garlic Butter Meatballs for a full meal experience!
Apple Butter Pie Ingredients
For the Filling
• Apple Butter – This is the star ingredient, providing a rich and delicious base to your pie; store-bought apple butter makes it easy!
• Eggs – Essential for creating a custard-like texture that holds everything together beautifully.
• Heavy Cream – Adds a luxurious creaminess; you can substitute half-and-half for a lighter filling if desired.
• Sugar – Sweetens the pie; consider using brown sugar for a deeper flavor profile.
• Spices (Cinnamon, Nutmeg) – Infuses warmth and depth; adjust quantities according to your taste preference.
For the Crust
• Spelt Flour – Gives the crust a wholesome flavor; feel free to use all-purpose flour if you prefer a milder taste.
• Butter – Untwists that flaky crust texture; unsalted butter is recommended for better taste control.
• Salt – Enhances all flavors; try coarse kosher salt for a hint of texture.
This Apple Butter Pie is not only easy to make but also a cozy treat during the fall!
Step‑by‑Step Instructions for Apple Butter Pie
Step 1: Prepare the Crust
Preheat your oven to 375°F (190°C). Roll out your spelt flour and butter mixture into a 10-inch pie crust, ensuring it’s about 1/8 inch thick. Place it in a pie dish and pierce the bottom with a fork to prevent bubbling. Blind-bake the crust for 15 to 20 minutes until it turns lightly golden all over, then set aside to cool slightly.
Step 2: Mix the Filling
In a large mixing bowl, whisk together the apple butter, eggs, heavy cream, sugar, and spices until the mixture is entirely smooth. Ensure there are no lumps, as a creamy texture is crucial for your Apple Butter Pie. Taste the filling, adjusting the sweetness or spices to your liking, then prepare to pour it into the cooled crust.
Step 3: Pour & Bake
Once the filling is well mixed, pour it carefully into the pre-baked crust, ensuring even distribution. Bake your Apple Butter Pie in the preheated oven at 325°F (165°C) for about 40 to 50 minutes. The filling should be just set, with slightly puffed edges and a wobbly center, signaling it’s ready to come out.
Step 4: Cool
After baking, remove the pie from the oven and let it cool at room temperature for about 1 hour. This step is essential for the filling to stabilize. Once cooled, cover the pie and refrigerate for at least 6 hours; this chilling time enhances flavor and helps the pie set beautifully.
Step 5: Serve
When ready to enjoy, slice the Apple Butter Pie and serve it chilled or at room temperature. For an extra touch, you can top each slice with a dollop of maple whipped cream, enhancing the cozy fall flavors. Savor every creamy bite of your delightful creation!
Storage Tips for Apple Butter Pie
- Fridge: Store any leftover Apple Butter Pie in an airtight container in the refrigerator for up to 3-5 days to maintain its creamy texture and flavor.
- Freezer: For longer storage, you can freeze the pie for up to 2 months. Wrap it well with plastic wrap and then foil to prevent freezer burn.
- Thawing: To enjoy frozen pie, thaw overnight in the refrigerator before serving, allowing the flavors to meld back beautifully.
- Reheating: Serve chilled or let it sit at room temperature for a bit before slicing. If you prefer warmed pie, gently reheat in a 300°F (150°C) oven for 10-15 minutes.
Apple Butter Pie Variations & Substitutions
Feel free to let your creativity shine as you customize this delicious Apple Butter Pie to your liking!
- Graham Cracker Crust: Swap spelt flour with graham cracker crumbs for a sweeter, crunchier base. The flavor contrast will add an exciting twist!
- Maple Whipped Cream: Instead of plain whipped cream, infuse it with maple syrup for a sweet touch that indulges your taste buds. This addition will bring a delightful depth to each slice.
- Nutmeg Boost: Experiment with an increased amount of nutmeg for an extra kick. It beautifully complements the apple flavor and enhances the cozy, fall essence.
- Dairy-Free Option: Substitute heavy cream with full-fat coconut milk and use flax eggs for a plant-based version. The pie remains rich and creamy, perfect for those avoiding dairy.
- Caramel Drizzle: Add a drizzle of homemade or store-bought caramel on top before serving. It brings an elegant finish and a sweet contrast to the smooth pie.
- Spice Variations: Adjust the spices according to your favorite flavor profile. A hint of ginger or clove can elevate the pie, making it uniquely yours.
- Fruit Additions: Fold in small chunks of fresh apples or pears into the filling for a fruitier texture. This twist makes every bite a delightful surprise!
- Chocolate Chips: Include mini chocolate chips for a decadent touch. The richness of chocolate pairs surprisingly well with the apple butter, creating a luscious dessert experience.
These variations encourage your personal touch! While this pie is a star on its own, pairing it with classic dishes like Garlic Butter Chicken will truly enhance your meal!
Expert Tips for Making Apple Butter Pie
-
Choose Quality Apple Butter: Use high-quality apple butter for the best flavor. Try to avoid overly sweetened varieties which can alter the pie’s balance.
-
Perfect Custard Texture: Ensure you whisk the filling thoroughly to avoid lumps, which can lead to an uneven texture in your Apple Butter Pie.
-
Don’t Skip Chilling: Refrigerating the pie for at least 6 hours is crucial for achieving the right texture. It helps the filling set and enhances the flavors.
-
Watch the Baking Time: Keep an eye on the filling and take it out when the edges are puffed but the center still jiggles slightly to prevent dryness.
-
Add Personal Touches: Feel free to mix up the spices in your filling based on your preferences. A dash of ginger or cloves can give the pie an extra flavor kick!
Make Ahead Options
Preparing your Apple Butter Pie ahead of time is a fantastic way to save time and reduce stress during busy gatherings! You can make the pie fully up to 3 days in advance. Simply prepare the filling and blind-bake the crust, then assemble the pie and refrigerate it covered until you’re ready to bake. This not only helps the flavors meld, but it also allows the pie to set for optimal texture. When it’s time to serve, bake the pie straight from the fridge, adding an extra 5-10 minutes to the baking time if it’s cold. This way, you can enjoy a delicious, creamy pie without the last-minute rush!
What to Serve with Silky Apple Butter Pie
Elevate your enjoyable moments with diverse accompaniments that perfectly complement the rich flavors of this silky dessert.
-
Maple Whipped Cream: This light, fluffy topping adds a sweet creaminess that enhances the apple notes without overpowering the pie’s flavor.
-
Spiced Chai Tea: Warm, comforting, and aromatic, chai brings its spices to the table, harmonizing beautifully with the autumnal flavors of the pie.
-
Candied Pecans: The crunchy sweetness of candied pecans provides a delightful texture contrast, making each bite even more enjoyable.
-
Cinnamon Roasted Apples: A side of warm cinnamon roasted apples echoes the pie’s filling and brings extra sweetness and warmth to each serving.
-
Caramel Sauce Drizzle: A rich caramel sauce adds a luxurious touch with its sweet depth, perfect for drizzling over each slice for that extra flair.
-
Vanilla Ice Cream: Creamy vanilla ice cream melts over the warm pie slice, creating an irresistible combination of warmth and cold that delights the taste buds.
In the end, these pairings not only elevate your culinary experience but also invite moments of shared laughter and joy around the table.
Apple Butter Pie Recipe FAQs
What type of apple butter should I use for the pie?
Absolutely! The key to a delicious Apple Butter Pie is choosing a high-quality apple butter. I recommend using a version that is rich in flavor and not overly sweetened, as it sets the tone for your pie’s overall taste. You can opt for store-bought for convenience or make your own if you want to add a personal touch!
How should I store leftover Apple Butter Pie?
After enjoying your delightful Apple Butter Pie, store any leftovers in an airtight container in the refrigerator. It will keep well for about 3-5 days, ensuring you can savor the yummy flavors for a little longer. Just be sure to slice it only when you’re ready to serve to maintain its creamy texture!
Can I freeze Apple Butter Pie, and if so, how?
Yes, you can freeze your Apple Butter Pie for up to 2 months! To do this, allow the pie to cool completely after baking. Then, wrap it tightly in plastic wrap, followed by aluminum foil to prevent freezer burn. When you’re ready to enjoy it, simply thaw the pie overnight in the refrigerator beforehand.
What should I do if my pie filling doesn’t set properly?
If your filling does not seem to set after baking, there are a few possible culprits. First, ensure you haven’t over or under-baked the pie. The edges should be puffed and the center slightly jiggly when you take it out of the oven. If it’s still too runny, a good method is to bake it for a longer time at a slightly lower temperature. Be patient and keep a close eye on it as it finishes cooking!
Can I use substitutes for any ingredients in the Apple Butter Pie?
Very! You can definitely make some substitutions if needed. For a lighter filling, half-and-half can replace heavy cream. If you prefer a different crust, swapping spelt flour for graham cracker crumbs can lend a delightful flavor twist. Feel free to explore and adjust spices to your liking based on the flavor of your apple butter, especially if you’re using a homemade version!

Irresistibly Creamy Apple Butter Pie for Cozy Fall Nights
Ingredients
Equipment
Method
- Preheat your oven to 375°F (190°C). Roll out your spelt flour and butter mixture into a 10-inch pie crust, ensuring it’s about 1/8 inch thick. Place it in a pie dish and pierce the bottom with a fork to prevent bubbling. Blind-bake the crust for 15 to 20 minutes until it turns lightly golden all over, then set aside to cool slightly.
- In a large mixing bowl, whisk together the apple butter, eggs, heavy cream, sugar, and spices until the mixture is entirely smooth. Taste the filling and adjust to your liking.
- Once the filling is well mixed, pour it carefully into the pre-baked crust, ensuring even distribution. Bake at 325°F (165°C) for about 40 to 50 minutes.
- Let the pie cool at room temperature for about 1 hour, then cover and refrigerate for at least 6 hours.
- Slice the Apple Butter Pie and serve chilled or at room temperature. Optionally top each slice with maple whipped cream.


