I once found myself in a minor kitchen dilemma, staring at a group of friends who were craving something fun, flavorful, and, let’s be honest, a little indulgent. That’s when the idea of Cheeseburger Garlic Bombs struck me! These comforting little bites, wrapped in buttery biscuit dough, are not only a crowd-pleaser but also an absolute breeze to whip up. Imagine the crispy exterior giving way to a gooey, savory filling of beef and melted cheese—that’s what awaits with every bite. Plus, they’re endlessly customizable, so whether your palate leans toward a classic cheeseburger or something a bit more adventurous like jalapeño popper or mushroom and Swiss, there’s a variation for every taste! Ready to unleash some deliciousness in your kitchen? Let’s dive in!
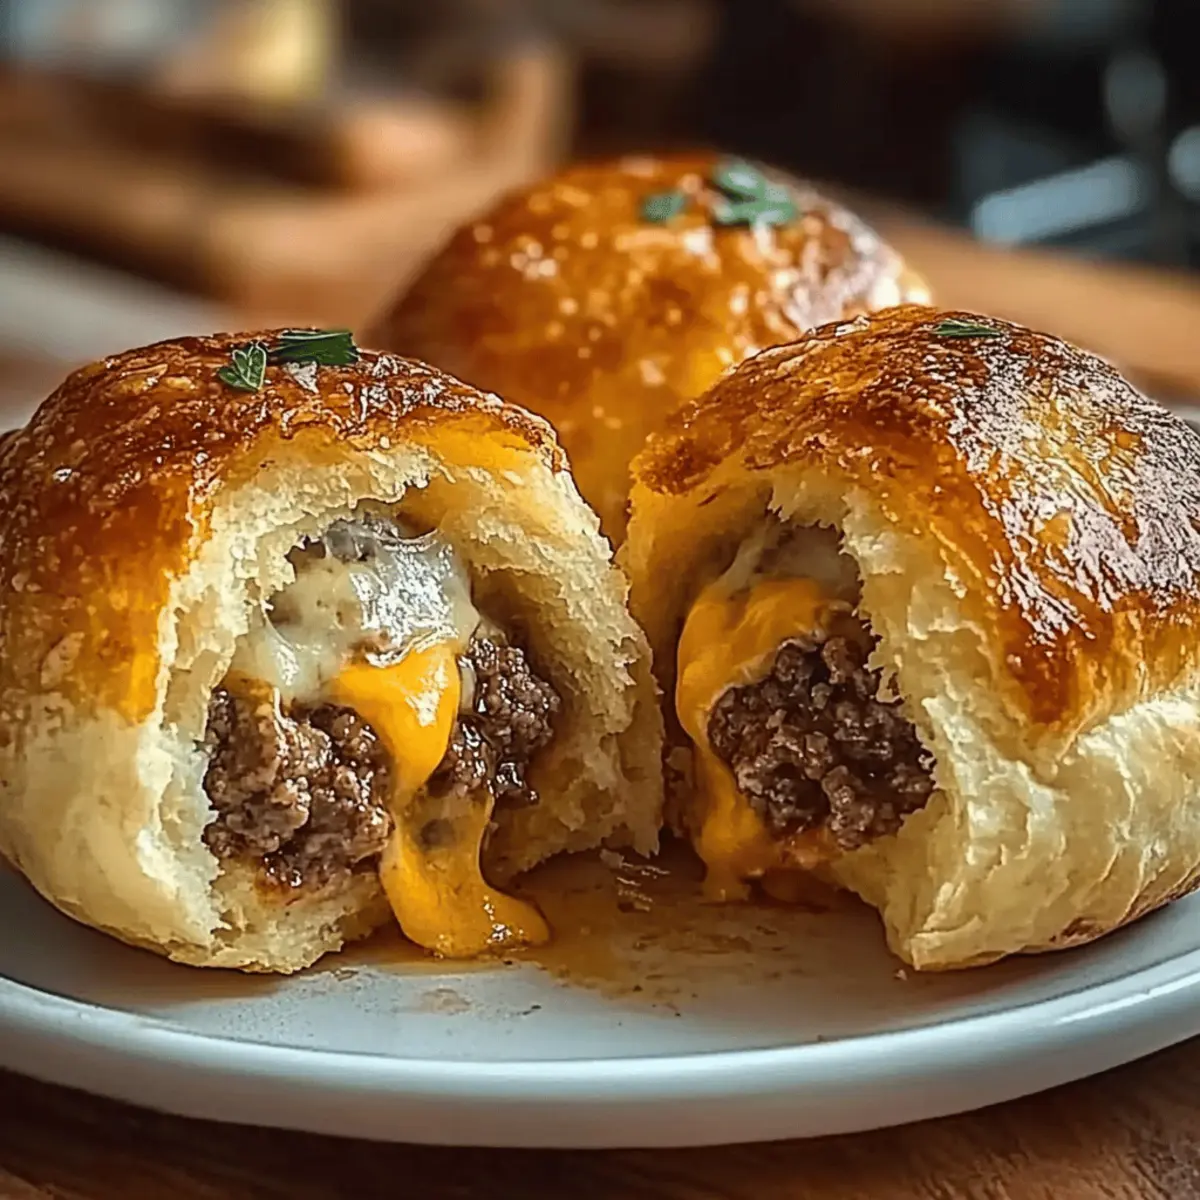
Why Are Cheeseburger Garlic Bombs Irresistible?
Flavor Explosion: Each bite combines the savory goodness of beef and melted cheese enveloped in flaky, buttery dough, creating an irresistible snack.
Quick Prep: These bombs are perfect for those busy weekdays or last-minute gatherings, requiring minimal preparation time!
Customizable: Transform them with loads of variations like bacon, pickles, or even veggie options for everyone at the table.
Kid-Friendly: Little ones adore them, making them an ideal choice for family dinners or packed school lunches, especially paired with ketchup or ranch.
Crowd-Pleaser: Your guests will be raving about these, just like our delicious Garlic Butter Meatballs or Honey Lime Garlic as they make the perfect addition to any gathering!
Cheeseburger Garlic Bombs Ingredients
For the Filling
- Ground Beef – Choose an 80/20 blend for a juicy cheeseburger flavor.
- Cheddar/Mozzarella Cheese – Freshly shredded cheese melts beautifully and adds a creamy texture.
- Garlic – Fresh garlic wins every time for an aromatic punch in the filling!
For the Dough
- Refrigerated Biscuit Dough – Convenient and flaky, this is the perfect wrapper for your bombs; homemade can elevate your dish!
- Unsalted Butter – Use for brushing over the bombs to enhance richness and add a glossy finish.
Seasonings
- Salt & Pepper – Essential for seasoning the beef to bring out the savory goodness.
- Garlic Powder & Onion Powder – These add extra depth of flavor to the filling mix.
- Optional: Worcestershire Sauce or Yellow Mustard – A splash enhances the umami and flavors in your Cheeseburger Garlic Bombs.
With these simple ingredients on hand, you’ll be on your way to creating a dish that will be the hit of any gathering!
Step‑by‑Step Instructions for Cheeseburger Garlic Bombs
Step 1: Prep the Beef Mixture
In a large skillet over medium heat, brown 1 pound of ground beef, breaking it apart until fully cooked through—this takes about 5-7 minutes. Season generously with salt, pepper, garlic powder, and onion powder. Once browned, drain excess grease, and let the mixture cool slightly to avoid overcooking the biscuit dough later.
Step 2: Roll Out the Biscuit Dough
Preheat your oven to 375°F (190°C). Open the refrigerated biscuit dough and separate it into halves. On a clean surface, roll each piece into a flat round, about 4 inches in diameter. Make sure they’re evenly thick for consistent cooking, and keep your work area lightly floured to prevent sticking as you prepare the Cheeseburger Garlic Bombs.
Step 3: Fill the Dough Rounds
Place a heaping tablespoon of the cooled beef mixture onto the center of each dough round. Add a sprinkle of freshly shredded cheese on top for that gooey goodness. Carefully fold the edges of the dough over the filling, pinching the seams securely to avoid any leakage during baking. This step is crucial for ensuring that delightful filling stays inside!
Step 4: Bake the Bombs
Line a baking sheet with parchment paper for easy cleanup. Place the filled bombs seam-side down on the sheet, ensuring they’re spaced a few inches apart. Bake in the preheated oven for 12-15 minutes, or until the tops are a gorgeous golden brown and the dough appears flaky. Keep an eye out—they should puff up beautifully as they bake!
Step 5: Brush with Garlic Butter
While the Cheeseburger Garlic Bombs are in the oven, melt 2 tablespoons of unsalted butter in a small bowl with 2 minced garlic cloves. Once the bombs are out of the oven, brush the tops generously with the garlic butter mixture to enhance their richness and unlock that irresistible garlic aroma.
Step 6: Serve and Enjoy
Let the bombs cool for a minute before serving, as the filling will be very hot. These Cheeseburger Garlic Bombs are perfect as an appetizer or a main dish. Pair them with your favorite dipping sauces like ketchup or ranch, and watch them disappear as your family and friends indulge in these comforting bites!
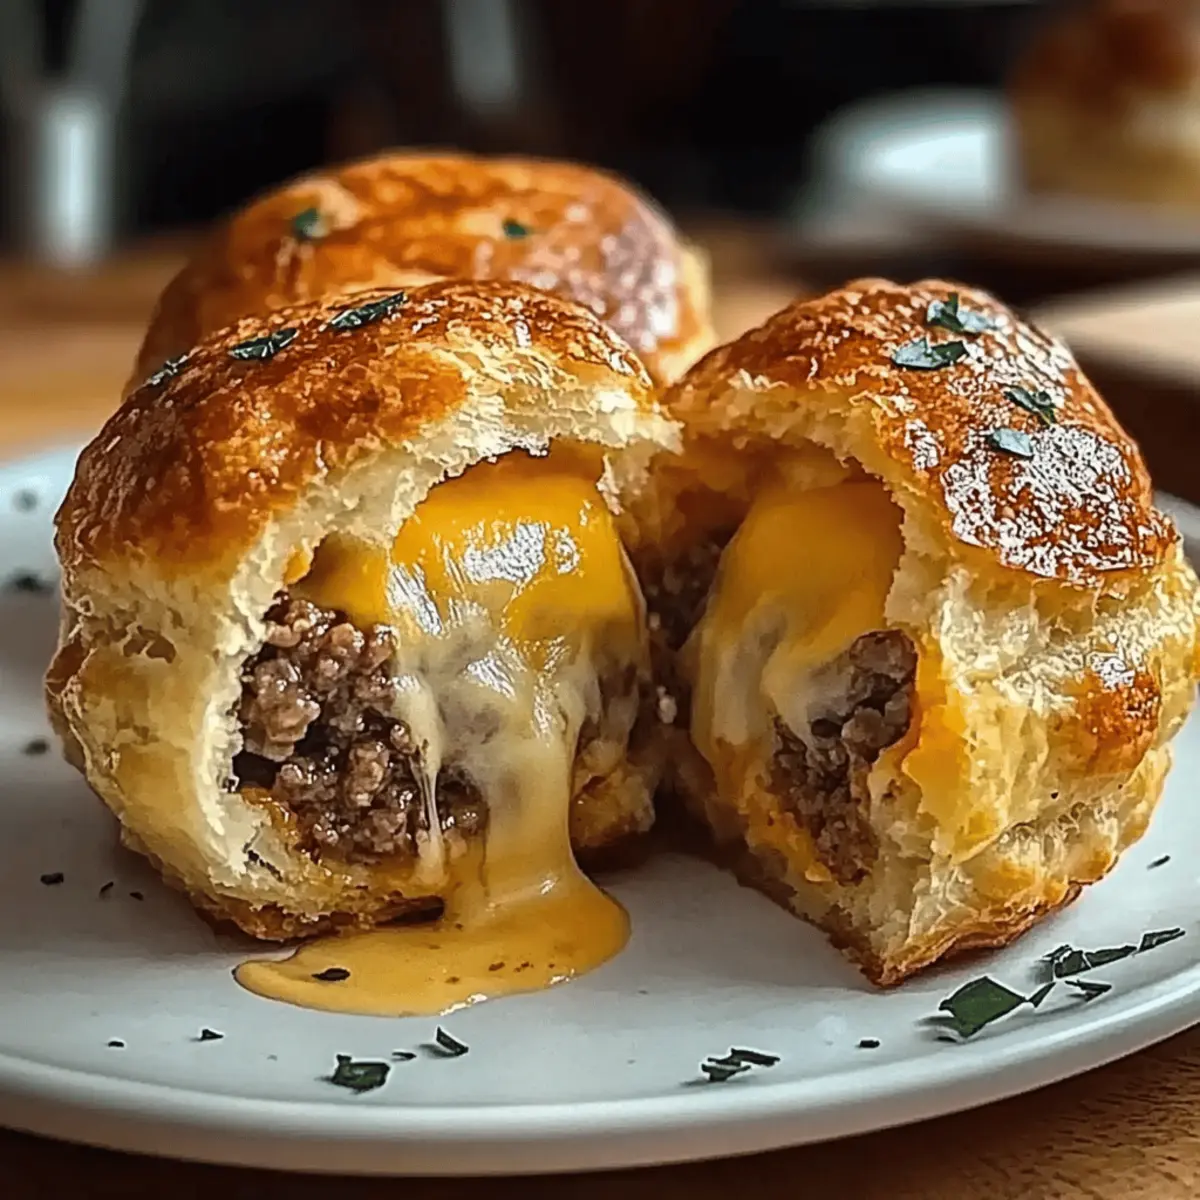
Cheeseburger Garlic Bombs Variations
Feel free to explore these delightful twists that will elevate your Cheeseburger Garlic Bombs to new heights!
-
Bacon Bombs: Stir in crumbled, crispy bacon for an added crunch and smoky flavor. Imagine each bite bursting with savory goodness!
-
Pickle-Stuffed: Place a tangy pickle slice in the center before sealing. The burst of tanginess makes for a refreshing contrast with the rich filling.
-
Jalapeño Popper Style: Mix cream cheese and shredded cheddar with diced jalapeños to spice things up! This fiery option is perfect for heat lovers and party gatherings.
-
Mushroom & Swiss: Substitute the beef with sautéed mushrooms and rich Swiss cheese for a gourmet touch! You’ll savor an earthy flavor that’ll tantalize your taste buds.
-
Veggie-Loaded: Swap ground beef for a mix of sautéed bell peppers, onions, and black beans. This plant-based version is hearty and delicious, pleasing even the pickiest eaters.
-
Cheesy Mac Bombs: Fold in creamy macaroni and cheese into your filling for an indulgent combo. These will be a hit for both kids and adults, with comfort food galore!
-
BBQ Chicken Twist: Replace the beef with shredded BBQ chicken for a smoky-sweet alternative. Serve with ranch or coleslaw on the side for a complete meal!
-
Spicy Buffalo: Toss cooked ground chicken in buffalo sauce and add blue cheese for a zesty bite. Perfect for those who love bold flavors, paired with celery sticks!
With these variations, your Cheeseburger Garlic Bombs will never get boring, and you’ll want to keep coming back for more! For more delicious ideas, check out my mouthwatering Garlic Butter Chicken or Lemon Garlic Chicken Piccata Pasta!
Expert Tips for Cheeseburger Garlic Bombs
- Chill Before Baking: Allow the filled bombs to chill for 10 minutes before baking. This helps them maintain their shape and prevents leaks during cooking.
- Prevent Sticking: Use parchment paper on your baking sheet. It not only prevents sticking but also makes cleanup a breeze after the Cheeseburger Garlic Bombs are devoured!
- Be Mindful of Filling: Avoid overfilling your dough; too much filling can make sealing tricky and lead to messy leaks. A tablespoon of filling is usually just right!
- Fresh Cheese is Best: Opt for freshly shredded cheese rather than pre-packaged varieties. Fresh cheese melts beautifully and enhances the overall flavor of your bombs.
- Garlic Butter Matters: Don’t skip brushing with garlic butter after baking; it adds richness and a glossy finish, elevating your Cheeseburger Garlic Bombs to the next level.
What to Serve with Cheeseburger Garlic Bombs
These delightful, gooey bites ignite a craving for a well-rounded meal, inviting warmth and joy to your dining experience.
-
Crispy French Fries: The classic pairing! Their golden crispness complements the soft, buttery bombs, creating a satisfying contrast.
-
Fresh Garden Salad: A light, crunchy salad adds a refreshing balance to the rich flavors of the bombs, making for a wholesome meal.
-
Creamy Coleslaw: The cool, tangy crunch of coleslaw is a perfect counterpart, enhancing the savory goodness of the Cheeseburger Garlic Bombs.
-
Potato Wedges: Seasoned and baked to perfection, these wedges offer an excellent texture and hearty satisfaction alongside your cheesy bites.
-
Guacamole and Chips: The creamy avocado and salty crunch of tortilla chips bring extra flavor and fun, appealing to everyone at the table.
-
Sweet Potato Fries: A touch of sweetness combines beautifully with the savory bombs, making for a delectable flavor adventure.
-
Chili: Hearty chili makes a comforting dip and elevates your meal with layers of flavor. Plus, it’s perfect for dunking!
-
Garlic Aioli: This rich, garlicky sauce can elevate the flavor of each bomb, adding an extra punch that garlic lovers will devour.
-
Iced Tea or Lemonade: Refreshing drinks like iced tea or homemade lemonade contrast nicely, cutting through the richness and keeping things light.
These options will certainly enhance your dining experience while enjoying Cheeseburger Garlic Bombs!
How to Store and Freeze Cheeseburger Garlic Bombs
Fridge: Store any leftover Cheeseburger Garlic Bombs in an airtight container for up to 3 days. Reheat in the oven for 5–10 minutes at 350°F to regain that delicious crispiness.
Freezer: You can freeze both uncooked and cooked bombs. Wrap them tightly in plastic wrap followed by aluminum foil, and they will last up to 2 months.
Uncooked Storage: Assemble the bombs ahead of time and place them on a baking sheet before freezing. Once frozen, transfer them to a freezer-safe container for easy access.
Reheating: For cooked bombs, reheat from frozen in the oven at 375°F for 15–20 minutes or until heated through, restoring their tasty texture.
Make Ahead Options
These Cheeseburger Garlic Bombs are a fantastic option for meal prep enthusiasts! You can prepare the filling of ground beef, garlic, and seasonings up to 24 hours in advance. Simply brown the beef mixture as directed, let it cool, and store it in an airtight container in the refrigerator. You can also roll and stuff the biscuit dough with the filling up to 3 days ahead of time; just refrigerate them on a parchment-lined baking sheet. When you’re ready to enjoy, bake them straight from the fridge, adding about 2-3 minutes to the cooking time, for warm, gooey deliciousness that’s just as satisfying as when freshly made!
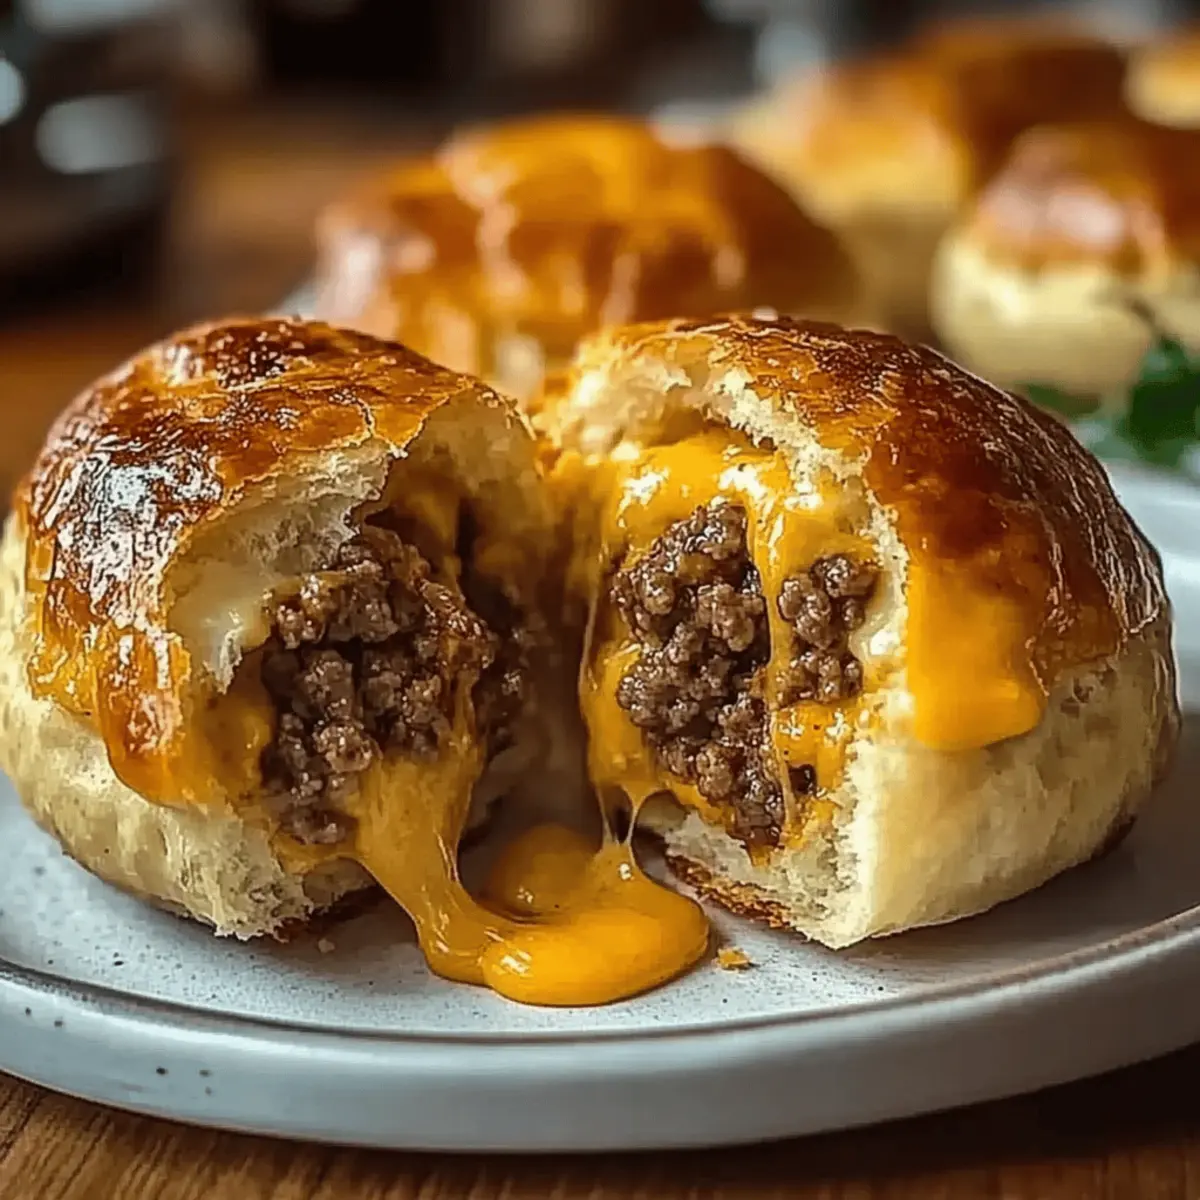
Cheeseburger Garlic Bombs Recipe FAQs
How do I pick the right ground beef for Cheeseburger Garlic Bombs?
Absolutely! I recommend using an 80/20 blend of ground beef for the perfect balance of flavor and juiciness. This ratio ensures that the beef remains tender and flavorful once cooked, making each bite of your Cheeseburger Garlic Bombs melt in your mouth!
How should I store leftover Cheeseburger Garlic Bombs?
Very simply! Store any leftover Cheeseburger Garlic Bombs in an airtight container in the fridge for up to 3 days. When you’re ready to enjoy them again, reheat in the oven at 350°F for about 5-10 minutes to regain that crispy texture. They’re just as delicious the second time around!
Can I freeze Cheeseburger Garlic Bombs?
Absolutely, freezing is a great option! You can freeze both uncooked and cooked bombs. If you want to freeze them uncooked, wrap each one tightly in plastic wrap, then again in aluminum foil. This way, they can stay fresh for up to 2 months! For reheating, simply cook from frozen at 375°F for 15-20 minutes until heated through, and you’ll have a quick snack that’s just as good as fresh!
What should I do if the filling spills out during baking?
No worries! If you find your Cheeseburger Garlic Bombs leaking, it’s usually due to overfilling. Adjust your filling amount to about a tablespoon to keep it contained. Also, pinching the dough edges securely before baking can help prevent this mishap, ensuring that the deliciousness stays inside!
Are there any dietary considerations with Cheeseburger Garlic Bombs?
Very much! If you’re cooking for someone with dietary restrictions, feel free to swap the ground beef for a plant-based alternative for a veggie version. You can also use lactose-free cheese if dairy is a concern. Always check ingredient labels for allergens if you’re serving guests with unknown dietary needs, ensuring a worry-free meal for everyone!
How can I ensure my Cheeseburger Garlic Bombs have a golden finish?
To achieve that beautiful golden finish, don’t skip brushing the warm bombs with melted garlic butter right after they come out of the oven. This step also enhances their flavor and gives them an irresistible aroma that will have everyone clamoring for more!
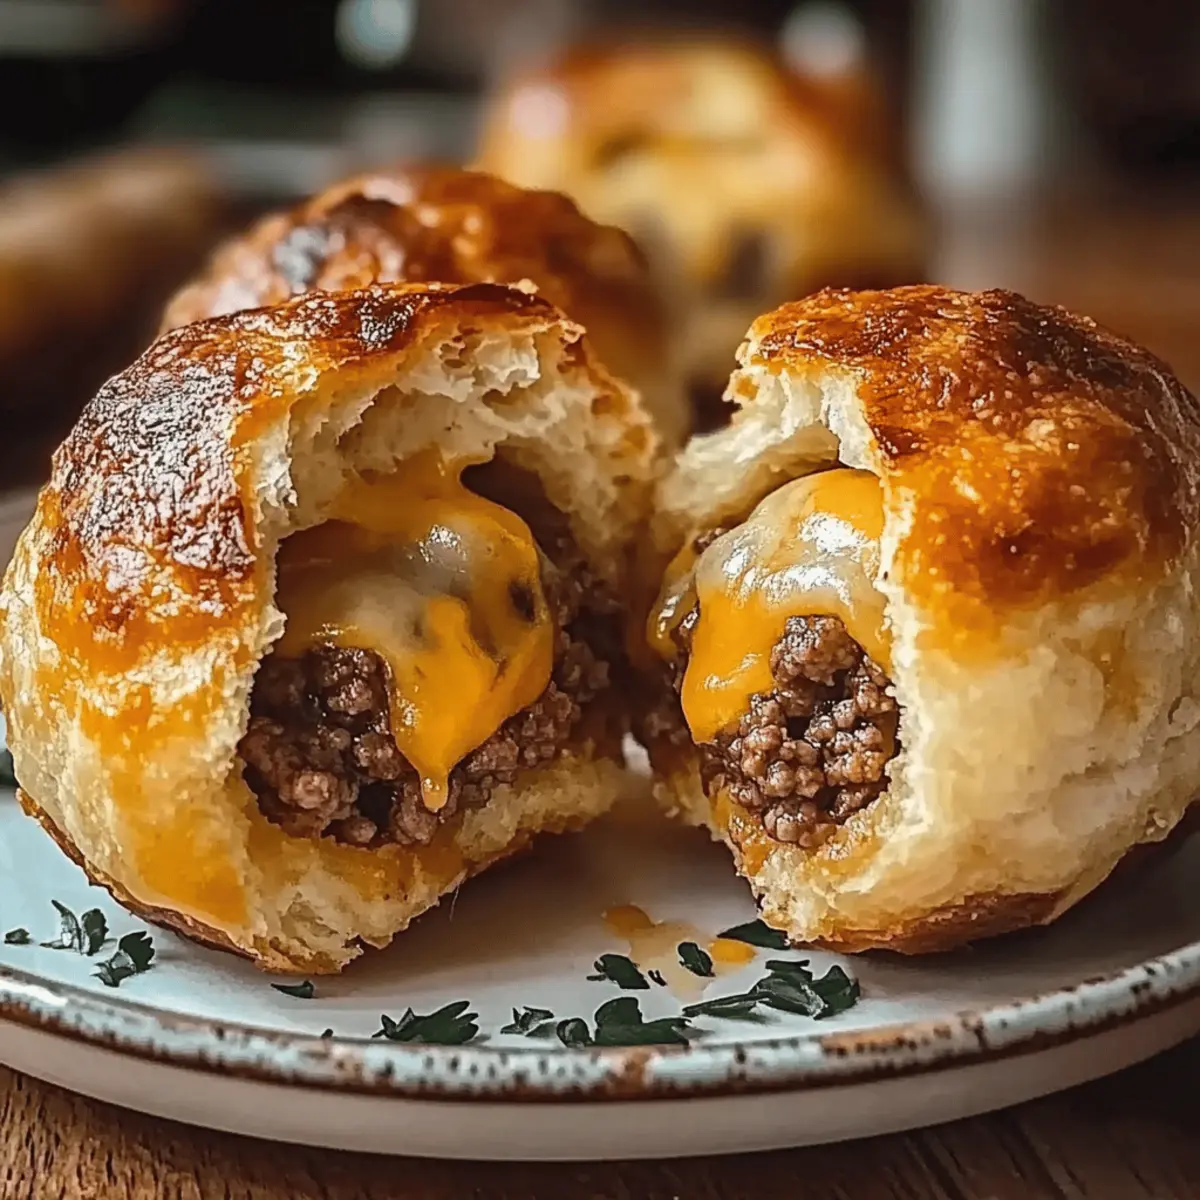
Cheeseburger Garlic Bombs: A Handheld Flavor Explosion
Ingredients
Equipment
Method
- Prep the Beef Mixture: In a large skillet over medium heat, brown the ground beef, breaking it apart until fully cooked (5-7 minutes). Season with salt, pepper, garlic powder, and onion powder. Drain excess grease and let cool slightly.
- Roll Out the Biscuit Dough: Preheat oven to 375°F (190°C). Open biscuit dough and separate into halves. Roll each piece into a flat round, about 4 inches in diameter.
- Fill the Dough Rounds: Place a heaping tablespoon of cooled beef mixture in the center of each dough round. Sprinkle with freshly shredded cheese. Fold the edges over the filling and pinch seams securely.
- Bake the Bombs: Line a baking sheet with parchment paper. Place filled bombs seam-side down and bake for 12-15 minutes until golden brown.
- Brush with Garlic Butter: Melt butter with minced garlic in a bowl. Brush mixture over baked bombs to enhance richness.
- Serve and Enjoy: Let cool for a minute before serving. Pair with dipping sauces like ketchup or ranch.


