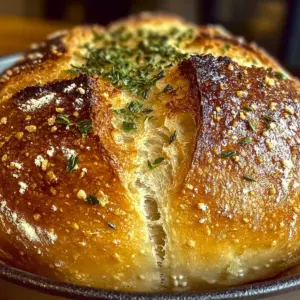
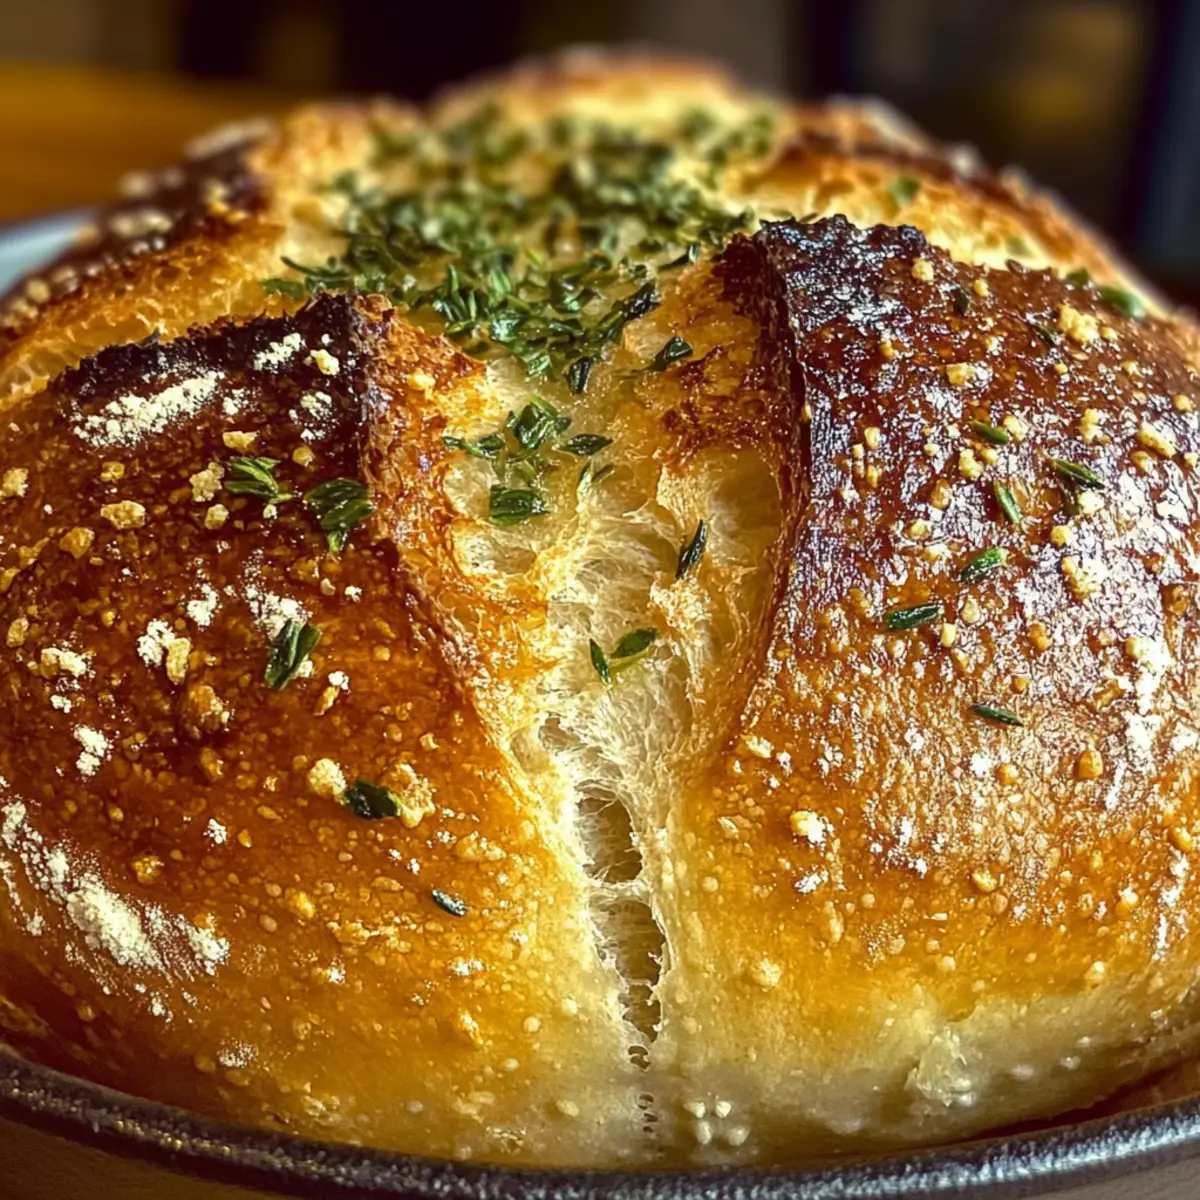
The other night, a waft of fragrant herbs and warm garlic filled my kitchen, instantly transporting me to a quaint bistro in the heart of Italy. That’s how I felt when I baked this Soft and Crusty Garlic Herb Dutch Oven Bread—its golden crust and pillowy interior are a tangible reminder of artisanal loaves crafted with love. The beauty of this recipe lies in its no-knead technique, perfect for both beginners eager to learn and seasoned bakers looking for a quick triumph in the kitchen. Not only will this bread elevate any meal, from cozy soups to gourmet sandwiches, but the savory aroma alone will have your loved ones gathering around the table in no time. Are you ready to knead the day away with this delicious bread?
Why is Dutch Oven Bread a Game Changer?
Artisan Quality: Achieve that desirable artisan-style loaf without the fuss. This no-knead method makes it accessible for everyone!
Savory Aroma: The combination of garlic and fresh herbs creates an enticing scent that fills your home, making it perfect for gatherings.
Versatile: Whether paired with your favorite soup or made into a gourmet sandwich, this bread adapts to many meals effortlessly.
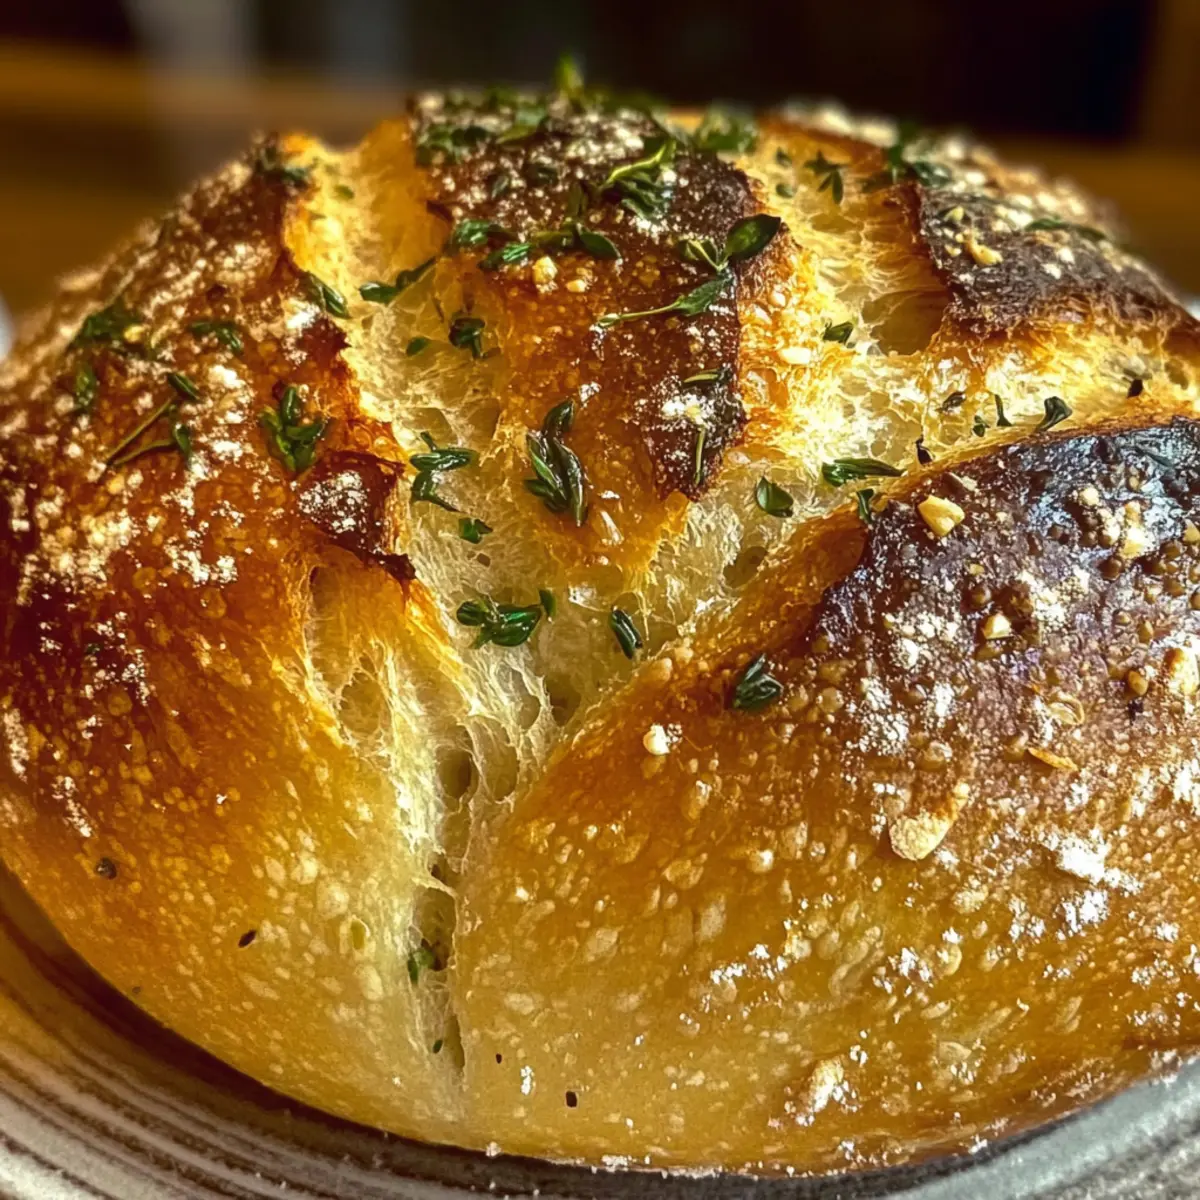
Golden Crust: The Dutch oven technique ensures a crispy, golden crust that crackles with every slice, elevating your bread game to new heights.
Time-Saving: With minimal hands-on time required, you can spend more time enjoying the moment and less time in the kitchen. Want to explore more delicious baking tips? Check out our detailed guide on baking bread at home.
Garlic Herb Dutch Oven Bread Ingredients
Get ready to bake this deliciously simple bread!
For the Dough
- All-Purpose Flour – Provides structure and body for the loaf; substitute with bread flour for a chewier texture.
- Instant Yeast – Enables quick fermentation, giving you a light, airy bread; substitute with active dry yeast by dissolving it in warm water first.
- Salt – Enhances flavor and controls yeast action; opt for sea salt for more nuanced flavor.
- Minced Garlic – Infuses the dough with robust garlic flavor; try roasted garlic for a subtly sweet twist.
- Chopped Rosemary – Adds depth with its aromatic quality; use dried rosemary, but reduce the amount by one-third.
- Fresh Thyme Leaves – Provides a fresh, herby aroma; dried thyme works too, just adjust the quantity similarly.
- Chopped Parsley – Brightens flavor and adds color; feel free to omit or swap with basil or other fresh herbs.
- Warm Water – Hydrates the flour and activates yeast; no substitutions needed!
- Olive Oil – Adds moisture and enriches the flavor; melted butter can be used for added richness.
For the Topping
- Coarse Sea Salt – Creates a flavorful, crispy crust; coarse kosher salt can also be used as a fantastic alternative.
Prepare to indulge in the deliciousness of garlic herb Dutch oven bread. Your kitchen will be buzzing with enticing aromas, and you’ll find joy in every bite!
Step‑by‑Step Instructions for Soft and Crusty Garlic Herb Dutch Oven Bread
Step 1: Mix the Dry Ingredients
In a large mixing bowl, combine 4 cups of all-purpose flour, 1 packet of instant yeast, 1 tablespoon of salt, 3 cloves of minced garlic, 1 tablespoon of chopped rosemary, 1 tablespoon of fresh thyme leaves, and 2 tablespoons of chopped parsley. Stir the mixture with a wooden spoon until everything is well blended, ensuring an even distribution of flavors throughout the bread.
Step 2: Combine Wet Ingredients
Add 1 and ½ cups of warm water and 2 tablespoons of olive oil to the dry ingredients in the bowl. Mix gently with your wooden spoon until a loose, shaggy dough forms; ensure there are no dry patches. You’ll notice the dough will be slightly sticky—this is ideal for creating the soft texture you want in your Soft and Crusty Garlic Herb Dutch Oven Bread.
Step 3: First Rise
Cover the bowl tightly with plastic wrap or a clean kitchen towel and let it rise at room temperature for 1 hour. You should see the dough double in size, signaling that the yeast is working its magic. After the hour is up, transfer the bowl to the refrigerator and allow the dough to chill overnight; this slow fermentation will enhance the flavor of your bread.
Step 4: Preheat the Dutch Oven
The next day, place your Dutch oven (with the lid on) in the oven and preheat it to 450°F (230°C). Allow it to heat for 30 minutes. This preheating step is crucial for achieving that crispy, golden crust that makes your Soft and Crusty Garlic Herb Dutch Oven Bread truly irresistible.
Step 5: Shape the Dough
Once preheated, dust a clean surface with flour and gently turn out the cold dough. Using lightly floured hands, shape it into a round loaf, being careful not to deflate it too much. Transfer the shaped dough onto a piece of parchment paper, which will make it easy to lift into the hot Dutch oven later.
Step 6: Prepare the Loaf for Baking
Brush the top of the loaf with a little olive oil, giving it a glossy finish. Sprinkle coarse sea salt generously over the surface, allowing it to stick to the dough, enhancing the flavor of your Soft and Crusty Garlic Herb Dutch Oven Bread while it bakes.
Step 7: Bake the Bread
Carefully remove the preheated Dutch oven from your oven and uncover it. Using the parchment paper, lift the loaf and place it gently into the hot pot. Cover with the lid and bake for 30 minutes. This covered baking will create steam, resulting in a beautiful, crusty exterior while keeping the inside deliciously soft.
Step 8: Brown the Bread
After 30 minutes, remove the lid of the Dutch oven and continue to bake the bread for an additional 10-15 minutes. Keep an eye on the loaf; it should turn a gorgeous golden brown, and the aroma will fill your kitchen, inviting everyone to gather round.
Step 9: Cool Before Slicing
Once the bread is done, carefully remove it from the pot and let it cool completely on a wire rack. This cooling time helps set the texture and flavor, and cuts down on the risk of a gummy interior. After about 30 minutes, slice into your Soft and Crusty Garlic Herb Dutch Oven Bread and enjoy!
What to Serve with Soft and Crusty Garlic Herb Dutch Oven Bread
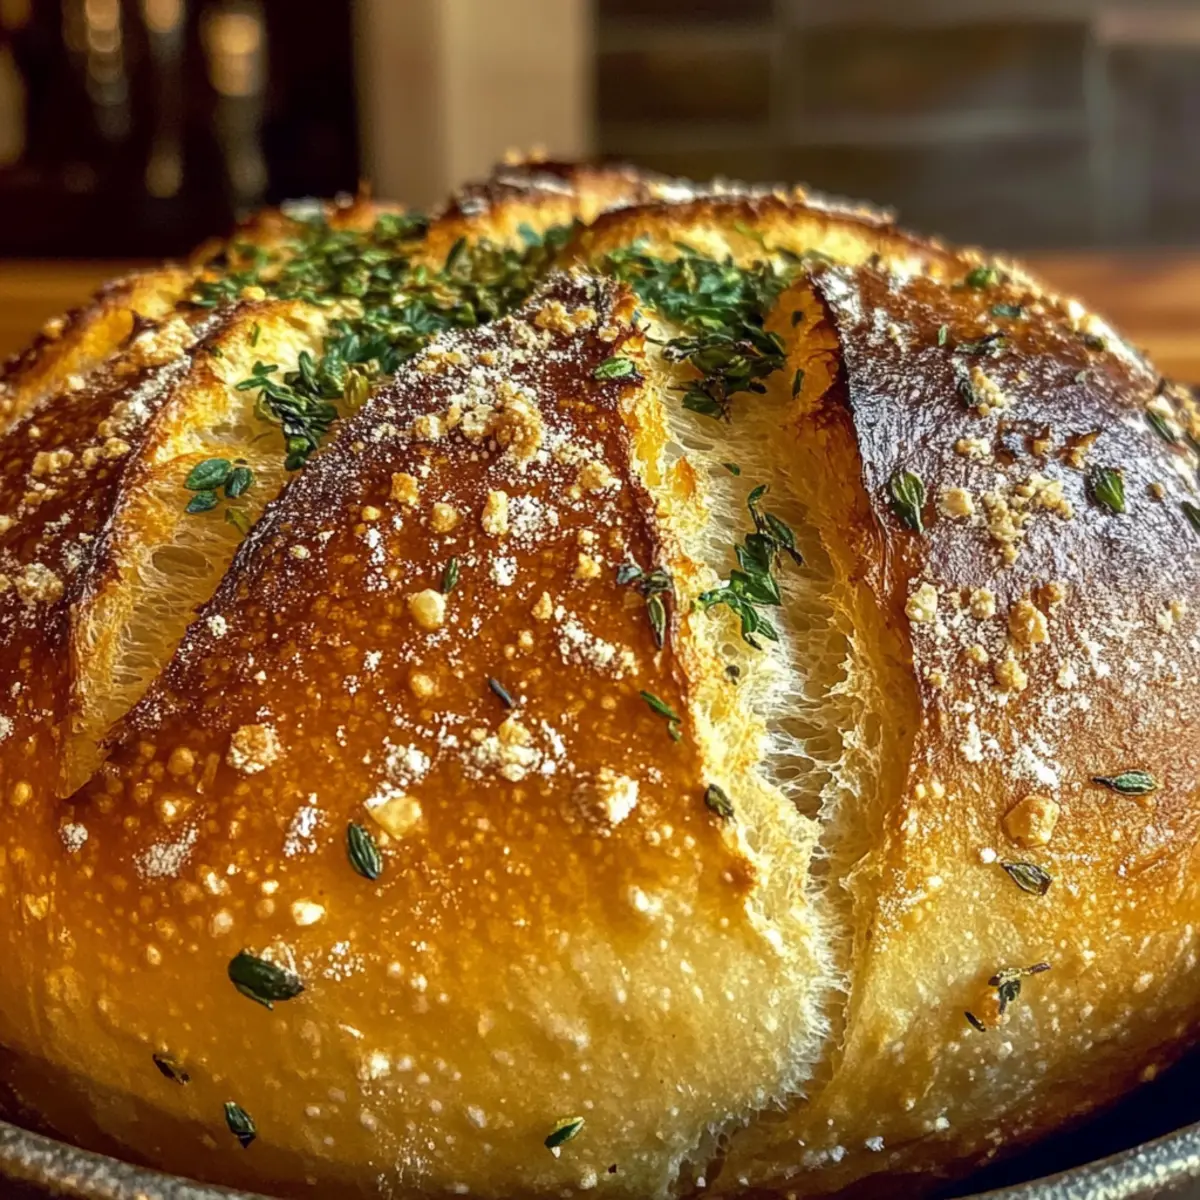
Imagine a cozy meal unfolding around your Soft and Crusty Garlic Herb Dutch Oven Bread, enhancing flavors and heartwarming memories.
-
Creamy Tomato Soup: The vibrant tang of tomato soup beautifully complements the savory garlic and herbs, creating a delightful dipping experience.
-
Garlic Butter Shrimp: Juicy, succulent shrimp sautéed in fragrant garlic butter brings a touch of elegance, perfectly matching the rich flavors of your bread.
-
Herb-Infused Olive Oil: Serve with a dish of olive oil infused with herbs for dipping. This simple pairing amplifies the aromatic notes of your bread.
-
Mixed Green Salad: A crisp salad tossed with a zesty vinaigrette offers a refreshing contrast to the warm, crusty bread—balancing flavors beautifully.
-
Charcuterie Board: Create a stunning charcuterie board featuring cured meats, cheeses, and fruits. It’s a fantastic way to showcase the bread as a centerpiece for sharing.
-
Beef Stew: This hearty, savory stew envelops your bread in robust flavors. Use the bread to soak up every drop of the rich sauce!
-
Warm Apple Crisp: For dessert, a warm apple crisp with a scoop of vanilla ice cream provides a sweet finish that contrasts nicely with the savory bread, sealing the meal with comfort.
Each suggestion enhances the heartwarming experience of enjoying your freshly baked loaf, making every gathering special.
How to Store and Freeze Garlic Herb Dutch Oven Bread
Room Temperature: Store your bread in a paper bag at room temperature for up to 2 days to preserve the crunchy crust while maintaining a soft interior.
Fridge: Avoid refrigerating your garlic herb bread, as it can dry out and lose its delightful texture.
Freezer: For longer storage, slice the bread and freeze in airtight bags for up to 3 months. Allow slices to cool completely before freezing to prevent sogginess.
Reheating: To enjoy that freshly-baked taste, reheat slices in the oven at 350°F (175°C) for about 10 minutes, or until warmed through.
Expert Tips for Garlic Herb Dutch Oven Bread
- Preheat Perfectly: Ensure your Dutch oven is fully preheated before baking to achieve that crispy crust. A hot pot makes all the difference!
- Gentle Handling: Use a light touch when shaping the dough to maintain its airy texture. Overworking it can lead to dense bread.
- Moisture Matters: If your dough feels too sticky, resist the urge to add too much flour. Just a dusting will keep it soft without compromising the crumb.
- Give It Time: Don’t rush the rising process; patience is key for allowing the flavors to develop in your garlic herb Dutch oven bread.
- Store Smart: For the best taste, store your bread in a paper bag at room temperature for up to 2 days. This helps maintain the crust!
Variations & Substitutions for Garlic Herb Dutch Oven Bread
Feel free to let your creativity shine by making this garlic herb bread your own with these easy variations!
- Dairy-Free: Replace olive oil with a dairy-free butter alternative for a rich flavor without the dairy.
- Herb Medley: Swap garlic and rosemary for fresh basil and oregano for a delightful Mediterranean twist.
- Cheesy Surprise: Mix grated Parmesan or Cheddar directly into the dough for an extra layer of savory richness.
- Spicy Kick: Add crushed red pepper flakes to the dough to give your bread a spicy bite that elevates your sandwiches beautifully.
- Whole Wheat: Substitute half of the all-purpose flour with whole wheat flour for a nuttier flavor; you may need to adjust the water slightly due to the increased absorbency.
- Onion Lover’s Delight: Incorporate sautéed onions or shallots into the dough for a punch of sweet and savory flavor that complements the garlic perfectly.
- Seeds Galore: Sprinkle sesame or sunflower seeds on top before baking for added crunch and a nutritional boost.
- Sun-Dried Tomatoes: Stir in chopped sun-dried tomatoes into the dough for a rich, tangy surprise that pairs beautifully with the herbs.
No matter how you choose to personalize this bread, it will surely become a beloved addition to your meal—perfect alongside dishes like creamy soups or as a base for gourmet sandwiches. Curious for more baking inspiration? Don’t miss our guide on choosing herbs for flavor.
Make Ahead Options
These Soft and Crusty Garlic Herb Dutch Oven Bread loaves are a fantastic choice for meal prep enthusiasts! You can mix the dry ingredients and even shape the dough up to 24 hours in advance, simply covering it tightly and refrigerating until you’re ready to bake. If you prefer, prepare the dough entirely and store it in the refrigerator overnight; this slow fermentation enhances the flavor. When you’re ready to serve fresh, preheat your Dutch oven, gently shape the cold dough, and bake as instructed. With these make-ahead options, you’ll have a delightful, restaurant-quality bread on your table with minimal fuss, perfect for busy weeknights!
Soft and Crusty Garlic Herb Dutch Oven Bread Recipe FAQs
How do I choose the right garlic for my bread?
Absolutely! For the best flavor, opt for firm, plump garlic bulbs with no dark spots or sprouting. Fresh garlic will infuse your bread with the robust flavor we crave. If you can find it, roasted garlic can lend a sweeter, more mellow taste that many adore.
What’s the best way to store leftover Garlic Herb Dutch Oven Bread?
I recommend storing your bread in a paper bag at room temperature for up to 2 days. This method keeps the crust crunchy while preventing the interior from becoming stale. It’s the perfect balance, allowing you to enjoy that artisan-quality bread without compromising on texture!
Can I freeze Garlic Herb Dutch Oven Bread?
Absolutely! To freeze, let your loaf cool completely, then slice it and store the pieces in an airtight freezer bag. It can last for up to 3 months. When you’re ready to enjoy a slice, simply reheat it in the oven at 350°F (175°C) for about 10 minutes, and it’ll taste freshly baked!
What if my dough doesn’t rise properly?
No worries! If your dough isn’t rising, it could be from using expired yeast or not keeping the dough in a warm environment. To troubleshoot, place it in a warm spot (like an oven turned off with just the light on) and allow an extra hour. If it still doesn’t puff up, consider starting with new yeast for your next bake.
Is this recipe safe for pets?
Very! The ingredients in Garlic Herb Dutch Oven Bread (flour, water, and herbs) are generally safe for pets in moderation. However, be cautious of garlic, as too much can be harmful to dogs and cats. If your furry friend has dietary restrictions or allergies, it’s best to consult with your veterinarian first.
How long does it take to make this bread?
The total time is approximately 20 hours, which includes 1 hour for the first rise and up to 18 hours in the fridge overnight. However, the hands-on preparation only takes about 30 minutes, making it manageable for any schedule. Just remember, patience yields delicious results!
Soft and Crusty Garlic Herb Dutch Oven Bread Made Easy
Ingredients
Equipment
Method
- In a large mixing bowl, combine 4 cups of all-purpose flour, 1 packet of instant yeast, 1 tablespoon of salt, 3 cloves of minced garlic, 1 tablespoon of chopped rosemary, 1 tablespoon of fresh thyme leaves, and 2 tablespoons of chopped parsley. Stir the mixture with a wooden spoon until everything is well blended.
- Add 1 and ½ cups of warm water and 2 tablespoons of olive oil to the dry ingredients. Mix gently until a loose, shaggy dough forms, ensuring there are no dry patches.
- Cover the bowl tightly with plastic wrap and let it rise at room temperature for 1 hour. After that, transfer to the refrigerator and chill overnight.
- The next day, preheat your Dutch oven at 450°F (230°C) for 30 minutes.
- Dust a clean surface with flour and turn out the cold dough. Shape it into a round loaf and transfer it onto parchment paper.
- Brush the top of the loaf with olive oil and sprinkle with coarse sea salt.
- Lift the loaf using the parchment paper and place it in the hot Dutch oven. Cover and bake for 30 minutes.
- After 30 minutes, remove the lid and continue to bake for another 10-15 minutes until golden brown.
- Remove the bread from the pot and cool completely on a wire rack before slicing.