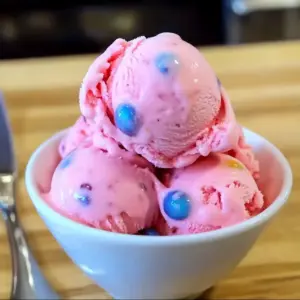
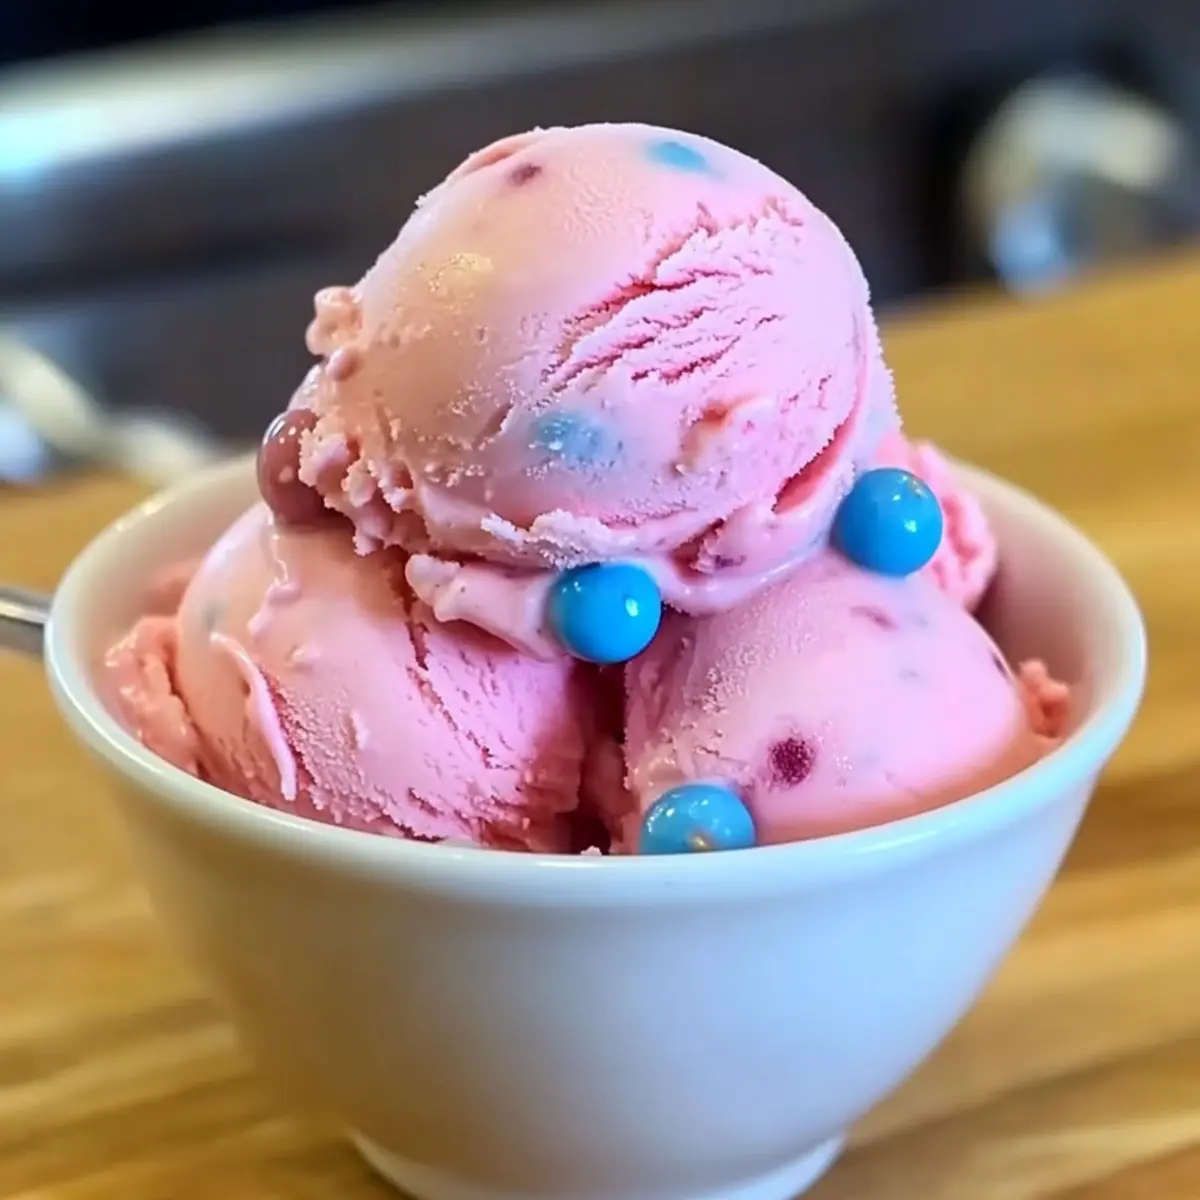
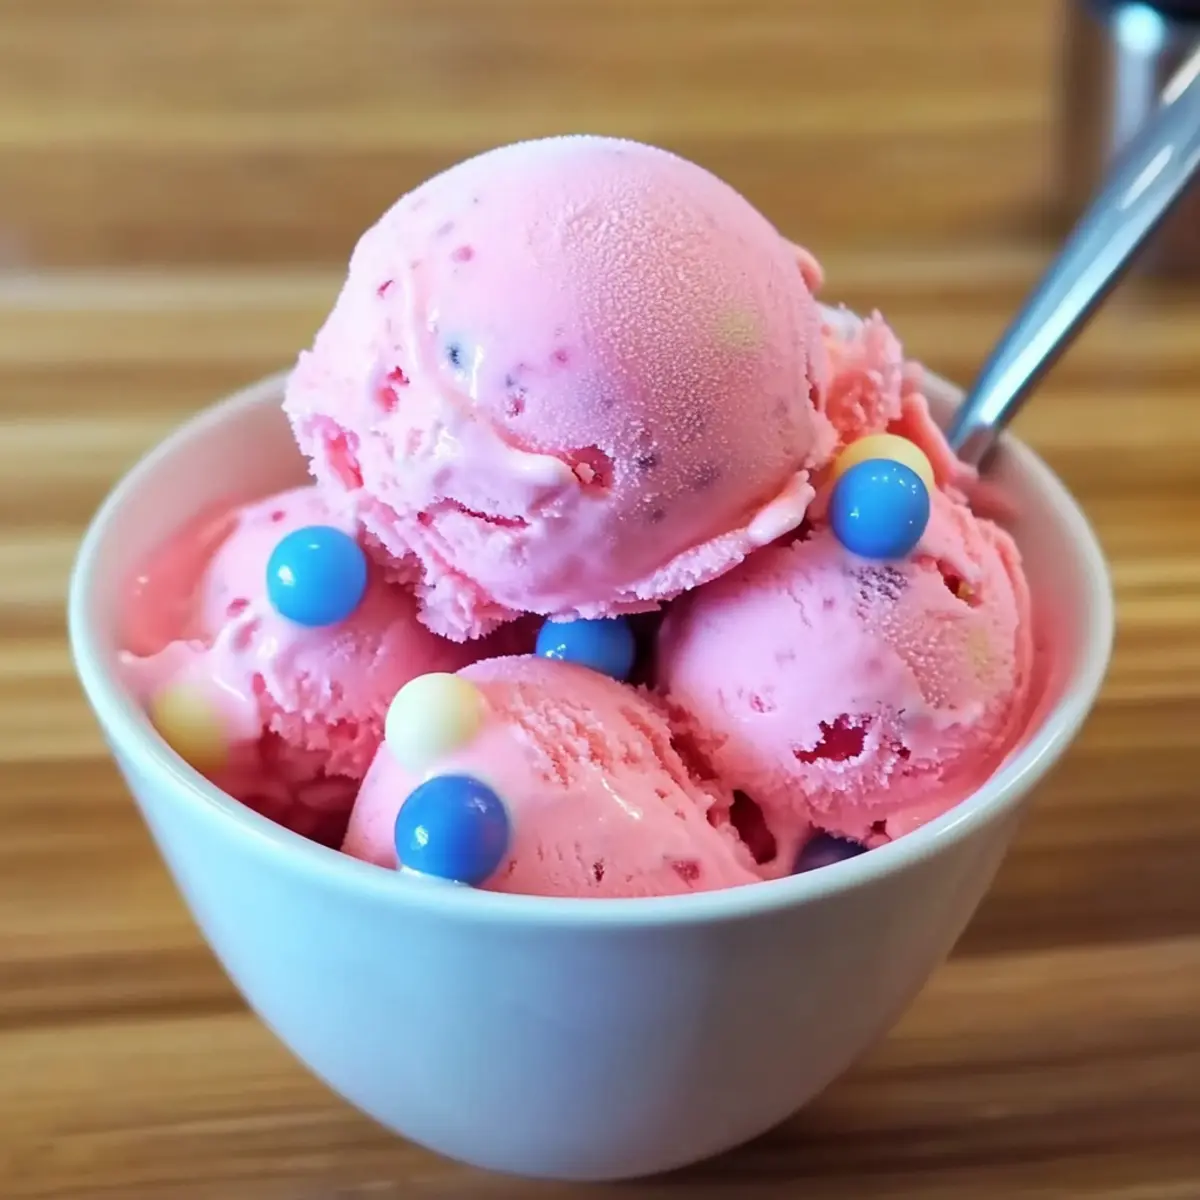
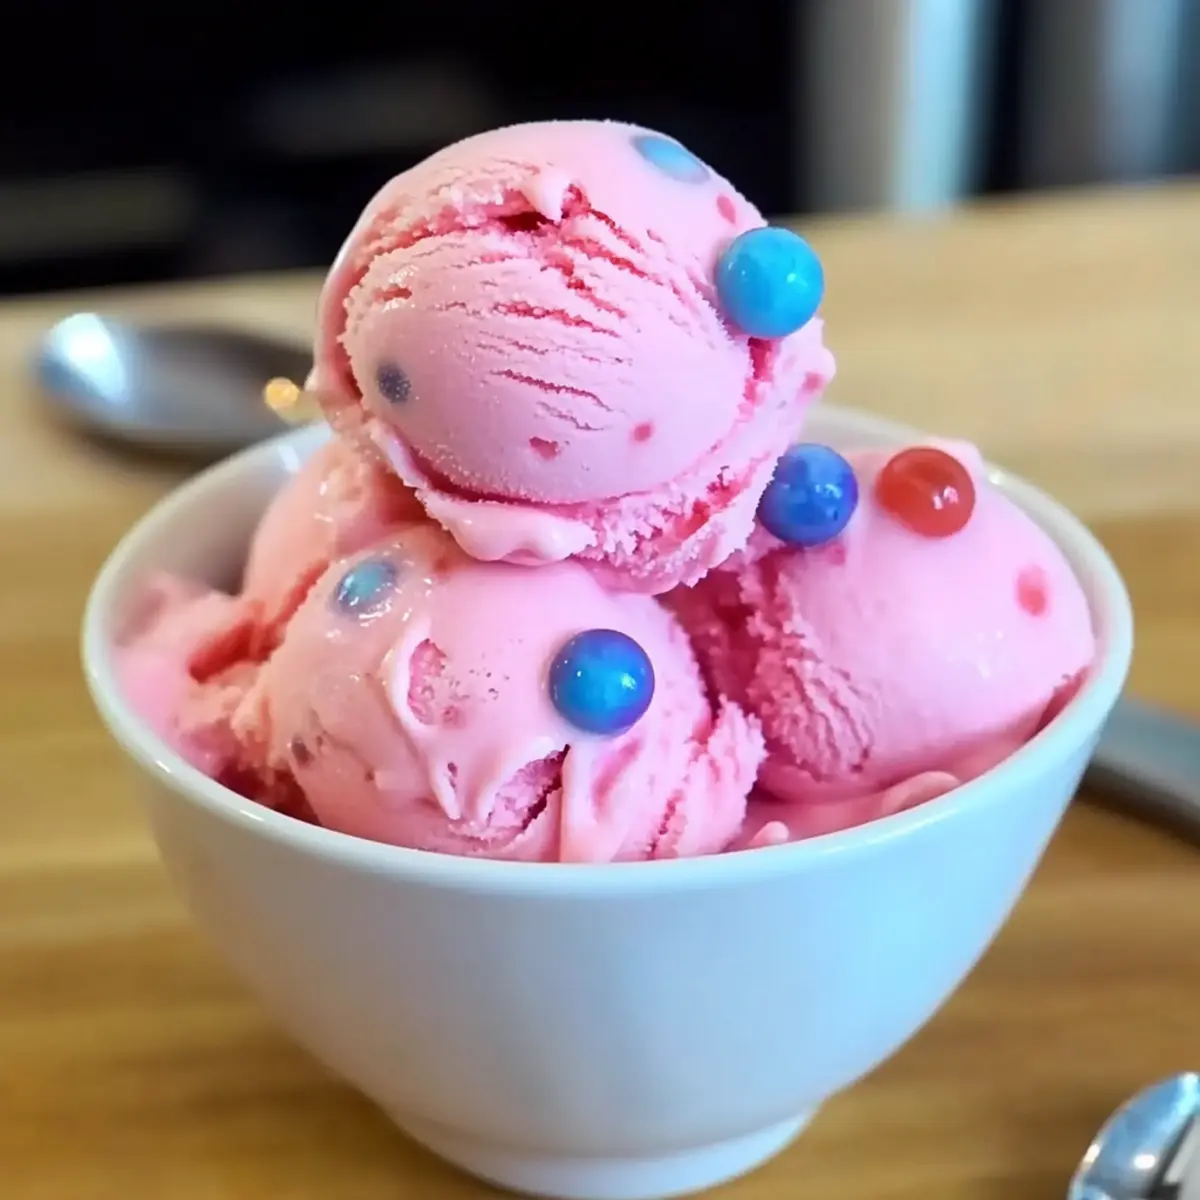
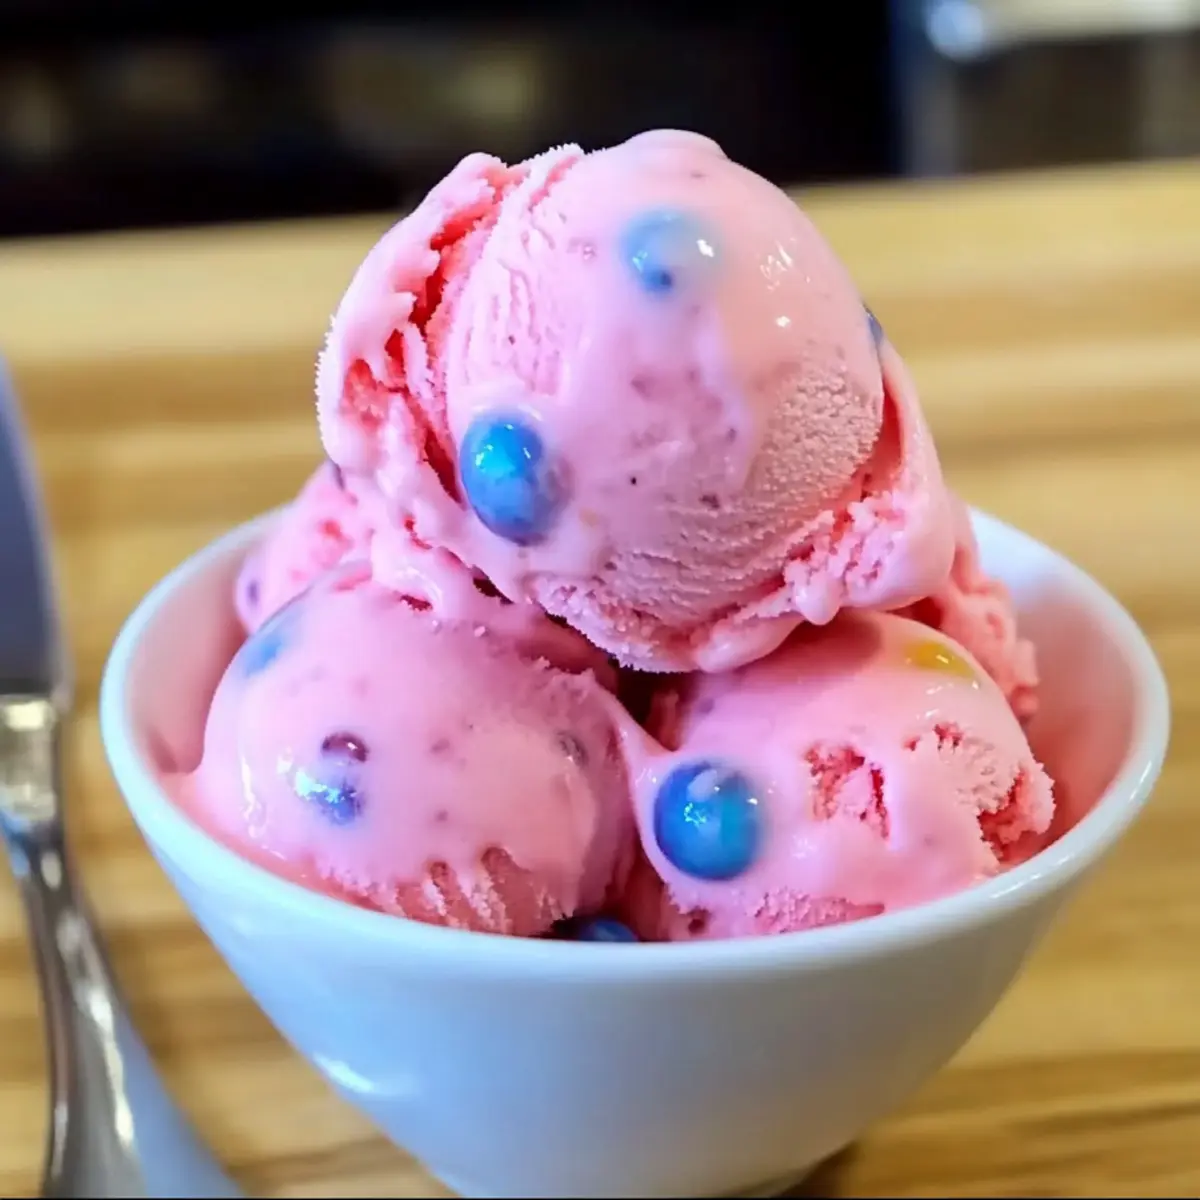
As I stood in my kitchen, the scent of summer and childhood memories filled the air. Nothing takes me back quite like the sweet taste of bubblegum ice cream, a creamy delight bursting with nostalgia. This recipe for Homemade Bubblegum Ice Cream captures that vibrant pink hue and captivating flavor without artificial additives, making it a fun treat for both kids and the young at heart. With its easy preparation and the joy it brings, it’s perfect for those who crave a delicious, whimsical dessert. Whether you’re celebrating a special occasion or simply indulging on a warm afternoon, this ice cream promises to elevate any moment. So, are you ready to bring a splash of vibrant fun to your dessert table?
Why is Homemade Bubblegum Ice Cream Special?
Nostalgic Flavor: This delightful treat brings back childhood memories with its sweet, bubblegum taste that is sure to make everyone smile.
Easy to Make: With straightforward steps, you’ll have creamy ice cream ready in no time, bringing joy to your kitchen without fuss.
All-Natural Ingredients: Say goodbye to artificial flavors! This recipe uses real Bazooka Bubblegum, allowing you to indulge guilt-free.
Versatile Enjoyment: Whether in a cone or bowl, it’s the perfect centerpiece for parties, playdates, or simply as an afternoon treat.
Family Fun: Involving kids in making this ice cream turns it into a cherished family activity; they’ll love every scoop!
Elevate your dessert game with this creamy delight! If you’re interested in more fun ideas, check out our tips on creating homemade whipped cream.
Homemade Bubblegum Ice Cream Ingredients
• Dive into this nostalgic treat with these flavorful components!
For the Ice Cream Base
• Bazooka Bubblegum – Brings the beloved sweet bubblegum flavor and vibrant color; ensure it’s a brand that dissolves well for best results.
• Whole Milk – Creates a creamy base; swap with full-fat coconut milk for a delicious non-dairy option.
• Heavy Cream – Adds a luscious texture; replace with cashew cream for a dairy-free delight.
• Sugar – Sweetens the ice cream; start with 2 tablespoons and adjust to your taste.
• Cornstarch – Essential for thickening and achieving that velvety consistency in your homemade bubblegum ice cream.
Additional Tools
• Ice Cream Maker – Necessary for churning; a great investment for any dessert lover.
• Fine Mesh Strainer – Helps in removing any gum residue, ensuring the ice cream’s smooth texture.
With these ingredients at your fingertips, you’re set to create a creamy, nostalgic masterpiece that will surely bring smiles!
Step‑by‑Step Instructions for Homemade Bubblegum Ice Cream
Step 1: Make Cornstarch Slurry
In a small bowl, mix 1 tablespoon of cornstarch with 2 tablespoons of whole milk until smooth. This cornstarch slurry will help thicken your ice cream later. Set it aside while you prepare the bubblegum mixture, ensuring everything is ready for a seamless cooking process.
Step 2: Blend Bubblegum and Cream
Take 45 pieces of Bazooka Bubblegum, cut them into smaller pieces, and place them in a blender with 2 cups of whole milk and 1 cup of heavy cream. Blend on high until the mixture is thoroughly combined and the bubblegum is well-integrated, creating a vibrant pink base for your homemade bubblegum ice cream.
Step 3: Heat Mixture
Pour the blended bubblegum mixture into a saucepan over medium-high heat. Add 2-3 tablespoons of sugar and a pinch of salt, stirring frequently. Allow the mixture to come to a gentle simmer, with bubbles forming around the edges but not boiling, for about 5-7 minutes. This step is crucial for enhancing the flavors.
Step 4: Add Cornstarch
Reduce the heat to low, then whisk in your prepared cornstarch slurry into the hot mixture. Continue whisking for an additional 3-5 minutes until the ice cream base becomes slightly thickened, allowing it to gain that creamy consistency crucial for homemade bubblegum ice cream.
Step 5: Cool Quickly
To cool the mixture rapidly, pour it into a Ziploc bag and submerge the bag in an ice water bath. Keep it there until the mixture is completely cooled, about 15-20 minutes. This step ensures that your ice cream churns smoothly without forming ice crystals later.
Step 6: Strain the Mixture
After cooling, pour the mixture through a fine mesh strainer lined with cheesecloth into a clean bowl. This process is essential to remove any remaining bubblegum residue, achieving the silky-smooth texture that makes homemade bubblegum ice cream delightful to enjoy.
Step 7: Churn the Ice Cream
Pour the strained mixture into your ice cream maker. Churn according to the manufacturer’s instructions, typically for 20-25 minutes, until the ice cream reaches a soft-serve consistency. This step is where the magic happens, transforming your creamy base into luscious homemade bubblegum ice cream.
Step 8: Freeze the Ice Cream
Transfer the churned ice cream into an airtight container, smoothing the top with a spatula. Place it in the freezer for at least 4 hours to firm up completely. This waiting time allows the flavors to meld beautifully and results in a delightfully creamy final product.
Step 9: Serve and Enjoy
Once your homemade bubblegum ice cream has set, scoop generous portions into bowls or waffle cones. Experience the joy of each creamy, nostalgic bite, sharing this whimsical treat with friends and family for a delightful dessert that will surely bring smiles.
Tips for the Best Bubblegum Ice Cream
- Quality Bubblegum: Use high-quality Bazooka Bubblegum; it dissolves better and offers the best flavor. Avoid sugar-free options to prevent graininess.
- Perfect Temperature: Keep an eye on the milk mixture—simmer gently, as boiling can create a grainy texture. It’s all about that creamy consistency!
- Chill Thoroughly: Make sure the mixture cools completely before churning. If you skip this step, you’ll end up with icy ice cream instead of smooth bubblegum bliss.
- Strain Well: Don’t rush the straining process! Strain multiple times to eliminate any gum bits, ensuring this homemade bubblegum ice cream is delightfully creamy.
- Experiment with Add-ins: Get creative! Try adding crushed candies or fresh fruit for extra flavor and texture contrasts, making it even more fun!
What to Serve with Homemade Bubblegum Ice Cream
Get ready to create a delightful spread that enhances the playful charm of this creamy dessert experience!
-
Waffle Cones: These crunchy vessels add a fun texture, providing a satisfying contrast to the smooth, sweet bubblegum flavor.
-
Homemade Whipped Cream: A light dollop of freshly whipped cream brings richness and a touch of elegance to each scoop, making it perfect for extravagant celebrations.
-
Fresh Berries: Raspberries or strawberries not only add a pop of color but their tartness beautifully balances the sweet bubblegum, creating a refreshing bite.
-
Chocolate Sauce: Drizzling warm chocolate sauce over your scoops introduces a rich, decadent layer that enhances the overall indulgence of the ice cream.
-
Colorful Sprinkles: Fun and festive, sprinkles add a joyful crunch and a whimsical look, making each serving feel like a party, no matter the occasion.
-
Soda Floats: Pair your ice cream with a fizzy soda for a nostalgic twist. The bubbles create a light, airy texture that contrasts wonderfully with the creamy richness of the ice cream.
These delightful pairs are sure to elevate your homemade bubblegum ice cream, crafting a joyful dessert experience that everyone will love!
Variations & Substitutions for Homemade Bubblegum Ice Cream
Feel free to get creative and make this delightful treat your own with these fun twists and substitutions!
- Dairy-Free: Substitute whole milk and heavy cream with full-fat coconut milk and cashew cream for a creamy, non-dairy option.
- Flavor Experiment: Swap out Bazooka for other gum brands to explore different flavor profiles, like strawberry or watermelon bubblegum! It’s a fun way to change things up for little ones.
- Texture Boost: Add in crushed candies, like gummy bears or sprinkles, during the churning step for extra pops of flavor and vibrant colors. They’ll be a beautiful surprise in each scoop!
- Fruit Fusion: Mix in fresh fruit purées, like raspberry or mango, in the final stages of churning for a fruity twist that complements the sweet bubblegum flavor.
- Nutty Addition: Toss in some chopped toasted nuts like almonds or pistachios for a delightful crunch against the smooth ice cream.
- Extra Sweetness: Drizzle a bit of flavored syrup, such as strawberry or caramel, over the finished ice cream before serving for an indulgent touch. It elevates the classic dessert experience!
- Spiced Up: Incorporate a pinch of cinnamon or a few drops of vanilla extract into the mix for an unexpected warmth that balances the sweetness beautifully.
- Colder Treat: Take the bubblegum ice cream up a notch by turning it into bubblegum milkshakes! Blend firm scoops with a splash of milk for a frosty delight that’s an instant crowd-pleaser.
Experimenting with these variations can amplify your homemade ice cream’s enjoyment. If you’re looking for more ways to elevate your dessert, check out these tips on creating homemade whipped cream.
Make Ahead Options
Homemade bubblegum ice cream is an excellent choice for busy cooks looking to save time! You can prepare the ice cream base up to 24 hours in advance. Start by completing steps 1 through 6 (making the cornstarch slurry, blending the bubblegum and milk, heating the mixture, adding the cornstarch, cooling, and straining). Once cooled, transfer the mixture into an airtight container and refrigerate it until you’re ready to churn. This ensures your ice cream stays fresh and just as delicious. When you’re ready to serve, simply churn the mixture in your ice cream maker (step 7) and freeze it for at least 4 hours for a delightful treat that will remind you of childhood nostalgia!
How to Store and Freeze Homemade Bubblegum Ice Cream
Fridge: Store your homemade bubblegum ice cream in the fridge for up to 3 days, but it’s best enjoyed within 1-2 days for optimal creaminess.
Freezer: Keep the ice cream in an airtight container in the freezer for up to 2 weeks. Ensure it’s tightly sealed to prevent freezer burn and retain its fresh bubblegum flavor.
Serving Tips: When ready to enjoy, let the ice cream sit at room temperature for a few minutes before scooping. This makes it easier to serve and enhances the creamy texture.
Reheating: Avoid reheating homemade bubblegum ice cream; instead, allow it to soften slightly at room temperature. Don’t forget to stir it gently for an even consistency if it’s been stored longer!
Homemade Bubblegum Ice Cream Recipe FAQs
How do I select the right Bazooka Bubblegum?
Absolutely! For the best flavor and texture in your homemade bubblegum ice cream, choose high-quality Bazooka Bubblegum. Look for brands that dissolve well and avoid sugar-free varieties, as they can lead to graininess in the final product.
How should I store homemade bubblegum ice cream?
You can store your delicious homemade bubblegum ice cream in an airtight container in the freezer for up to 2 weeks. Just make sure it’s tightly sealed to prevent freezer burn and loss of that delightful bubblegum flavor. If you find it’s starting to lose its creaminess, try to enjoy it within the first week for the best experience.
Can I freeze homemade bubblegum ice cream?
Yes, freezing is a fantastic way to preserve your homemade bubblegum ice cream! After churning, transfer it to an airtight container and freeze for at least 4 hours until firm. For optimal texture, let it sit at room temperature for a few minutes before scooping, making it easier to serve.
What can I do if my ice cream turns out grainy?
If you notice a grainy texture, it may be due to boiling the milk mixture instead of gently simmering it. When making your base, ensure you’re just simmering until edges bubble—this helps achieve a creamy ice cream. Straining several times through cheesecloth can also help eliminate any residual gum pieces that might affect the texture.
Is this recipe safe for children with allergies?
Generally, this homemade bubblegum ice cream is vegetarian; however, it’s important to check for specific allergies! The ingredients include dairy (milk and cream) and sugar. If allergies are a concern, consider using alternatives like coconut milk for a non-dairy version, and always verify the brand of bubblegum for any possible allergens before using.
Delicious Homemade Bubblegum Ice Cream for Nostalgic Treats
Ingredients
Equipment
Method
- Make Cornstarch Slurry: Mix 1 tablespoon of cornstarch with 2 tablespoons of whole milk in a small bowl until smooth.
- Blend Bubblegum and Cream: Cut Bazooka Bubblegum into smaller pieces, blend with whole milk and heavy cream until combined.
- Heat Mixture: Pour blended mixture into a saucepan, add sugar and a pinch of salt, then simmer for about 5-7 minutes.
- Add Cornstarch: Reduce heat and whisk in cornstarch slurry, whisk for 3-5 minutes until thickened.
- Cool Quickly: Pour mixture into a Ziploc bag and submerge in an ice water bath for 15-20 minutes.
- Strain the Mixture: Use a fine mesh strainer lined with cheesecloth to strain the mixture into a clean bowl.
- Churn the Ice Cream: Pour strained mixture into ice cream maker and churn for 20-25 minutes.
- Freeze the Ice Cream: Transfer churned ice cream into an airtight container and freeze for at least 4 hours.
- Serve and Enjoy: Scoop into bowls or waffle cones and enjoy!