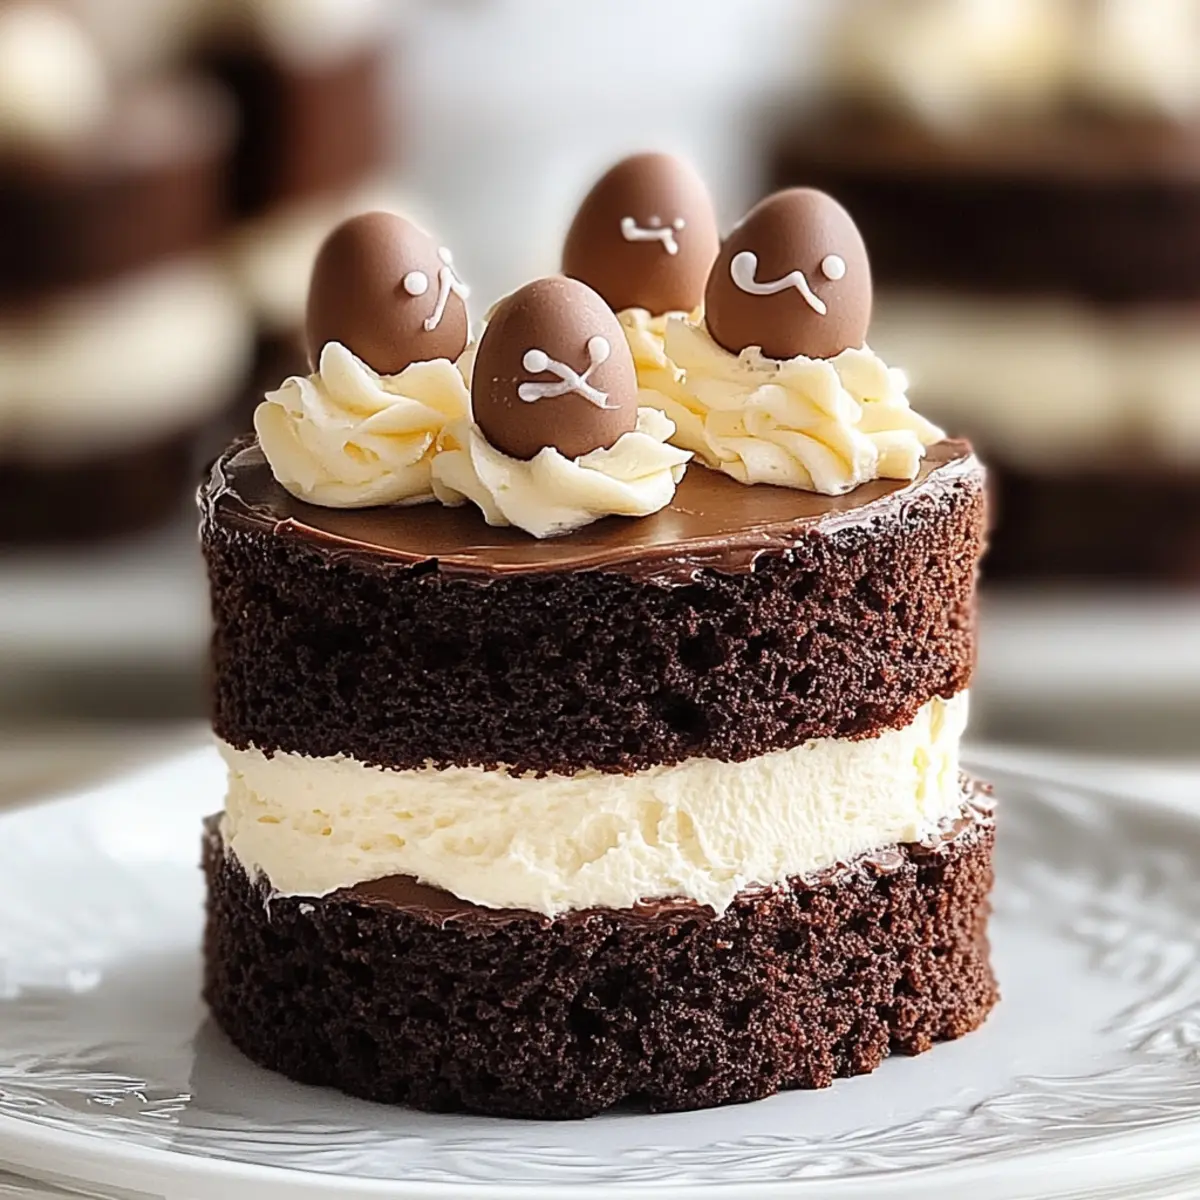
As I stood in my kitchen, the sweet scent of melting chocolate wafted through the air, instantly transporting me to a sun-drenched spring day. These Mini Easter Layer Cakes are my personal go-to for celebrating Easter in style—each tiny cake is a delightful masterpiece of rich chocolate layers enveloped in fluffy buttercream. Beyond being irresistibly cute, this recipe is a breeze to whip up, making it perfect for busy home chefs seeking a show-stopping dessert. Whether for brunch with friends or a festive family gathering, these little cakes are sure to turn heads and bring smiles. Curious about how to bring a touch of spring to your dessert table? Let’s dive into this deliciously fun recipe!
Why Are Mini Cakes So Festive?
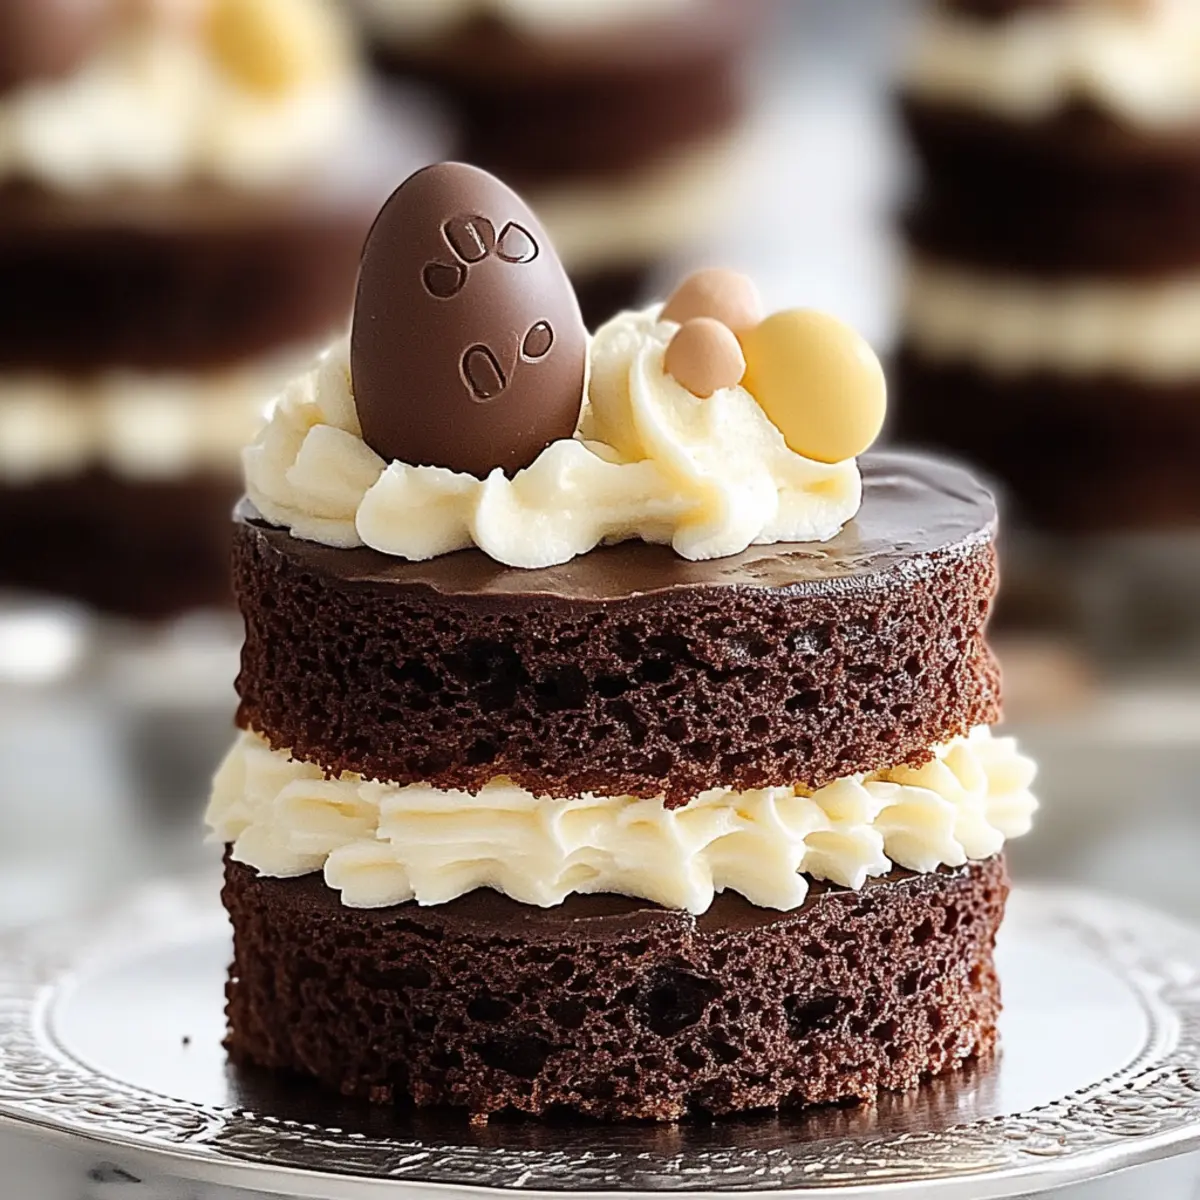
Irresistible Chocolate: Featuring rich Ghirardelli chocolate, these mini cakes deliver a decadent experience that chocolate lovers crave.
Effortless Elegance: Perfectly portioned, they add a touch of class to any Easter gathering without the fuss of larger desserts.
Visual Delight: With vibrant pastel colors and whimsical decorations, they are as beautiful as they are delicious, guaranteed to impress your guests.
Quick to Prepare: This simple recipe means you’ll spend less time in the kitchen and more time enjoying festivities with loved ones.
Versatile Serving Options: Ideal for brunch, picnics, or even dessert tables, these cakes fit seamlessly into any celebration. Consider pairing them with some seasonal fruit for an added burst of flavor!
Make-Ahead Magic: Prepare them a couple of days in advance, ensuring you have a delightful treat on hand without the last-minute stress!
Mini Easter Layer Cakes Ingredients
For the Cake
• Ghirardelli Sweet Ground Chocolate and Cocoa – Provides rich chocolate flavor; for a lighter touch, substitute regular cocoa powder with an additional 1/4 cup of sugar.
• All-purpose flour – Gives structure to the cake, making it delightfully airy.
• Granulated sugar – Sweetens up the cake base for that perfect balance.
• Baking soda – Acts as a leavening agent to help the cake rise beautifully.
• Cream of tartar – Stabilizes egg whites, giving added volume to the batter.
• Salt (optional) – Enhances the overall flavor, bringing every note to life.
• Buttermilk – Moistens the cake and adds a delightful tang; can use regular milk with a splash of vinegar as a substitute.
• Butter (softened) – Adds richness and moisture for a decadent bite.
• Eggs – Binds the ingredients together, giving the cake its sturdy structure.
• Pure vanilla extract – Infuses the cake with a warm, inviting flavor.
For the Buttercream Frosting
• Shortening – Provides stability and texture to the frosting, ensuring it holds its shape.
• Butter (softened) – Enhances flavor and adds that creamy richness we all adore.
• Vanilla extract – Adds depth of flavor and rounds out the sweetness in the frosting.
• Confectioners’ sugar – Sweetens and thickens the frosting for a perfect spreadable consistency.
• Milk – Adjusts the frosting’s consistency for easy spreading and delightful creaminess.
Let the sweetness of these Mini Easter Layer Cakes brighten your spring celebrations!
Step‑by‑Step Instructions for Mini Easter Layer Cakes
Step 1: Preheat the Oven
Begin by preheating your oven to 350°F (175°C). While the oven warms up, prepare two round cake pans by lightly greasing them and dusting with flour to prevent sticking. This initial preparation ensures your Mini Easter Layer Cakes will bake evenly and release easily when done.
Step 2: Combine Dry Ingredients
In a large mixing bowl, whisk together all-purpose flour, Ghirardelli Sweet Ground Chocolate and Cocoa, granulated sugar, baking soda, cream of tartar, and salt. This mixture forms the base for your moist chocolate cake. Ensure the dry ingredients are well blended for uniform flavor and texture throughout your Mini Easter Layer Cakes.
Step 3: Add Wet Ingredients
Next, incorporate buttermilk and softened butter into the dry mixture. Using an electric mixer, beat the ingredients on medium speed for about 2 minutes until the batter is smooth and creamy. The combination of buttermilk and butter contributes to the moisture and richness in each cake layer.
Step 4: Mix in Eggs and Vanilla
Add in the eggs and pure vanilla extract, continuing to mix on low speed just until fully combined. This step adds structure and flavor to your batter, crucial for the delicious Mini Easter Layer Cakes you are crafting. Be sure to scrape down the sides of the bowl to gather any unmixed ingredients.
Step 5: Prepare for Baking
Divide your rich chocolate batter evenly between the two prepared cake pans. Smooth the tops, and place them in the preheated oven. Bake for 30-45 minutes, or until a toothpick inserted into the center comes out clean. Keep an eye on the cakes towards the end of the baking time for perfect doneness.
Step 6: Cool the Cakes
Once baked, remove the pans from the oven and let the cakes cool in the pans for 10-15 minutes. Afterward, gently transfer them to wire racks to cool completely. This cooling period is essential; ensure the cakes are fully cooled before decorating to avoid melting your frosting.
Step 7: Prepare the Buttercream Frosting
While the cakes cool, prepare the buttercream frosting. In a large mixing bowl, cream together shortening, softened butter, and vanilla extract until smooth. Gradually mix in the confectioners’ sugar and enough milk until the frosting achieves a fluffy, spreadable consistency. This luscious frosting will pair beautifully with your Mini Easter Layer Cakes.
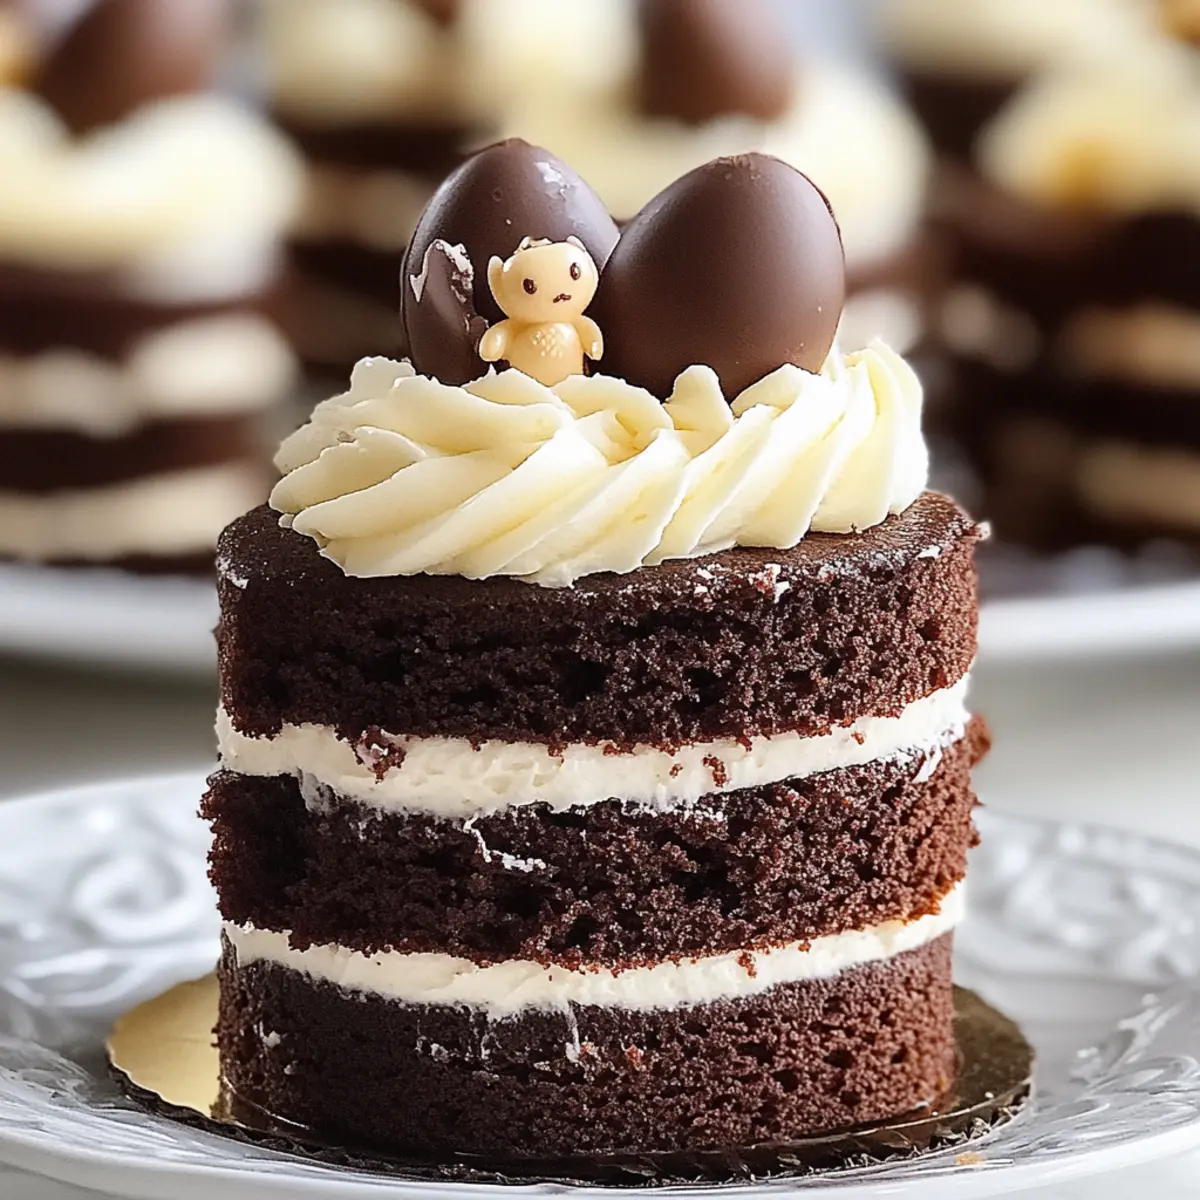
Step 8: Assemble the Mini Cakes
Once the cake layers are completely cool, use a sharp round cutter to cut them into mini layers. Stack these delightful layers with a generous amount of frosting in between, and then frost the outside of each mini cake for that classic finish. Watch your creation transform into a beautiful dessert!
Step 9: Decorate
Finally, get creative and decorate your Mini Easter Layer Cakes with festive touches like pastel-colored frosting or adorable Easter-themed sprinkles. This finishing touch not only makes them visually appealing but also adds a sprinkle of joy for your spring celebrations, making them perfect for your Easter gatherings.
How to Store and Freeze Mini Easter Layer Cakes
Fridge: Keep your Mini Easter Layer Cakes in an airtight container in the refrigerator for up to 3 days. This will help maintain their freshness while giving you the perfect chilled treat.
Freezer: For longer storage, wrap the mini cakes individually in plastic wrap, then place them in a freezer-safe container. They can be frozen for up to 2 months and defrosted in the fridge overnight before serving.
Reheating: If you prefer them warm, pop the mini cakes in the microwave for 10-15 seconds after thawing. This will help restore their delightful texture and flavor.
Frosting Tip: If your cakes are frosted, it’s best to freeze them uncut. Frosted cakes can be stored in the fridge for 2-3 days; let them come to room temperature before serving.
Expert Tips for Mini Easter Layer Cakes
• Cool Completely: Ensure the cakes are entirely cool before frosting to prevent your buttercream from melting and sliding off.
• Sharp Cutters: Use a sharp round cutter for evenly-sized mini cakes; this will enhance the presentation and make assembly easier.
• Chill Layers: If your cake layers feel too soft, chill them for about 30 minutes before frosting to make handling easier.
• Prepare Ahead: Consider baking the cakes up to two days in advance; store them wrapped tightly to maintain freshness and ease the assembly process.
• Mix Well: When incorporating dry and wet ingredients for the cake, ensure thorough mixing to achieve deliciously uniform Mini Easter Layer Cakes.
What to Serve with Mini Easter Layer Cakes
Create a memorable spread that complements the charm of these delightful mini cakes and adds layers of flavor to your celebration.
-
Fresh Berries: The tartness of strawberries, raspberries, or blueberries beautifully balances the rich chocolate, providing a refreshing contrast.
-
Sparkling Lemonade: This bubbly drink offers a zesty twist, perfect for celebrating Easter festivities and enhancing the sweetness of your desserts.
-
Classic Vanilla Ice Cream: A scoop of creamy vanilla ice cream with these cakes is pure bliss, as the cold creaminess mingles delightfully with the rich chocolate.
-
Creamy Whipped Topping: Light and airy, this topping adds a luscious texture, making each bite feel indulgent and adding a festive flair.
-
Easter-Themed Fruit Salad: Combine seasonal fruits like pineapple, kiwi, and oranges for a colorful, refreshing side that brings freshness and a hint of natural sweetness.
-
Mint-Infused Iced Tea: The refreshing taste of mint tea adds a soothing element, perfect for cleansing the palate between bites of decadent cake.
-
Chocolate-Covered Strawberries: For a double chocolate treat, fresh strawberries dipped in rich chocolate harmonize beautifully with your mini cakes, enhancing the pure chocolate experience.
Embrace these pairings, and let your Easter gathering sparkle with flavor and joy alongside your Mini Easter Layer Cakes!
Make Ahead Options
These Mini Easter Layer Cakes are perfect for meal prep! You can bake the cake layers up to 2 days in advance and store them wrapped in plastic wrap at room temperature to maintain their moisture. The buttercream frosting can also be prepared up to 3 days ahead; just refrigerate it in an airtight container and give it a quick whip to restore its fluffiness before using. When it’s time to serve, simply cut the cooled cakes into mini layers, stack them with the buttercream in between, and frost the outside. This way, you’ll have a stunning dessert that is just as delicious without all the last-minute fuss, allowing you to enjoy your celebrations with ease!
Mini Easter Layer Cakes Variations & Substitutions
Feel free to explore your creativity with this delightful recipe, transforming it to match your cravings and celebrations.
-
White Chocolate Frosting: Swap white chocolate for the chocolate in the buttercream for a lighter, sweeter flavor twist.
-
Fruit-Topped Elegance: Decorate with fresh strawberries or raspberries for a burst of color and a hint of natural sweetness that elevates every bite.
-
Cupcake Conversion: Turn these mini cakes into cupcakes by baking the batter in a muffin tin for 20-25 minutes. They make perfect bite-sized treats!
-
Nutty Delight: Add chopped nuts, like walnuts or pecans, into the cake batter for a crunchy texture that beautifully complements the soft cake.
-
Spiced Surprise: Infuse a hint of cinnamon and nutmeg into the cake batter for a warm and comforting flavor that’s perfect for spring festivities.
-
Vegan Option: Replace eggs with flax eggs and use coconut cream instead of butter for a vegan-friendly twist without sacrificing richness.
-
Flavor Combos: Mix in some espresso powder to the batter for a mocha-inspired flavor that chocolate lovers will adore.
-
Zesty Lemon: Add lemon zest to the buttercream for a refreshing citrus kick that pairs wonderfully with chocolate. It brightens the flavors beautifully!
Feeling adventurous? Pair these cakes with a refreshing Berry Salad or serve alongside a bubbly Sparkling Lemonade for a delightful spring experience!
Mini Easter Layer Cakes Recipe FAQs
How do I choose the right chocolate for the cake?
Absolutely! I recommend using Ghirardelli Sweet Ground Chocolate and Cocoa for its rich flavor. If you can’t find it, regular cocoa powder with an extra 1/4 cup of sugar works well as a substitute. Look for a cocoa powder with a deep color; this usually indicates a richer taste.
What’s the best way to store leftover Mini Easter Layer Cakes?
For the best results, keep your Mini Easter Layer Cakes in an airtight container in the refrigerator for up to 3 days. This keeps them fresh and delicious. If you want to enjoy them later, make sure to let them come to room temperature before serving for that perfect taste and texture!
Can I freeze the Mini Easter Layer Cakes, and if so, how?
Yes, you can freeze them! Wrap each mini cake individually in plastic wrap, then place them in a freezer-safe container. They can be frozen for up to 2 months. When you’re ready to enjoy, simply take them out and let them thaw in the fridge overnight. For a quick warm-up, you can pop them in the microwave for about 10-15 seconds after defrosting.
What should I do if the cakes are too soft to frost?
Very! If you find your cake layers are too soft, chill them in the fridge for about 30 minutes before frosting. This solidifies the structure, making it easier to handle. Remember, always allow cakes to cool completely before frosting to prevent melting!
Are there any allergy considerations for these Mini Easter Layer Cakes?
Of course! If you’re baking for someone with a dairy allergy, consider using dairy-free butter and almond milk in place of buttermilk. For egg allergies, you can experiment with flax or chia eggs (1 tablespoon of flaxseed meal or chia seeds mixed with 2.5 tablespoons of water equals one egg). Just keep an eye on the texture, as it may vary slightly.
Can I adjust the recipe to make it healthier?
Absolutely! You can consider using whole wheat flour for added nutrition and swapping granulated sugar for coconut sugar or a sugar alternative. Just be mindful of the texture, as these substitutes can change the outcome slightly. Happy baking!

Mini Easter Layer Cakes: Irresistible Chocolate Treats for Spring
Ingredients
Equipment
Method
- Preheat the oven to 350°F (175°C) and prepare two round cake pans by greasing and dusting with flour.
- In a mixing bowl, whisk together flour, cocoa, sugar, baking soda, cream of tartar, and salt.
- Incorporate buttermilk and softened butter into the dry mixture and beat on medium for 2 minutes until smooth.
- Add eggs and vanilla, continue to mix on low until fully combined.
- Divide batter between prepared pans and bake for 30-45 minutes until a toothpick comes out clean.
- Let cakes cool in pans for 10-15 minutes, then transfer to wire racks to cool completely.
- Prepare the buttercream by creaming together shortening, butter, and vanilla, then mix in powdered sugar and milk.
- Cut the cooled cakes into mini layers, stack with frosting in between, and frost the outside.
- Decorate with pastel frosting or sprinkles to complete your Mini Easter Layer Cakes.