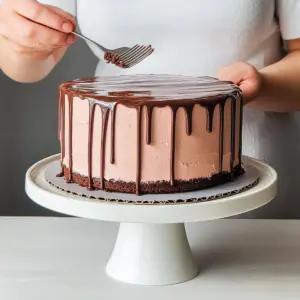
As I stood in my kitchen, the aroma of melting chocolate filled the air, instantly brightening my mood. There’s something undeniably magical about creating a drippy chocolate cake that not only pleases the palate but also captivates the eye. This Ultimate Chocolate Drip Cake is a delightful canvas for all your decorating dreams, as its rich, glossy glaze transforms even the simplest layered cake into a stunning centerpiece. Perfect for both novice bakers and seasoned pros, this recipe offers the chance to impress your family and friends with minimal fuss. Plus, it’s a fantastic way to elevate any occasion, whether it’s a birthday celebration or a cozy weekend treat. Are you ready to dive into the world of beautiful drips and velvety chocolate? Let’s bring this cake to life!
Why is This Chocolate Cake So Special?
Unforgettable Flavor: Each slice boasts a rich, decadent taste that chocolate lovers will adore. Stunning Presentation: The glossy drips are visually enticing, making it a perfect showstopper for any gathering. Endless Versatility: Customize with various flavors and glazes—experiment with caramel or fruity options! Effortless Technique: Even novice bakers can achieve impressive results with this straightforward method. Time-Friendly: Quick to whip up, ensuring you can relax and enjoy the delicious moments it brings. Perfect for Sharing: Ideal for celebrations, this cake is sure to delight friends and family alike—what’s not to love?
Drippy Chocolate Cake Ingredients
For the Cake
• All-Purpose Flour – Essential for structure; make sure to sift for a lighter texture.
• Granulated Sugar – Sweetens the cake; brown sugar can add a hint of molasses flavor.
• Unsweetened Cocoa Powder – Deep chocolate flavor; opt for Dutch-processed for a smoother taste.
• Baking Powder – Helps the cake rise; ensure it’s fresh for maximum lift.
• Salt – Balances sweetness; don’t skip it for the best flavor.
• Eggs – Provides moisture and binds ingredients; room temperature eggs integrate more easily.
• Whole Milk – Keeps the cake tender and moist; substitute with a plant-based milk if needed.
• Unsalted Butter – Adds richness; soften it at room temperature beforehand.
For the Ganache Drip
• Dark Chocolate – The star of your drippy chocolate cake; choose high-quality for a glossy finish.
• Heavy Cream – Creates a luscious consistency; coconut cream is a fantastic dairy-free alternative.
• White Corn Syrup – Ensures the glaze stays glossy; honey can be used but may change the taste slightly.
• Pinch of Sea Salt – Elevates the chocolate flavor; adjust based on your chocolate’s saltiness.
With these ingredients, you’re all set to create a drippy chocolate cake that’s pure bliss!
Step‑by‑Step Instructions for Drippy Chocolate Cake
Step 1: Prepare the Cake Batter
Begin by preheating your oven to 350°F (175°C). In a large mixing bowl, whisk together sifted all-purpose flour, granulated sugar, unsweetened cocoa powder, baking powder, and salt. In another bowl, combine room temperature eggs, whole milk, and softened unsalted butter. Pour the wet ingredients into the dry mixture and stir until just combined, ensuring a smooth batter for your drippy chocolate cake.
Step 2: Bake the Cakes
Divide the cake batter evenly between two greased and floured 9-inch round cake pans. Bake in the preheated oven for 25–30 minutes, or until a toothpick inserted into the center comes out clean. Once baked, let them cool in the pans for about 10 minutes before transferring the cakes to a wire rack to cool completely—this prevents sogginess and ensures a steady foundation for your chocolate drip.
Step 3: Make the Ganache Drip
While your cakes cool, prepare the luscious ganache. In a saucepan over medium heat, combine chopped dark chocolate, heavy cream, and white corn syrup. Stir gently until the chocolate melts and the mixture is smooth and glossy, approximately 5 minutes. Remove from the heat and let the ganache cool for about 10-20 minutes in a heat-safe container until it thickens slightly for that perfect drippy chocolate cake effect.
Step 4: Cool and Frost the Cakes
Once the cakes are completely cool, it’s time to frost. Using a serrated knife, carefully level the tops of each cake, creating an even surface. Place one layer on a serving plate and spread an even layer of frosting on top. Stack the second layer on top and coat the sides and top of the cake with a thin layer of frosting to create a smooth surface for the drips.
Step 5: Test Ganache Consistency
Before applying the ganache, test its consistency. Drip a small amount of the cooled ganache onto the edge of the chilled cake. It should flow slowly but not too runny; adjust the ganache consistency by letting it cool more to thicken or gently reheating to loosen if necessary.
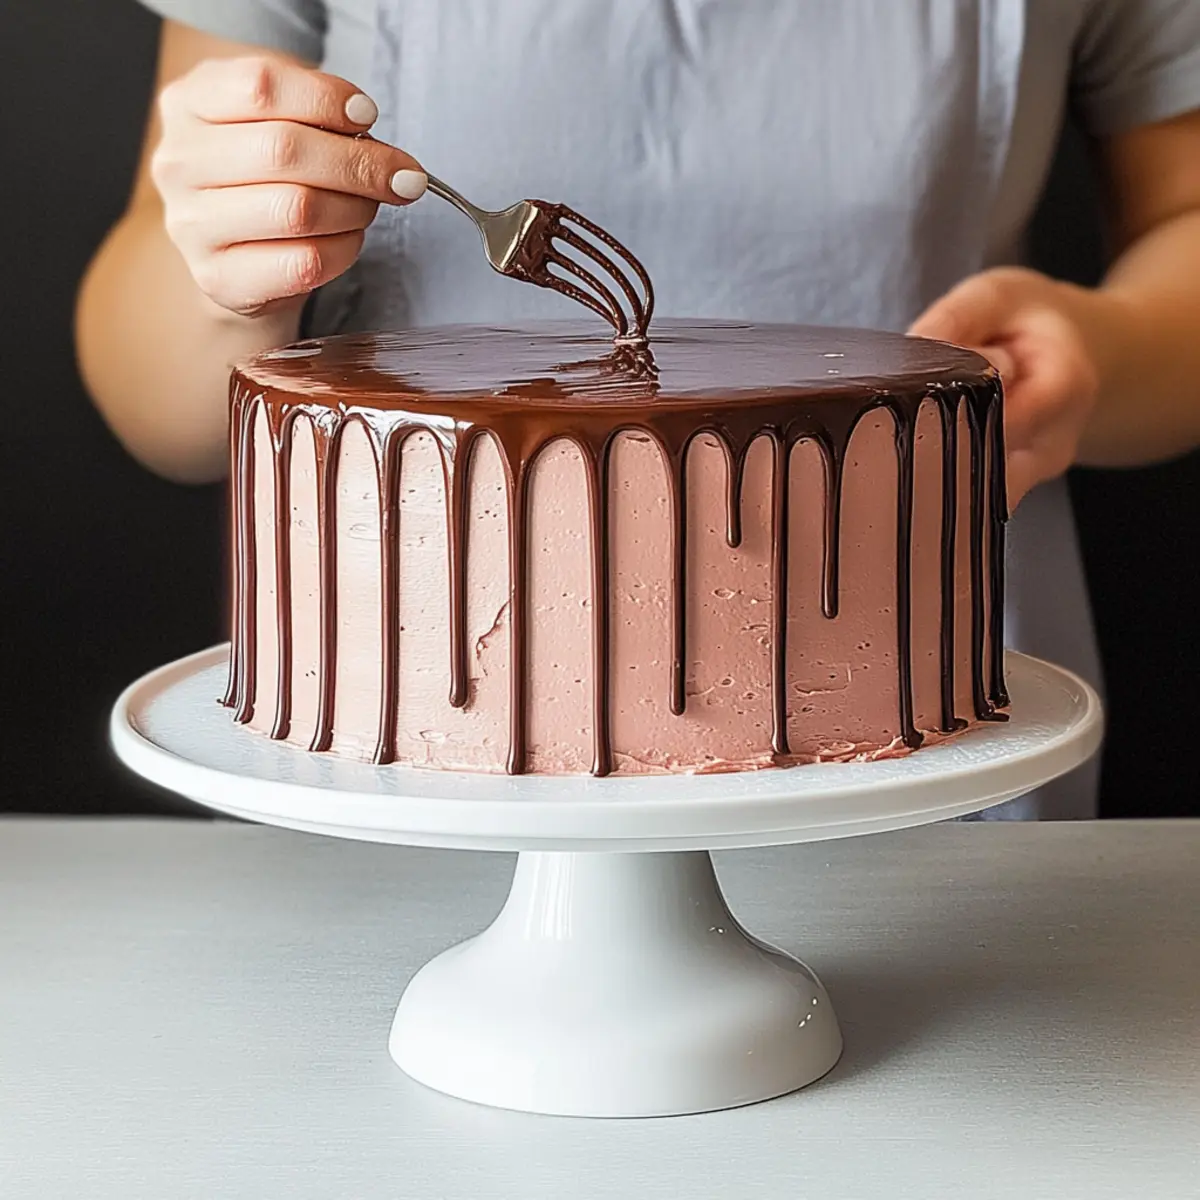
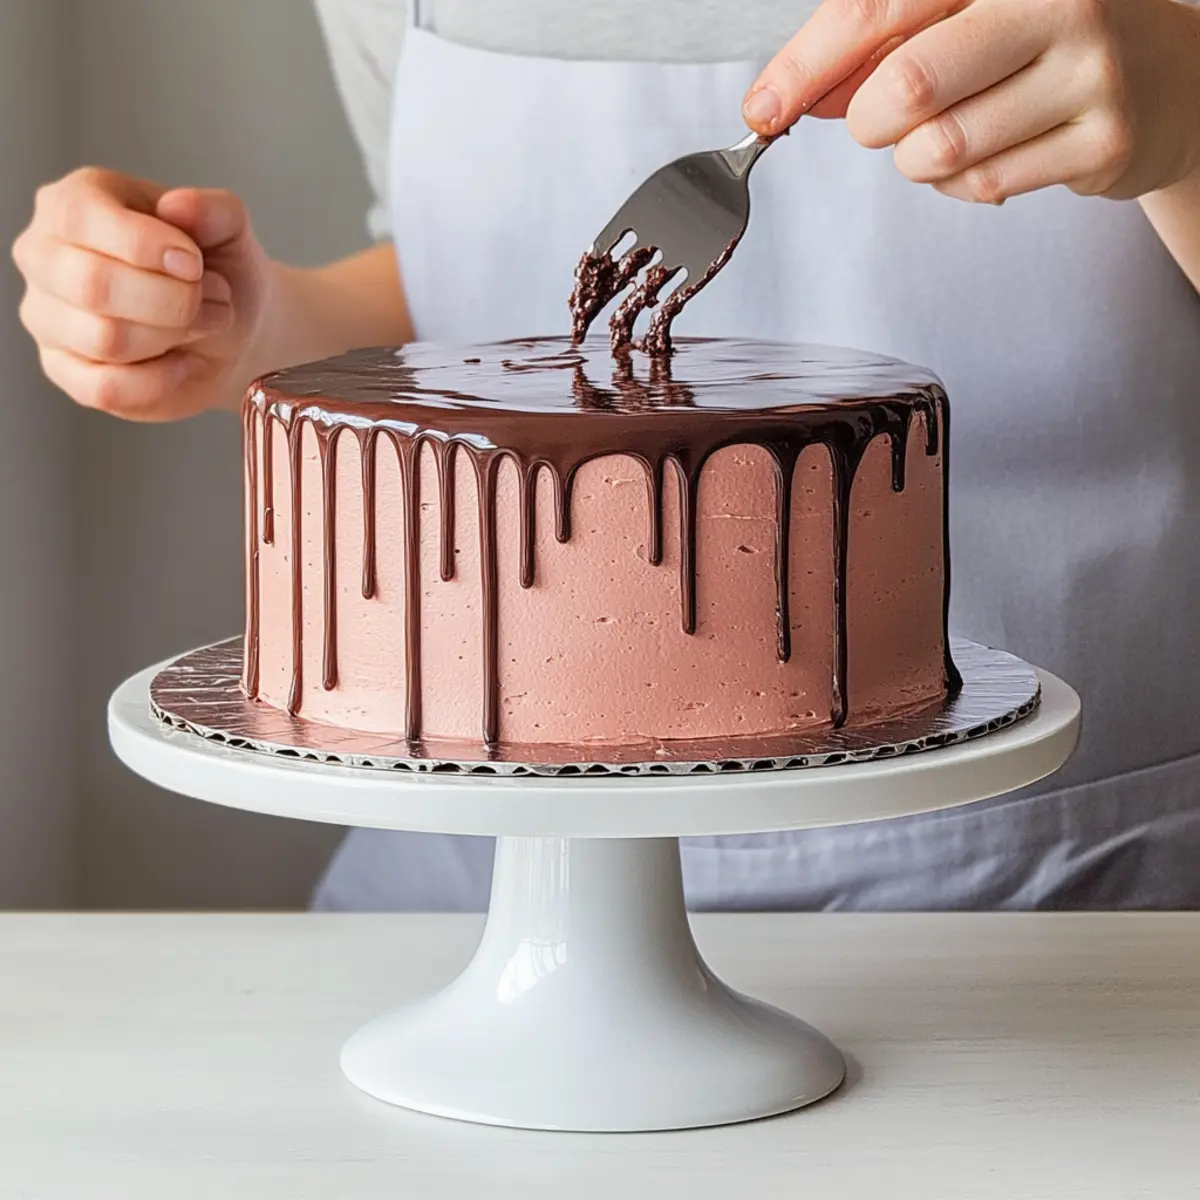
Step 6: Create the Drips
Using a spoon, carefully drizzle the ganache along the outer edge of the cake, nudging it to fall naturally over the sides. Start slowly and create small drips, letting it cascade down for that perfect drippy chocolate cake look. Take your time to achieve a beautiful aesthetic.
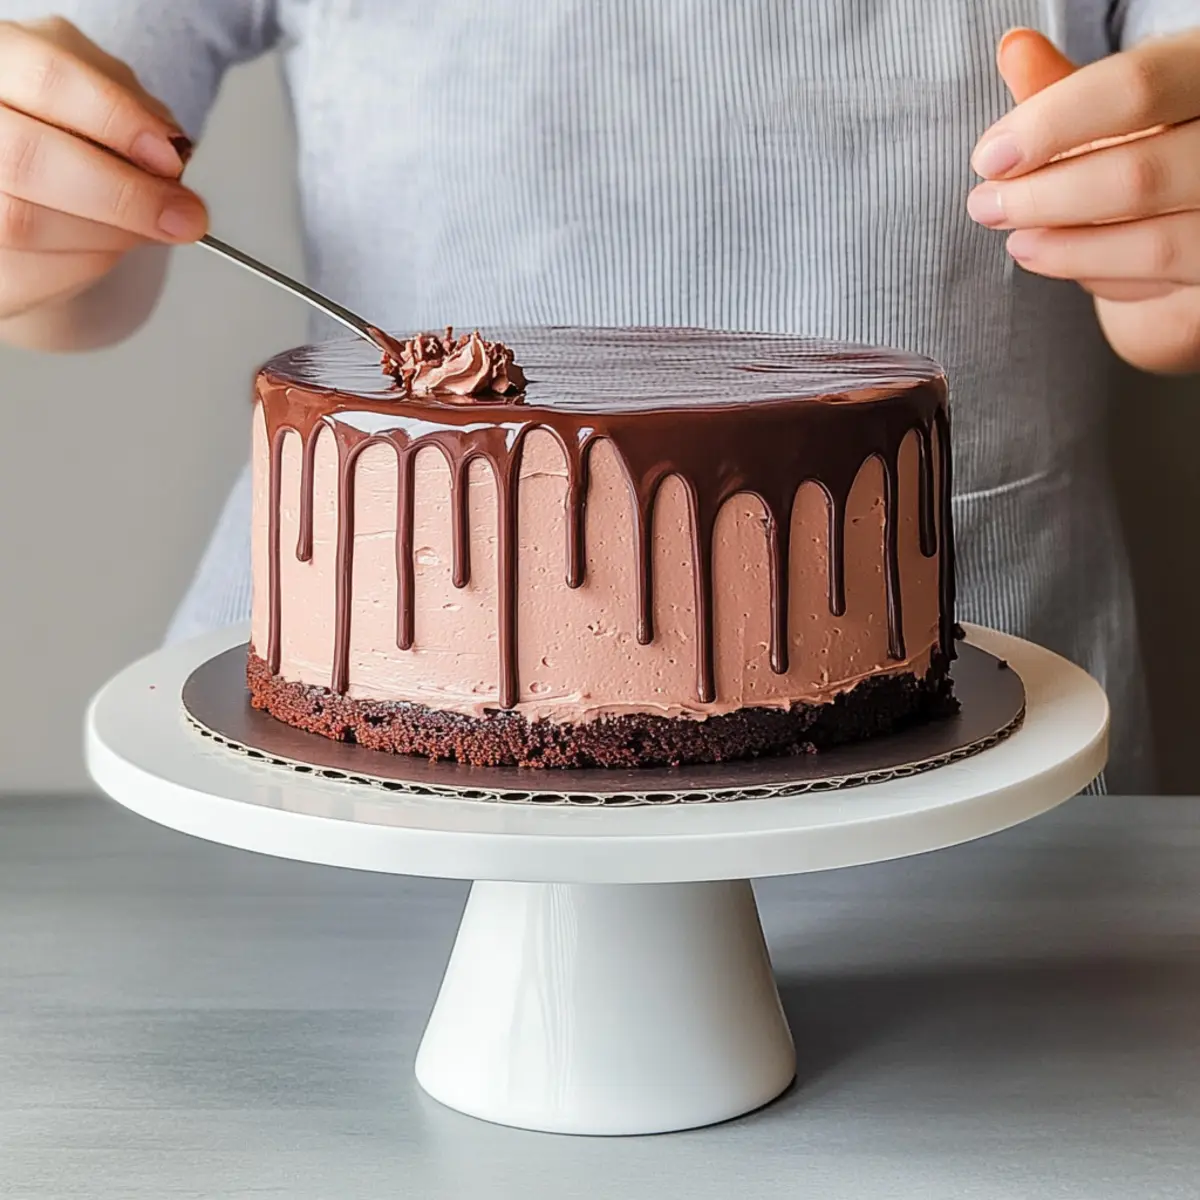
Step 7: Fill the Top with Ganache
Once you’re satisfied with the drips, pour a generous amount of ganache on the center of the cake. Use an offset spatula to gently spread it toward the edges, encouraging the glaze to smooth out while filling the top. Give it a couple of taps on the counter to settle it evenly, ensuring a stunning finish.
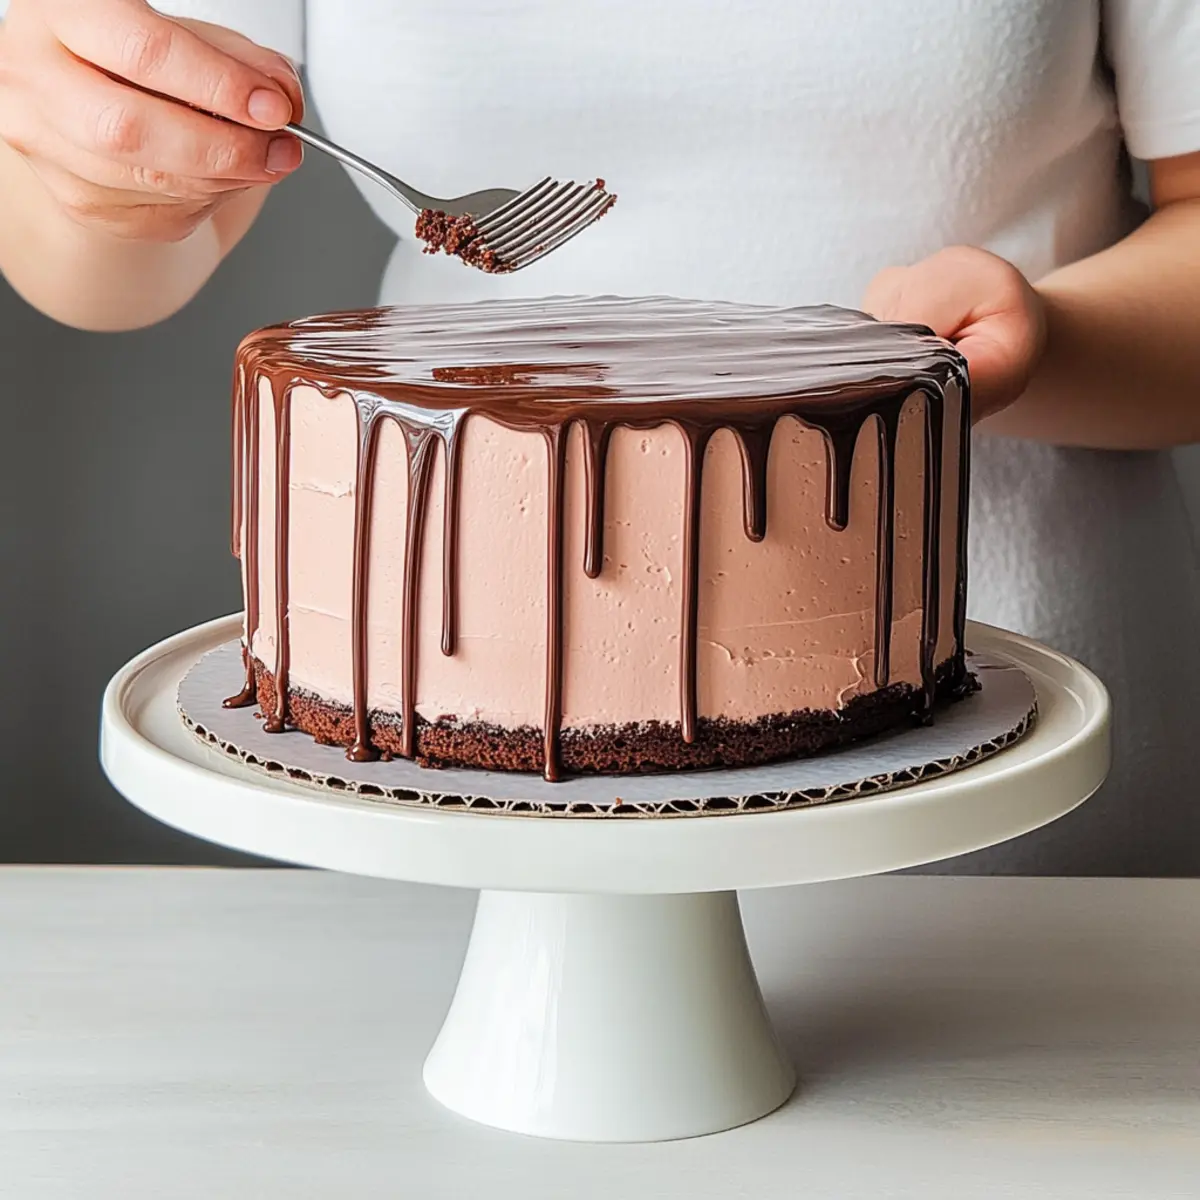
Step 8: Final Touches
To complete your drippy chocolate cake, inspect for any air bubbles on the surface. Tap the base of the cake on the counter lightly to pop them and encourage the ganache to settle smoothly. Allow the cake to set for a bit before slicing, transforming it into an irresistible centerpiece for your gathering.
Tips for the Best Drippy Chocolate Cake
Chill Your Cake: Ensure the cake is completely chilled before applying ganache. A cool base helps the glaze set properly without running off.
Check Ganache Temperature: Before pouring, test ganache temperature on the cake edge. It should flow gently; if it’s too warm, allow extra cooling time.
Small Drips First: Start with smaller drips on the edges. Once comfortable, you can pour more freely without overwhelming the cake.
Use Quality Chocolate: A high-quality dark chocolate makes all the difference in flavor and appearance. Don’t skimp on this crucial ingredient!
Avoid Overmixing: When combining wet and dry ingredients, mix just until combined. Overmixing can lead to a denser cake texture.
Secure Your Layers: Use a bit of frosting or ganache between the cake layers to ensure they stay together and create a clean finish for your drippy chocolate cake.
How to Store and Freeze Drippy Chocolate Cake
Fridge: Store your drippy chocolate cake in an airtight container to keep it fresh. It will last up to 3 days while maintaining its luscious glaze and flavor.
Freezer: If you need to save some for later, freeze individual slices wrapped tightly in plastic wrap, then in foil. They can be stored for up to 2 months and thawed in the fridge when you’re ready to indulge again.
Reheating: To enjoy the ganache drip at its best, gently reheat sliced pieces in the microwave for about 10-15 seconds. This will soften the glaze without losing its shiny appearance.
Cake Assembly: If storing a whole cake, keep it intact until ready to serve. This helps preserve the beautiful drips and presentation until the last moment.
Drippy Chocolate Cake Variations
Let your creativity shine by personalizing this beautiful cake to match your taste and occasion!
- White Chocolate Drip: Swap dark chocolate for white chocolate for a sweeter and creamier glaze. It’s a delightful twist that adds a touch of elegance.
- Fruit Glaze: Use fruit purees, like raspberry or passion fruit, to create a tangy contrast. This fruity flavor elevates the cake while looking stunning drizzled on top.
- Caramel Drip: Replace ganache with homemade or store-bought caramel for a gooey, buttery finish. The rich flavor pairs perfectly with chocolate, making each bite heavenly.
- Nutty Texture: Fold crushed nuts into the frosting between layers for added crunch. Pecans or almonds can offer a delightful contrast to the smooth cake.
- Spiced Up: Add a dash of cinnamon or espresso powder to the cake batter for a flavor boost. These ingredients enhance the chocolate without overpowering it.
- Dairy-Free Option: Substitute heavy cream with coconut cream in the ganache for a rich, dairy-free experience. The coconut flavor adds a subtle twist, perfect for various diets.
- Colorful Drips: Introduce food-safe gel coloring into your white chocolate or ganache for colorful drips. Fun for kids’ parties, it creates a joyous, eye-catching cake.
- Boozy Drip: Infuse the ganache with a splash of your favorite liqueur, like orange or coffee-flavored, for an adult twist. Just remember to adjust sweetness accordingly!
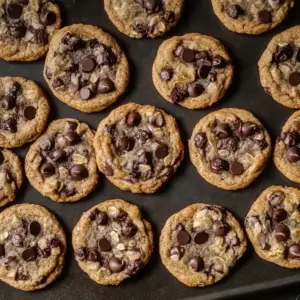
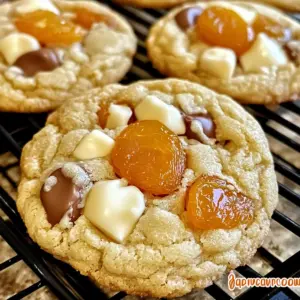
Explore these variations to create a uniquely drippy chocolate cake that’s filled with flavors and colors, making every slice a delightful surprise. If you’re looking for more sweet inspiration, consider trying our Ultimate Chocolate Chip Cookies for that warm, gooey texture or a refreshing Berry Cheesecake that’s bound to impress everyone at your next gathering!
Make Ahead Options
These delightful Drippy Chocolate Cakes are perfect for meal prep enthusiasts and busy home cooks! You can prepare the cake layers up to 3 days in advance, allowing you to focus on the fun part—decorating. Simply bake and cool the cakes as directed, then wrap them tightly in plastic wrap before refrigerating. The ganache can also be made up to 24 hours ahead; just store it in an airtight container in the fridge. When you’re ready to finish your cake, gently reheat the ganache until it reaches the right consistency for drips, and assemble your cake as per the instructions. This way, you’ll have a stunning dessert with minimal effort, perfect for any occasion!
What to Serve with Drippy Chocolate Cake?
Enhance your celebration with delightful sides and treats that complement the rich flavors of your drippy chocolate cake.
-
Fresh Berries: The tartness of strawberries or raspberries beautifully cuts through the cake’s richness, adding a refreshing contrast.
-
Whipped Cream: A light, fluffy topping not only complements the cake’s texture but also enhances its indulgent chocolate flavor.
-
Mint Chocolate Chip Ice Cream: The cool minty flavor pairs perfectly with the chocolate, providing a refreshing finish to each slice.
-
Espresso: A warm cup of espresso elevates the chocolate experience, balancing the sweetness and intensifying the overall flavor.
-
Chocolate Mousse: For the ultimate chocolate lover, serve a small portion of silky chocolate mousse on the side to double down on the decadence.
-
Creamy Vanilla Pudding: The smooth texture and subtle sweetness of vanilla pudding counterbalance the rich cake, creating a harmonious dessert experience.
Let these delightful accompaniments elevate your drippy chocolate cake to new heights of deliciousness!
Drippy Chocolate Cake Recipe FAQs
What kind of chocolate should I use for the ganache drip?
Absolutely! For a perfectly luscious ganache drip, I recommend using high-quality dark chocolate. Look for chocolate that contains at least 60% cocoa for a rich flavor. If you prefer a milder taste, you could opt for semi-sweet or even milk chocolate. Just remember that the quality of the chocolate plays a significant role in both taste and appearance.
How should I store my drippy chocolate cake?
To keep your drippy chocolate cake fresh, store it in an airtight container in the refrigerator for up to 3 days. This helps maintain the glossy glaze and keep the cake moist. If you notice any dark spots on the cake, it’s a sign that it might be nearing its peak freshness, so dig in quickly!
Can I freeze leftover cake slices?
Very! Freezing individual slices is a fantastic way to enjoy your drippy chocolate cake later. Just wrap each slice tightly in plastic wrap, then in aluminum foil, and pop them in the freezer. They can stay fresh for up to 2 months. When you’re ready to indulge, thaw the slices in the fridge overnight, and if desired, reheat them gently in the microwave for about 10-15 seconds to bring back that glorious ganache texture.
What if my ganache is too runny?
No worries! If your ganache is too runny, it might be too warm or the chocolate-to-cream ratio might be off. To fix this, let it cool down at room temperature until it thickens, which usually takes about 10-20 minutes. If it’s still too thin after cooling, you can gently reheat it over low heat and add a bit more chopped chocolate, whisking until smooth. Allow it to cool again before using it as a drip!
Is this cake suitable for anyone with dietary restrictions?
Yes! You can definitely customize this drippy chocolate cake for various dietary needs. For a dairy-free version, substitute heavy cream with coconut cream and choose plant-based butter. For gluten-free options, try using a 1:1 gluten-free flour blend. Be mindful of allergies if you’re serving to a group, especially when using ingredients like chocolate and eggs. Always check labels to ensure they meet dietary preferences!
Indulge in a Drippy Chocolate Cake That's Pure Bliss
Ingredients
Equipment
Method
- Preheat your oven to 350°F (175°C). Whisk together sifted flour, sugar, cocoa powder, baking powder, and salt in a large bowl.
- Combine eggs, milk, and softened butter in another bowl. Pour wet ingredients into dry mixture, stirring until just combined.
- Divide batter evenly between two greased 9-inch round cake pans and bake for 25–30 minutes. Cool them in the pans for 10 minutes before transferring to wire racks.
- In a saucepan over medium heat, combine chopped dark chocolate, heavy cream, and corn syrup. Stir until melted and smooth. Cool ganache for 10-20 minutes.
- Once cakes are cool, level the tops with a serrated knife. Stack layers on a plate with frosting in between.
- Test the ganache consistency by drizzling it on the cake edge. Adjust temperature if necessary.
- Drizzle ganache along the outer edge of the cake to create drips. Pour more ganache on top and spread it evenly.
- Tap the base of the cake to settle the ganache and inspect for any air bubbles. Allow the cake to set before slicing.