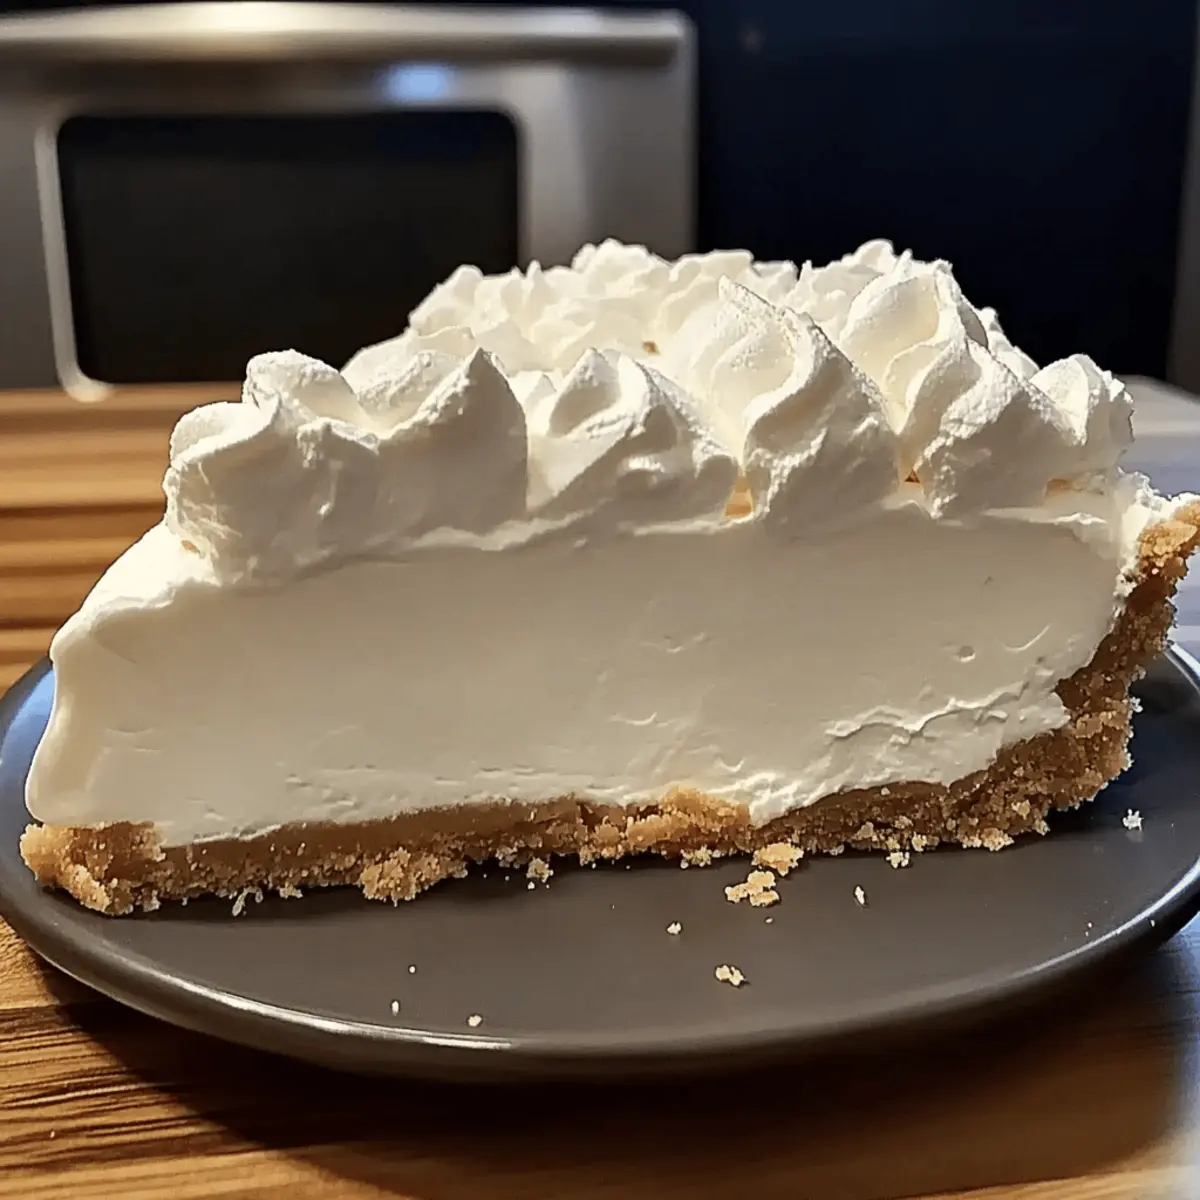
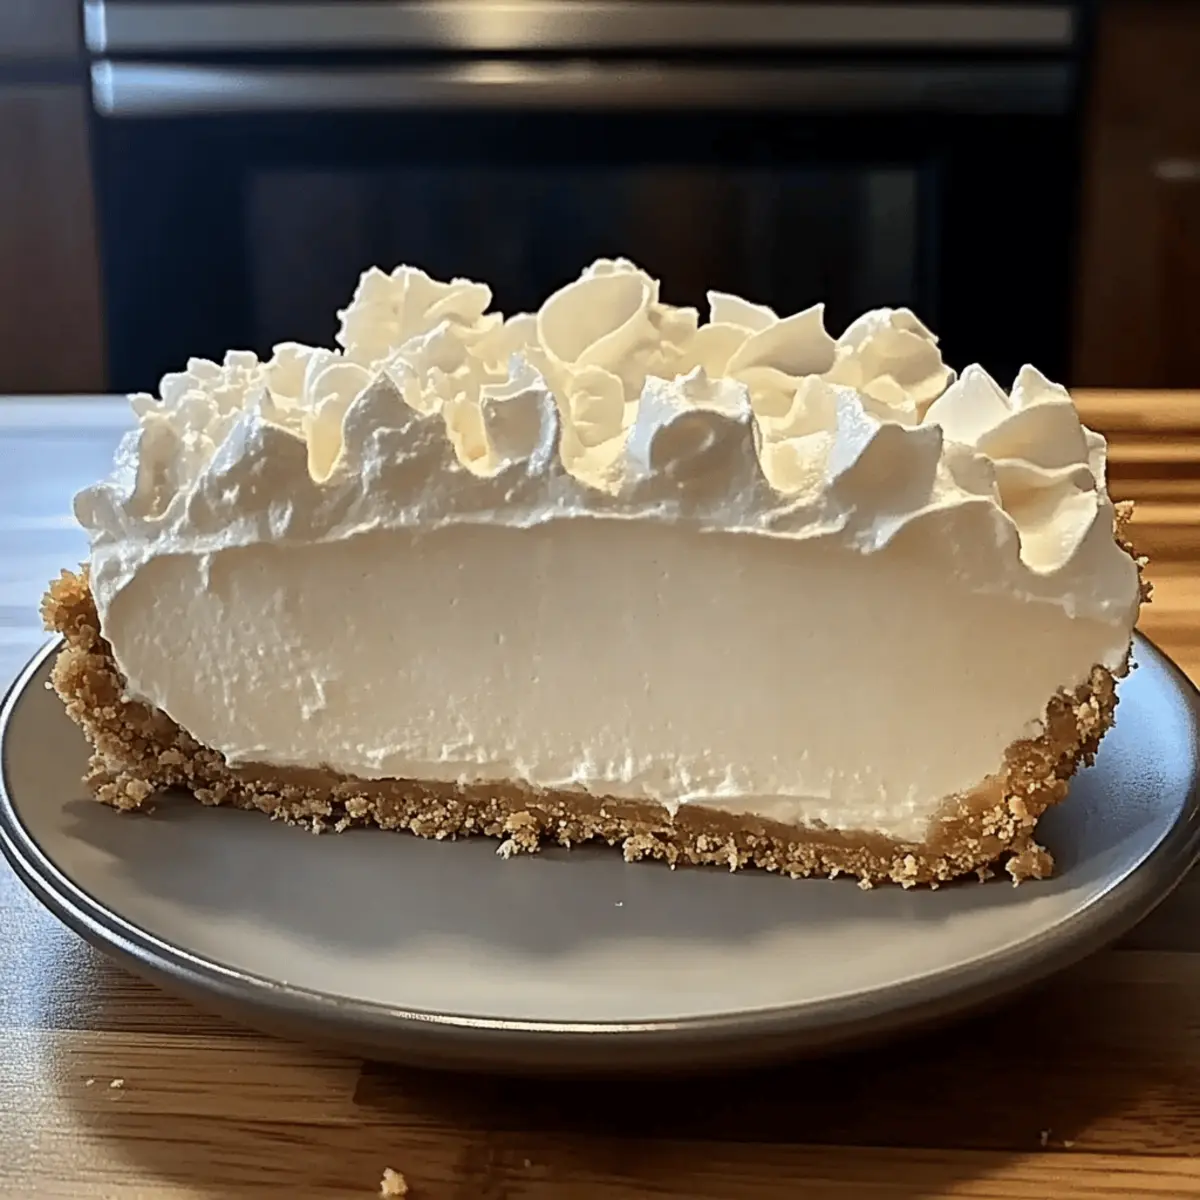
It’s a sweltering summer afternoon, and I find myself chasing the last rays of sunshine in my backyard. That’s when the idea of a light, refreshing dessert hits me: No-Bake Marshmallow Whip Cheesecake. This delightful treat combines the fluffy sweetness of marshmallow with the creamy richness of cheesecake, all without turning on the oven. Perfectly designed for those hot days, it’s not only an easy dessert to whip up, but also a crowd-pleaser that can bring smiles to any gathering. The best part? There’s a gluten-free option available, making it versatile for all your loved ones. Are you ready to indulge in a deliciously airy experience? Let’s dive into the recipe together!
Why is This Cheesecake So Special?
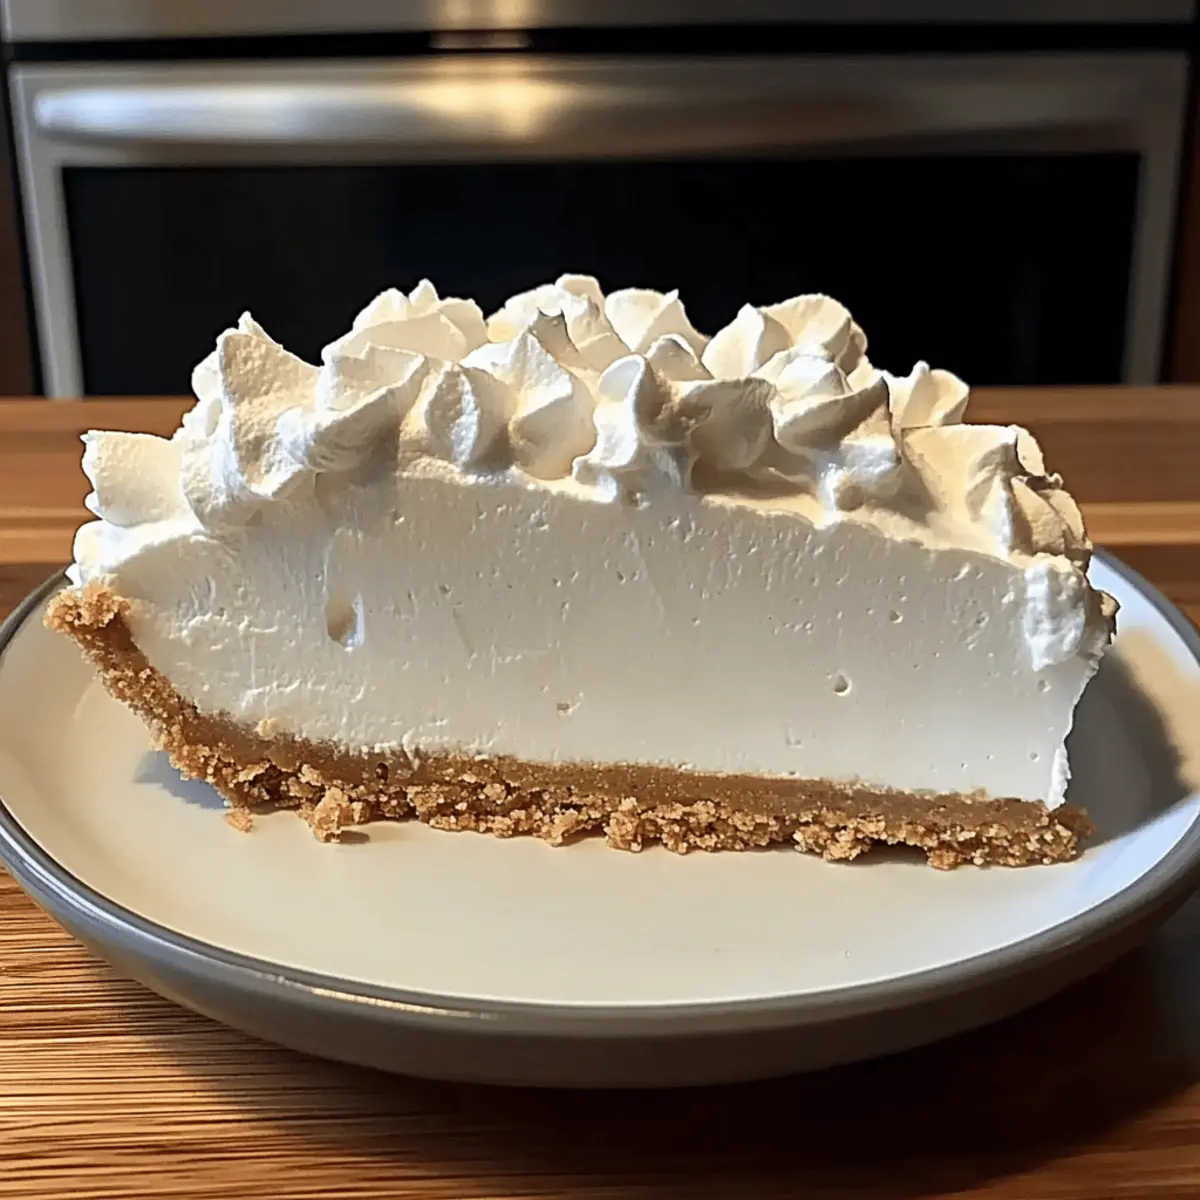
Airy Bliss: The light, cloud-like texture melts in your mouth, creating an indulgent experience without the heaviness.
Effortless Preparation: With no baking involved, you can enjoy this delectable dessert in a snap, making it perfect for last-minute gatherings.
Customizable Delight: Add your favorite toppings – fresh berries or a drizzle of chocolate – to personalize this cheesecake for any occasion.
Refreshing Taste: Perfect for summer, this cheesecake is both refreshing and satisfying, keeping you cool while pleasing your sweet tooth.
Gluten-Free Option: Easy to adapt, it accommodates dietary preferences without sacrificing flavor. Enjoy it at your next picnic or barbecue!
Marshmallow Whip Cheesecake Ingredients
Here’s what you’ll need to create this delightful treat:
For the Crust
- Graham Cracker Crust – Provides a buttery crunch and acts as the perfect base for your cheesecake, with a gluten-free option available if needed.
For the Filling
- Cream Cheese (8 oz, softened) – Contributes a creamy and tangy richness; make sure it’s at room temperature for easy mixing.
- Marshmallow Creme (7 oz jar) – Adds sweetness and that signature fluffiness; you can use melted mini marshmallows with butter as a delightful homemade alternative.
- Cool Whip (8 oz, thawed) – Imparts an airy texture that keeps the cheesecake light and fluffy; feel free to substitute with real whipped cream whipped to stiff peaks.
- Vanilla Extract (1 tsp) – Enhances the overall flavor, creating a balanced sweetness.
For Garnishing
- Optional Whipped Cream – Use to garnish for a beautiful finishing touch that makes your cheesecake irresistible before serving!
Now that you’ve got your ingredients ready, you’re one step closer to creating the heavenly Marshmallow Whip Cheesecake!
Step‑by‑Step Instructions for Marshmallow Whip Cheesecake
Step 1: Prepare the Crust
Begin by preheating your oven to 350°F (175°C) if you opt for a baked crust. Crush the graham crackers into fine crumbs, then mix them with melted butter until thoroughly combined. Press this mixture evenly into the bottom of a 9-inch pie dish or springform pan to form a solid base. If you’re going for a no-bake crust, simply refrigerate until firm, about 20-30 minutes.
Step 2: Beat the Cream Cheese
In a large mixing bowl, add 8 ounces of softened cream cheese. Using an electric mixer, beat the cream cheese on medium speed for about 2-3 minutes until it’s smooth and fluffy, making sure there are no lumps. This step is crucial for achieving the creamy texture in your Marshmallow Whip Cheesecake.
Step 3: Mix in the Marshmallow Creme
Add a 7-ounce jar of marshmallow crème and 1 teaspoon of vanilla extract to the beaten cream cheese. Continue mixing on medium speed for another 2-3 minutes until everything is fully combined and the mixture is light and fluffy. The vanilla enhances the flavor, giving your cheesecake that delightful sweetness.
Step 4: Fold in the Cool Whip
Carefully fold in 8 ounces of thawed Cool Whip into the cream cheese mixture using a spatula. Gently stir until there are no visible streaks, taking care not to deflate the mixture. This folding technique helps maintain the airiness of the Marshmallow Whip Cheesecake, resulting in a light and fluffy filling.
Step 5: Assemble the Cheesecake
Spread the creamy filling evenly over the prepared graham cracker crust. Use a spatula to smooth the top, making it look inviting and even. Once you’re satisfied with the surface, pop it into the refrigerator. Chill the cheesecake for at least 4 hours, or better yet, overnight for the best consistency.
Step 6: Serve and Garnish
When ready to serve, remove the cheesecake from the refrigerator. Optionally, top it with whipped cream, fresh berries, or a drizzle of chocolate to elevate its presentation. Slice your Marshmallow Whip Cheesecake into generous pieces, and watch as faces light up with delight during your next gathering!
Storage Tips for Marshmallow Whip Cheesecake
- Fridge: Store leftover Marshmallow Whip Cheesecake in an airtight container for up to 4 days. Ensure it’s covered to maintain freshness.
- Freezer: If you need to freeze it, wrap the cheesecake tightly in plastic wrap and then aluminum foil. It can be frozen for up to 2 months.
- Thawing: To enjoy frozen cheesecake, thaw it in the refrigerator overnight before serving to retain texture and flavor.
- Reheating: There’s no need to reheat; simply slice and serve chilled for the best taste and texture!
What to Serve with No-Bake Marshmallow Whip Cheesecake
Elevate your dessert experience with delightful pairings that enhance the airy sweetness of this creamy cheesecake.
-
Fresh Berries: The juicy tartness of strawberries, blueberries, or raspberries adds a refreshing contrast that beautifully balances the cheesecake’s sweetness.
-
Chocolate Drizzle: A rich chocolate sauce draped over the cheesecake creates an indulgent touch and satisfies any chocolate lover’s cravings.
-
Coconut Whipped Cream: Lighter than traditional whipped cream, it adds a tropical flair, complementing the marshmallow sweetness with its delicate flavor.
-
Mint Sprigs: Garnishing with fresh mint not only presents a pop of color but also introduces a refreshing aroma that uplifts the entire dessert.
-
Lemon Sorbet: The refreshing citrus notes of sorbet act as a palate cleanser, keeping your taste buds happy on hot summer days.
-
Iced Tea or Lemonade: Serving a chilled glass of homemade iced tea or lemonade adds an invigorating sip that complements the creamy texture of the cheesecake.
Each of these suggestions elevates the experience of enjoying your Marshmallow Whip Cheesecake, ensuring it’s the sweet centerpiece of any gathering!
Expert Tips for Marshmallow Whip Cheesecake
- Chill Overnight: Let your cheesecake set in the fridge overnight for optimal firmness and flavor development—it’s worth the wait!
- Room Temperature Cream Cheese: Always use softened cream cheese to ensure a smooth and lump-free filling; this makes blending effortless.
- Avoid Overmixing: Gently fold in the Cool Whip; overmixing can lead to a denser cheesecake instead of the desired airy texture.
- Experiment with Flavors: Enhance your Marshmallow Whip Cheesecake by adding citrus zest or flavored extracts like almond or coconut for a unique twist.
- Proper Measurements: Use a kitchen scale when measuring ingredients for consistency; even small variations can impact the final outcome.
Make Ahead Options
These Marshmallow Whip Cheesecakes are fantastic for meal prep, allowing you to impress your guests without the last-minute rush! You can prepare the cheesecake filling up to 24 hours in advance and store it in the refrigerator until you’re ready to assemble. Simply mix the filling and pour it into the crust, but leave the garnishes (like whipped cream and fresh berries) for the day of serving to retain their freshness. Chill the assembled cheesecake for a minimum of 4 hours, and for best results, overnight is ideal – this helps the flavors meld beautifully. Trust me, you’ll have a delightful dessert just as fresh and delicious as if it were made that day!
Marshmallow Whip Cheesecake Variations
Feel free to take this Marshmallow Whip Cheesecake recipe and make it your own with these exciting twists!
- Gluten-Free: Use gluten-free graham crackers for the crust to accommodate those with dietary restrictions without compromising flavor.
- Chocolate Crust: Swap the graham cracker crust for an Oreo crust for a delicious chocolatey base that adds a new depth to your cheesecake.
- Berry Bliss: Top with fresh strawberries, blueberries, or raspberries for a burst of fresh fruit that adds color and a refreshing tang. If you want extra sweetness, drizzle with honey or a berry sauce for a touch of elegance.
- Nutty Delight: Incorporate crushed nuts like pecans or walnuts into your crust for added texture and flavor. Their crunch complements the soft filling beautifully.
- Flavor Twist: Experiment with flavored extracts such as almond or coconut to elevate the cheesecake’s taste. A hint of almond can bring a nice floral note that pairs beautifully with the fluffiness of marshmallow.
- Ice Cream Dream: Transform this cheesecake into an ice cream pie by layering your filling with softened ice cream before freezing. Top with chocolate or caramel sauce for a delightful sundae-like treat.
- Mini Cheesecakes: Make individual servings by pouring the filling into muffin tins lined with cupcake liners. These bite-sized treats are perfect for parties and easy to share.
- Spicy Kick: Add a pinch of cinnamon or a dash of cayenne pepper to the filling for an unexpected, delightful warmth that rounds out the sweetness beautifully.
Now that you’ve got some wonderful variations to consider, let your creativity soar and make every occasion special with a twist on this already delightful Marshmallow Whip Cheesecake!
Marshmallow Whip Cheesecake Recipe FAQs
How do I select the best marshmallow creme for this cheesecake?
When choosing marshmallow creme, look for a jar that hasn’t been opened or has a damaged seal. You want it to be smooth, with no dark spots or odd smells. Opt for brands that use simple ingredients, avoiding those with unnecessary additives for the best flavor.
How should I store leftover Marshmallow Whip Cheesecake?
Absolutely! Store leftover cheesecake in an airtight container in the refrigerator for up to 4 days. It’s best to cover it well to keep it fresh and prevent it from absorbing other odors in the fridge. If you find yourself with extra cheesecake, you may want to freeze it.
Can I freeze the Marshmallow Whip Cheesecake?
Yes, you can! To freeze your cheesecake, wrap it tightly with plastic wrap and then with aluminum foil to prevent freezer burn. It can be kept in the freezer for up to 2 months. When you’re ready to enjoy it, simply place it in the refrigerator to thaw overnight.
What should I do if my cheesecake is too soft after chilling?
If you find that your cheesecake hasn’t set properly after chilling, it could be due to a few factors. Make sure you’ve chilled it for at least 4 hours or, ideally, overnight. If it still feels too soft, you can whip some more heavy cream to stiff peaks and gently fold it into the cheesecake to help firm it up. This will give it a lighter texture and help it hold its shape better when served.
Is this cheesecake safe for those with gluten sensitivities?
Yes! By using gluten-free graham crackers, your Marshmallow Whip Cheesecake can easily cater to those with gluten sensitivities. Just be sure to check the labels of all the products you use, as some cream cheeses or marshmallow creams may contain gluten additives. Always double-check to ensure everyone can indulge without worry.
How long can I keep the cheesecake in the freezer before it loses quality?
While the cheesecake can be stored in the freezer for up to 2 months, I recommend consuming it within 1 month for the best taste and texture. After that, while it may still be safe to eat, the flavor and texture might not be quite as delightful.

Marshmallow Whip Cheesecake: The Ultimate No-Bake Treat
Ingredients
Equipment
Method
- Prepare the crust by preheating the oven to 350°F (175°C) if using a baked crust. Crush the graham crackers, mix with melted butter, and press into the pan. Refrigerate if making no-bake crust.
- Beat the softened cream cheese in a large bowl on medium speed for 2-3 minutes until smooth and fluffy.
- Mix in marshmallow crème and vanilla extract, beating for another 2-3 minutes until combined and fluffy.
- Fold in thawed Cool Whip gently until no streaks remain.
- Spread the filling evenly over the crust and smooth the top. Refrigerate for at least 4 hours or overnight.
- Serve chilled, optionally garnished with whipped cream, berries, or chocolate drizzle.