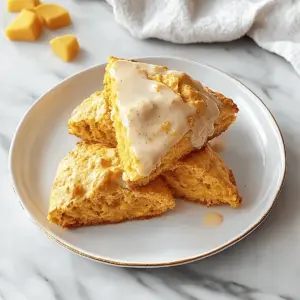
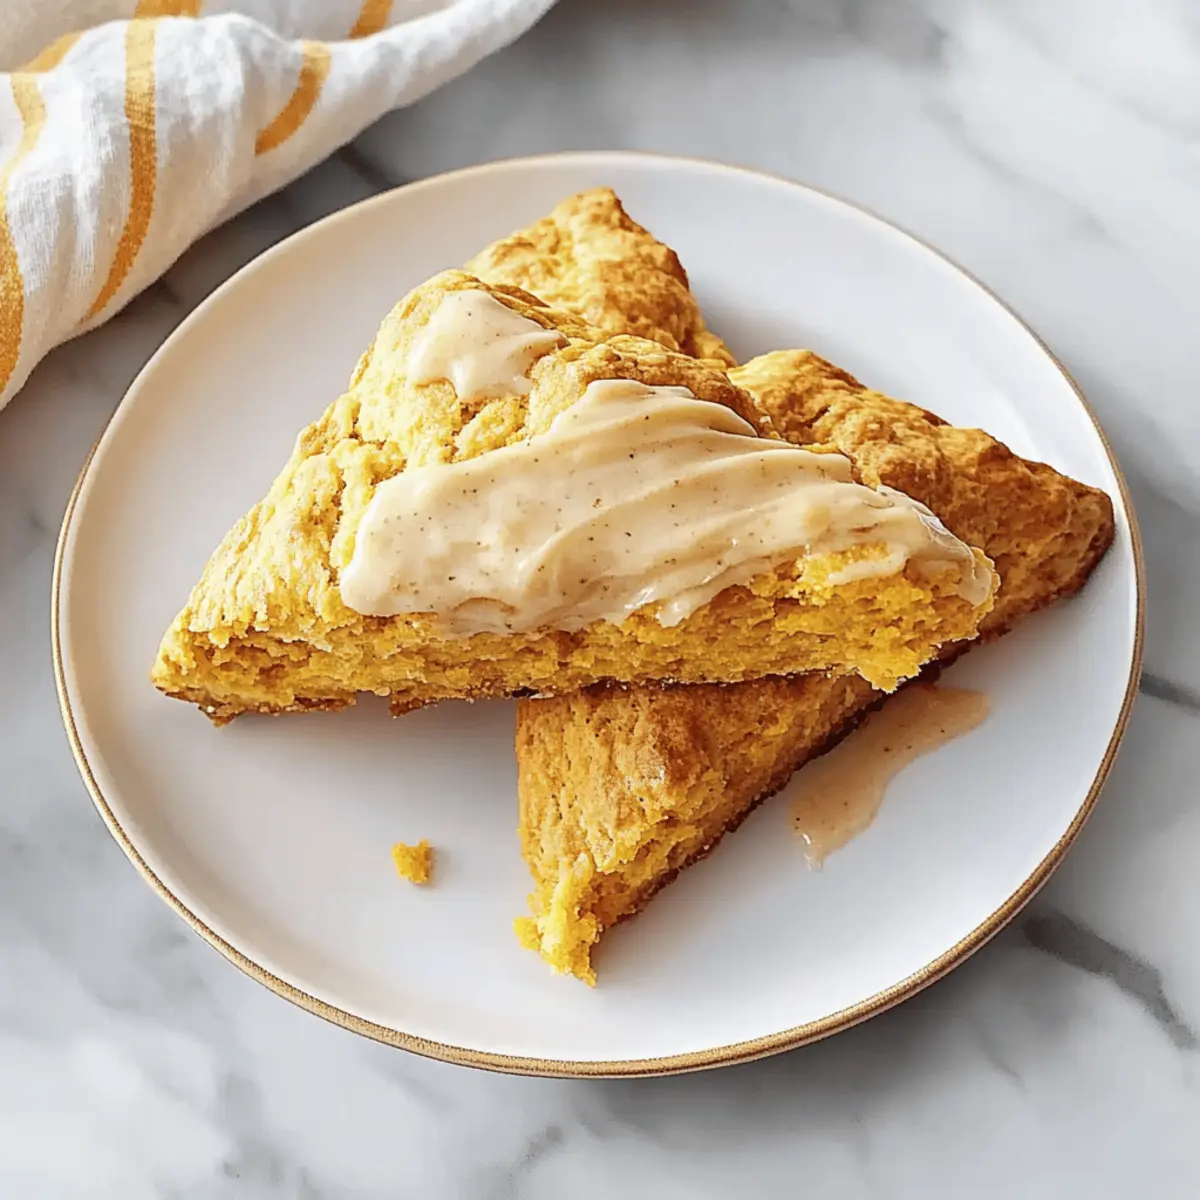
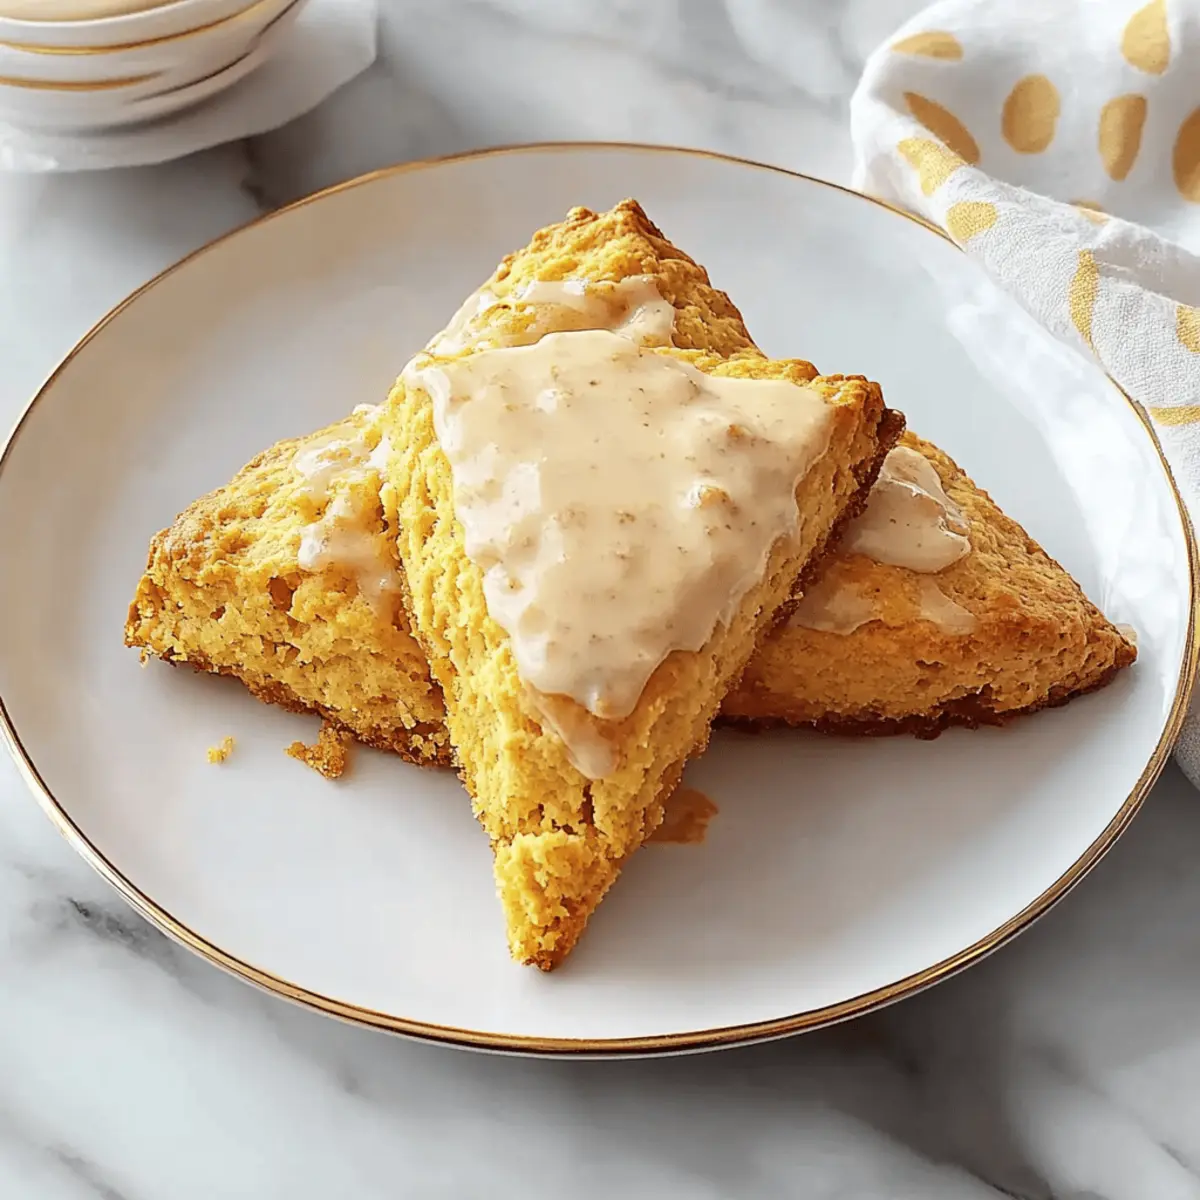
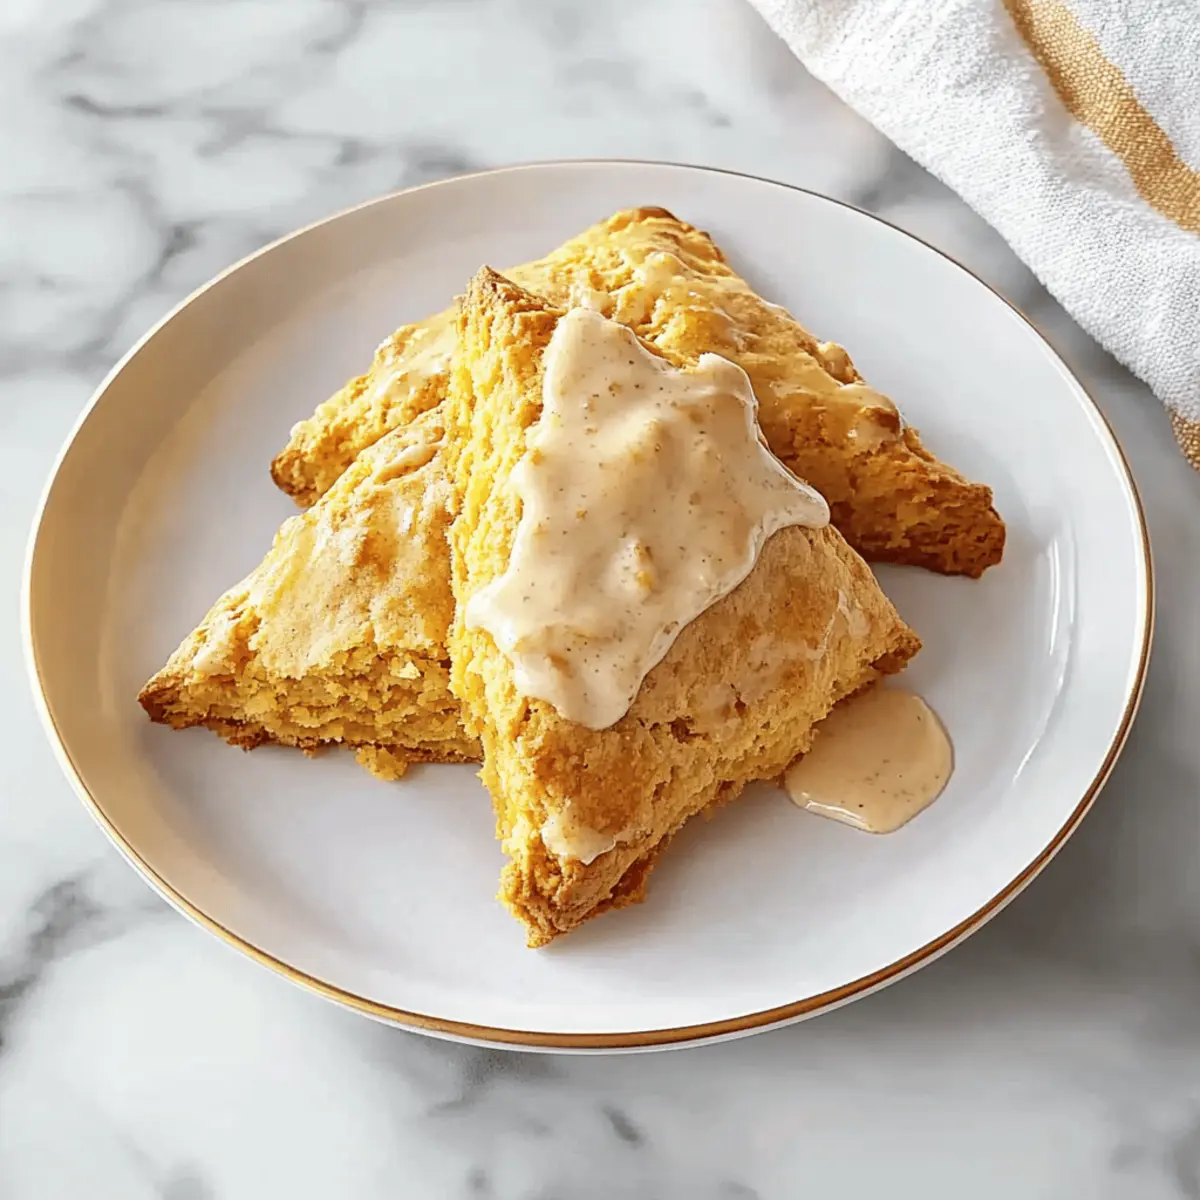
As autumn whispers its arrival, I can’t help but fall in love with the comforting aroma of freshly baked treats wafting through my kitchen. That’s exactly why I’m thrilled to share my recipe for Tender Pumpkin Scones with Whipped Brown Butter Icing—your new go-to for cozy breakfasts and delightful afternoon snacks. These scones are a breeze to whip up, even on your busiest days, allowing you to indulge in homemade goodness without the fuss. The best part? They’re not just a sweet treat; they’re the perfect canvas for warming spices that celebrate the season. Topped with a luscious whipped brown butter icing, these scones elevate any meal into a special occasion. What’s your favorite way to enjoy pumpkin this time of year?
Why are Pumpkin Scones irresistible?
Warm, Cozy Flavors: The sweet scent of pumpkin spices envelops your kitchen, bringing the essence of fall right to your table.
Simple Preparation: With easy-to-follow steps, these scones are perfect for both novice and experienced bakers, letting anyone enjoy the joys of homemade treats.
Gourmet Touch: The whipped brown butter icing adds a decadent finish that transforms your scones into an extraordinary dessert, rivaling any café offering.
Versatile Options: Whether you use canned or fresh pumpkin purée, you can customize this recipe to your preference, ensuring it suits your taste.
Ideal for Sharing: Perfect for breakfast, afternoon tea, or holiday gatherings, these scones are sure to impress friends and family alike. And if you love this recipe, consider pairing it with Garlic Butter Chicken Bites for a complete fall feast!
Pumpkin Scones Ingredients
For the Scones
- All-Purpose Flour – Provides structure; feel free to swap in gluten-free flour for a gluten-free version.
- White Sugar – Adds sweetness; brown sugar can deepen the flavor beautifully.
- Baking Powder – Essential for rising; make sure it’s fresh for optimal fluffiness.
- Pumpkin Spice Blend – Infuses warm autumn flavors; if you’re out, mix cinnamon, nutmeg, and ginger instead.
- Baking Soda – Helps balance acidity and promotes that golden-brown color.
- Salt – Enhances flavor; don’t skip it!
- Unsalted Butter – Crucial for a flaky texture; use cold butter for the best results, and steer clear of margarine.
- Pumpkin Purée – Adds moisture and flavor; canned pumpkin is easy, just ensure fresh pumpkin isn’t watery if you go that route.
- Large Egg – Binds the ingredients for a perfect scone structure.
- Buttermilk – Contributes moisture and richness; you can substitute it with milk mixed with vinegar if needed.
- Apple Cider Vinegar – Activates the baking soda for a better rise, don’t skip this!
- Vanilla Extract – Enhances overall flavor; use pure extract for the best taste.
For the Whipped Brown Butter Icing
- Unsalted Butter (for Icing) – Must be softened; creates a creamy icing that complements the scones perfectly.
- Light Brown Sugar – Sweetens the icing while adding a rich flavor; it’s the finishing touch that brings everything together!
With these ingredients in hand, you’re all set to indulge in homemade Pumpkin Scones with Whipped Brown Butter Icing that radiate warmth and comfort!
Step‑by‑Step Instructions for Pumpkin Scones with Whipped Brown Butter Icing
Step 1: Prepare Brown Butter Icing
Begin by melting half of the unsalted butter in a skillet over medium heat. Swirl the pan occasionally until the butter is browned and aromatic, about 5-7 minutes. Be sure to watch it carefully to prevent burning. Once browned, remove from heat and allow to cool while you prepare the scones.
Step 2: Beat Icing Butter
In a separate mixing bowl, beat the remaining softened unsalted butter until creamy, about 2-3 minutes. Gradually add the cooled brown butter along with light brown sugar, mixing until fully combined and fluffy. Place the icing mixture in the refrigerator for at least 1 hour to firm up while you work on the Pumpkin Scones.
Step 3: Combine Dry Ingredients
In a large mixing bowl, whisk together all-purpose flour, white sugar, baking powder, pumpkin spice blend, baking soda, and salt. This will ensure even distribution of the leavening agents and spices. Aim for a well-mixed, dry blend that will provide the scones with a delicious autumn flavor and structure.
Step 4: Cut in Butter
Add the cold, cubed unsalted butter into the dry ingredients. Using a pastry cutter or your fingertips, mix until the mixture resembles coarse crumbs, with small pea-sized butter pieces remaining. This process is crucial for achieving that flaky texture in the Pumpkin Scones you’re after.
Step 5: Mix Wet Ingredients
In another bowl, whisk together pumpkin purée, large egg, buttermilk, apple cider vinegar, and vanilla extract until well blended. This rich and moist mixture will add flavor and depth to your scone dough, making it irresistible and packed with that cozy pumpkin goodness.
Step 6: Combine Mixtures
Gently fold the wet mixture into the dry ingredients, using a spatula to combine. Stir until just incorporated, ensuring you leave the dough a bit ragged and not overmixed. The goal here is to create dough that holds together but remains tender, perfect for your Pumpkin Scones.
Step 7: Shape and Cut Dough
Turn the dough out onto a floured surface, being careful not to over-handle. Lightly knead the dough a couple of times and then shape it into a rectangle about 1-inch thick. Cut the dough into squares, and then slice those squares diagonally into triangles for a traditional scone shape.
Step 8: Chill Before Baking
Arrange the shaped scones on a lined baking sheet and place them in the refrigerator to chill for 15-20 minutes. Chilling the dough helps maintain the scones’ shape during baking, ensuring they puff up beautifully and don’t spread out.
Step 9: Bake
Preheat your oven to 400°F (200°C). Once the oven is ready, bake the chilled scones for 12-15 minutes or until they are golden brown on top. Keep an eye on them, and you’ll know they’re done when they are firm to the touch and just starting to brown slightly.
Step 10: Serve
Let the baked scones cool on the baking sheet for a few minutes before transferring them to a wire rack. Once slightly cooled, elegantly drizzle the whipped brown butter icing over each scone. Optionally, sprinkle with some extra pumpkin spice for a beautiful finishing touch.
What to Serve with Homemade Pumpkin Scones with Whipped Brown Butter Icing
Imagine indulging in the sweet, pumpkin-spiced aroma of scones as you pair them with delightful companions that enhance your cozy culinary experience.
- Fresh Fruit Medley: Serve with sliced apples or pears. Their crisp texture and natural sweetness beautifully complement the scones’ warmth.
- Maple Butter: This rich spread adds a sweet, nutty flavor, perfect for slathering on your scones and embracing the essence of fall.
- Whipped Cream: Light and airy, a dollop of homemade whipped cream brings a lovely creaminess that balances the rich icing.
- Coffee or Tea: A warm cup of spiced chai or a robust coffee offers a delightful contrast, creating the perfect cozy atmosphere for your afternoon treat.
- Cream Cheese Spread: Spread a layer of spiced cream cheese for a tangy twist. This creamy addition elevates every bite, making it feel like a dessert.
- Caramel Sauce Drizzle: For a hint of decadence, drizzle warm caramel over the top of your scones. The sweetness and gooey texture make every mouthful irresistible.
- Pumpkin Spice Latte: Embrace the season fully by pairing these scones with a delicious pumpkin spice latte. The flavors meld beautifully for a quintessential fall experience.
- Cranberry Sauce: A tart cranberry sauce adds a burst of acidity, cutting through the richness and bringing a pop of freshness to your plate.
- Chocolate Milk: For a nostalgic touch, serve with a glass of cold chocolate milk that invites the joy of childhood treats alongside your fluffy scones.
How to Store and Freeze Pumpkin Scones with Whipped Brown Butter Icing
Room Temperature: Store freshly baked pumpkin scones in an airtight container at room temperature for up to 3 days to retain their moist texture and flavor.
Fridge: If you prefer keeping scones longer, place them in the refrigerator for up to a week. Wrap them individually to prevent them from drying out.
Freezer: Unbaked scones can be frozen for up to 3 months. Flash freeze them on a baking sheet before transferring to a zip-top bag or airtight container, ensuring easy prep later!
Reheating: Warm scones in a preheated 300°F oven for about 10 minutes until heated through, restoring their delightful freshness before drizzling with the whipped brown butter icing.
Pumpkin Scones with Whipped Brown Butter Icing Variations
Customize your baking adventure with these delightful tweaks that will elevate your scones and excite your taste buds!
-
Butternut Squash: Swap pumpkin purée with butternut squash for a twisty autumn flavor. It’s equally creamy and adds a lovely sweetness.
-
Choco-Lover’s Delight: Add chocolate chips to the dough for rich, melty chunks in every bite. It’s like a warm hug in scone form!
-
Nutty Crunch: Fold in chopped walnuts or pecans before baking for an inviting crunch. This adds an elegant texture that beautifully complements the softness of the scones.
-
Dried Fruit Bliss: Incorporate dried cranberries or raisins for a sweet surprise in each bite. Their natural tanginess contrasts wonderfully with the scone’s warm spice.
-
Spice It Up: Boost the flavor by adding a pinch of cayenne pepper or ginger for a subtle heat. It’s a delightful surprise that keeps you coming back for more!
-
Gluten-Free Option: Use gluten-free all-purpose flour to enjoy these scones without compromising texture. Everyone can indulge in deliciousness, guilt-free!
-
Maple Icing Twist: For a seasonal flair, substitute half the sugar in the icing for pure maple syrup. This adds a fantastic depth of flavor that pairs seamlessly with the pumpkin.
Enhance your baking journey with these variations and explore the cozy world of fall flavors. If you’re loving this recipe, you may also enjoy these homemade treats like Garlic Butter Steak or Pasta with Garlic Butter for a delightful meal!
Make Ahead Options
These Pumpkin Scones with Whipped Brown Butter Icing are perfect for meal prep, allowing you to enjoy the warm flavors of fall without the last-minute rush! You can prepare the scone dough and shape it up to 24 hours in advance; simply wrap it tightly in plastic wrap and refrigerate to maintain freshness. Alternatively, the unbaked scones can be frozen for up to 3 months; just ensure they are arranged on a baking sheet to freeze individually before transferring to a freezer bag. When you’re ready to bake, simply pop them in the oven straight from the fridge or freezer, adding a couple of extra minutes to the baking time for just as delicious results!
Expert Tips for Pumpkin Scones with Whipped Brown Butter Icing
-
Keep It Cold: Use cold butter and ingredients to create tender, flaky layers in your Pumpkin Scones. This helps maintain their structure.
-
Avoid Overmixing: Gently fold your wet and dry ingredients together to keep the dough light and fluffy. Overmixing will lead to tough scones.
-
Chill Before Baking: Don’t skip chilling the shaped dough! It helps the scones retain their shape during baking, resulting in perfectly puffed scones.
-
Fresh Ingredients: Ensure your baking powder is fresh; expired leavening agents can lead to flat scones. Fresh spices also enhance flavor!
-
Switch It Up: Feel free to experiment with different pumpkin purées or add-ins like chocolate chips or nuts to create your own unique version of Pumpkin Scones with Whipped Brown Butter Icing.
Pumpkin Scones with Whipped Brown Butter Icing Recipe FAQs
What type of pumpkin purée should I use?
Absolutely, you can use either canned or homemade pumpkin purée! If using canned, check the label to ensure it’s pure pumpkin without added sugar or spices. For homemade purée, make sure to drain it well to avoid excess moisture, which can affect the scone’s texture.
How should I store my pumpkin scones?
To keep those buttery flavors intact, store your freshly baked pumpkin scones in an airtight container at room temperature for up to 3 days. If you want to extend their life, you can refrigerate them for up to a week. Just remember to wrap them individually to keep them moist!
Can I freeze pumpkin scones?
Yes! Unbaked pumpkin scones can be frozen for up to 3 months. To do this, flash freeze them on a baking sheet first to keep their shape, then transfer them to a zip-top bag. When you’re ready to bake, you can pop them straight from the freezer into the oven, just add a couple of extra minutes to the baking time.
What should I do if my scones turn out dense?
Very! If your pumpkin scones come out dense, it might be due to overmixing the batter or using too much flour. Make sure to gently fold the wet and dry ingredients together until just combined. Also, check that your baking powder is fresh, as stale leavening agents won’t give you the rise you’re looking for.
Are these pumpkin scones safe for my pets?
No! Pumpkin scones are delicious for us, but they typically contain sugar, spices, and other ingredients that aren’t safe for pets. If you want to treat your furry friends with pumpkin, plain pumpkin purée (not the spiced version) is a great option—just make sure to consult your vet first!
What if I want to add variations to my pumpkin scones?
The more the merrier! You can easily add chocolate chips, nuts, or even dried fruits like cranberries or raisins for an extra pop of flavor. Just fold them into the dough gently before shaping, and you’ll be on your way to a uniquely tasty treat!

Homemade Pumpkin Scones with Whipped Brown Butter Icing Delight
Ingredients
Equipment
Method
- Begin by melting half of the unsalted butter in a skillet over medium heat. Swirl the pan occasionally until the butter is browned and aromatic, about 5-7 minutes. Remove from heat and allow to cool while preparing the scones.
- In a separate mixing bowl, beat the remaining softened unsalted butter until creamy, about 2-3 minutes. Gradually add the cooled brown butter along with light brown sugar, mixing until fully combined and fluffy. Place the icing mixture in the refrigerator for at least 1 hour to firm up.
- In a large mixing bowl, whisk together all-purpose flour, white sugar, baking powder, pumpkin spice blend, baking soda, and salt.
- Add the cold, cubed unsalted butter into the dry ingredients. Mix until the mixture resembles coarse crumbs.
- In another bowl, whisk together pumpkin purée, large egg, buttermilk, apple cider vinegar, and vanilla extract until well blended.
- Gently fold the wet mixture into the dry ingredients, ensuring you leave the dough a bit ragged and not overmixed.
- Turn the dough out onto a floured surface, being careful not to over-handle. Lightly knead the dough a couple of times and then shape it into a rectangle about 1-inch thick. Cut into squares, then slice diagonally into triangles.
- Arrange the shaped scones on a lined baking sheet and place them in the refrigerator to chill for 15-20 minutes.
- Preheat your oven to 400°F (200°C). Bake the chilled scones for 12-15 minutes or until golden brown.
- Let the baked scones cool on the baking sheet for a few minutes before transferring to a wire rack. Once slightly cooled, drizzle the whipped brown butter icing over each scone.