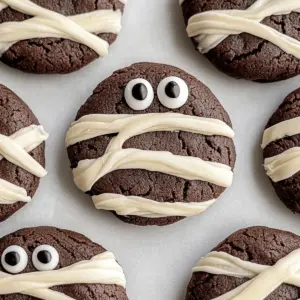
The kitchen filled with an air of excitement as I uncovered a delightful surprise: a batch of Halloween Mummy Cookies! These adorable treats embody all the cozy vibes of the season, melding rich, fudgy chocolate with playful decorations. They’re not just scrumptious; they offer the perfect opportunity to bond with family or friends during those festive baking sessions. Best of all, these cookies are quick and easy to make, ensuring you can whip them up without any hassle amidst the Halloween chaos. Picture them making a charming centerpiece at your next party, enticing both kids and adults alike with their whimsical mummy designs. Ready to create some unforgettable Halloween memories with these Halloween Mummy Cookies? Let’s dive into the spooky sweetness!
Why Are Halloween Mummy Cookies Unforgettable?
Irresistible charm: Halloween Mummy Cookies bring festive fun to any gathering with their cute mummy design and delicious fudgy texture.
Easy to make: With just a few simple steps, you can whip up a delightful batch in no time, perfect for those busy October afternoons.
Family bonding: Engage the kids in decorating—it’s a sweet way to spend quality time together while sparking creativity.
Crowd-pleaser: These cookies are appealing to both kids and adults, making them a hit at parties or classroom treats.
Flavor-packed: The rich chocolatey goodness combined with fluffy buttercream elevates these cookies from ordinary to extraordinary! Don’t forget to check out our ingredient breakdown and serving suggestions for more ideas.
Halloween Mummy Cookies Ingredients
For the Cookie Dough
- Butter – Provides richness and moisture. Note: For a dairy-free option, use margarine or a vegan butter substitute.
- Granulated Sugar – Sweetens the cookies. No substitutes recommended; this is essential for the desired texture.
- Dark Brown Sugar – Adds depth and a slight caramel flavor. For a lighter flavor, substitute with light brown sugar.
- Eggs – Provide structure and stability. You may substitute with a flax egg for a vegan option.
- Vanilla Extract – Enhances flavor. Can be replaced with almond extract for a different profile.
- All-Purpose Flour – The base of the cookie structure. Use a gluten-free all-purpose blend for a gluten-free version.
- Cocoa Powder – Gives the cookies their chocolatey flavor. Dutch-process cocoa can be used for a smoother finish.
- Baking Powder – Helps the cookies rise slightly. Ensure it’s fresh for proper leavening.
- Baking Soda – Aids in browning and texture. Omitting it will affect texture; no direct substitute.
- Salt – Balances sweetness. Use kosher salt as a substitute for table salt to enhance flavor.
For the Buttercream Frosting
- Powdered Sugar – Sweetens the frosting. This cannot be replaced directly; it’s essential for smooth buttercream.
- Milk – Adjusts the consistency of buttercream. Can be replaced with almond milk for a dairy-free version.
Dive into the joy of making Halloween Mummy Cookies and create festive treats that everyone will adore!
Step‑by‑Step Instructions for Halloween Mummy Cookies
Step 1: Melt the Butter
Begin by melting ½ cup of butter in a saucepan over low heat. Once melted, remove it from heat and allow it to cool to room temperature—this should take about 20 minutes in the fridge. Cooling the butter is crucial for achieving a soft texture in your Halloween Mummy Cookies.
Step 2: Mix the Sugars and Wet Ingredients
In a large mixing bowl, combine ½ cup granulated sugar and ½ cup dark brown sugar with the cooled butter. Whisk them together until well combined, then add 1 large egg and 1 egg yolk along with 1 teaspoon of vanilla extract. Mix until the mixture is smooth and creamy, creating a sweet base for your cookies.
Step 3: Combine Dry Ingredients
In a separate bowl, whisk together 1 ½ cups all-purpose flour, ⅔ cup cocoa powder, 1 teaspoon baking powder, ½ teaspoon baking soda, and ¼ teaspoon salt. This blend of dry ingredients is essential for the structure and chocolatey flavor of the Halloween Mummy Cookies. Be sure to mix well to eliminate any lumps.
Step 4: Combine Wet and Dry Mixtures
Gradually add the dry ingredient mixture into the wet ingredients. Gently fold the two mixtures together until just combined; be cautious not to overmix, as this can affect the final texture. Once combined, cover the bowl and refrigerate the dough for about 30 minutes to firm it up.
Step 5: Preheat the Oven and Prepare the Baking Sheet
While the dough is chilling, preheat your oven to 350°F (175°C). Line a baking sheet with parchment paper to prevent sticking and ensure easy cleanup. This step prepares you for baking those adorable Halloween Mummy Cookies as soon as the dough is ready.
Step 6: Shape the Cookies
Once chilled, scoop out tablespoon-sized portions of the dough and roll them into balls. Slightly flatten each ball with your palm before placing them on the prepared baking sheet, leaving about 2 inches of space between each cookie. The cookies will spread while baking, creating a lovely fudgy texture.
Step 7: Bake the Cookies
Place the baking sheet in the preheated oven and bake for 9-10 minutes. Keep an eye on them; you want the edges set while the centers remain soft and fudgy. After baking, let the cookies cool on the tray for 3 minutes before transferring them to a wire rack to cool completely.
Step 8: Prepare the Buttercream Frosting
While the cookies are cooling, prepare the buttercream. In a bowl, mix ½ cup softened butter, 2 cups powdered sugar, 1 teaspoon vanilla extract, and a splash of milk. Beat until the frosting is smooth and fluffy. This rich frosting will adorn your Halloween Mummy Cookies perfectly.
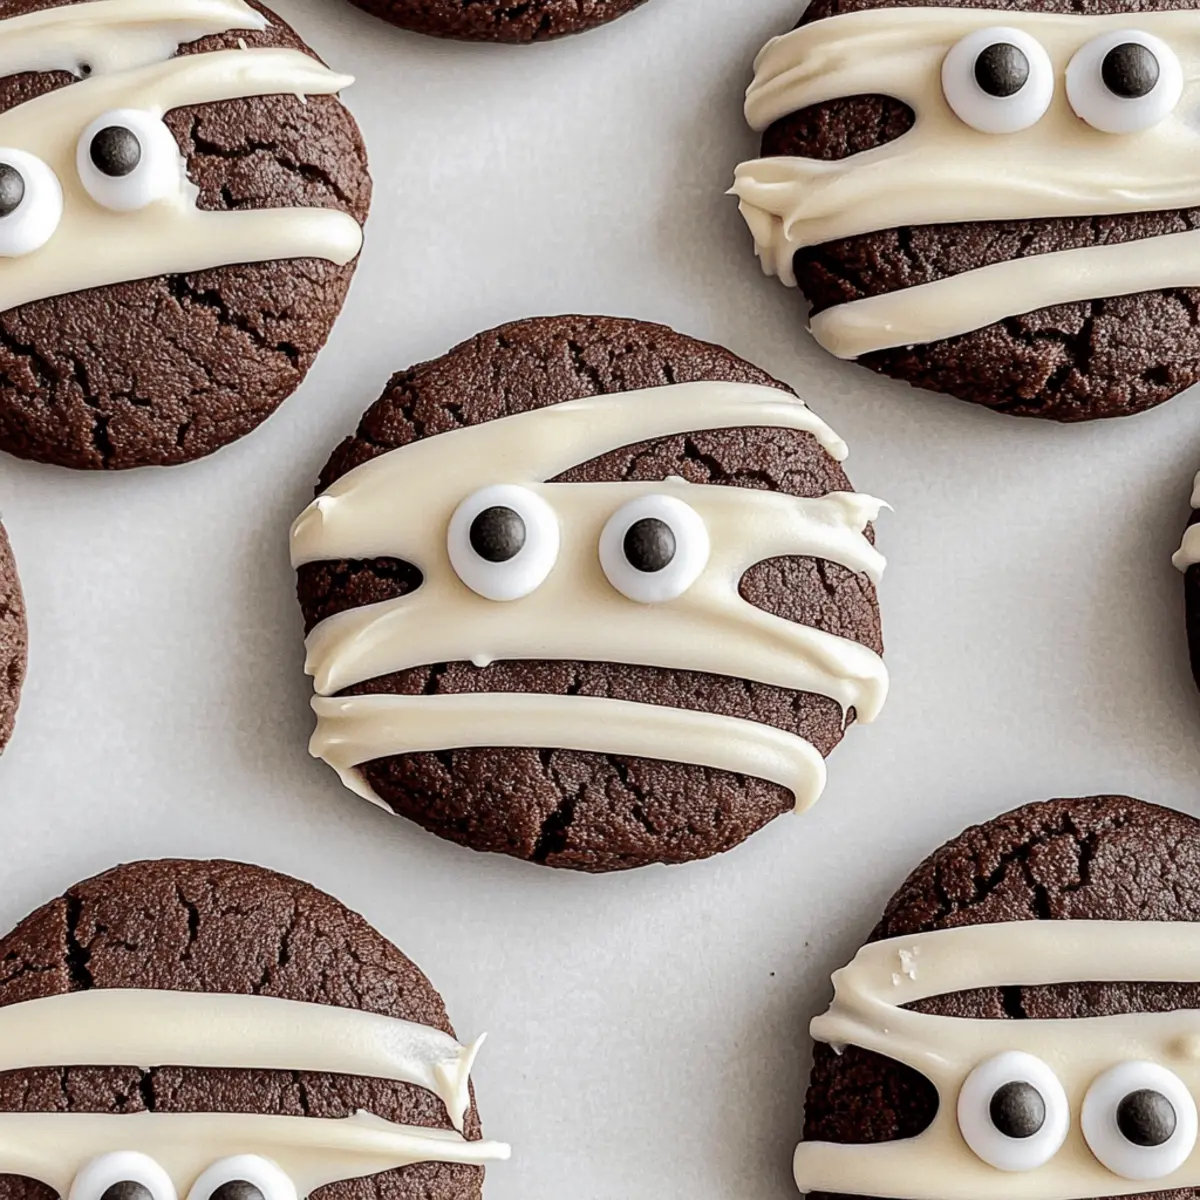
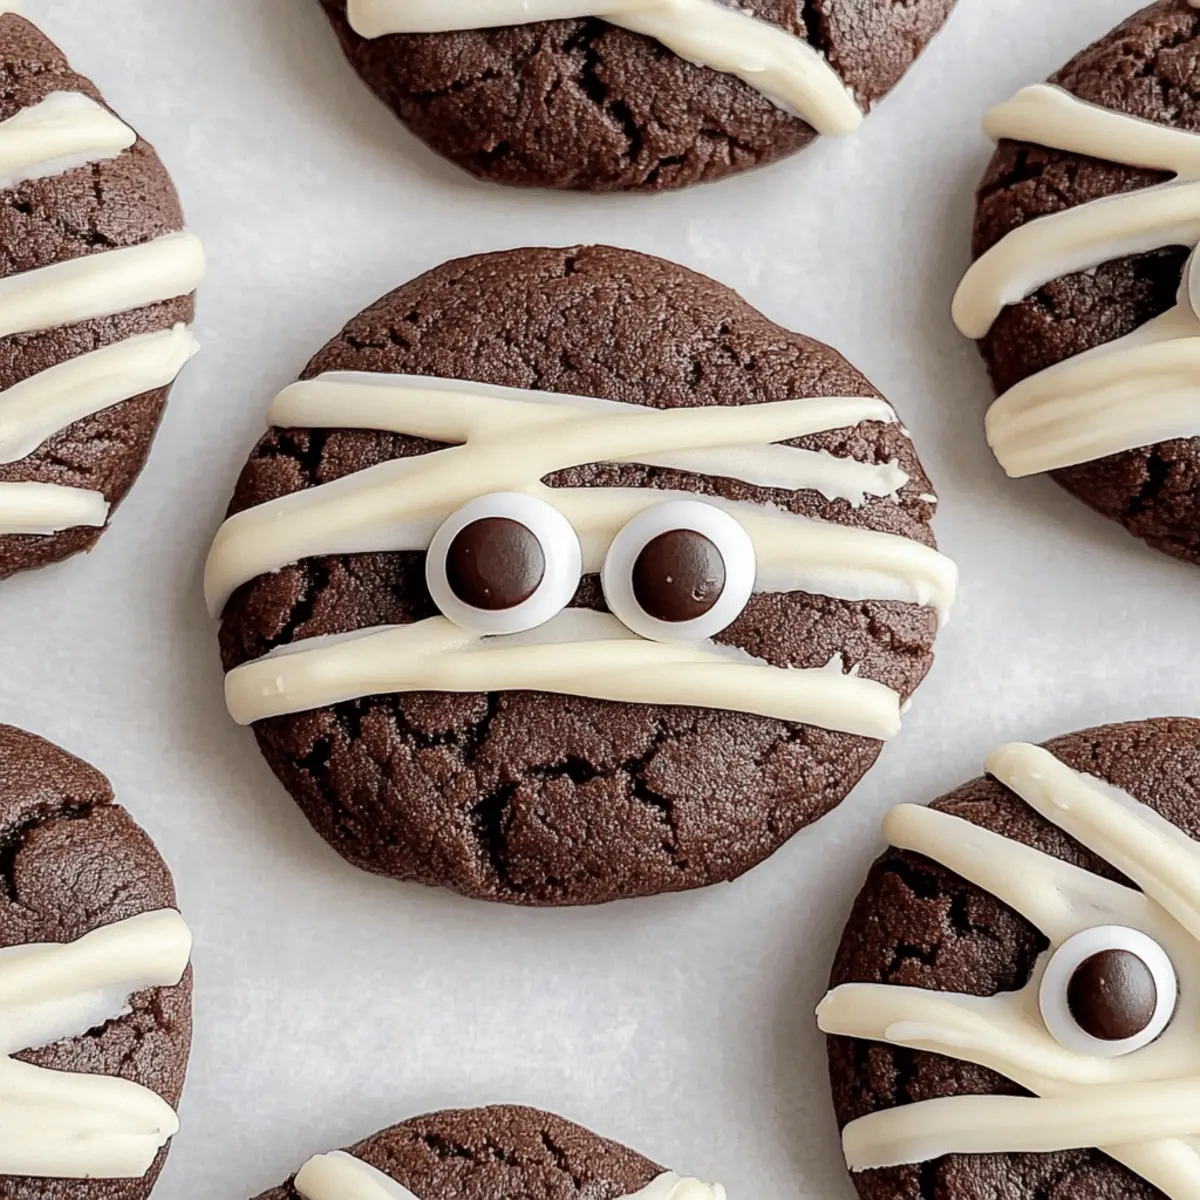
Step 9: Decorate the Cookies
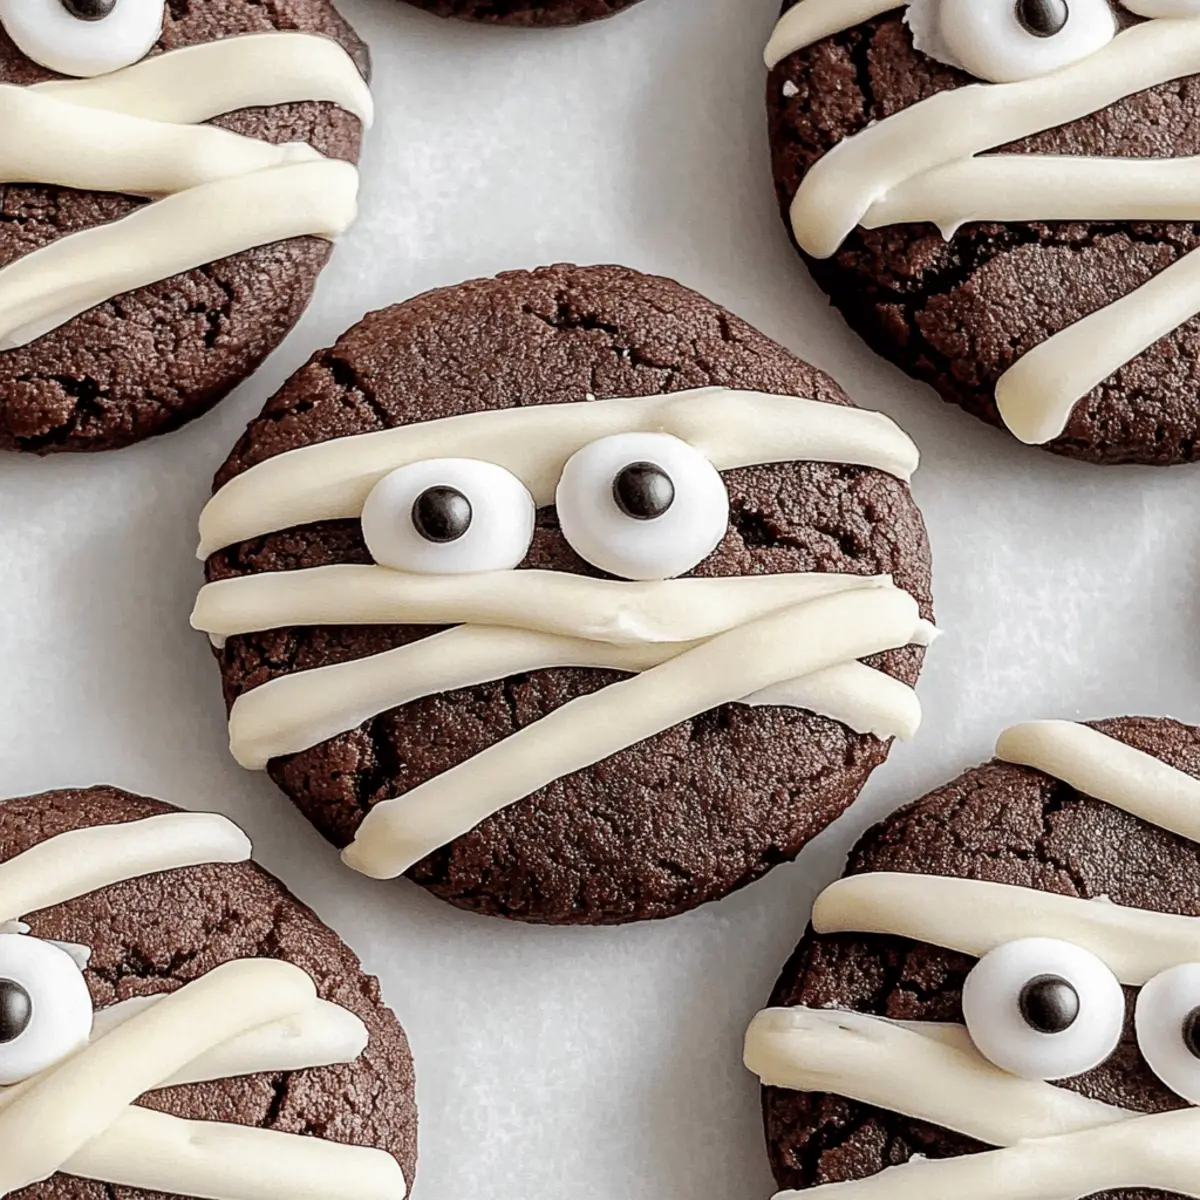
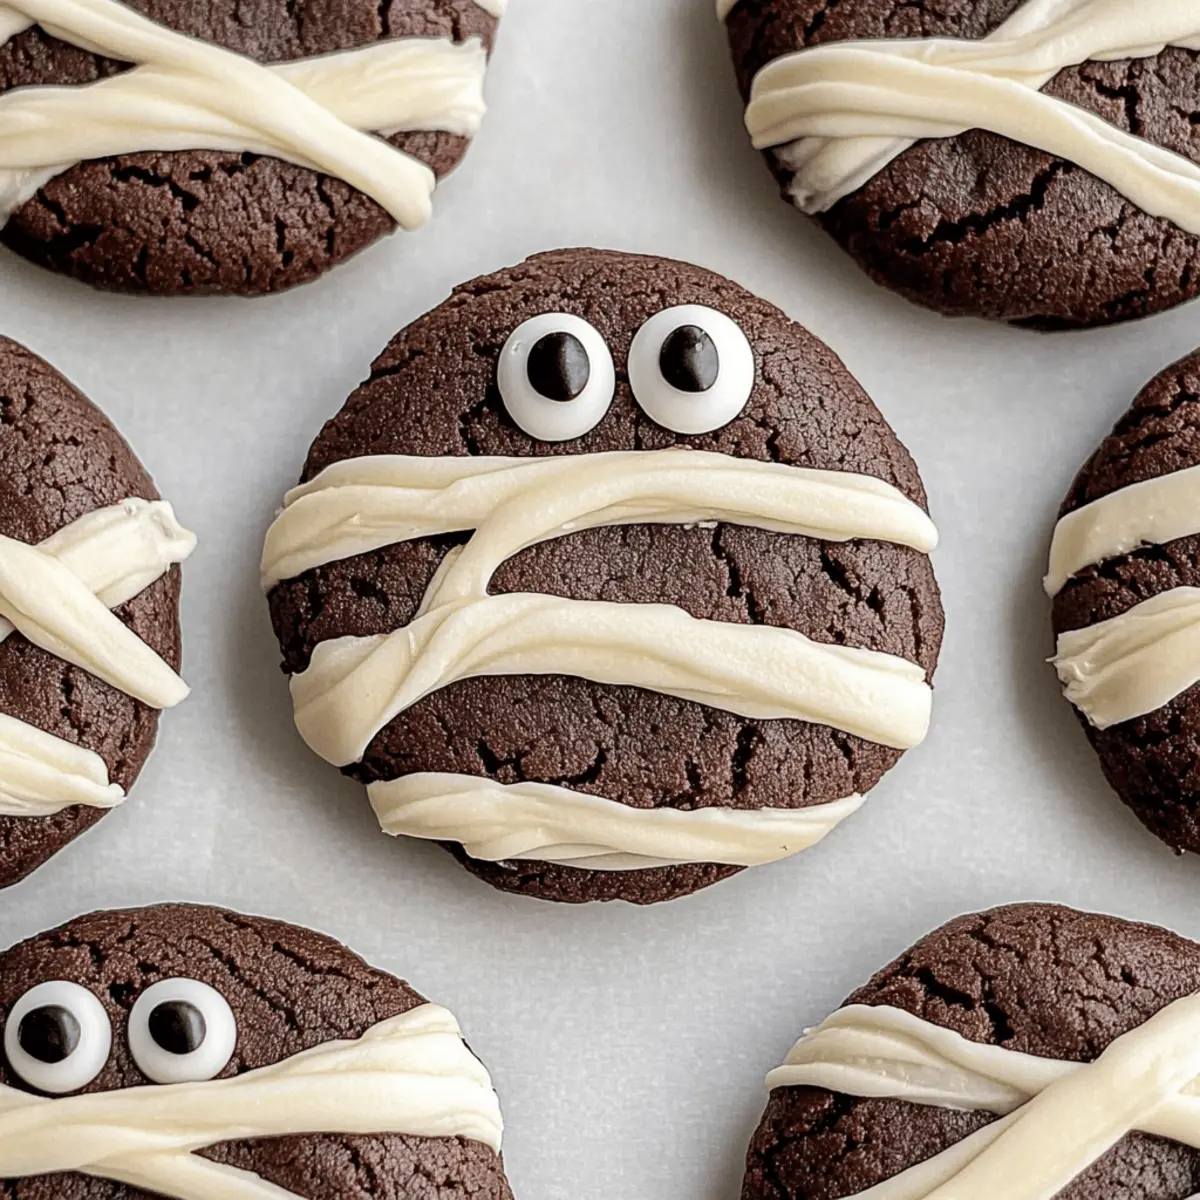
Once the cookies are cool, use a piping bag to decorate the top of each cookie with the buttercream in a zigzag pattern, mimicking mummy wraps. Finally, add candy eyes on top while the frosting is still soft, creating a whimsical design that will charm everyone at your Halloween gathering!
Make Ahead Options
These Halloween Mummy Cookies are perfect for meal prep enthusiasts! You can prepare the cookie dough up to 24 hours in advance by following steps 1-4, then refrigerate it to prevent browning. The chilled dough can be scooped, rolled, and even shaped into balls before placing them in an airtight container to maintain freshness. When you’re ready to bake, simply preheat the oven and bake straight from the fridge for a few extra minutes. Additionally, you can make the buttercream frosting up to 3 days ahead; just store it in an airtight container in the refrigerator. Allow it to come to room temperature before decorating your cookies, ensuring they taste just as delicious as freshly made! Enjoy the ease of preparing these Halloween Mummy Cookies ahead of time and delight in the time-saving benefits on busy days!
Expert Tips for Halloween Mummy Cookies
-
Chill the Dough: Allowing the cookie dough to chill for 30 minutes ensures that the cookies maintain their shape and achieve that fudgy texture.
-
Room Temperature Ingredients: Use room temperature butter for the frosting to ensure it mixes smoothly, preventing any lumps and creating a fluffy buttercream.
-
Avoid Overmixing: When combining the wet and dry ingredients, be careful not to overmix, as it can lead to tough cookies instead of the desired soft, fudgy Halloween Mummy Cookies.
-
Monitor Baking Time: Keep a close eye on your cookies while baking. They should be set at the edges but soft in the center; this creates that melt-in-your-mouth experience.
-
Decorate Creatively: While the traditional mummy wrap is fun, don’t hesitate to get creative! Use colored icing or sprinkles to add a personal touch to your Halloween Mummy Cookies.
What to Serve with Halloween Mummy Cookies
These spooky treats will steal the show, especially when paired with delightful companions that enhance their festive charm!
- Pumpkin Spice Latte: A warm cup of this seasonal drink balances the rich chocolate, making every bite a cozy experience.
- Caramel Corn: The sweet and crunchy texture of caramel corn complements the cookies’ fudge, creating a delightful mix of flavors and textures. Enjoy this during a Halloween movie night!
- Apple Cider: Crisp and refreshing, apple cider provides a tangy contrast to the sweetness of the cookies, making it a perfect fall pairing.
- Ghostly Marshmallow Dip: A fluffy dip made with cream cheese and marshmallows adds an element of fun, perfect for dipping your cookies and enhancing the festive vibes.
- Chocolate Milkshake: Indulge your sweet tooth further with a thick chocolate milkshake – the ultimate decadence alongside your Halloween Mummy Cookies!
- Spiced Nuts: A bowl of spiced nuts adds a savory crunch, creating a wonderful balance to the sweet cookies and making for a sophisticated snack option.
- Festive Cheesecake Bars: Creamy cheesecake bars with a hint of pumpkin spice add a luscious touch to your dessert table. They’re sure to impress!
- Ghost Cupcakes: With their pillowy frosting and playful decorations, these cupcakes make a whimsical dessert option that will delight guests young and old.
- Hot Chocolate: The classic comfort drink can elevate your cookie experience, inviting warm, chocolatey bliss in each sip and bite.
- Cinnamon Sugar Puff Pastry Twists: These flaky twists, dusted with cinnamon sugar, provide a contrasting texture that pairs beautifully with the chewy cookies.
Halloween Mummy Cookies Customizations
Feel free to make these Halloween Mummy Cookies your own with delightful twists and substitutions that will elevate them to the next level!
-
Mocha Flavor: Swap cocoa powder for espresso powder for a delightful mocha twist that coffee lovers will adore. The deep, rich notes pair perfectly with chocolate!
-
Nutty Crunch: Add in some chopped nuts or chocolate chips into the batter for extra texture. The crunch complements the fudgy cookies beautifully and adds a surprise element in each bite.
-
Festive Icing: Decorate with colorful icing instead of traditional buttercream for a fun, vibrant look. Children and adults alike love to personalize their cookies, making it a great activity at Halloween parties!
-
Gluten-Free Option: Use a gluten-free all-purpose flour blend to create cookies that everyone can enjoy. This way, even your gluten-sensitive friends can savor these treats without worry.
-
Flavored Extracts: Experiment with different extracts. Try adding almond or coconut extract instead of vanilla for an interesting flavor profile that will surprise your taste buds!
-
Candy Decorations: Use various candies instead of candy eyes for decoration. Make your mummies uniquely spooky with gummy worms or edible glitter for a fun, festive upgrade!
-
Spicy Twist: Add a pinch of cayenne pepper or cinnamon to the dough for a warm spice that contrasts beautifully with the sweet chocolate, providing a unique and memorable taste experience.
-
Chill Before Baking: Pop the shaped cookies back in the fridge for 10 minutes after shaping. This extra chill helps maintain their adorable shape during baking, ensuring their cute mummy facade stays intact.
Each of these variations lets you put your own spin on these Halloween Mummy Cookies, and don’t hesitate to check out our expert tips and serving suggestions for more inspiration!
Storage Tips for Halloween Mummy Cookies
Room Temperature: Store cookies in an airtight container at room temperature for up to 3 days to keep them fresh and soft.
Fridge: If you prefer a firmer texture, refrigerate in an airtight container for up to 5 days. Allow cookies to come to room temperature before enjoying.
Freezer: Freeze undecorated cookies in a single layer, then transfer to an airtight container or freezer bag for up to 30 days. Thaw at room temperature before decorating.
Reheating: For a warm treat, microwave cookies for about 10 seconds or enjoy them right from the freezer for a fudgy texture. Perfect with a cup of hot cocoa!
Halloween Mummy Cookies Recipe FAQs
How can I select the best ingredients for my Halloween Mummy Cookies?
Absolutely! For the best flavor and texture, select high-quality semi-sweet or dark chocolate chips to mix into the dough for a richer taste. When choosing cocoa powder, opt for a Dutch-process cocoa for a smoother taste. Ensure your butter is fresh and at room temperature to blend easily with the sugars.
What is the best way to store Halloween Mummy Cookies?
You can easily store Halloween Mummy Cookies in an airtight container at room temperature for up to 3 days. If you prefer a firmer texture, refrigerating them will extend their freshness to about 5 days. Just allow them to return to room temperature before enjoying!
Can I freeze Halloween Mummy Cookies?
Yes! To freeze, simply lay the undecorated cookies in a single layer on a baking sheet until fully frozen. Once solid, transfer them to an airtight container or freezer bag, where they can be stored for up to 30 days. To enjoy, let them thaw at room temperature, then decorate with buttercream and candy eyes!
What should I do if my cookie dough is too sticky?
If your Halloween Mummy Cookies dough is too sticky, it’s likely due to melting butter or warm temperatures in your kitchen. I highly recommend refrigerating the dough for about 30 minutes. This allows it to firm up and makes it much easier to roll into balls without sticking to your hands.
Are there any dietary considerations I should keep in mind when making these cookies?
Definitely! For dairy-free versions, substitute regular butter with a vegan butter alternative and use almond milk in the buttercream frosting. If you’re accommodating gluten allergies, simply replace the all-purpose flour with a gluten-free blend. This way, everyone can enjoy your spooky treats this Halloween!
How long do the flavors of Halloween Mummy Cookies last?
These cookies maintain their delicious flavors for about 3 days at room temperature. If stored properly in the refrigerator, they can stay fresh for up to 5 days. However, I recommend enjoying them in the first few days for the best taste and texture, especially with the fluffy buttercream frosting!
Halloween Mummy Cookies: Easy Fudgy Treats for Everyone
Ingredients
Equipment
Method
- Melt the Butter: Begin by melting ½ cup of butter in a saucepan over low heat. Once melted, remove it from heat and allow it to cool to room temperature.
- Mix the Sugars and Wet Ingredients: In a large mixing bowl, combine ½ cup granulated sugar and ½ cup dark brown sugar with the cooled butter. Whisk them together until well combined, then add 1 large egg and 1 egg yolk along with 1 teaspoon of vanilla extract.
- Combine Dry Ingredients: In a separate bowl, whisk together 1 ½ cups all-purpose flour, ⅔ cup cocoa powder, 1 teaspoon baking powder, ½ teaspoon baking soda, and ¼ teaspoon salt.
- Combine Wet and Dry Mixtures: Gradually add the dry ingredient mixture into the wet ingredients. Gently fold the two mixtures together until just combined.
- Preheat the Oven and Prepare the Baking Sheet: Preheat your oven to 350°F (175°C) and line a baking sheet with parchment paper.
- Shape the Cookies: Once chilled, scoop out tablespoon-sized portions of the dough and roll them into balls, slightly flattening each ball.
- Bake the Cookies: Place the baking sheet in the preheated oven and bake for 9-10 minutes.
- Prepare the Buttercream Frosting: In a bowl, mix ½ cup softened butter, 2 cups powdered sugar, 1 teaspoon vanilla extract, and a splash of milk. Beat until the frosting is smooth.
- Decorate the Cookies: Once the cookies are cool, use a piping bag to decorate the top of each cookie with the buttercream, mimicking mummy wraps.